Excite and Explore

One mom, one toddler and a passion for learning and adventure.


8 Comments

Letter Of The Week: The Letter A

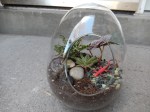
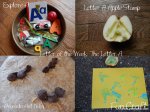
   Today we started a new series called the Letter of the Week! Gray has recently started showing an interest in learning his letters, when he see’s one he points to it, inquiring what it is called and has started identifying them (admittedly he only knows B, H and R on sight now but hopefully by the end he will know some more) and repeating what they are called when I tell him. So now every weekend we will feature the next letter in the alphabet and share some activities and crafts we did that day. We started off the day with a little display I made in a cake pan full of things that started with the letter A, a book and some small examples of the letter A. Ours had a small plastic apple, a spear of asparagus, a wooden ambulance, an alligator, an ant, and an airplane. As he explored it we discussed the different objects and sounded out the words, emphasizing the A sound.

Image

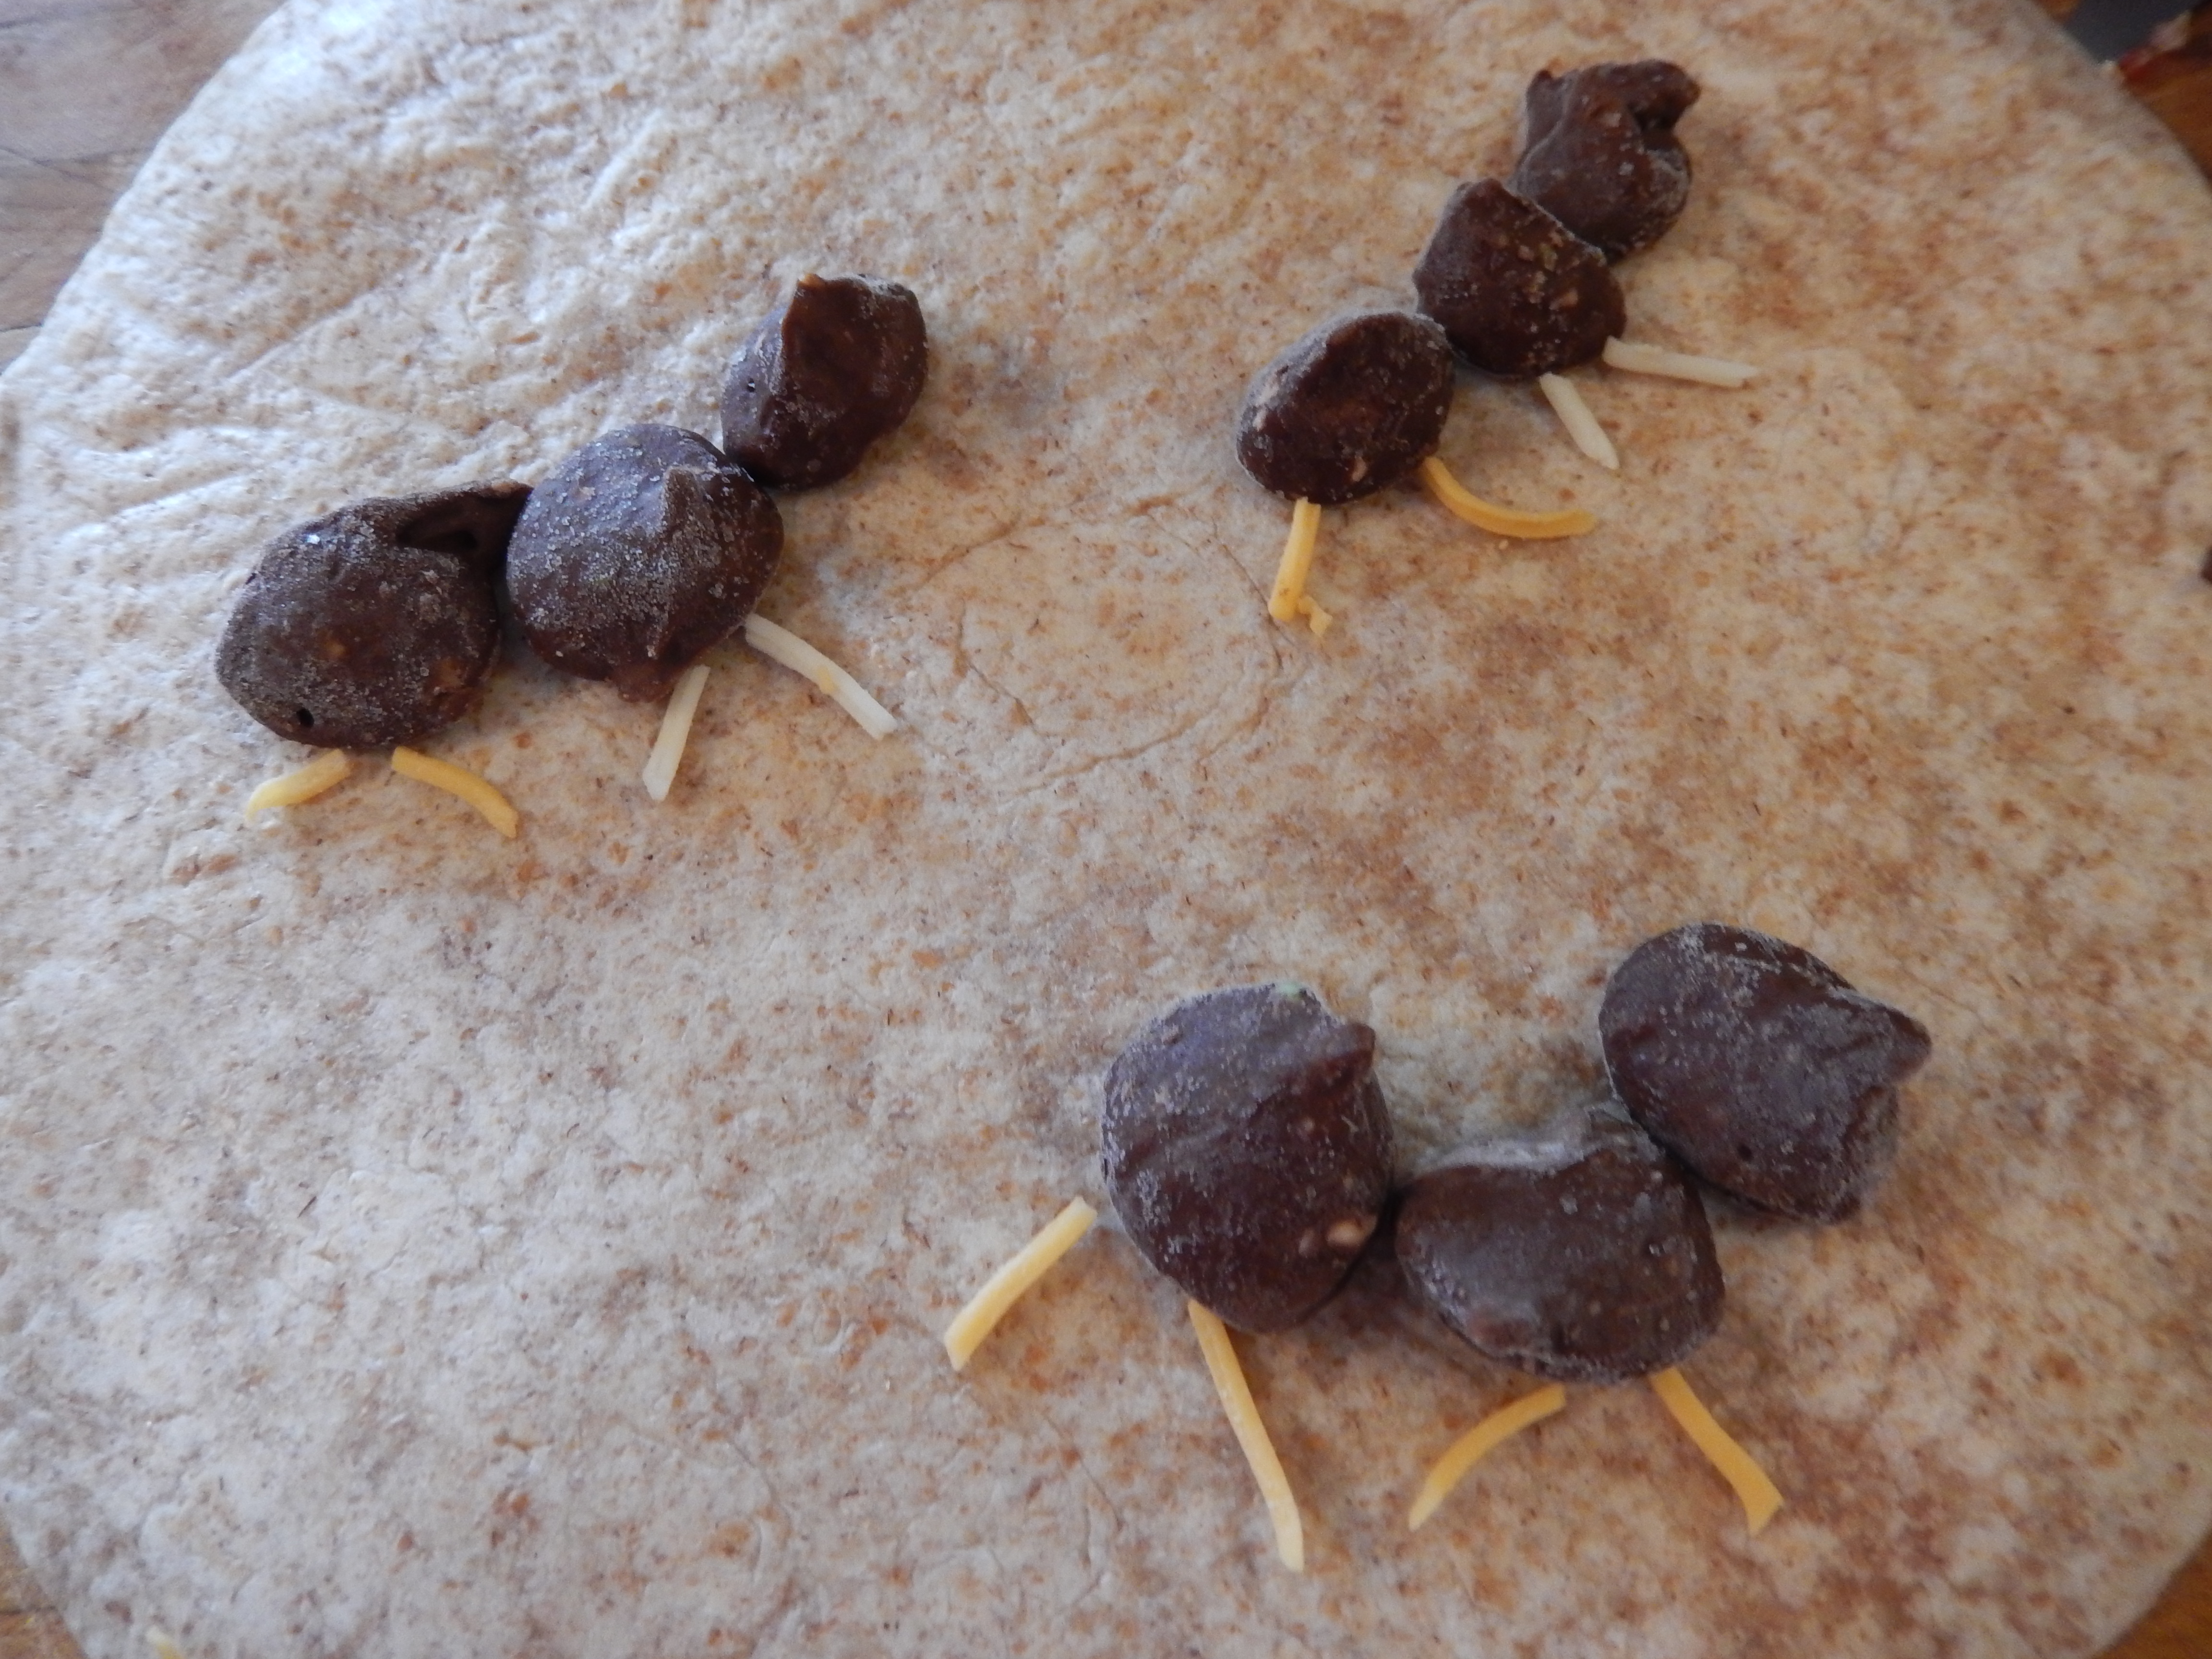
   For snack we had chocolate Avocado nibs, a recipe he adores (and so do I) that can be found on this wonderful blog called Cheerfully Imperfect which I made into little Ants using cheese for legs on a pita.

Image

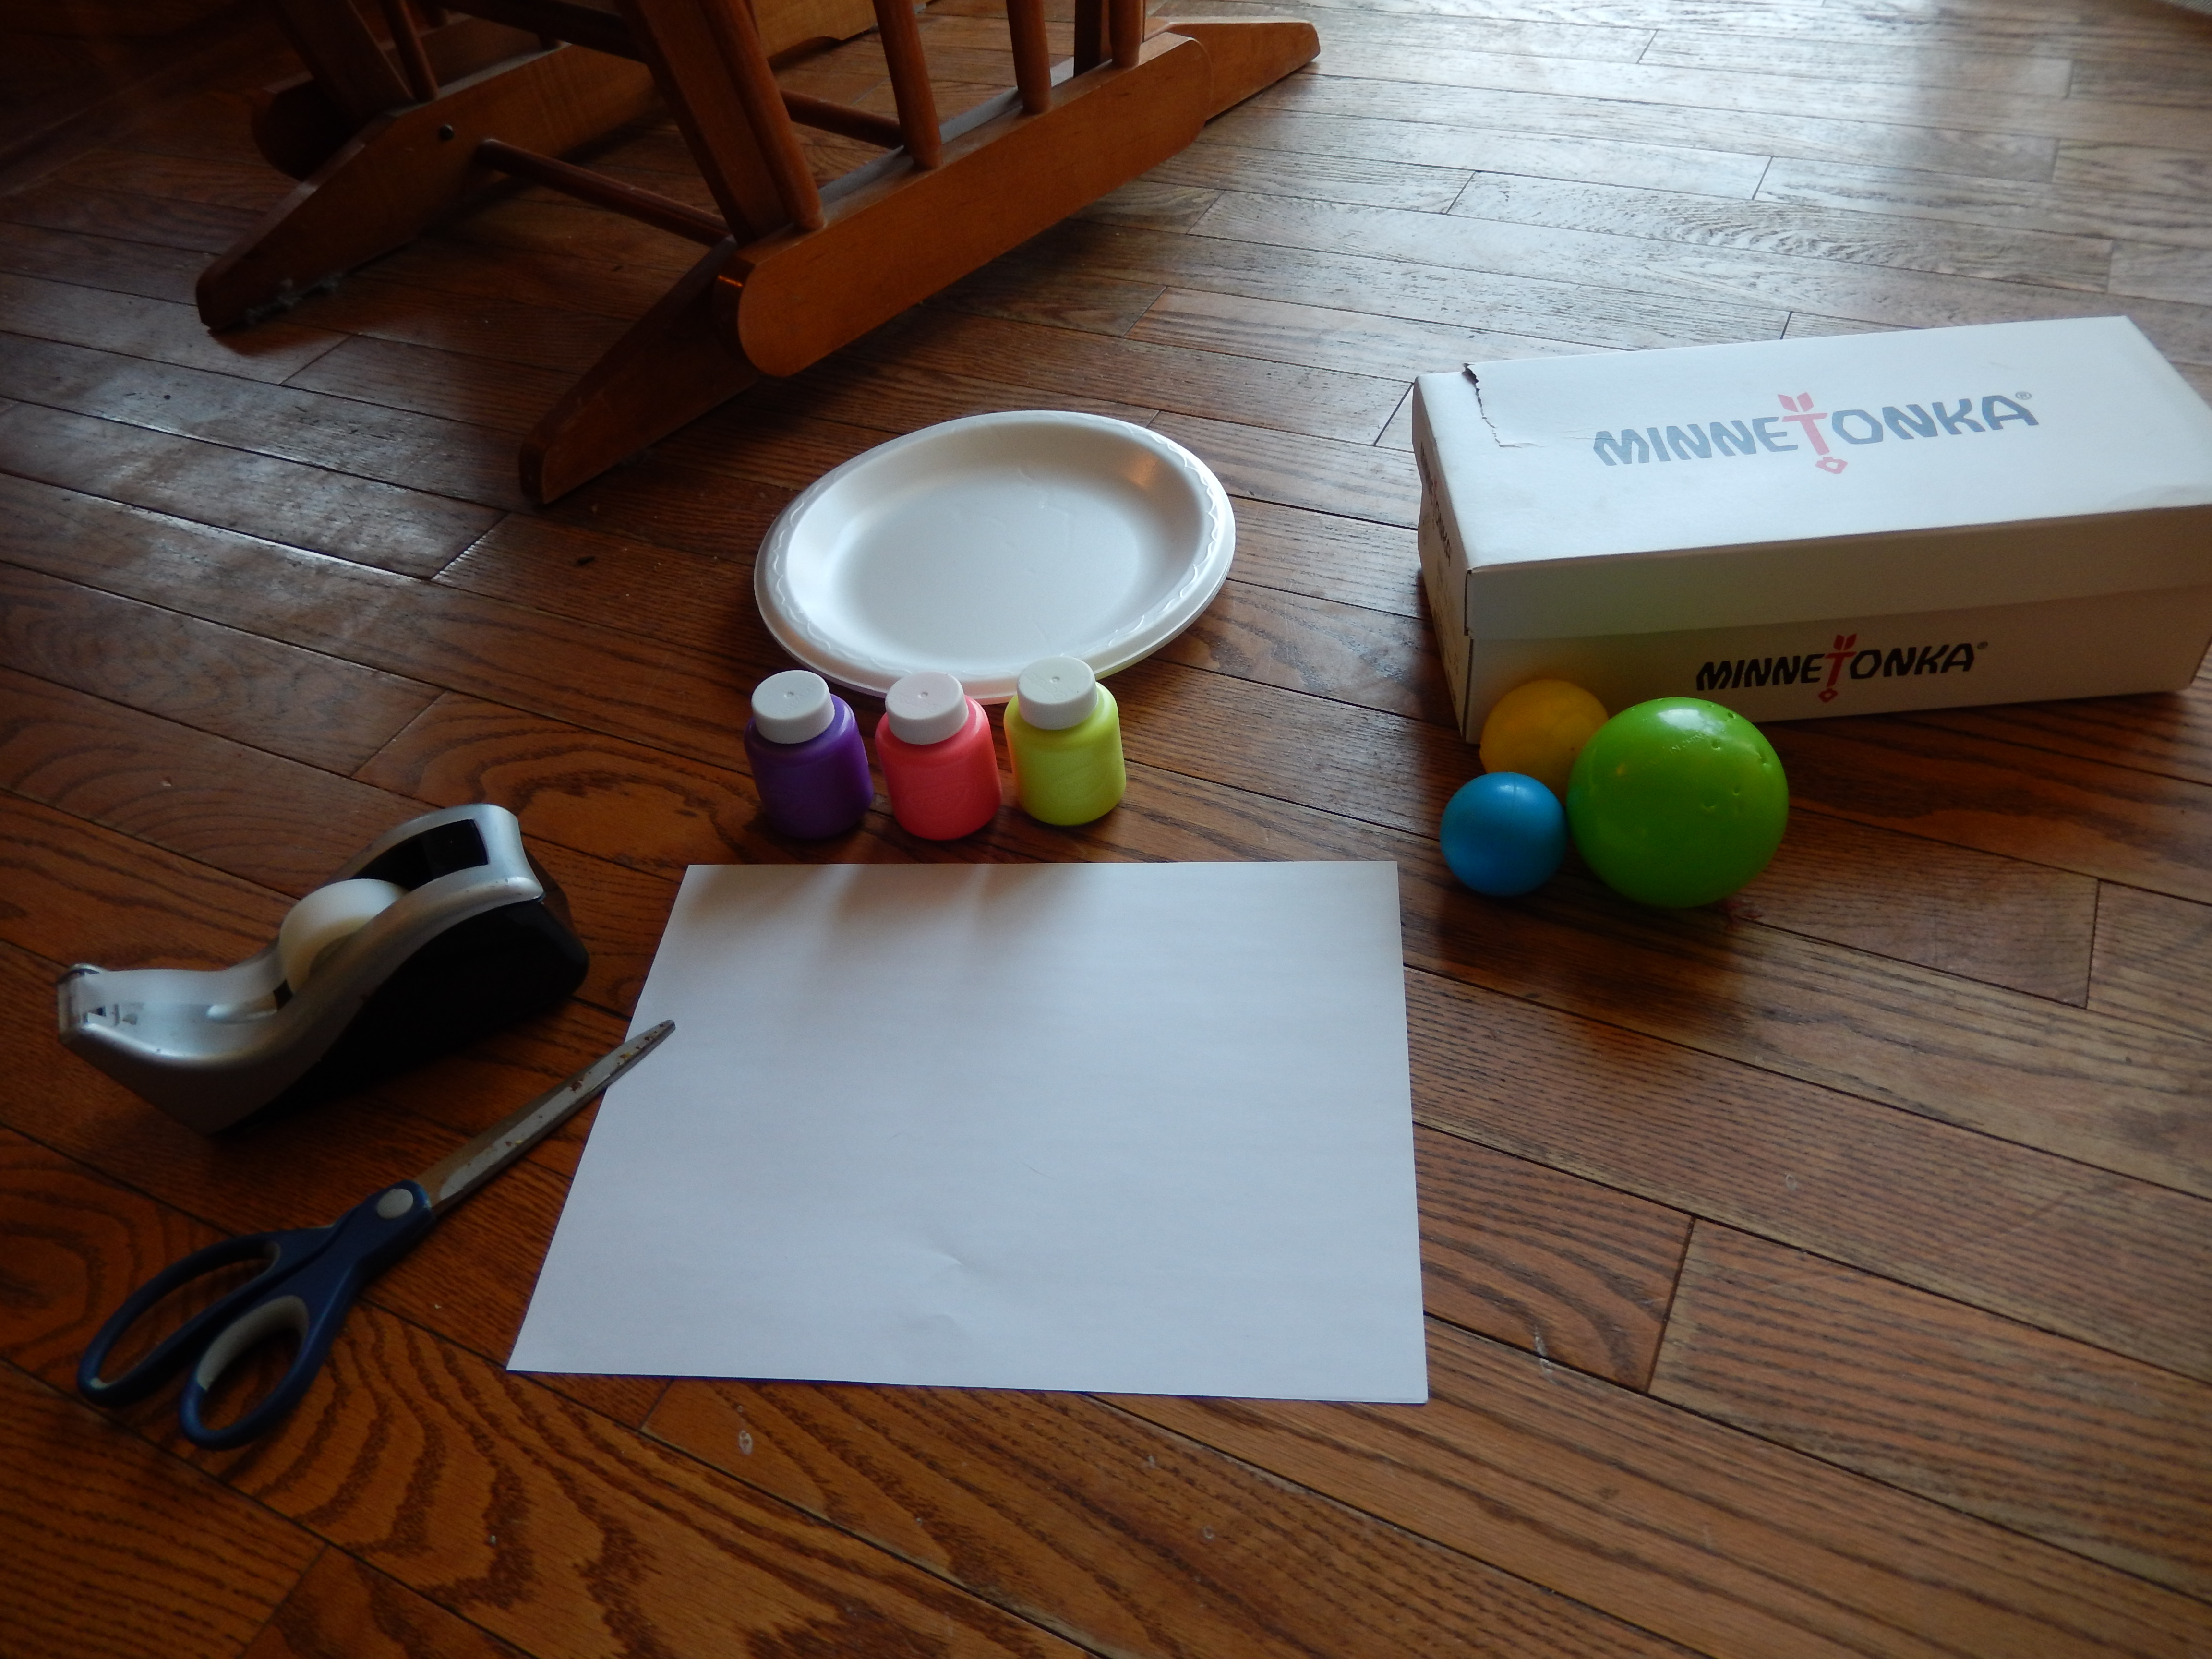
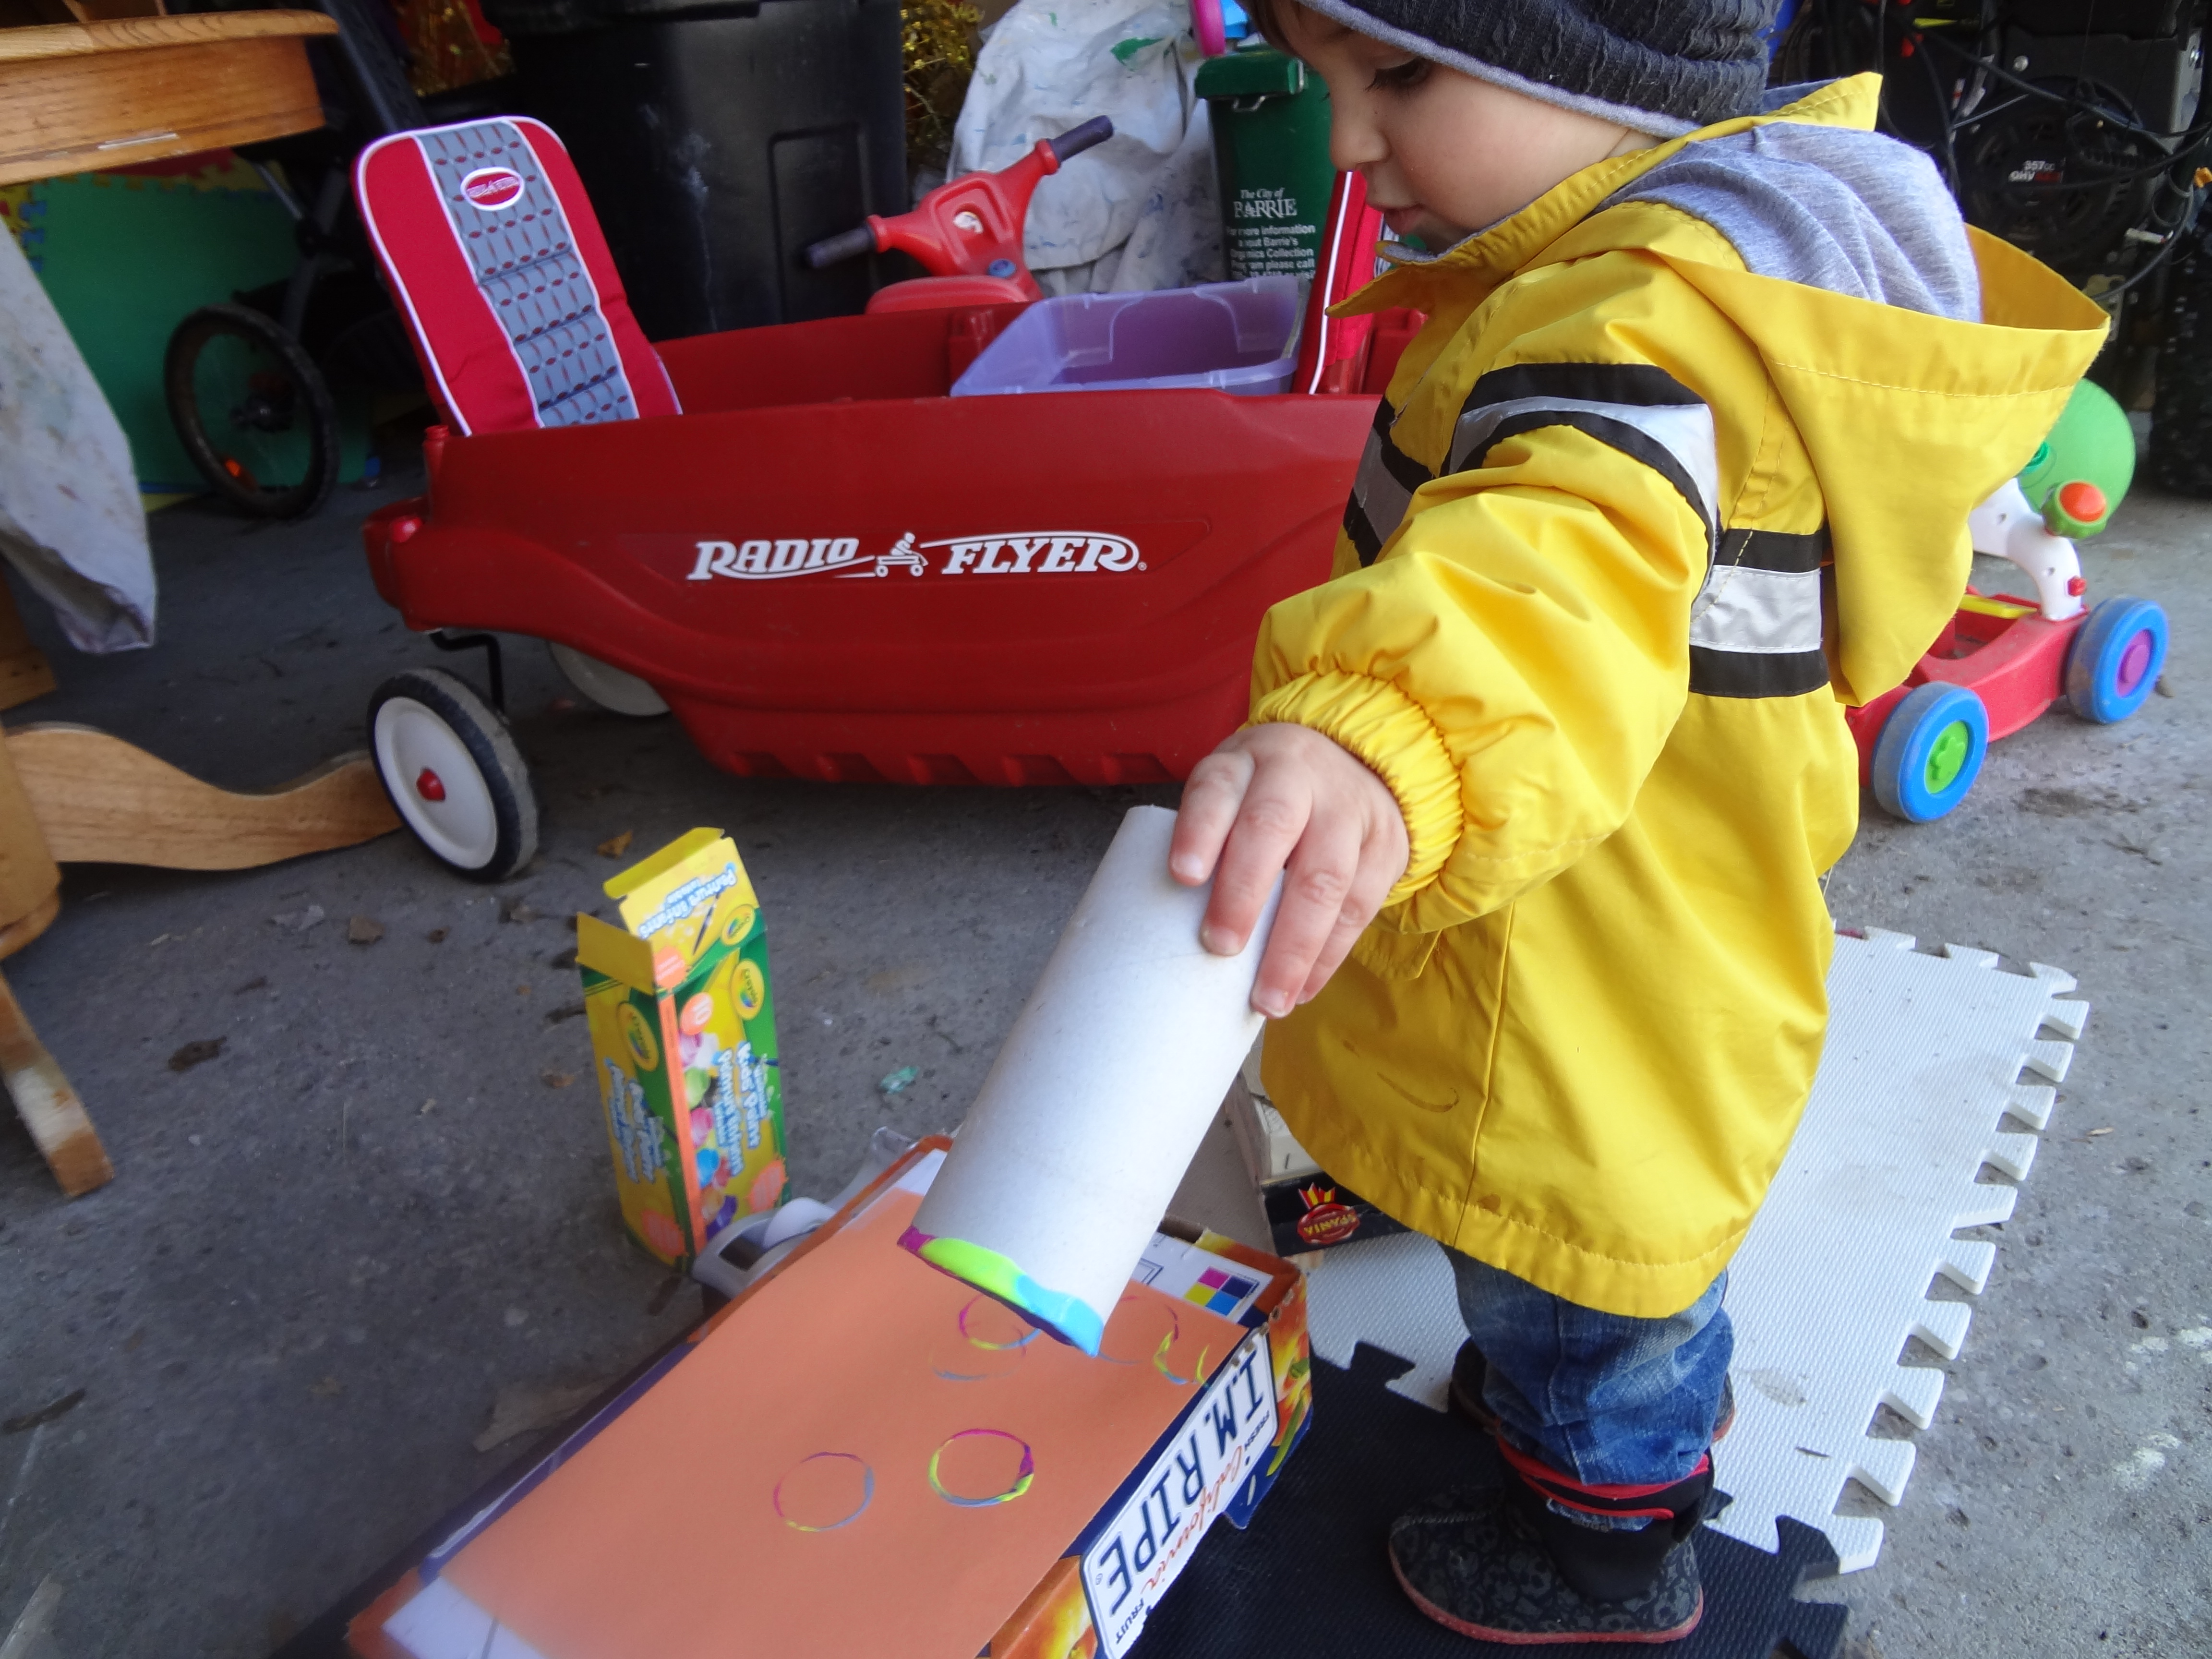
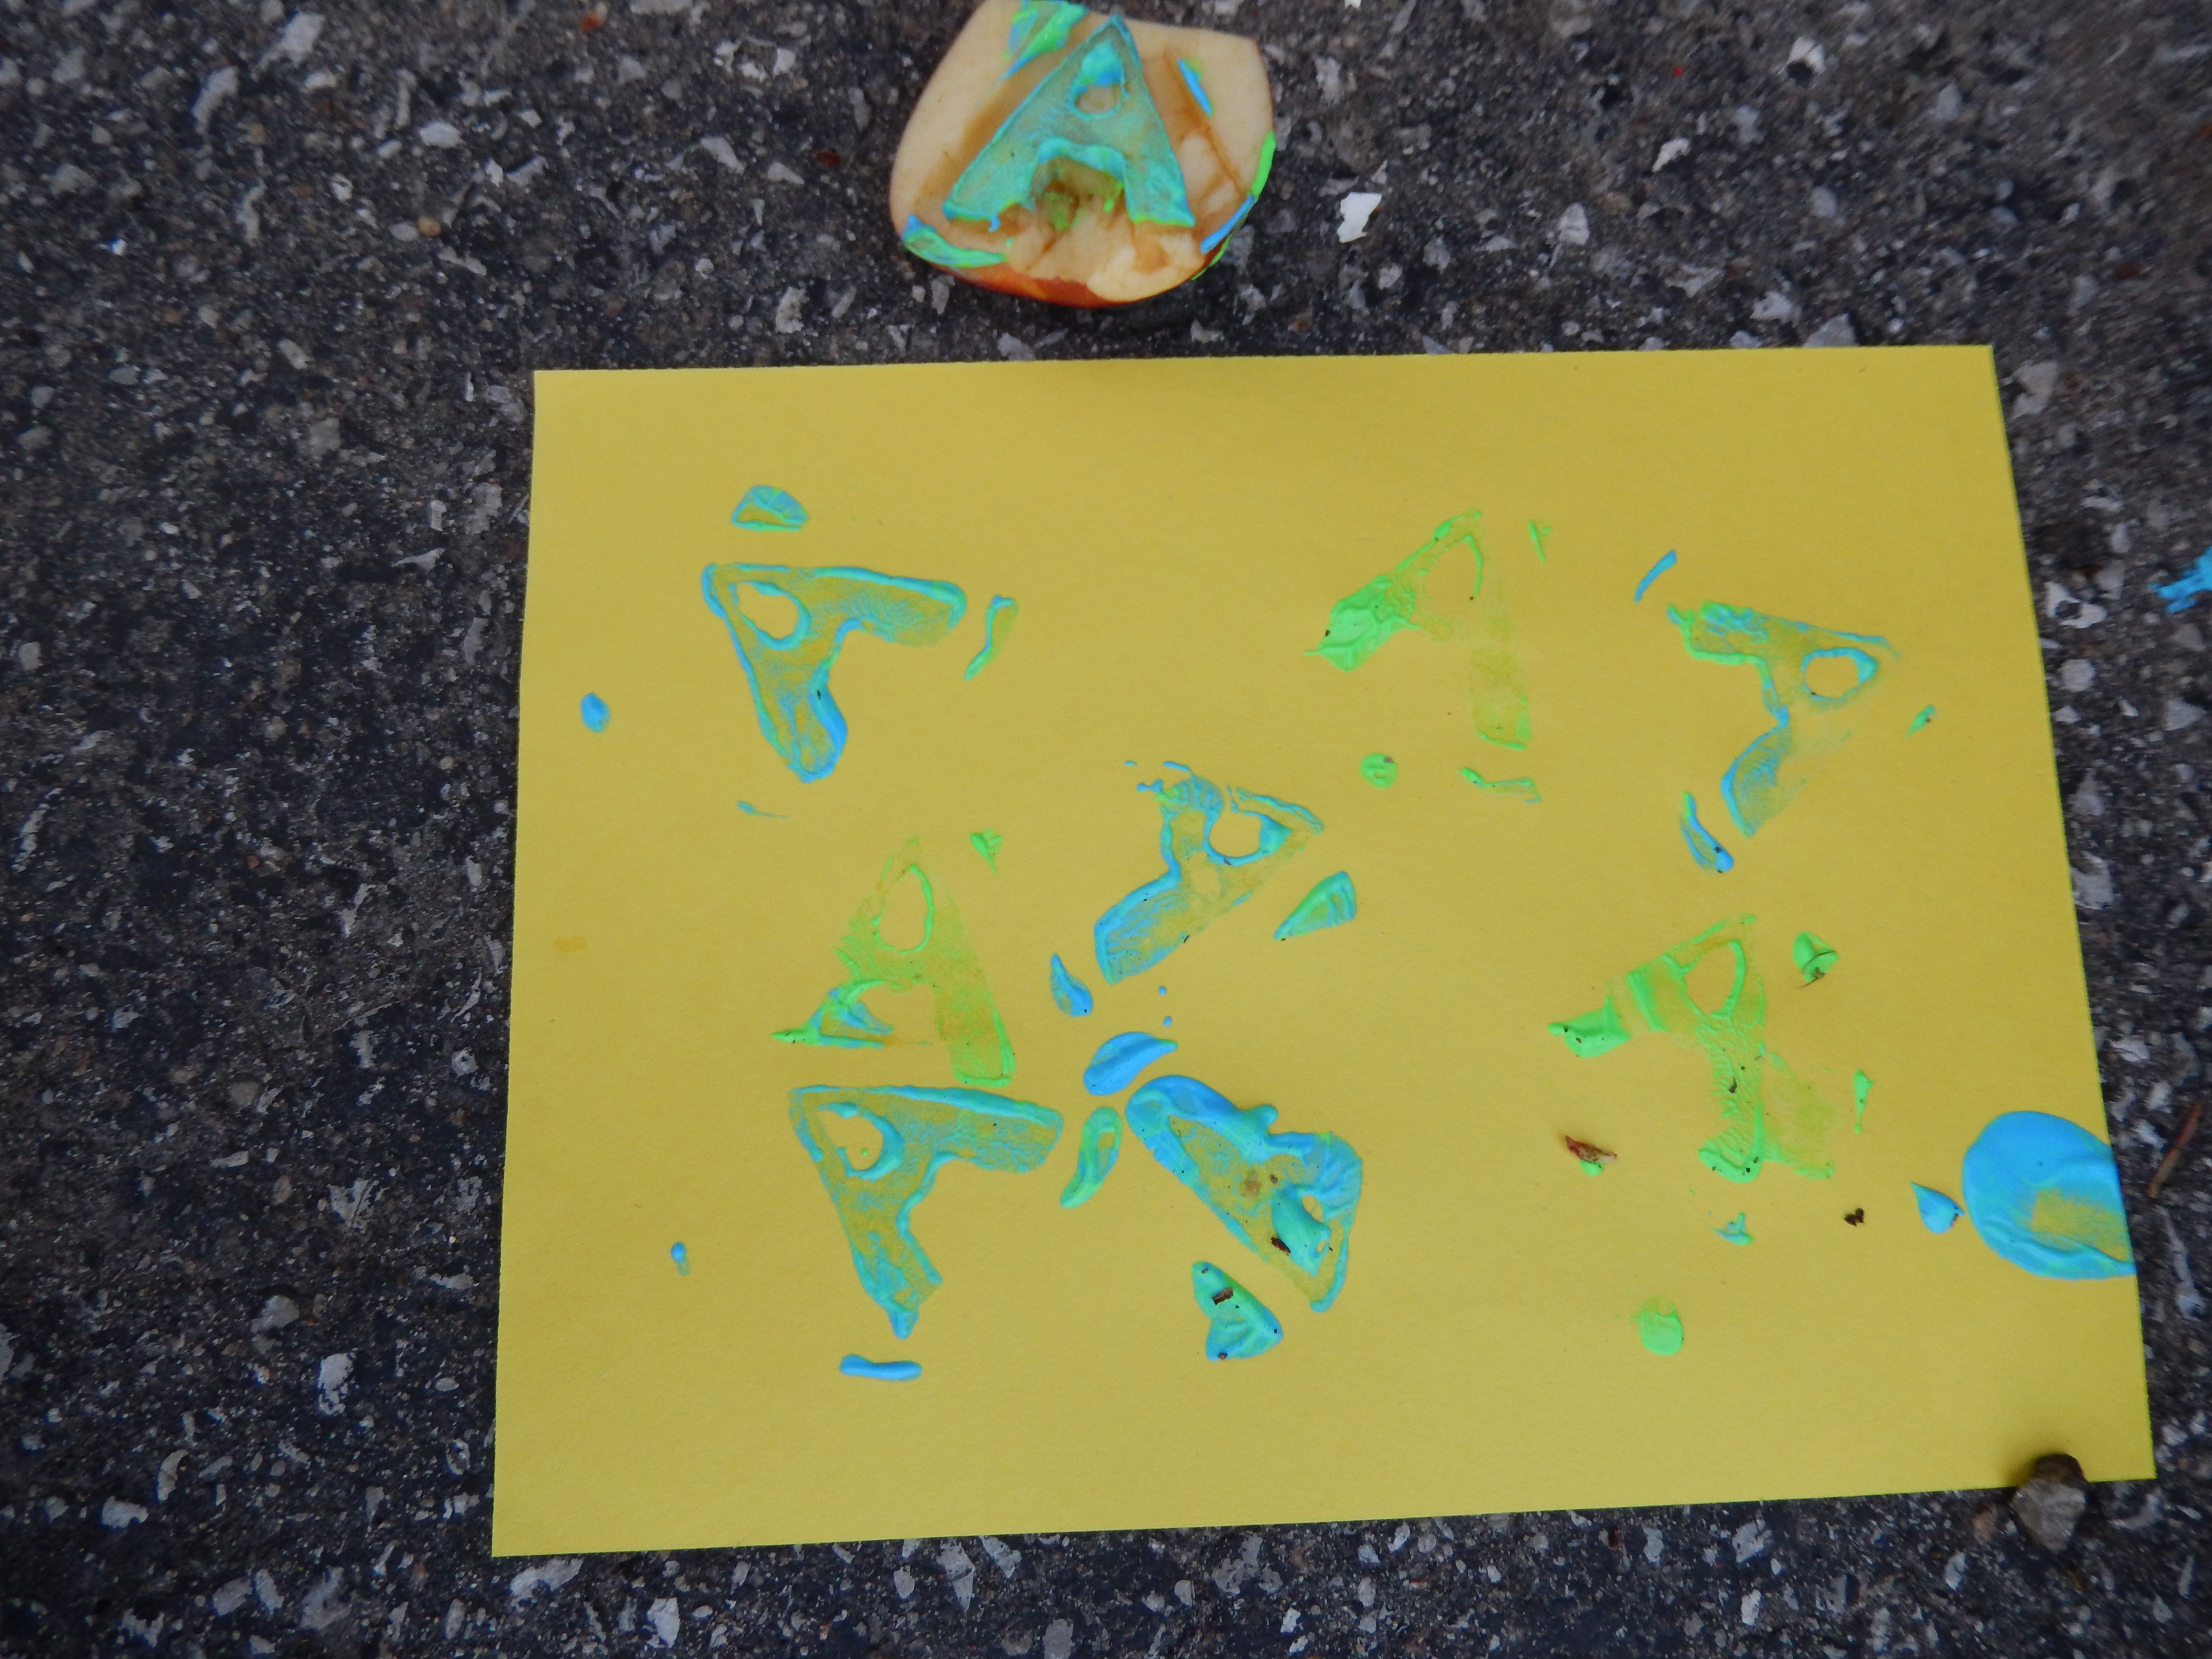
   After nap we did some stamping with a homemade stamp I made out of an apple. It was really simple to make, I just carved the letter A in half of an apple (I’m pretty sure a potato would also work) with a knife, using the apple seed divet as the hole in the A and stored it in an airtight container overnight so it wouldn’t get all mushy.

Image

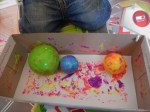
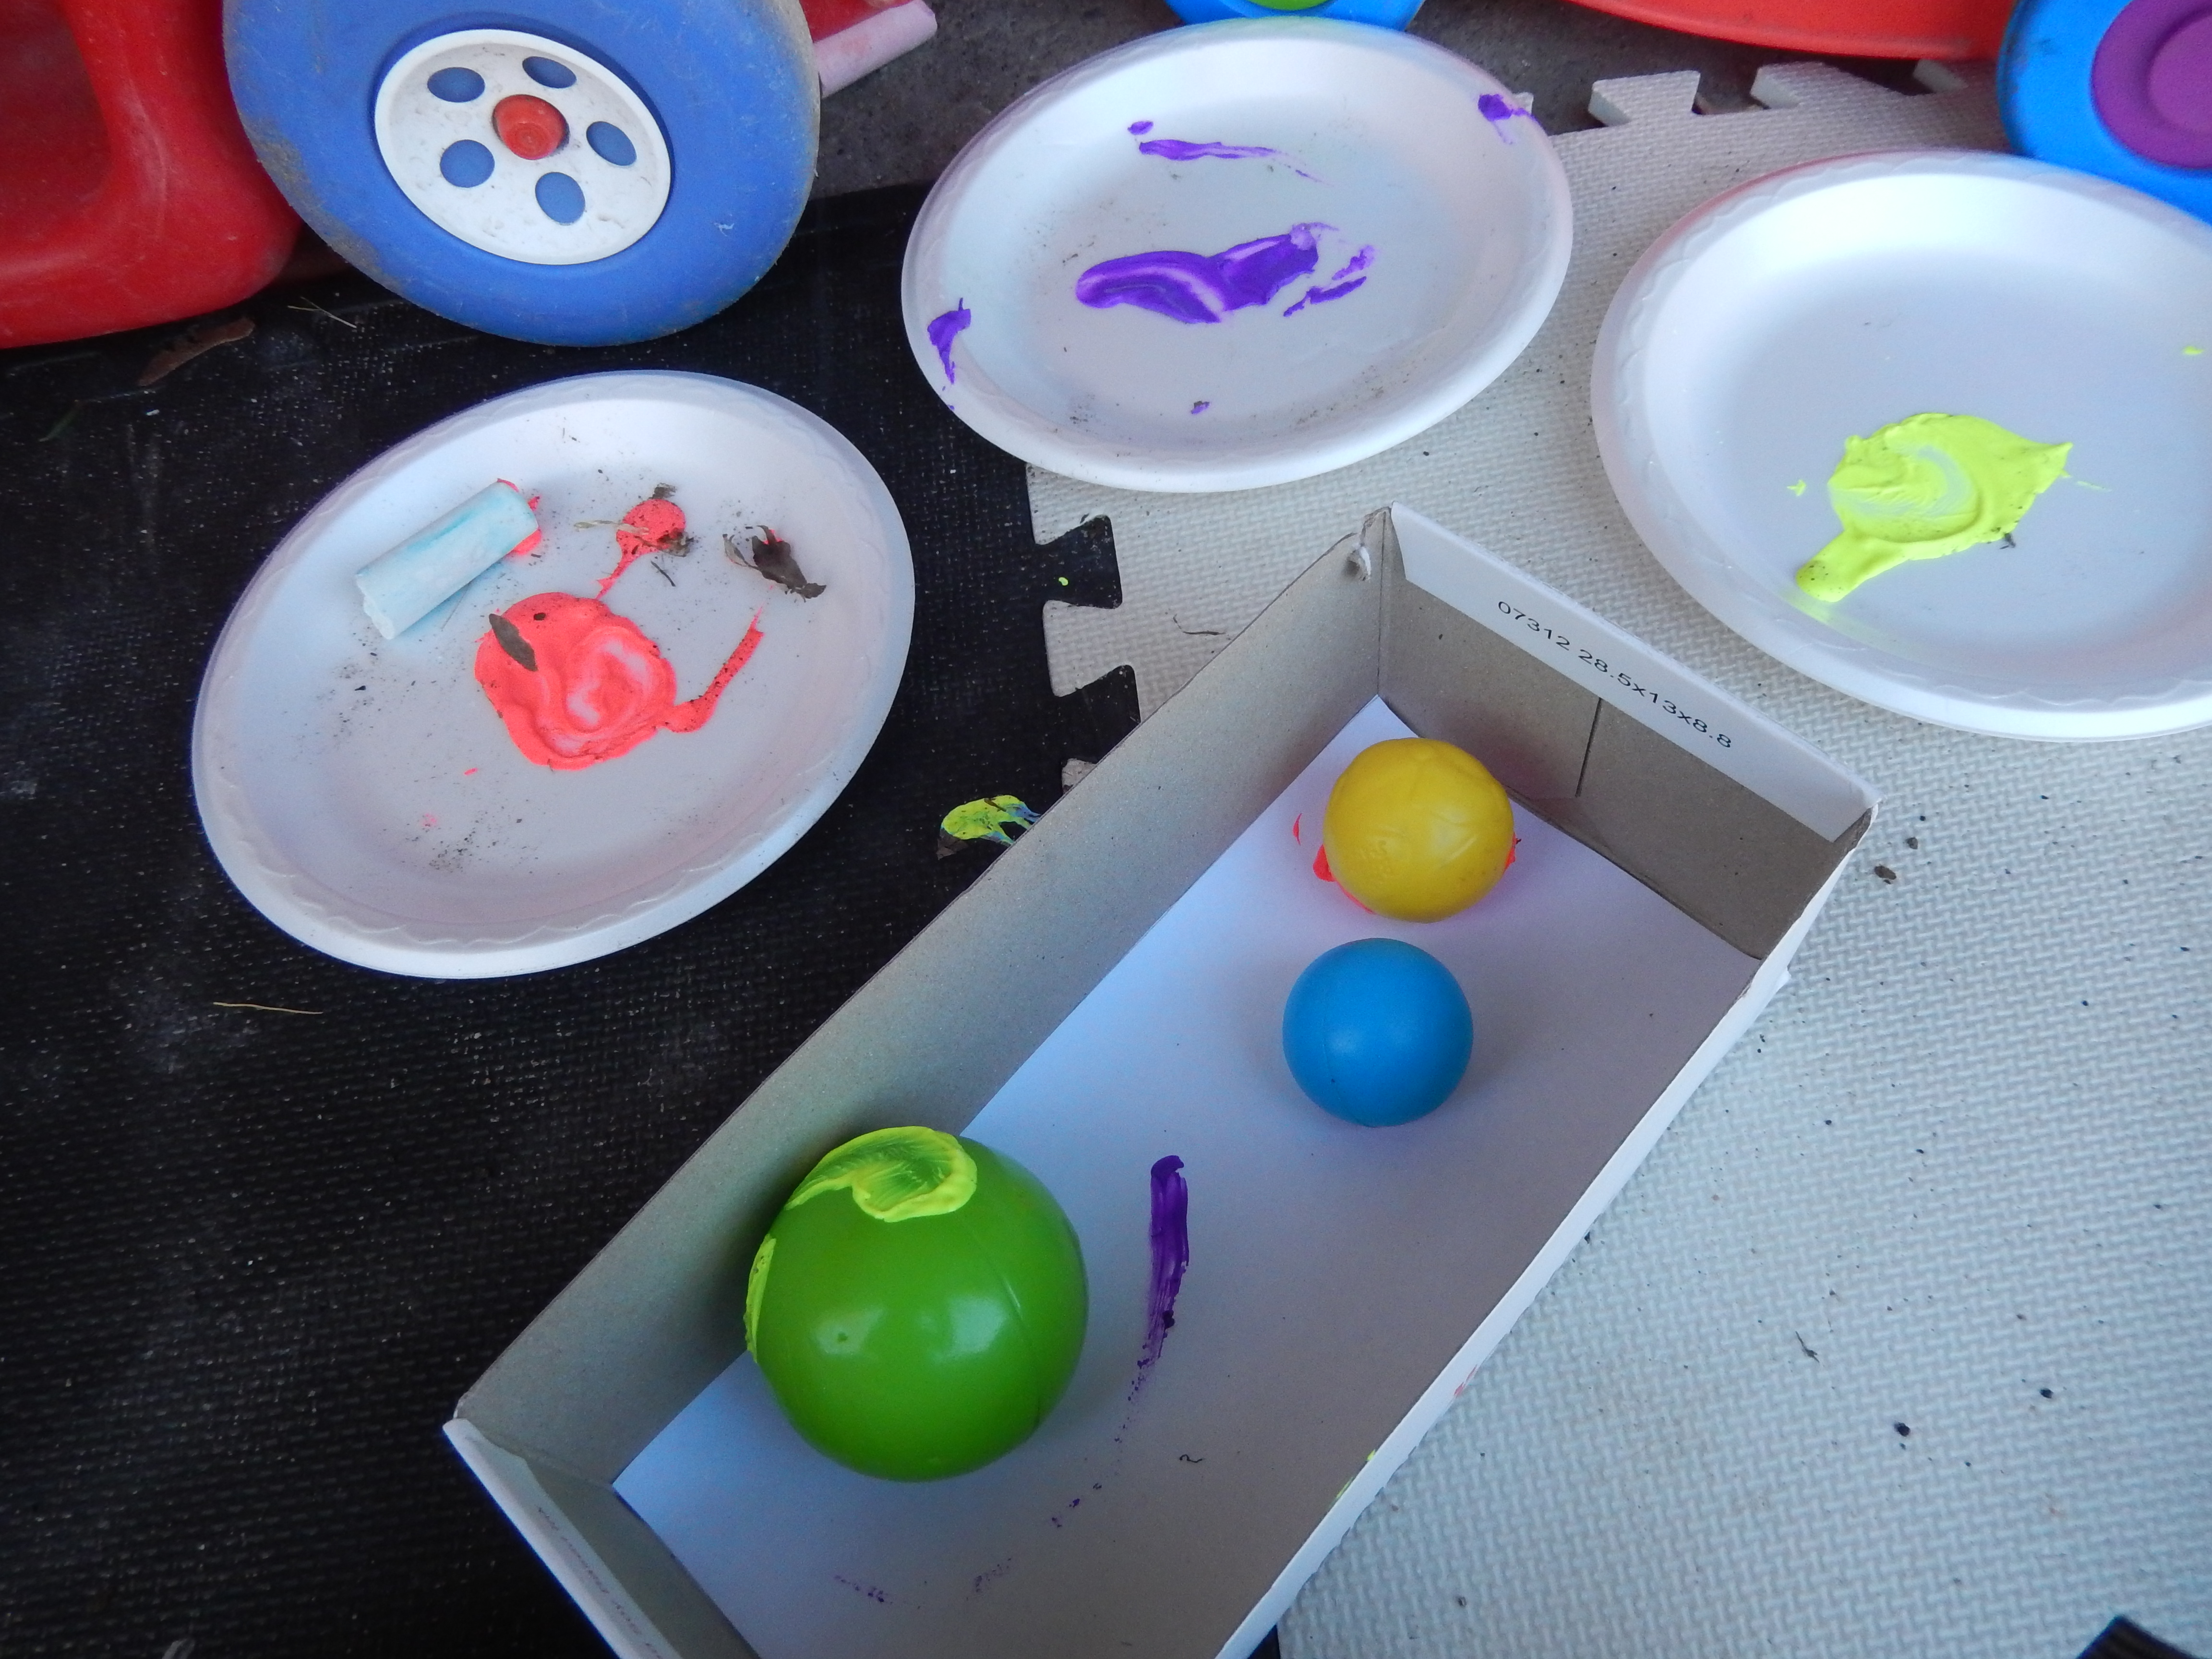
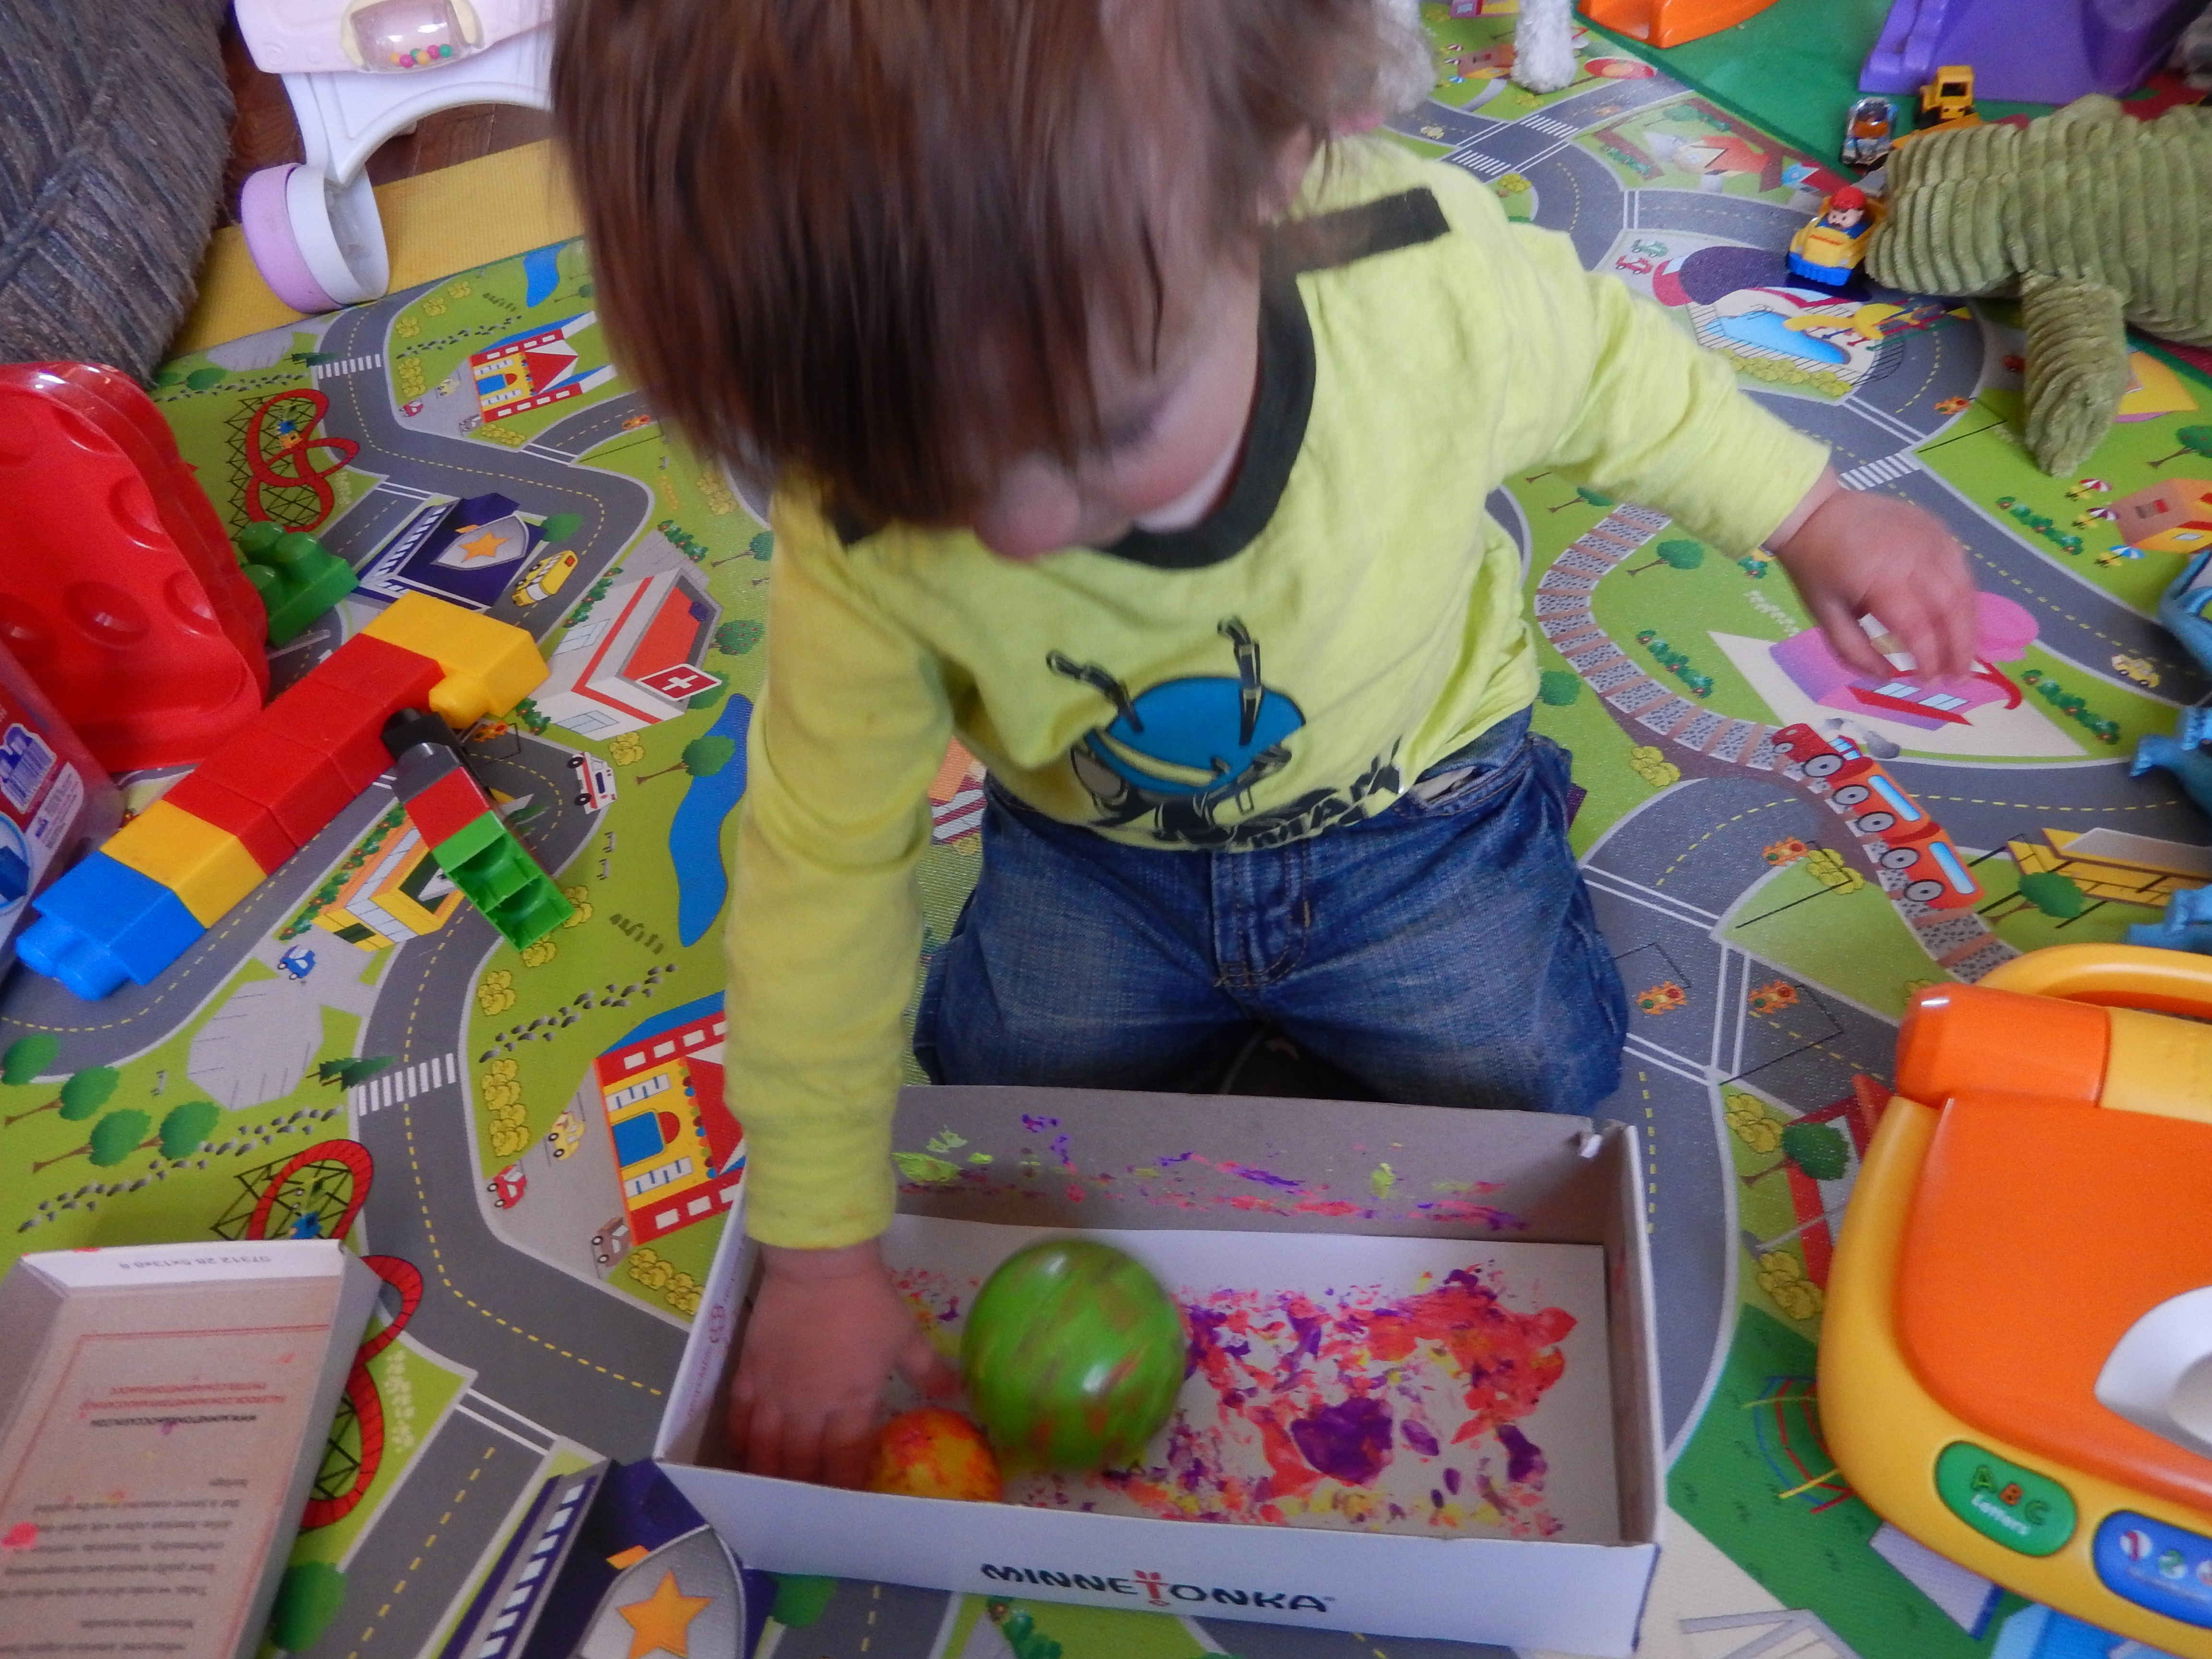
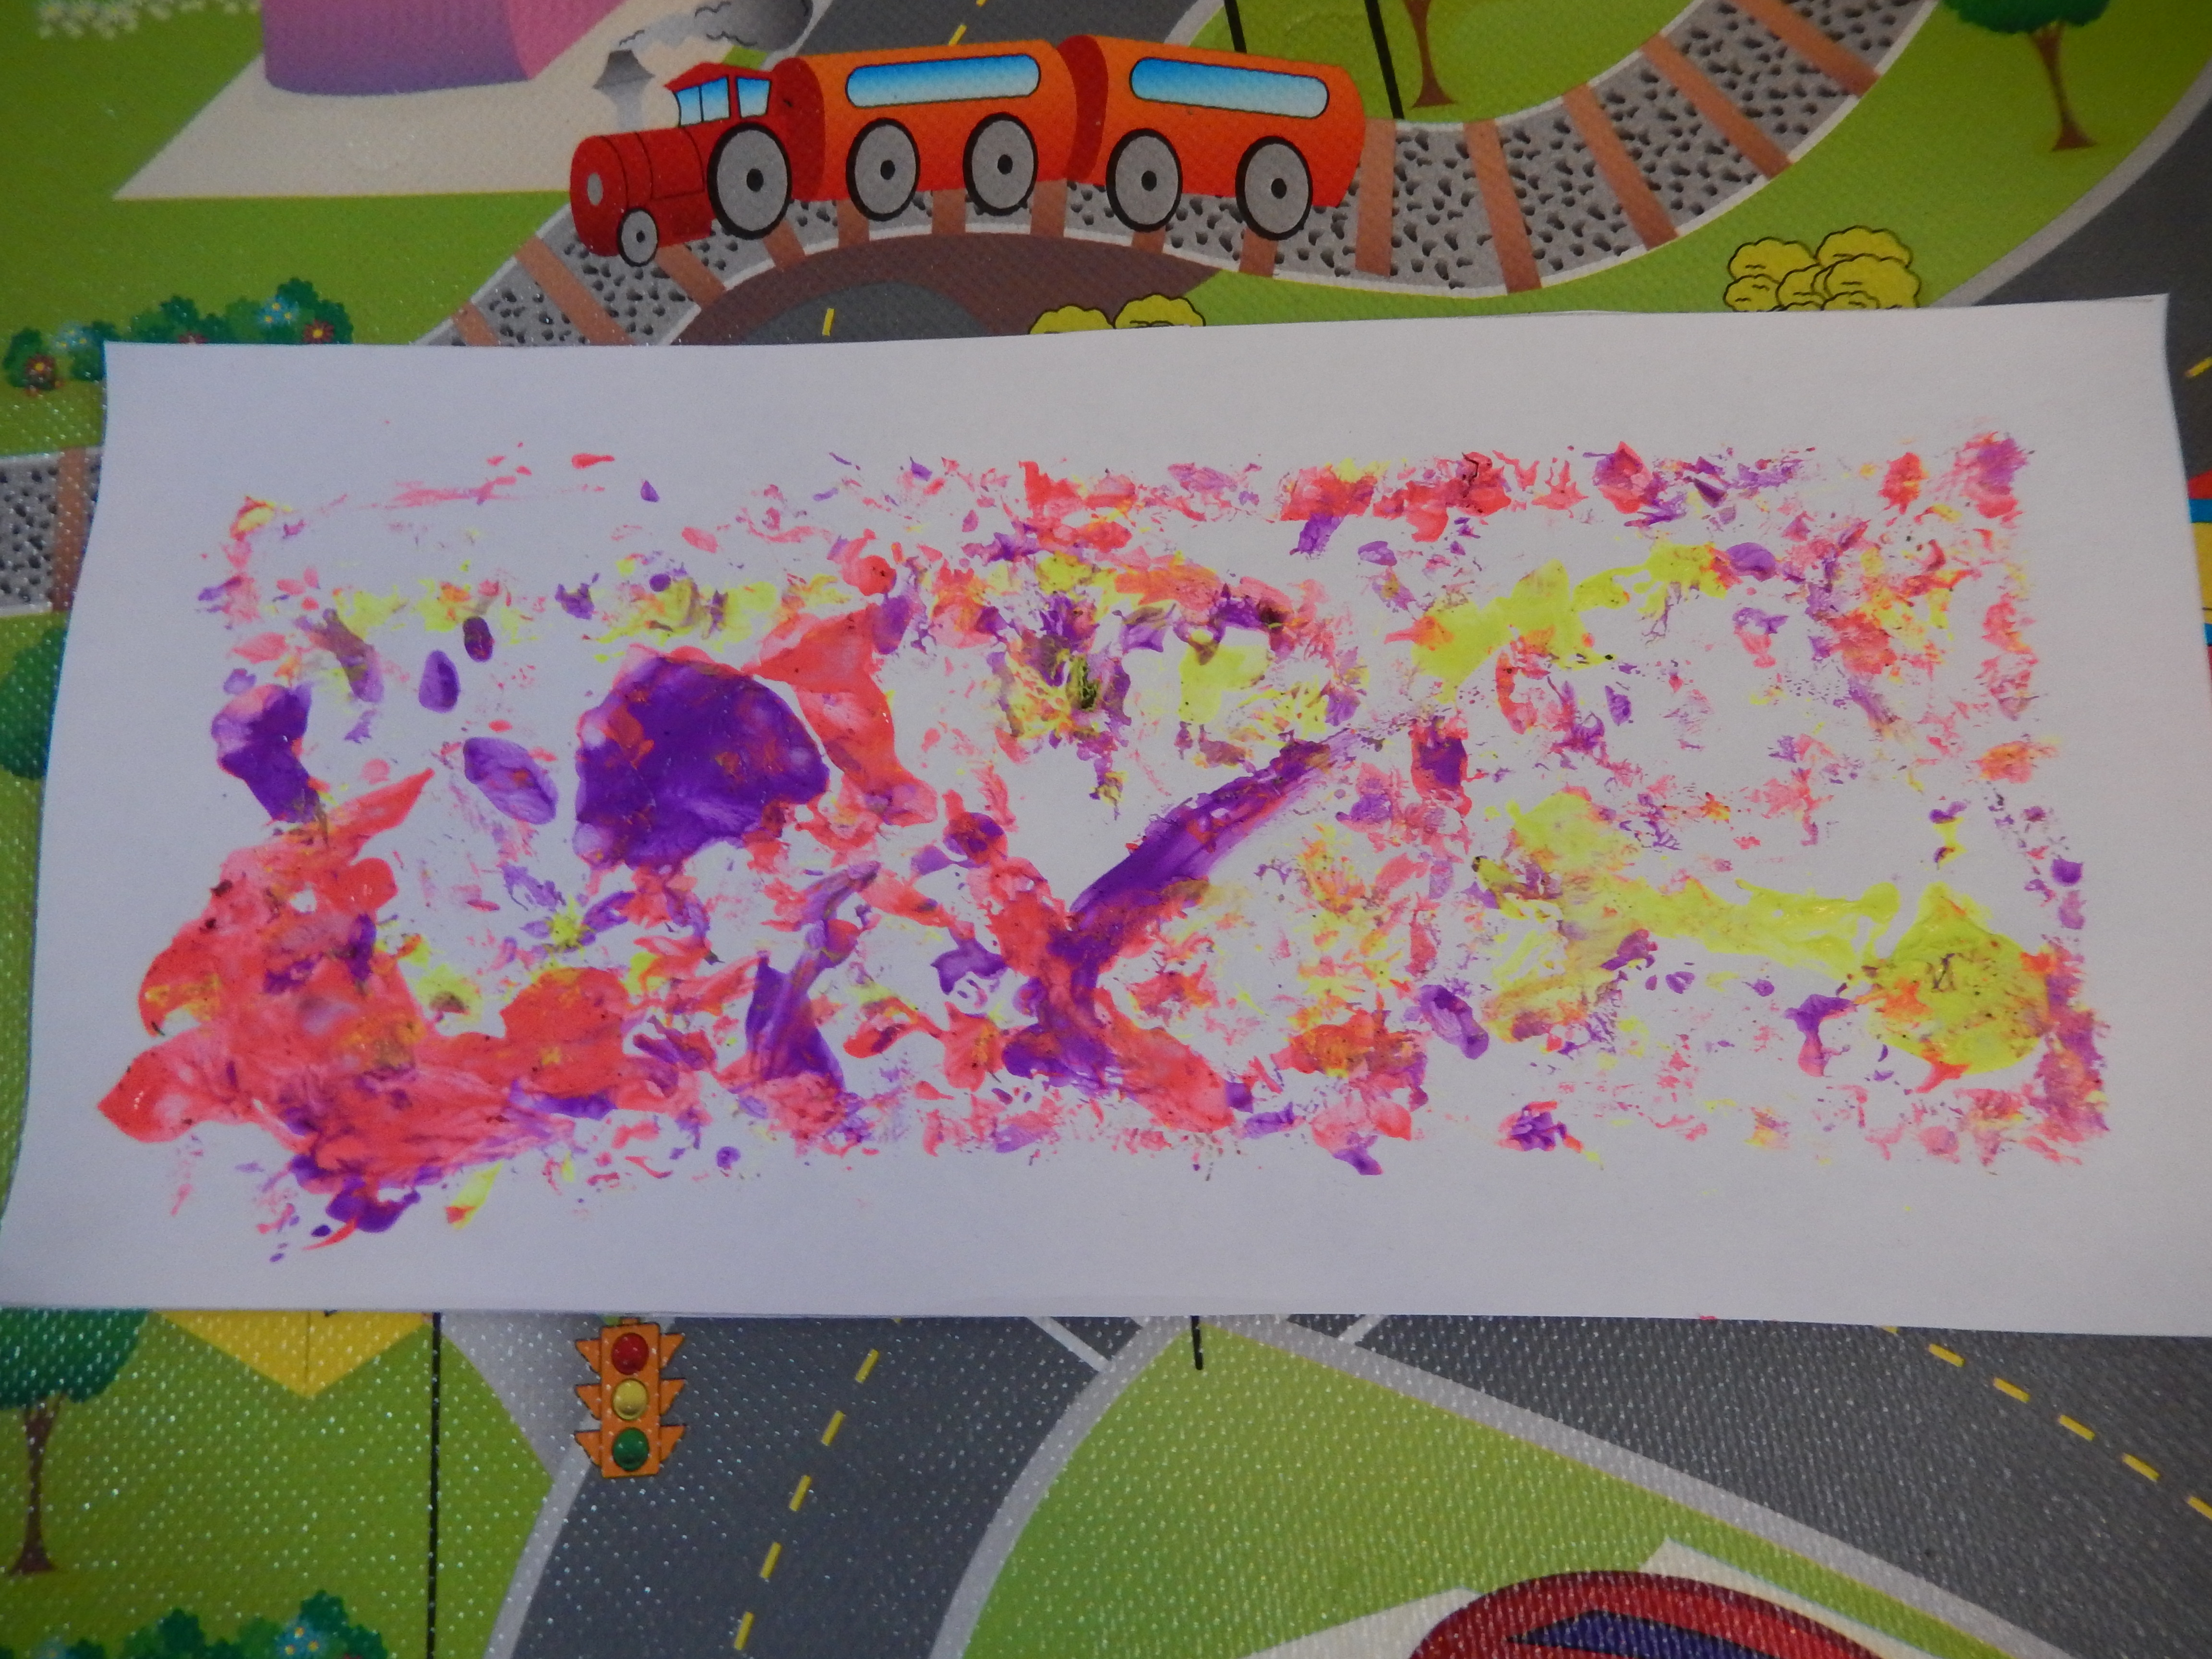
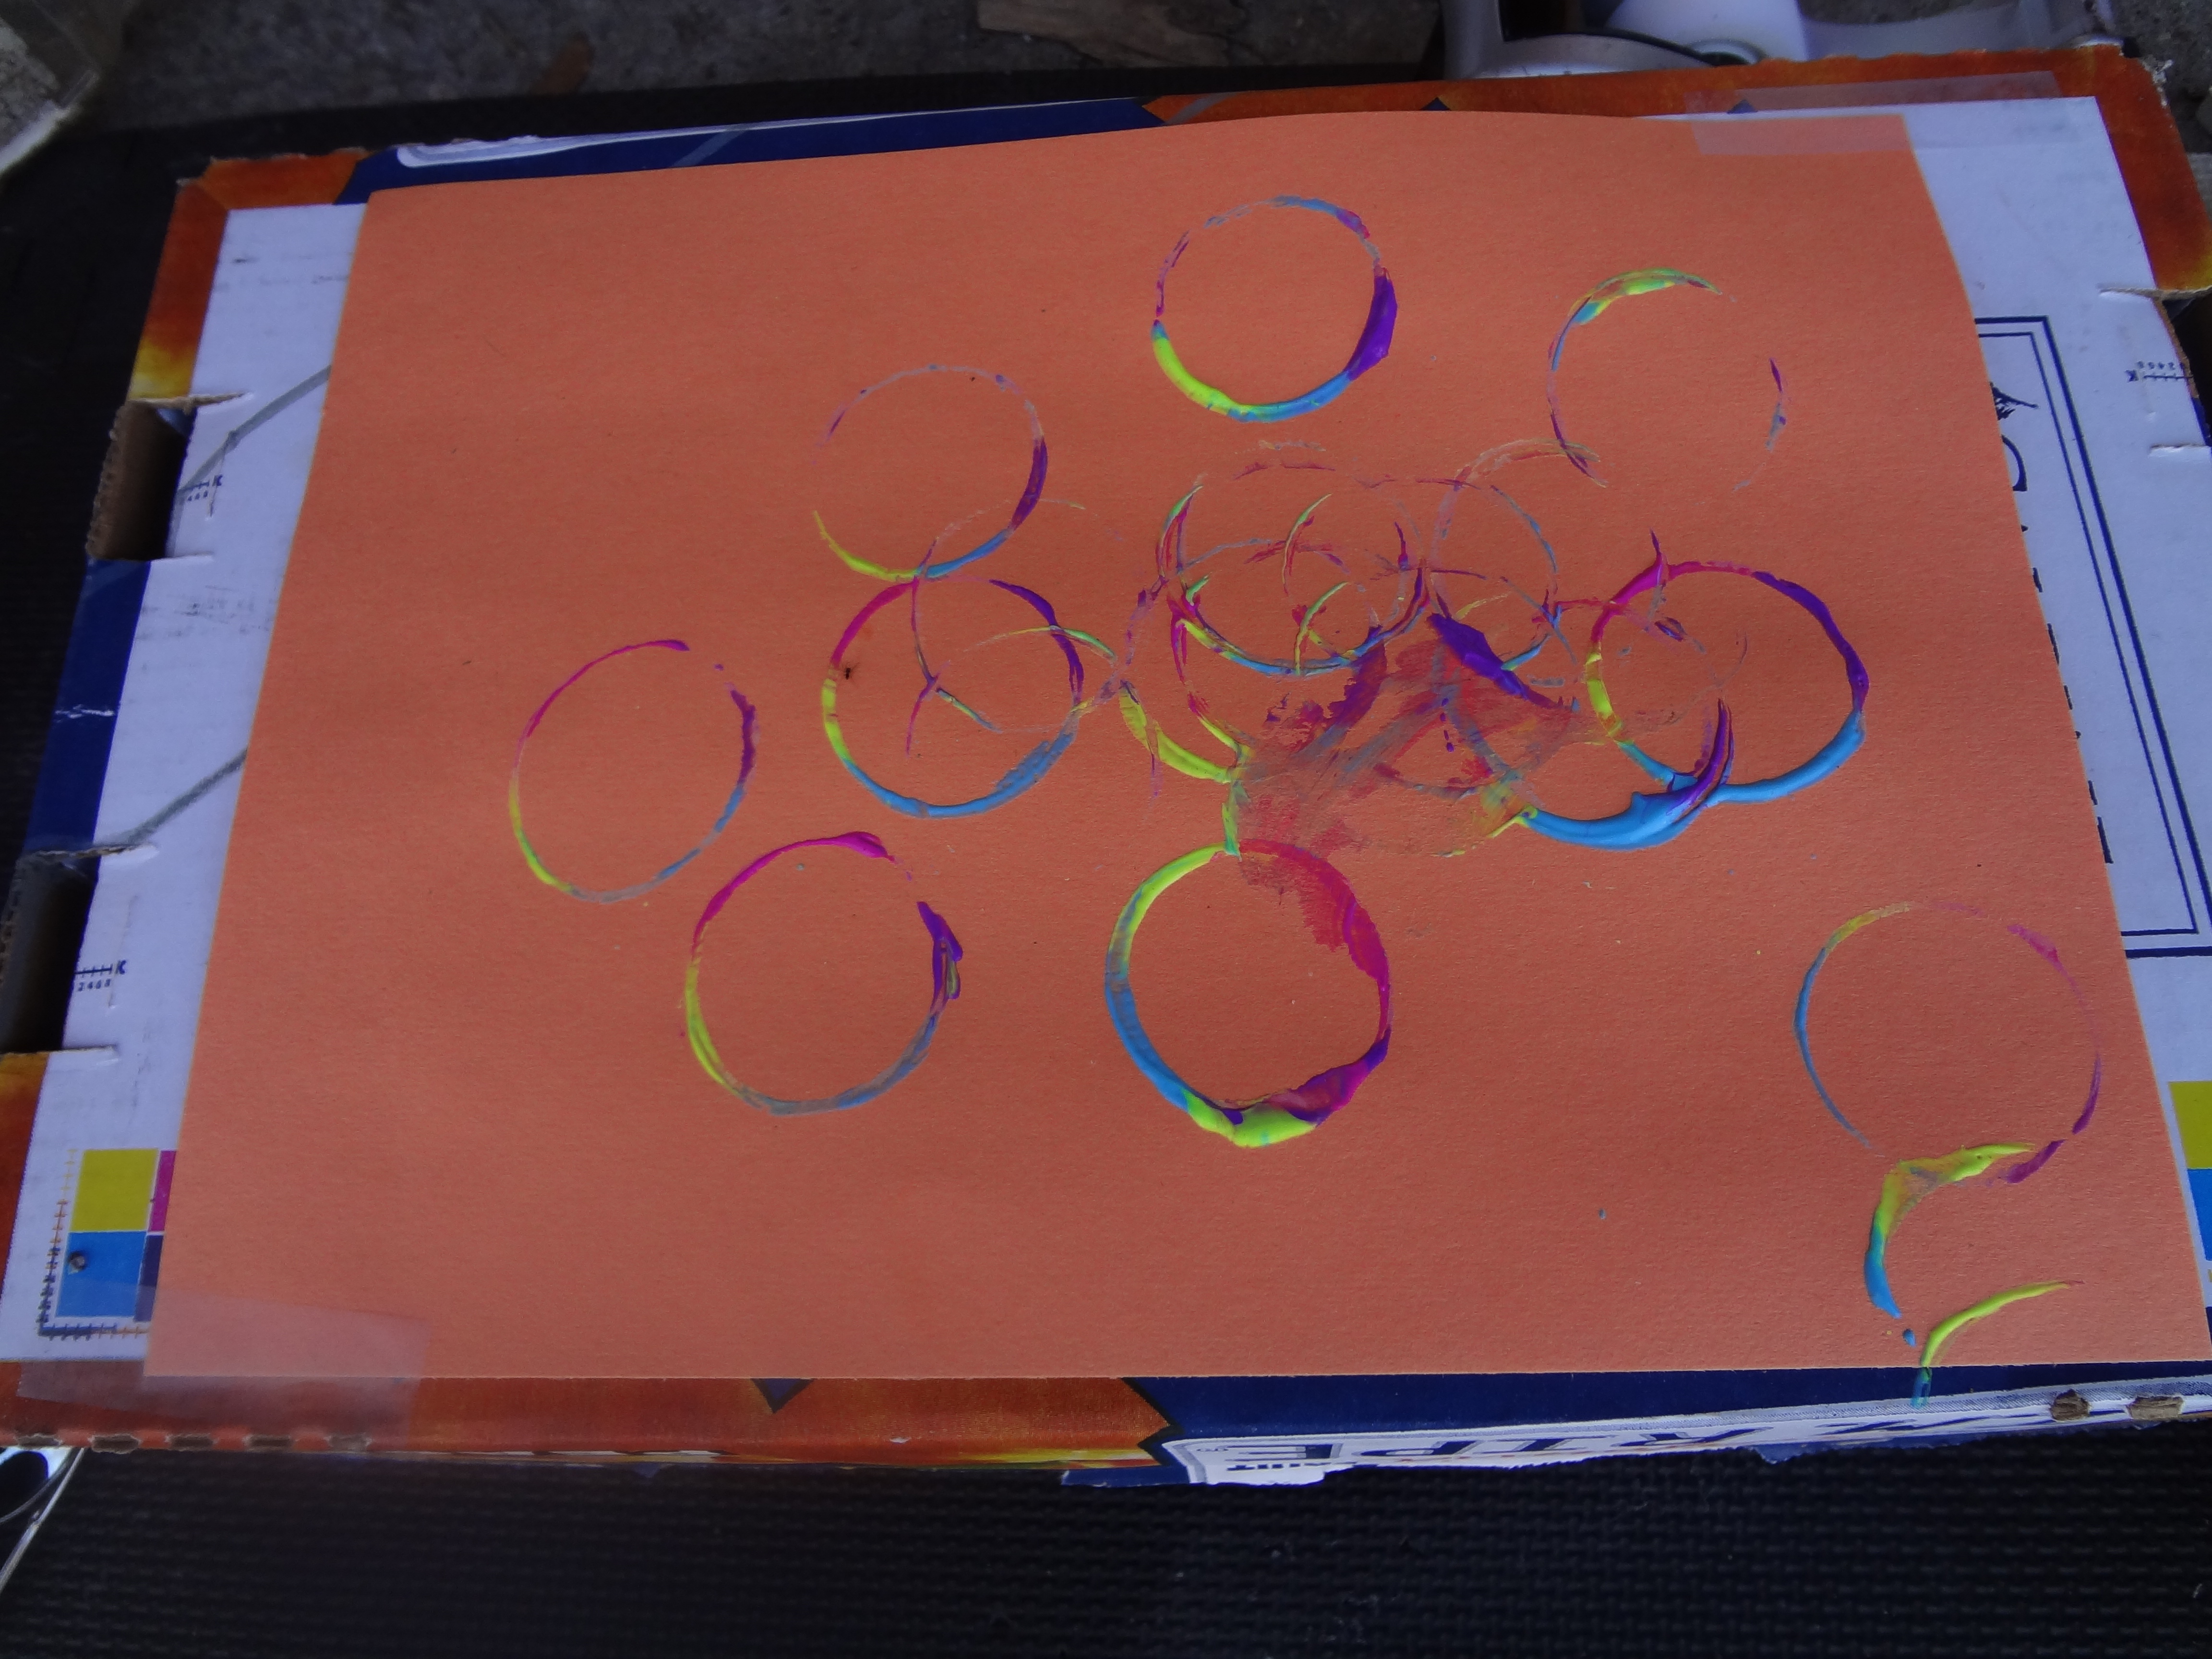
   I poured some paint onto a paper plate and we stamped the apple into the paint and onto a piece of construction paper, Gray really likes stamping so we tend to do this a lot. This was his picture.

Image

   We finished off our day of observing some ants outdoors and looking at their ant hills while I explained how they make tunnels underground ( I’m fairly certain he didn’t quite understand this but he seemed to be interested.) all the while emphasizing that Ant starts with the letter A.

Image

   That is all for our day learning about the letter A, feel free to join us again next week as we explore the letter B, and thanks for stopping by Excite and Explore!


Leave a comment

Exploring Shapes

Today was not a nice day out. It snowed, a lot. It was also cold and windy (Is April aware that it is April?) So while the little man slept I threw together an activity for him to do when he woke up. Now he has been really into shapes lately. He has this book that names all the shapes and he points to them until I say them out loud. I had been to the dollar store recently and picked up a bunch of Bristol board and these small Velcro dots, I didn’t specifically have this activity in mind when I bought them but I figured I could do something with them and it was really a whim. This is a really simple and inexpensive activity to do with your little one, my guy is 22 months but it would work for an older toddler or even a younger one. I drew an outline of the shapes I decided to use and labeled them on my Bristol board.

Image

I added the Velcro dots under each heading, the amount depending on how many I planned on cutting out of each shape. I traced or freehanded the shapes on some construction paper (For a more durable activity piece laminate the construction paper first) and added the opposing Velcro dot.Image

The idea is for them to sort the shapes into the correct column, sticking it on with the Velcro. Long story short it was a success! Image

I taped it to a window, because lets face it there isn’t a lot of wall room in our house. He picked up the idea pretty quickly, and spent about 20 minutes focused on the task at hand. He needed a bit of help distinguishing the squares from the rectangles, but hey, they are pretty similar! Image

Well, I hope you enjoyed our first blog post, be sure to stay tuned for more fun to be had with little ones!

Follow my blog with Bloglovin


Leave a comment

Under the Sea Sensory Play

   What a time of the year! The weather is lovely, the flowers are blooming and it isn’t boiling hot out yet! It has been really warm however, so to cool down a bit I whipped up a fun Under The Sea Sensory Bin for the little man to play with out on our back deck, incorporating some water play and imaginative play with a fun sensory experience. This is a really easy bin to make, it took maybe 5 minutes to whip up and has provided hours of entertainment so far. I used the small rock/gravel you put on the bottom of fish tanks that we had left over from my sons fish tank ( Grandma took him to the pet store to ‘look’ at the animals and when they came home they had a small friend. ) some rocks and plastic coral as well as a fake plant also meant for a fish tank. I added some plastic underwater animals such as fish and whales to the bin and it was ready to be filled up.

Image

   I filled it up with water from the garden hose and it was ready for little hands.

Image

   As he explored the new bin we chatted about the different animals in the bin and I named them as he held them up for inspection. He really liked the gravel, it was something new for him to dig through and feel and of course there were lots of splashes. I’ve been keeping this bin outside simply because the weather is nice enough for it and that way there is little mess to clean up once he wanders of to do something else.  That is all for today folks, thank you for joining us at Excite and Explore!

Image


Leave a comment

Spring Soup

 Yesterday was a lovely day out and we spent most of it out in the sunshine and fresh air. I was talking to Gray about the different seasons and how excited I was that spring has arrived. ( Honestly here it really has just arrived, the snow is finally gone and I no longer wake up, look out the window and fight the urge to cry at the thought of scraping of the car.) Gray has recently decided that soup isn’t so bad after all, when for the first year and a half of his life he detested the wholesome goodness that is soup, so I thought we would do some pretend play out in the back yard. Best of all this activity is free! (Provided you have something at home you don’t mind using as a pot.) I emptied out a small Tupperware bin and brought it out back with us, and we went around the yard collecting things that reminded us of spring. ( or in Grays case whatever he felt needed to go into the soup pot. ) We placed it all in our soup bowl and added some water from the hose.
DSCN0124
DSCN0126
Soon he grabbed a stick and was stirring the soup after every ingredient he added and pretending to drink it with a leaf spoon. The he discovered that rocks make a big splash when added to our delicacy so in went handful after handful of rocks. We had a great time doing this and I am always trying to find new ideas for imaginative play, I find that he struggles a little bit with it sometimes but this activity went off without a hitch. What do you like to do to welcome spring?
DSCN0131


Leave a comment

Box and Ball Painting

   We are finally all feeling better and getting back to some fun activities at our house! The other day we decided to try something a little different, and it was quite a bit of fun! For this activity you will need scissors, a piece of paper (we used a white piece of printer paper but if you want to go for some fun colours!) a shoebox, some tape, paint, a paper plate or pie tin and some type of ball (s) we used some little balls leftover from an old toy Gray used to have but another great option if you don’t have any of those lying around would be golf or ping pong balls.

Image

   Trace the bottom of the box onto your piece of paper and cut it out, then tape it to the bottom of the shoe box.

Image

   Choose your desired colours (We used 3 since that was how many balls we had dug up.) and pour a small bit onto your paper plate, you don’t need a lot. Let your child dip one of the balls into each of the colour, coating as much of it as they like and place them into the box.

Image

   Place the lid back on your shoe box and tape it shut. Then encourage your little one(s) to shake around the shoe box as hard as they can until they tire of it, or like mine get bored. Then open her up and remove the balls. (I gave ours a wash off and they are as good as new)


Image

   You should be left with a neat looking painting that, depending on the size of ball you used, will probably have a border where the balls didn’t touch, an added bonus. This was our end product, feel free to add more paint and do it again or switch up colours.

Image


Leave a comment

An Invitation to Play With Lavender Calming Playdough

   It has rained all week, and I don’t mean sprinkled here and there, I mean poured. We have been going a little stir crazy being stuck in doors so much and when the little one woke up from his nap today he was angry, at everything and anything. He cried and screamed and threw his toys and thrashed when I tried to hold him. I’m still not quite sure why this happens but sometimes he just wakes up mad, though it seems to happen when he hasn’t slept as long as he usually does. Once I got him calmed down I decided we were going to take another shot at playdough. I tried playdough when he was, maybe 11 months old but he really had no interest in it and I think he was just to young. This is a really simple playdough recipe that is no cook, because he just wasn’t up for hanging around while I made a cooked version and it turned out really well. It is as follows:

1 Cup of Salt

1 Cup of Flour

1/2 Cup Water

Food colouring ( We used 14 drops of red and 14 drops of blue to get our light purple colour)

Lavender Essential Oil

Combine in a bowl your salt, flour and water. Add in your food colouring and mix. We mixed ours with our hands, because I was feeling lazy and didn’t want to wash the mixer. This was actually surprisingly difficult to do by hand and while trying to mix in our food colouring I had to take a break because my arms and hands were sore and our dough still looked like a mixture of blue and red streaks which made some type of American Pride type dough, which while nice was not our objective. I probably should have gotten out the mixer but while I like to do things the easy way I am also stubborn and something inside me had already decided that I was doing it by hand ( I’m pretty sure my spirit animal is some kind of mix between a donkey and Jenifer Laurence.) so I added in a shake of lavender oil and kept going. What I’m trying to say but will never admit is that you may want to get out your mixer. It turned out really nicely (eventually) and I gathered some materials and set up a little invitation to play for the wee man. If you are unfamiliar with an Invitation to play here are some excellent articles than can explain it in greater detail.

http://theimaginationtree.com/2012/05/creating-invitations-to-play.html

http://www.teachpreschool.org/2012/07/an-invitation-to-play-tutorial/

   Basically it means setting up an arrangement of materials that invites your child to explore, learn, and create independently. Lavender is considered to be a calming oil and I felt it was just the thing we needed, and it smelled wonderful! This was our little invitation to play.

Image

   Gray has a bit of an issue with new sensory experiences, he is always hesitant to touch them at first, so I always make sure to include lots of things to scoop and prod with, which usually leads to him grabbing it and exploring it with his hands once he has had some time to admire from afar with some type of utensil. I would say that he is ready for playdough and I’m glad we tried again, because he had a really great time with this. I sat back with a much needed coffee and watched as he grabbed the spoon and prodded the lump of dough, and smiled. Soon he moved on to the popsicle sticks and eventually he grabbed it and pulled of a clump to squish around.

Image

    He also discovered that he could make a cool pattern in the dough by pressing the pinecone into it which he was pretty delighted with. This dough will have to be stored in an airtight container to be kept soft once your done playing with it. I’d love to see some of your playdough recipes, thank you for joining us at Excite and Explore!


4 Comments

Water Play At Home

We have been sick in our house, and it has been miserable, which is why this post has been delayed for so long. We have been excitedly waiting for the weather to get nice enough to set up the water table in the backyard, but unfortunately that time is still not here, so I went ahead and set up a water station in the kitchen. Toddlers seem to love water, any water, whether it is a muddy puddle in the yard, the water you left on the table last night that their little hands found their way into, or in the tub where they can splash around to their hearts content. And why not? Water play is great, it is so open ended, they can take it anywhere and it has so many variations that no session need be like the last! We have hardwood so I put down a drop sheet on the floor and covered it in towels (I imagine a tarp would be even better but I couldn’t find ours) so that he could splash around without to much water soaking through. I gathered some supplies from around the house.

Image

   We used bowls and trays filled with water, funnels, measuring cups for scooping and pouring, spoons, tea bags to add some scent when mixed into the water, water beads in a bowl, paint brushes, a sponge, a turkey baster, and a muffin tin filled with water. I added food colouring to this one, an invitation to explore colour mixing. After this picture was taken I also added a spray bottle. I stripped him down to his diaper and since I knew I was probably going to get wet as well I took of my shirt and let him have at it. He went straight to the water beads. Water beads are a great item for sensory play, they start as these little tiny beads and after soaking in water for a couple days they turn into a much larger bead that is slippery and a bit squishy, for example, here is what they looked like before expansion.

Image

   And here they are once Gray started scooping them up. Water beads are definitely something that needs to be monitored while young children are using them, they are small and easily a choking hazard, even thought they are non toxic.

Image

    For added fun and discovery earlier in the day I had frozen a few things into ice to add to our water play, I froze a small plastic bug, some water beads, and a few dice for him to discover as the ice melted, they were much to big to fit in an ice cube tray so I froze them in small cups and ran the cups under hot water to loosen the ice chunk so I could remove it.

Image

   Once we moved on to the muffin tin he discovered the different coloured water and boy was he excited! He took up one of the paint brushes and started painting the towels so I got him a piece of construction paper and he painted that with the coloured water.

ImageImage

   He then discovered the sponge, which he quickly learned would absorb the coloured water and left a really cool looking splatter, which he had a  lot of fun mixing colours into.

Image

   The sponge ended up being the biggest hit of the play session, and once he discovered that if you squeezed it water would come out he squealed in delight and squeezed away, followed by a revelation that if you throw the sponge at the pan of water it makes a big splash. As I mentioned there is so much you can do with water play, and he spent an hour and half with just this small set up! I would love to hear about your water play ideas and what you like to do, thank you for joining us at excite and explore!

Image


1 Comment

DIY Terrarium

   I have been meaning to make one of these with Gray for quite a while, and today we stopped by the local plant nursery and picked up the plants finally. We ended up making two because they were just so cool looking and I couldn’t stop picking out plants! These are really easy to make and a lot of fun for kids to help out with, and they look pretty funky in your house. First you need to gather some materials, you will need: some sort of glass house for your plants, I ended up buying a couple that are actually made to be turned into terrariums but for a more frugal option you can use a mason jar, and old vase, anything you want really! Moss, small rocks, potting soil ( it must be a well draining one, we used the Farfar Argo mix which was recommended to us at the nursery. You only need activated charcoal if your terrarium is sealed, mine has an opening so I didn’t get any. I used decorative gravel for my small rocks (this is for draining.). You will also need your plants, select according to where you will be keeping your terrarium, some need more sunlight than others, so they should be paired accordingly. Lastly you will need a spray bottle, I got mine at the dollar store.

Image

   Once you have gathered your materials you are ready to put it together. First add a 1 inch layer of the small stones to the bottom of your habitat. Place these carefully because you may shatter the glass if they are poured in. If needed use a funnel, depending on the size of your opening.

 Image

   Next you want to add your activated charcoal (remember only if your terrarium is enclosed.) After this in goes the moss, you want a thin layer, this will keep the soil from settling.

Image

   You want to add about 2 inches of the potting soil on top of the moss, Gray really enjoyed this part, shoveling the dirt around and flinging it into the air.

Image

   Next you want to add your décor, meaning plants. This was the fun part and Gray became really attached to one of them, carrying it around for a good half hour. This part can be a bit tricky, I found that because our terrarium was not very tall I had to sort of break up the roots a bit so they spread outwards instead of straight down so that our plants would fit into our terrarium, so if necessary do so carefully.

Image

Image

   We added a little pathway of these pretty stones and a couple larger stones for décor and I let Gray pick out one of his plastic animals to add since it is going in his room. The mistake I made was not limiting the options of what he could chose from, leading to a meltdown because the 2 foot dinosaur would not fit in the less than 2 foot terrarium. In the end we settled on a little lizard. This was our first finished terrarium!

Image

   The one we made later for my room hangs from the ceiling since I had no where to else to put one, it was a bit smaller but turned out really well.

Image

   Terrariums recycle their moisture so they need very little watering, and once a moisture balance has fallen into place if your terrarium is enclose it can go up to a month without water. I was told that because mine was in the open air to spritz it twice a week. It should not be placed in direct sunlight, the sun will cook the plants through the glass, but indirect is fine. To help prevent rot you will want to remove any fallen leaves from your terrarium. If your plants leaves start to droop they may need some more water so give them a spritz. That is all for tonight, thanks for joining us and please come visit us again at Excite and Explore!


2 Comments

Mini Worlds – Bugs

We have been collecting things lately. We go outside every  day and wander around the neighbourhood with Grays wagon and he picks things he finds up and puts them in his wagon and brings them home. (Think pinecones, sticks, leaves, things like that.) So we ended up with this big pile of assorted mish mash in the garage and for the last couple weeks I’ve been a bit unsure of what to do with it, wondering if he would be upset if I threw it out. The weather forecast for later tonight and tomorrow isn’t looking great (think rain) so I decided to bring a bit of mother nature indoors and use up some of the pile of nature sitting around. About a month ago I made a bug sensory bin for the little man and it is still his favourite on to date, this was it.

 Image

I figured I could change it up a bit and make a mini world for him to play with his bugs in, and it would be perfect for a rainy day. I used split peas as my base, since real grass is till scarce due to the time of the year.

Image

Next I picked some sticks, branches, rocks, seedlings, flowers, leaves, vines and pinecones out of our little collection. All of these materials were scavenged from the ground, nothing was picked out of a garden or cut off of a tree, so no worries.

Image

Arrange your greenery however you like and lastly add some bugs. I got a 12 pack of mine from Party City for $1.50, so this is a really frugal bin to make and doesn’t hurt your wallet.

Image

   I added a magnifying glass into it last minute for some added fun and voila, rainy day entertainment for tomorrow and lots of fun, imaginative play to be had. I hope you enjoyed this post on Excite and Explore and get to build your own little bug worlds, please join us again!


Leave a comment

3 Easy Crafts For Toddlers

cc06bc8d-ee52-4caf-b78c-c905fbaeadaewallpaper
It has been a very crafty week in our house, and I thought I would share our work with everyone so you can get crafty as well. First up we have a good craft to celebrate spring, our tissue paper tree. It is an easy craft that appeals to toddlers since they just have to stick the ‘flowers’ on. Start out with a couple of pieces of coloured construction paper to make your tree trunk and leaves. Cut out your desired trunk and tree top and glue them together, then cut out a piece of contact paper and tape it to the outside of your tree top.
DSC02565(1)
Cut around the contact paper to regain your tree top shape.
DSC02566(1)
I scrunched up tissue paper into little puffs for our flowers and put them aside and your tree is ready for your little one! Once ready peel of the outside of the contact paper and let them have at it.
DSC02576
Next up is another simple on perfect even for babies as well as toddlers and requires virtually no set up. The contact paper collage! I taped a piece of contact paper to the window and provided lots of fun doodads such as pipe cleaners, paper flowers, yarn bits and buttons. We are working on colours so I named all the different colours as he stuck them in place, and he had an even better time pulling the pieces off and sticking them back on again.
DSC02590DSC02591
Earlier in the week I was at a craft store and they had finger paint in these awesome neon colours so I grabbed some. This one is a classic, we used to do it when I was a kid. All you need is some paint, a toilet paper roll and some paper. I set this up in the garage for messes sake and we stamped away, dipping the toilet paper roll (by which I mean the cardboard tube found inside) into the paint and stamping it on the paper. My little guy really liked this one, and it brought back a lot of good child hood memories for me.
DSC02592
This was our finished masterpiece.
DSC02594
That was our week in crafts, I hope you get a chance to try out some of these simple toddler crafts at home and thank you for joining us, please come again!