Excite and Explore

One mom, one toddler and a passion for learning and adventure.


12 Comments

Saturday Night At The Dinosaur Stomp + Activity

   Image


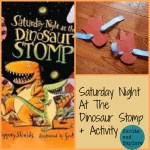
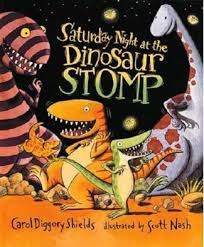
So we love to read, and spend quite a bit of time doing so every day. In fact my toddler loves to read so much that I get a little…bored of reading the same books over and over again. So last week I picked up a book I found at a garage sale and brought it home, and my little one was engrossed, he loved it! It is a fun toddler book about some very energetic dinosaurs that are having a dance, with lots of fun rhymes and expressive, colourful pictures.  We read Saturday Night At The Dinosaur Stomp many times over the course of the day and later on we did a fun activity to go with it that I think all of you would really enjoy, we made our own dinosaur feet to stomp around with! This is a simple toddler activity that they can help with that will result in a stomping good time! You will need:

cardboard (preferably thicker)

paint

ribbon

Velcro strips

scissors

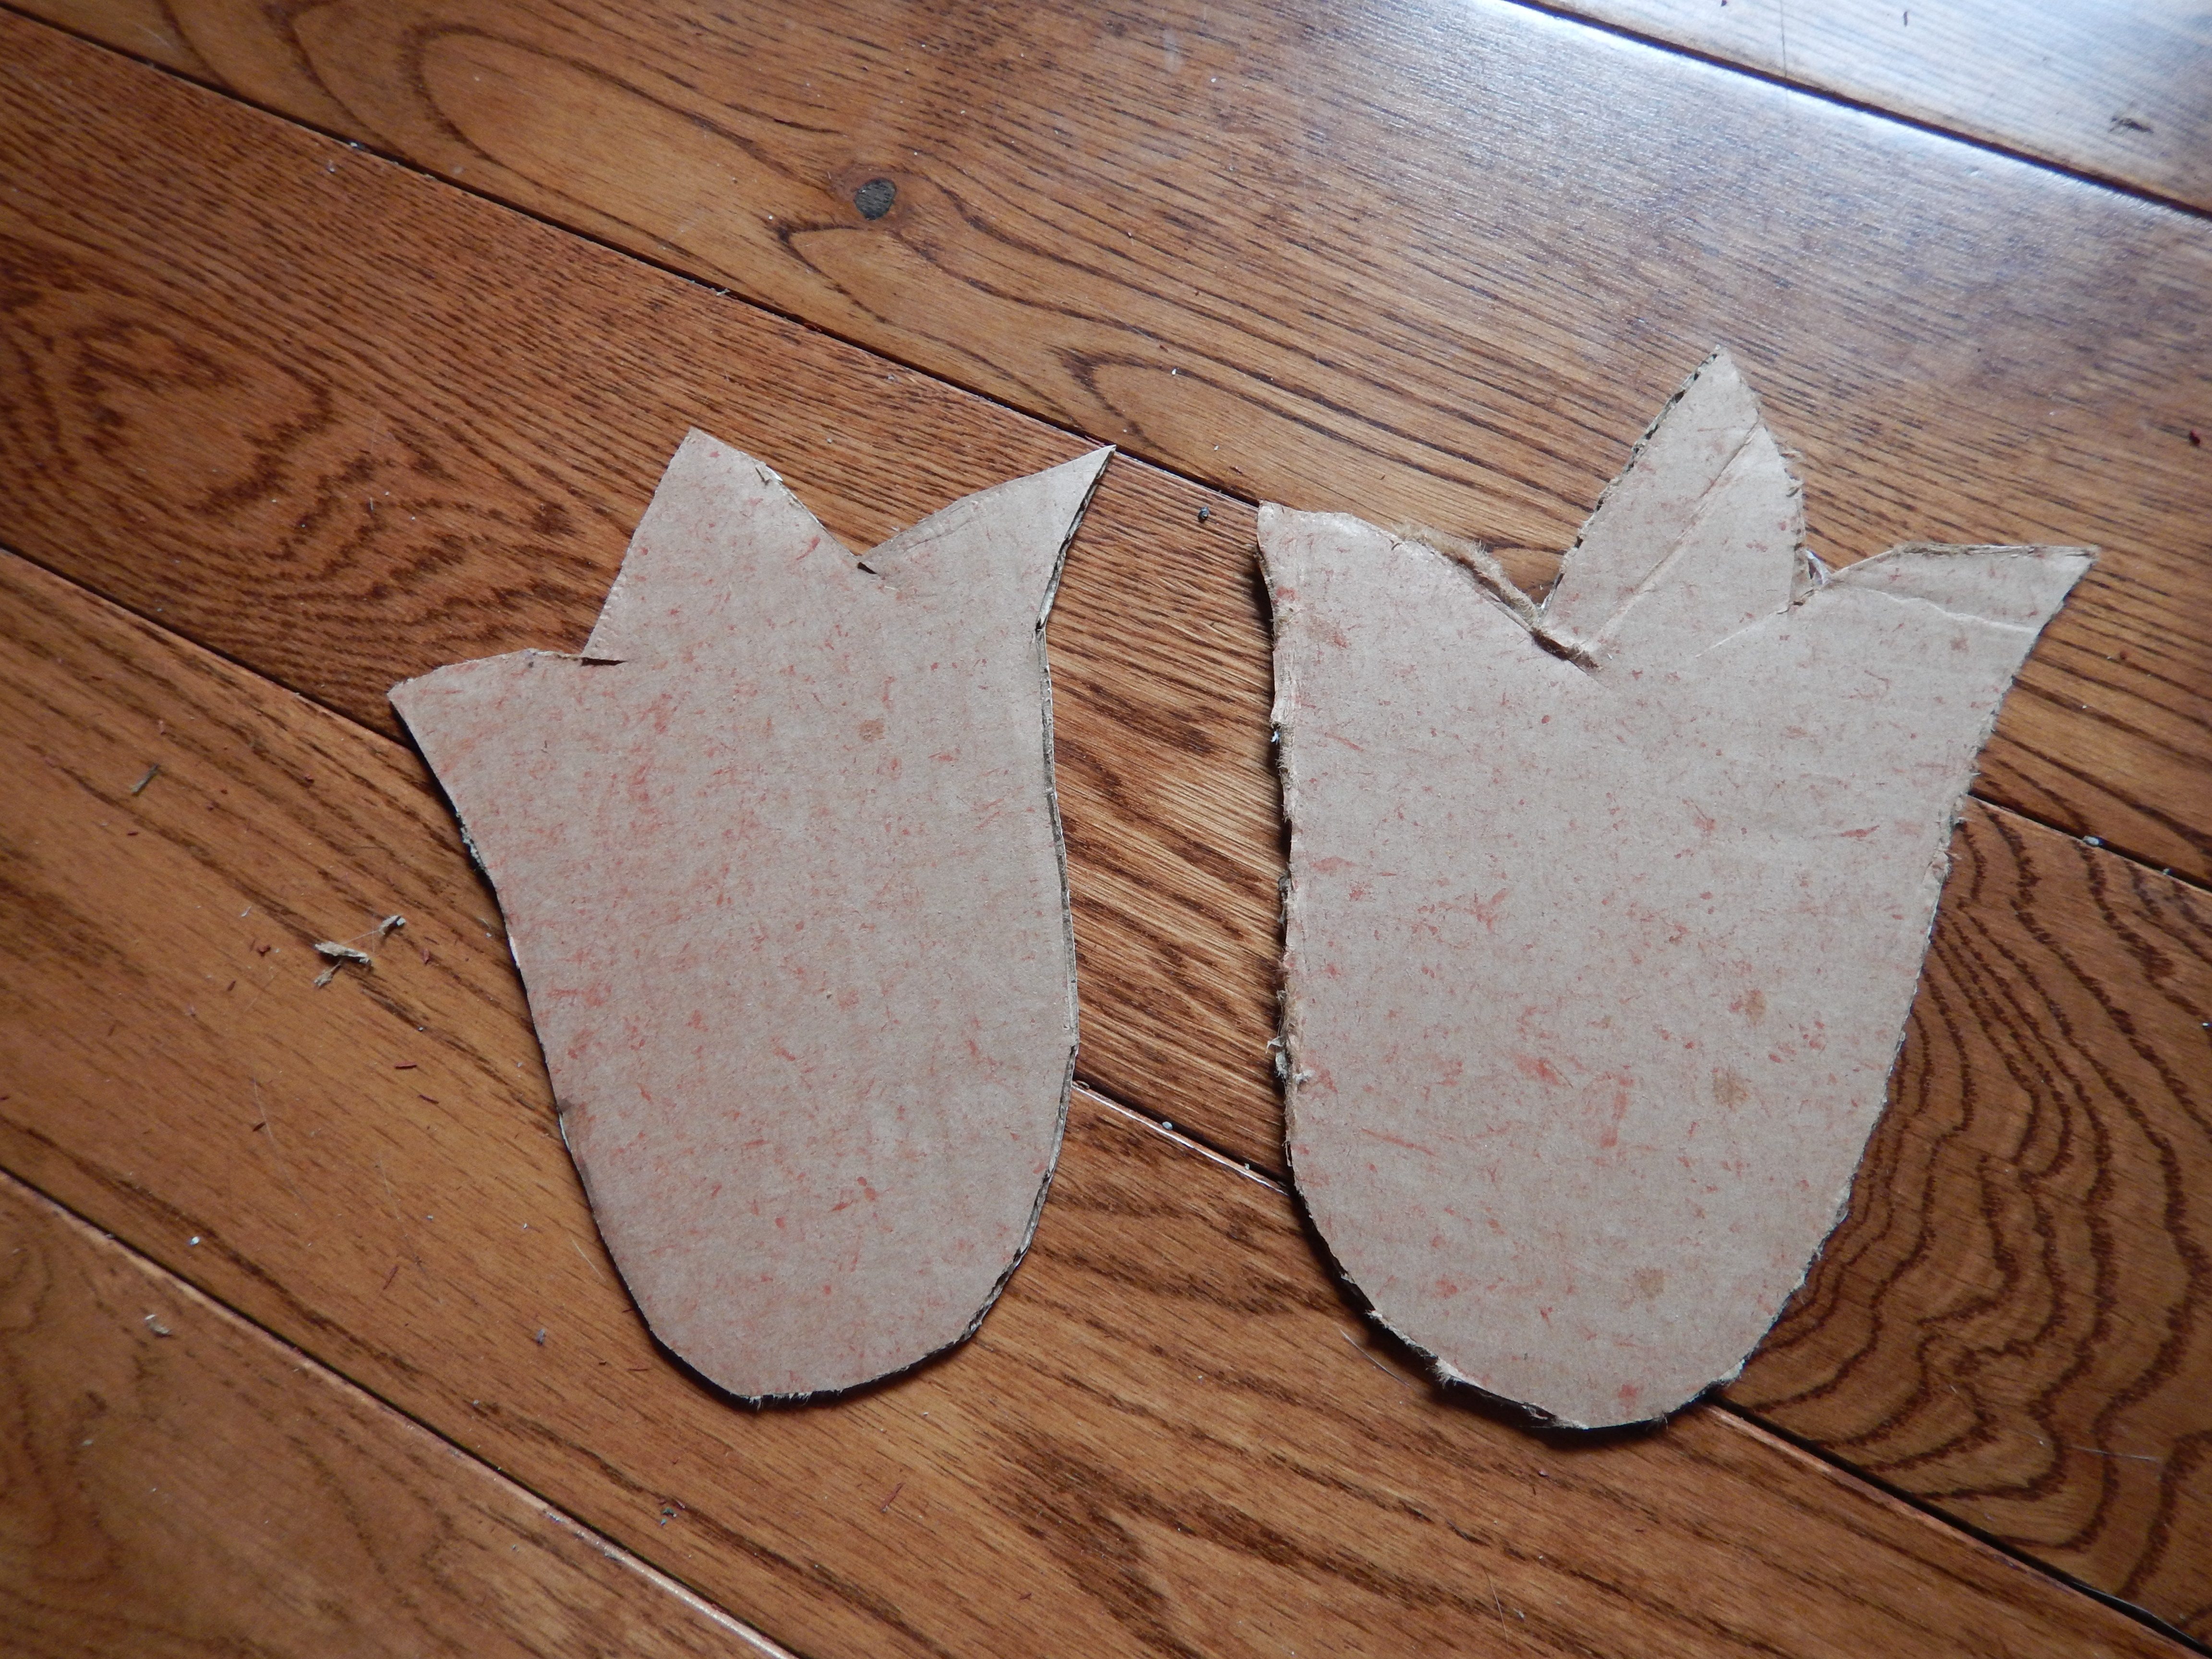
We started by drawing our version of some dinosaur feet on some old cardboard I found laying around. I cut it out with scissors and it was time to paint. I made them fairly small so that my little guy could easily stomp around in them without tripping all over the place.

Image

   We painted on some red paint and let it dry before adding another coat to brighten up the colour.

Image

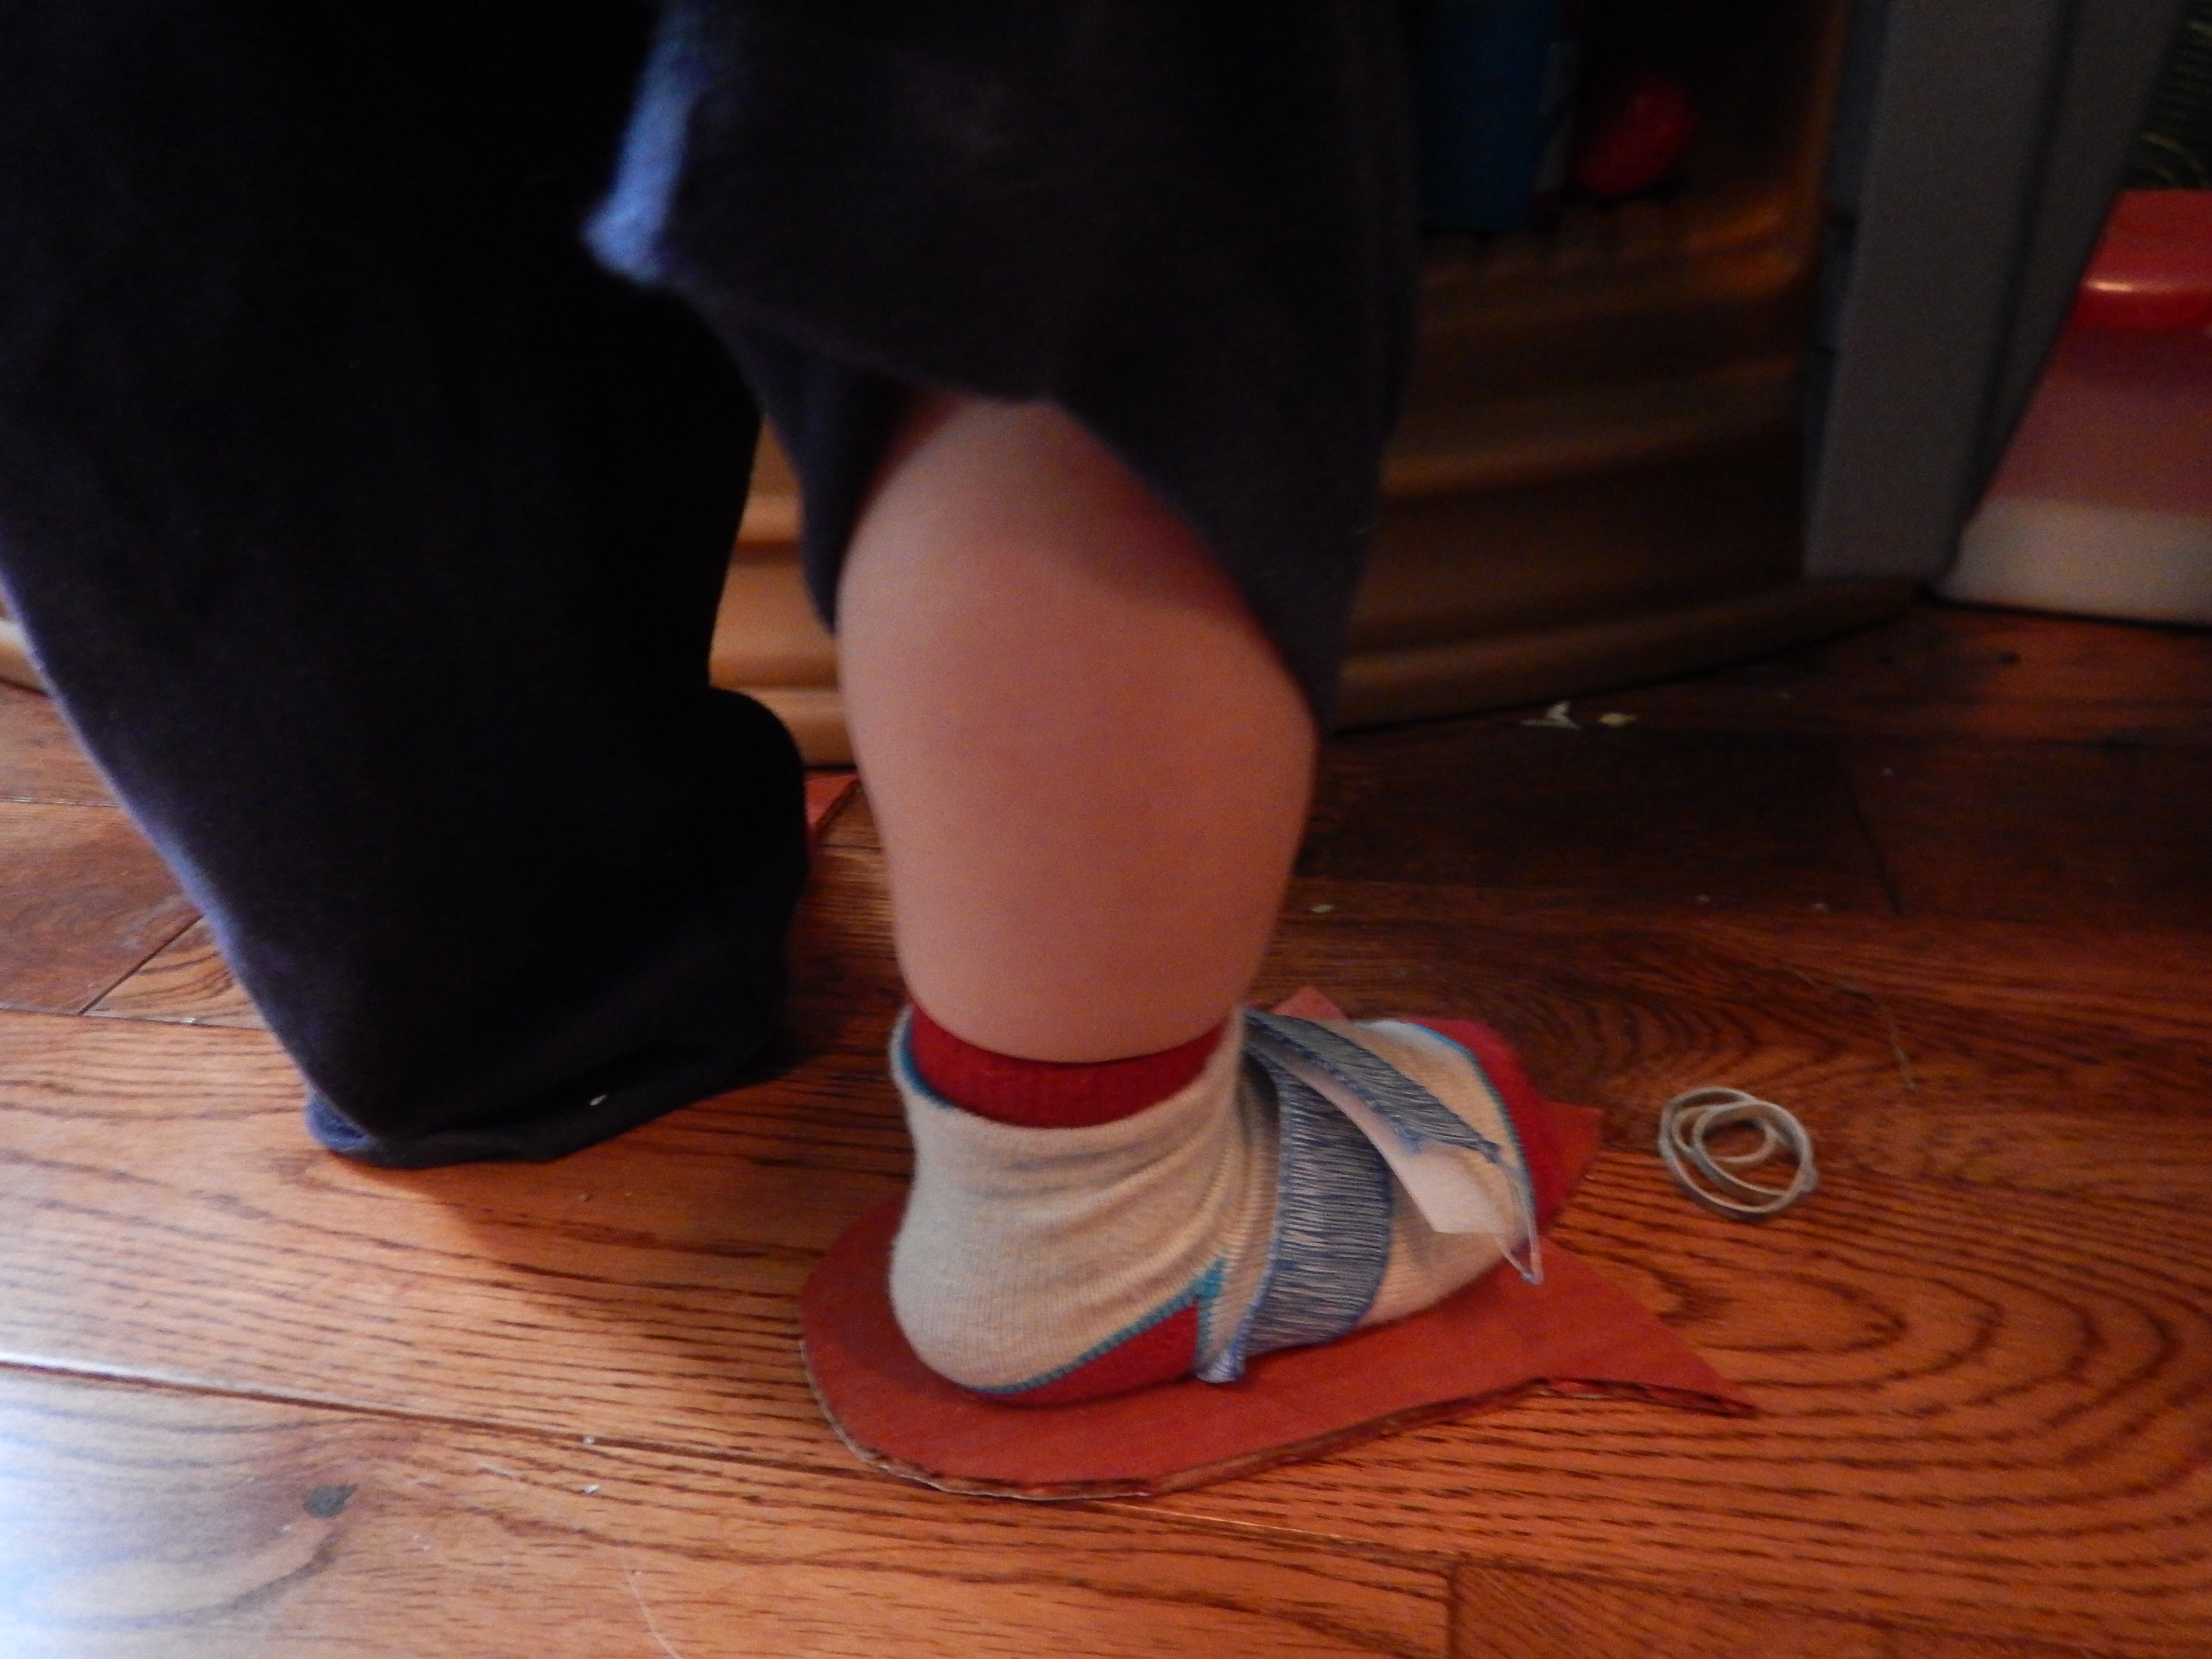
   Next I brought out some ribbon and cut a two small holes in the sides of the heel area, threading it through the bottom so both ends came out on top.

Image

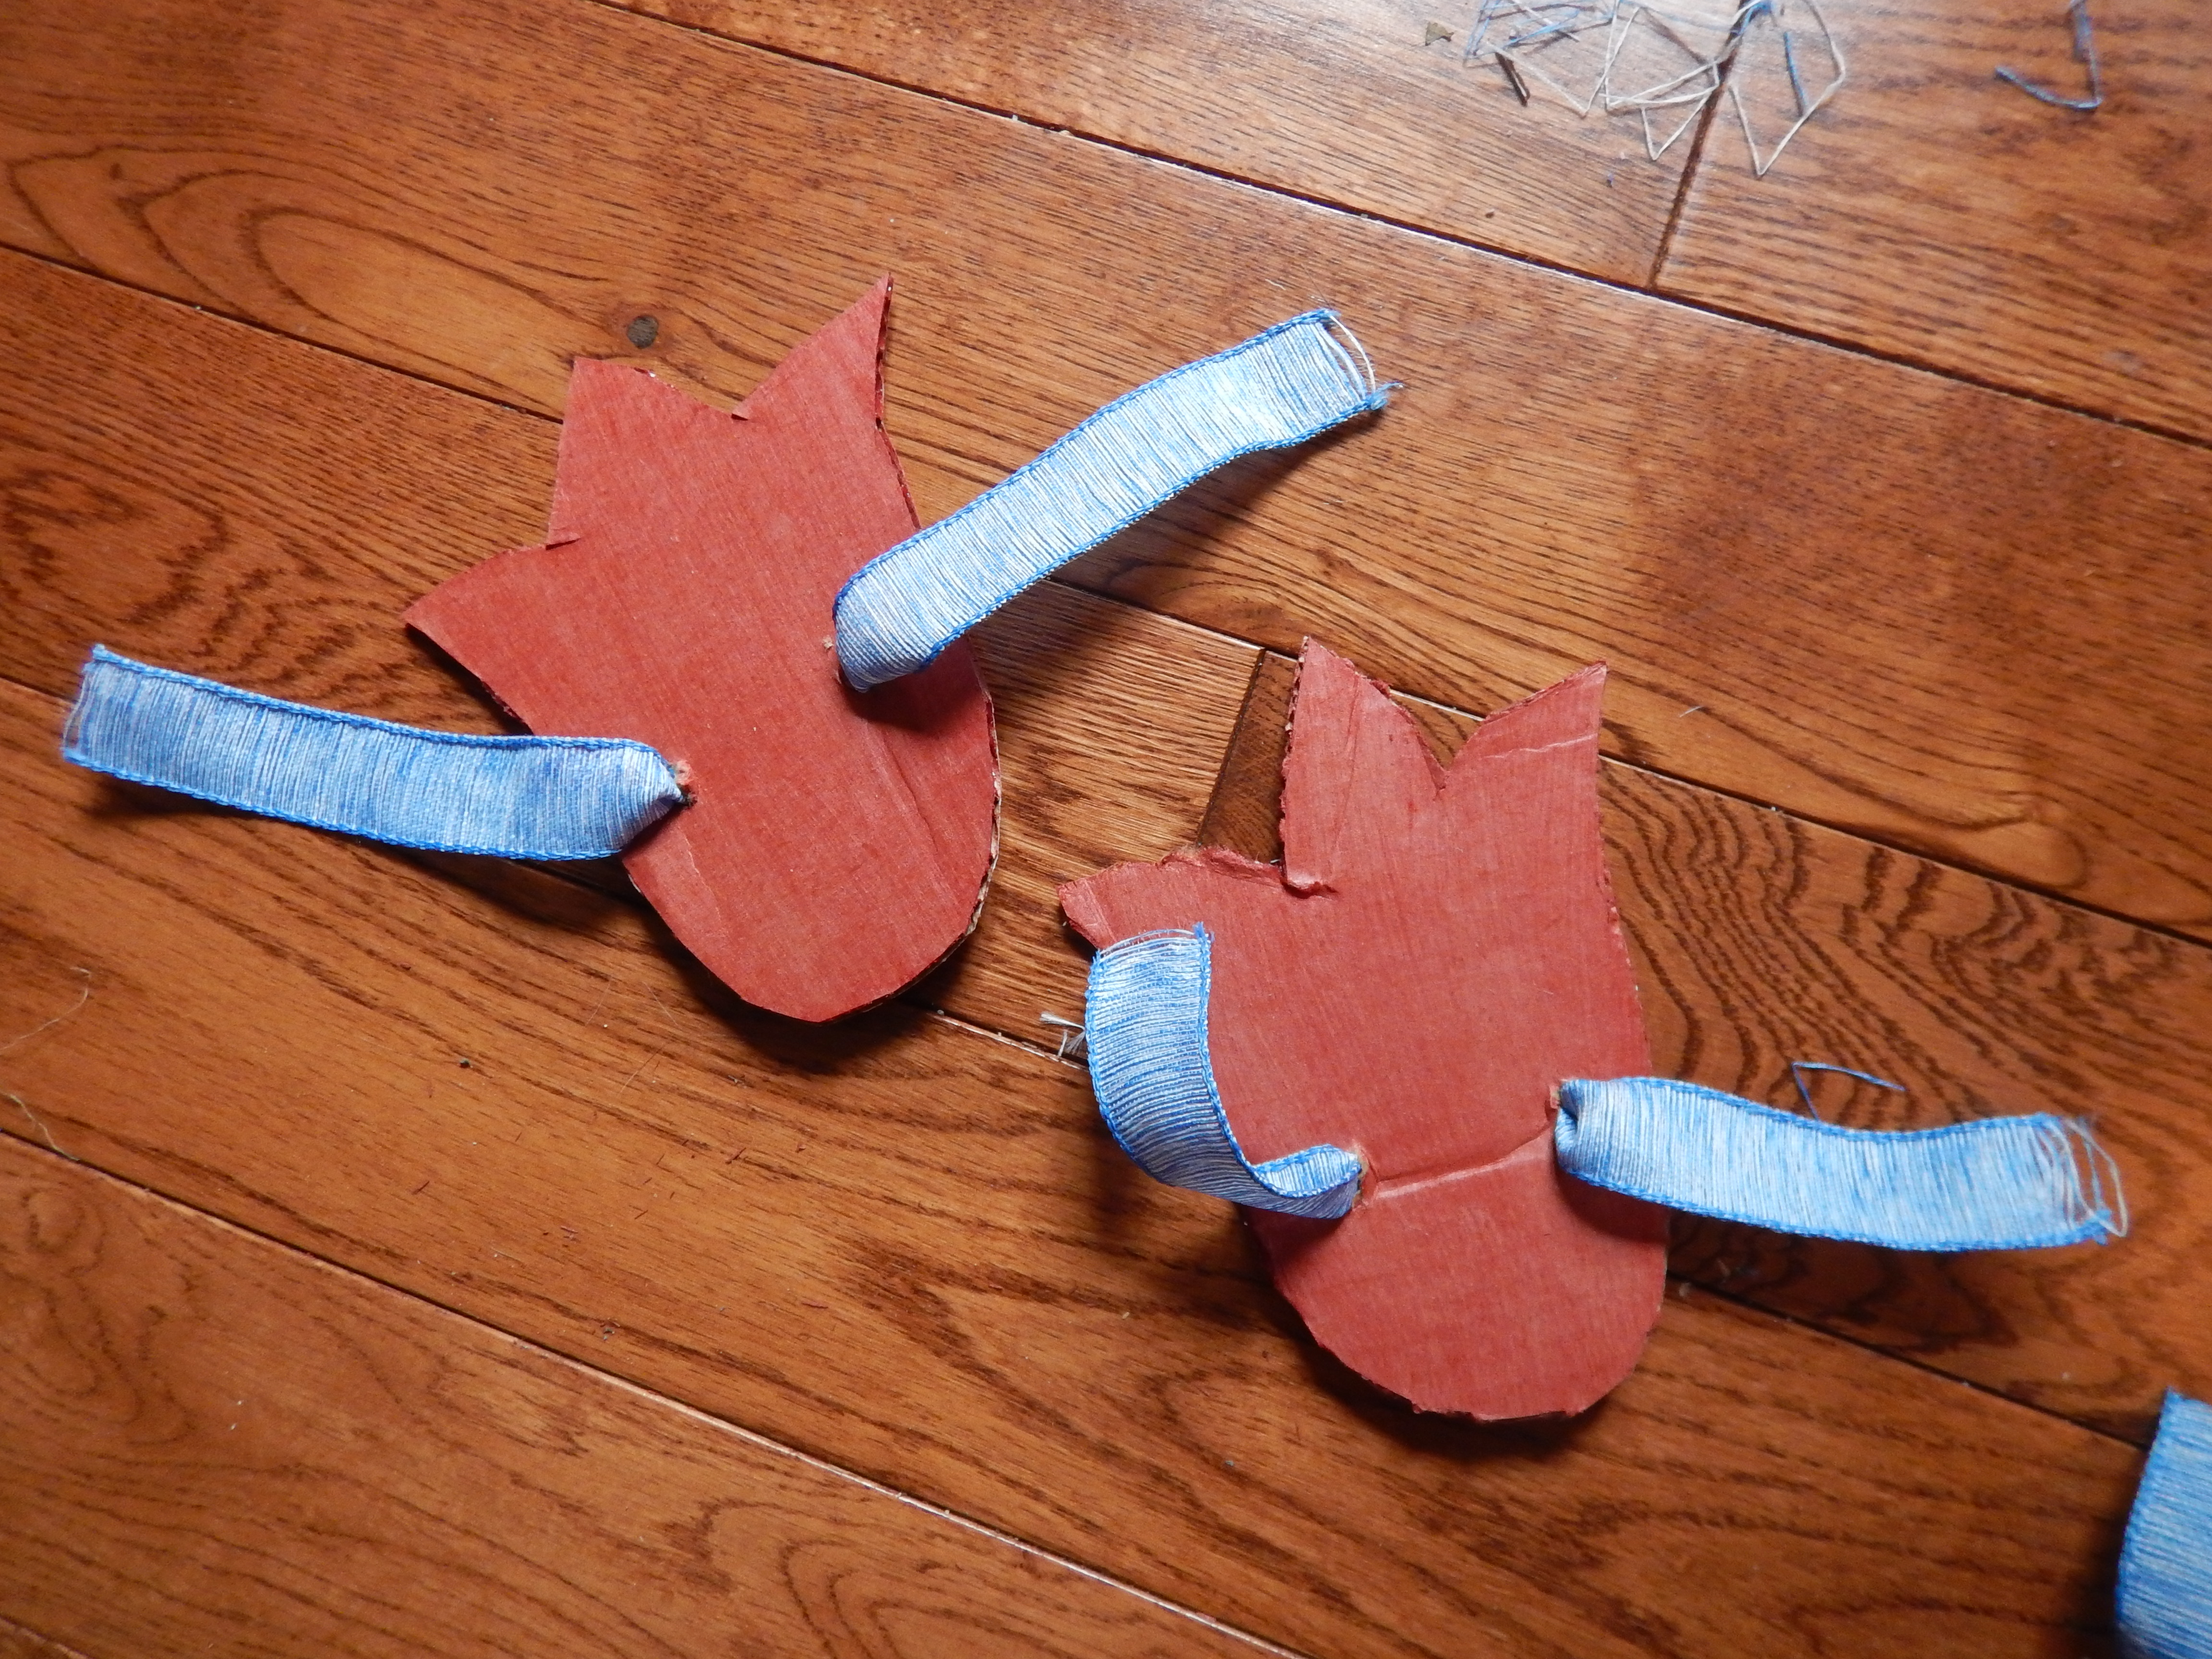
   Then I added some Velcro strips to the ribbon to secure it to the foot, putting the scratchy strip facing upwards so it wouldn’t irritate his foot. Then they were ready for play! I secured them to the little mans feet and put on some music. He took a few test steps and soon was stomping all over the living room while giggling away.

Image


Leave a comment

Learning Letters: The Letter B

   This weekend we are learning about the letter B in our home! We started of our morning with our letter B Themed Bin (or should I say pie tin!) and explored things that start with the letter B! We explored and read the letter B book, and examined a baseball, a Band-Aid, a bulldozer, a little plastic butterfly, a bunny, a button, a beetle and a play food stick of butter.

 Image

   The little one caught on to the ‘b’ sound pretty quickly, it is an easy one for him to say. When snack time came around he was delighted to see one of his favourite things made out of cheese and blueberries, a bus!

Image

   After nap we went on a bug hunt! There is a huge field near our house full of dandelions, so naturally it is a haven to bumble bees so we popped on down to observe. I was a bit hesitant at first, since Gray has never been stung and I’m not sure If he is allergic, but we have no family history of it, so I decided it was okay, besides he loves dandelions, so once he saw the field there was no keeping him out! We went on down and saw quite a few flying fuzzies, which I was sure to explain we could not touch.

Image

Image

   Then we headed down into the gully to hunt for bugs. It is a beautiful little spot with a  stream, lots of plants and some trees and a little field. We found lots of snails, which Gray carried around for the rest of the trip. Of course we talked about how bugs starts with the letter B, and we managed to scoop up some beetles and a June bug as well.

Image

   After our little nature walk we released our little friends and came back home for one more letter B activity, bulldozer painting! This was inspired by an awesome post I saw on Fun At Home With Kids about using toy cars to paint. Gray loves his bulldozer and it has some pretty cool treads, so I figured, why not? Gray is almost 2, so art activities need to be pretty simple and easy to do or he will have no interest in it, this activity was perfect, it was art and play at the same time!

Image

Image

   I would call our letter B weekend a success, now when he sees the bulldozer he points to it and makes the ‘b’ sound, and for now he seems to be able to identify it by sight. Sorry this post is a bit late going up, we have been putting in a vegetable garden this weekend so we have been pretty busy! We would love to hear some feedback or your ideas for the next letter, thank you for joining us at Excite and Explore!


8 Comments

Letter Of The Week: The Letter A

   Today we started a new series called the Letter of the Week! Gray has recently started showing an interest in learning his letters, when he see’s one he points to it, inquiring what it is called and has started identifying them (admittedly he only knows B, H and R on sight now but hopefully by the end he will know some more) and repeating what they are called when I tell him. So now every weekend we will feature the next letter in the alphabet and share some activities and crafts we did that day. We started off the day with a little display I made in a cake pan full of things that started with the letter A, a book and some small examples of the letter A. Ours had a small plastic apple, a spear of asparagus, a wooden ambulance, an alligator, an ant, and an airplane. As he explored it we discussed the different objects and sounded out the words, emphasizing the A sound.

Image

   For snack we had chocolate Avocado nibs, a recipe he adores (and so do I) that can be found on this wonderful blog called Cheerfully Imperfect which I made into little Ants using cheese for legs on a pita.

Image

   After nap we did some stamping with a homemade stamp I made out of an apple. It was really simple to make, I just carved the letter A in half of an apple (I’m pretty sure a potato would also work) with a knife, using the apple seed divet as the hole in the A and stored it in an airtight container overnight so it wouldn’t get all mushy.

Image

   I poured some paint onto a paper plate and we stamped the apple into the paint and onto a piece of construction paper, Gray really likes stamping so we tend to do this a lot. This was his picture.

Image

   We finished off our day of observing some ants outdoors and looking at their ant hills while I explained how they make tunnels underground ( I’m fairly certain he didn’t quite understand this but he seemed to be interested.) all the while emphasizing that Ant starts with the letter A.

Image

   That is all for our day learning about the letter A, feel free to join us again next week as we explore the letter B, and thanks for stopping by Excite and Explore!


Leave a comment

Box and Ball Painting

   We are finally all feeling better and getting back to some fun activities at our house! The other day we decided to try something a little different, and it was quite a bit of fun! For this activity you will need scissors, a piece of paper (we used a white piece of printer paper but if you want to go for some fun colours!) a shoebox, some tape, paint, a paper plate or pie tin and some type of ball (s) we used some little balls leftover from an old toy Gray used to have but another great option if you don’t have any of those lying around would be golf or ping pong balls.

Image

   Trace the bottom of the box onto your piece of paper and cut it out, then tape it to the bottom of the shoe box.

Image

   Choose your desired colours (We used 3 since that was how many balls we had dug up.) and pour a small bit onto your paper plate, you don’t need a lot. Let your child dip one of the balls into each of the colour, coating as much of it as they like and place them into the box.

Image

   Place the lid back on your shoe box and tape it shut. Then encourage your little one(s) to shake around the shoe box as hard as they can until they tire of it, or like mine get bored. Then open her up and remove the balls. (I gave ours a wash off and they are as good as new)


Image

   You should be left with a neat looking painting that, depending on the size of ball you used, will probably have a border where the balls didn’t touch, an added bonus. This was our end product, feel free to add more paint and do it again or switch up colours.

Image


1 Comment

Help A Bird Build A Nest

Gray has been pretty interested in birds lately, and bird season is coming into full swing now that the weather is getting nicer so today we made a little ‘cage’ full of nesting materials for all the birds visiting us every day. You can buy these little cages made out of metal from some gardening and home stores but I figured we could make our own. Gather some supplies.
DSC02577
First we cut up some yarn into pieces, 4-8 inches are ideal for the birds to build their nests with. We also used colourful ribbon and leftover felt, Gray had a great time unravelling the yarn and throwing it all over the place. I cut an egg carton in half for our base and we filled it with our scraps of fabric. To cover it and keep the wind from blowing our scraps all over the yard we covered it with the netting from the top of a clementine container, quite a few fruits come in this netting.
DSC02579
I ended up hot gluing the netting to the egg carton but if you have the patience you could use regular glue or poke holes in the carton and thread the netting in. I wanted to use wire to hang it but I couldn’t find ours so we used the yarn, and I figured why not find a way to attract the birds to our little helping hand so we threaded the yarn we were hanging it up with full of cheerios (Also great for fine motor development) and had a bit of a snack at the same time. This was our finished product.
DSC02586
Gray was quite proud of this little project and carried it around the house for a while before I took him outside and we hung it up in our back yard, here’s to hoping we will see some colourful little nests around the area soon! Thank you for joining us at Excite and Explore, if you have any questions feel free to ask and please come again!
DSC02588


Leave a comment

Easter Egg Suncatcher

Image

So today was a beautiful day out! And I picked up some contact paper at Canadian Tire after trying Michaels and Staples to no avail. Contact paper is a liner generally used for lining shelves and drawers but it has some awesome uses when it comes to arts and crafts. I felt like we needed to get into the Easter spirit and decided on something that was fairly easy to throw together and simple enough for a young toddler. A grumpy, tired toddler who wouldn’t nap and desperately needed a distraction. Cut an Easter egg shape out of your clear contact paper, I taped mine to a piece of construction paper just to hold it in place. Don’t peel the backing off yet.

Image

Then I cut up some tissue paper that has been laying around forever. Like since before I had a child, in fact I am fairly sure it is from when I was a child. You can do squares, circles, just rip it, whatever suits you.

Image

Finally, peel the backing off of the Easter egg cut out. I put it all down on the floor for him and away he went. He really liked the tissue paper and for the first bit he just scrunched it up in his hands. Then you just have to press the tissue paper over the contact paper until it is covered. ( Or in our case your child is side lined by the dog food dish.)

Image

Once they are done cut out a piece of contact paper from the roll that will fit over the egg and peel the backing off of that, sticking it over top of the egg sandwiching the tissue paper in between the two pieces of contact paper. Cut off the excess contact paper until it regains its egg like shape. I punched a hole in the top of mine and threaded a pipe cleaner through it to hang it on the window but I’m sure tape would work just as well.

Image

Well, that’s all there is to it! I hope you enjoyed this post and that it helps you and your little ones get in the Easter spirit! We hope you will join us again!