
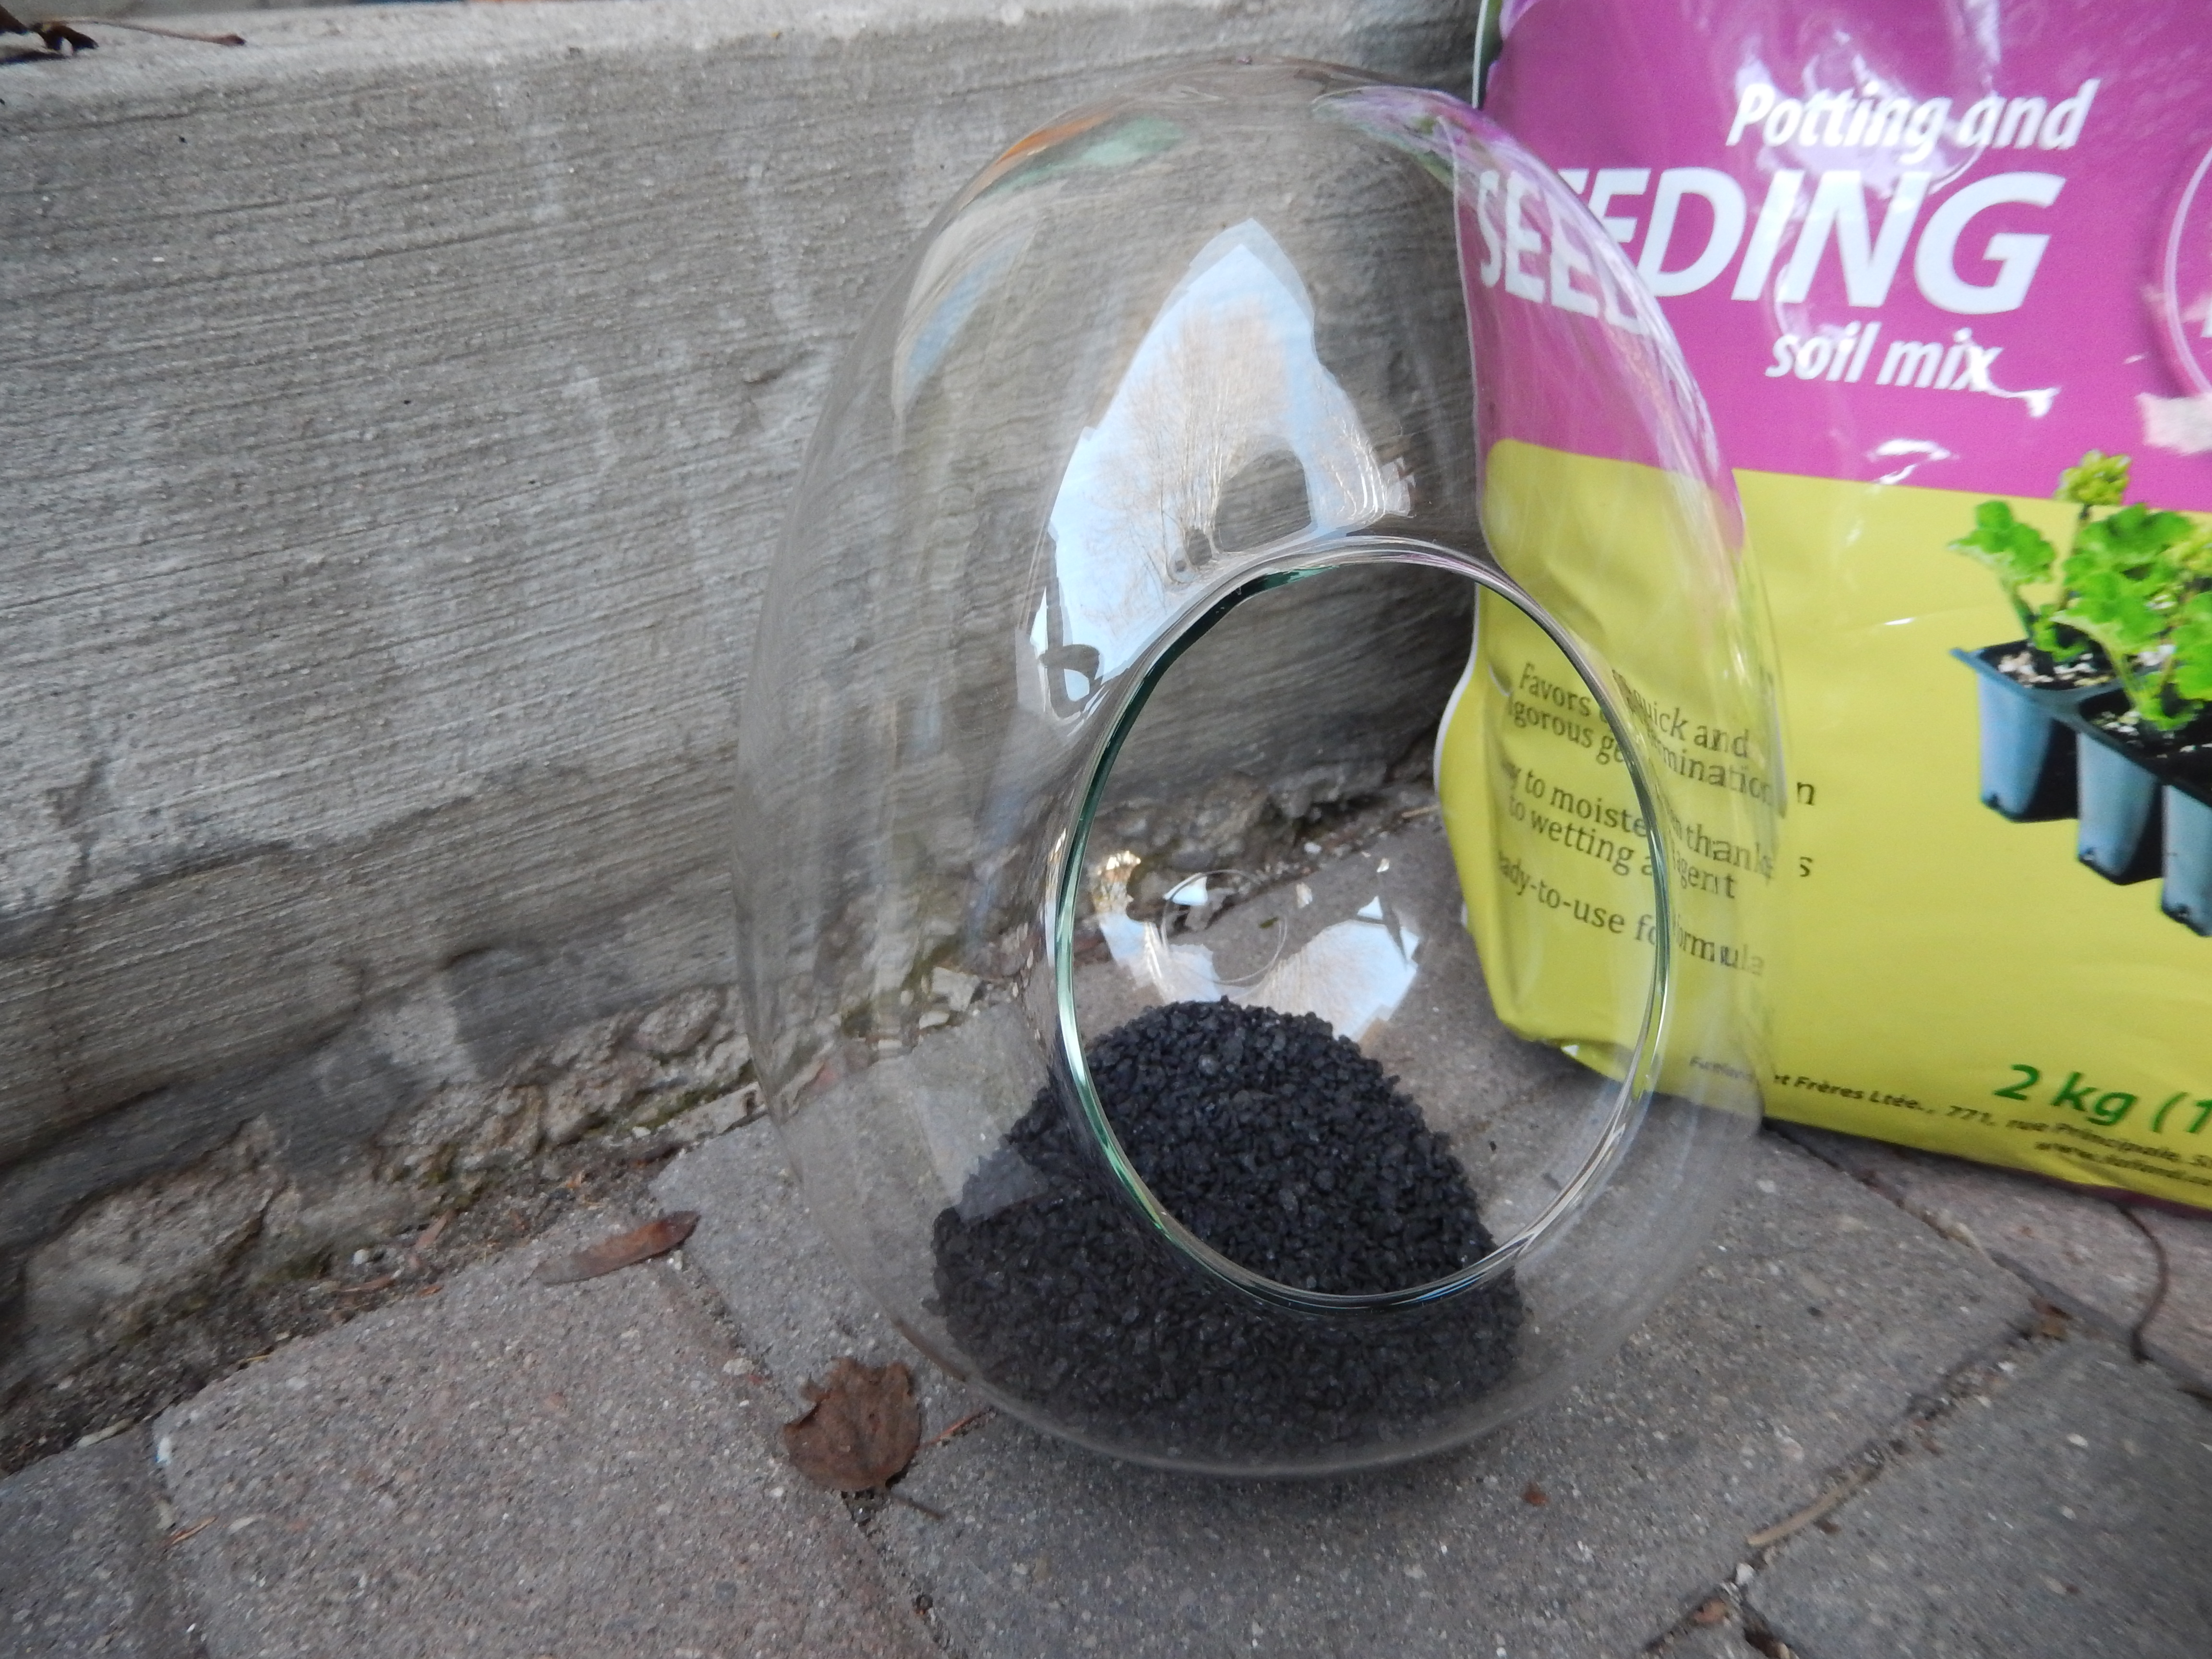
I have been meaning to make one of these with Gray for quite a while, and today we stopped by the local plant nursery and picked up the plants finally. We ended up making two because they were just so cool looking and I couldn’t stop picking out plants! These are really easy to make and a lot of fun for kids to help out with, and they look pretty funky in your house. First you need to gather some materials, you will need: some sort of glass house for your plants, I ended up buying a couple that are actually made to be turned into terrariums but for a more frugal option you can use a mason jar, and old vase, anything you want really! Moss, small rocks, potting soil ( it must be a well draining one, we used the Farfar Argo mix which was recommended to us at the nursery. You only need activated charcoal if your terrarium is sealed, mine has an opening so I didn’t get any. I used decorative gravel for my small rocks (this is for draining.). You will also need your plants, select according to where you will be keeping your terrarium, some need more sunlight than others, so they should be paired accordingly. Lastly you will need a spray bottle, I got mine at the dollar store.

Once you have gathered your materials you are ready to put it together. First add a 1 inch layer of the small stones to the bottom of your habitat. Place these carefully because you may shatter the glass if they are poured in. If needed use a funnel, depending on the size of your opening.
Next you want to add your activated charcoal (remember only if your terrarium is enclosed.) After this in goes the moss, you want a thin layer, this will keep the soil from settling.
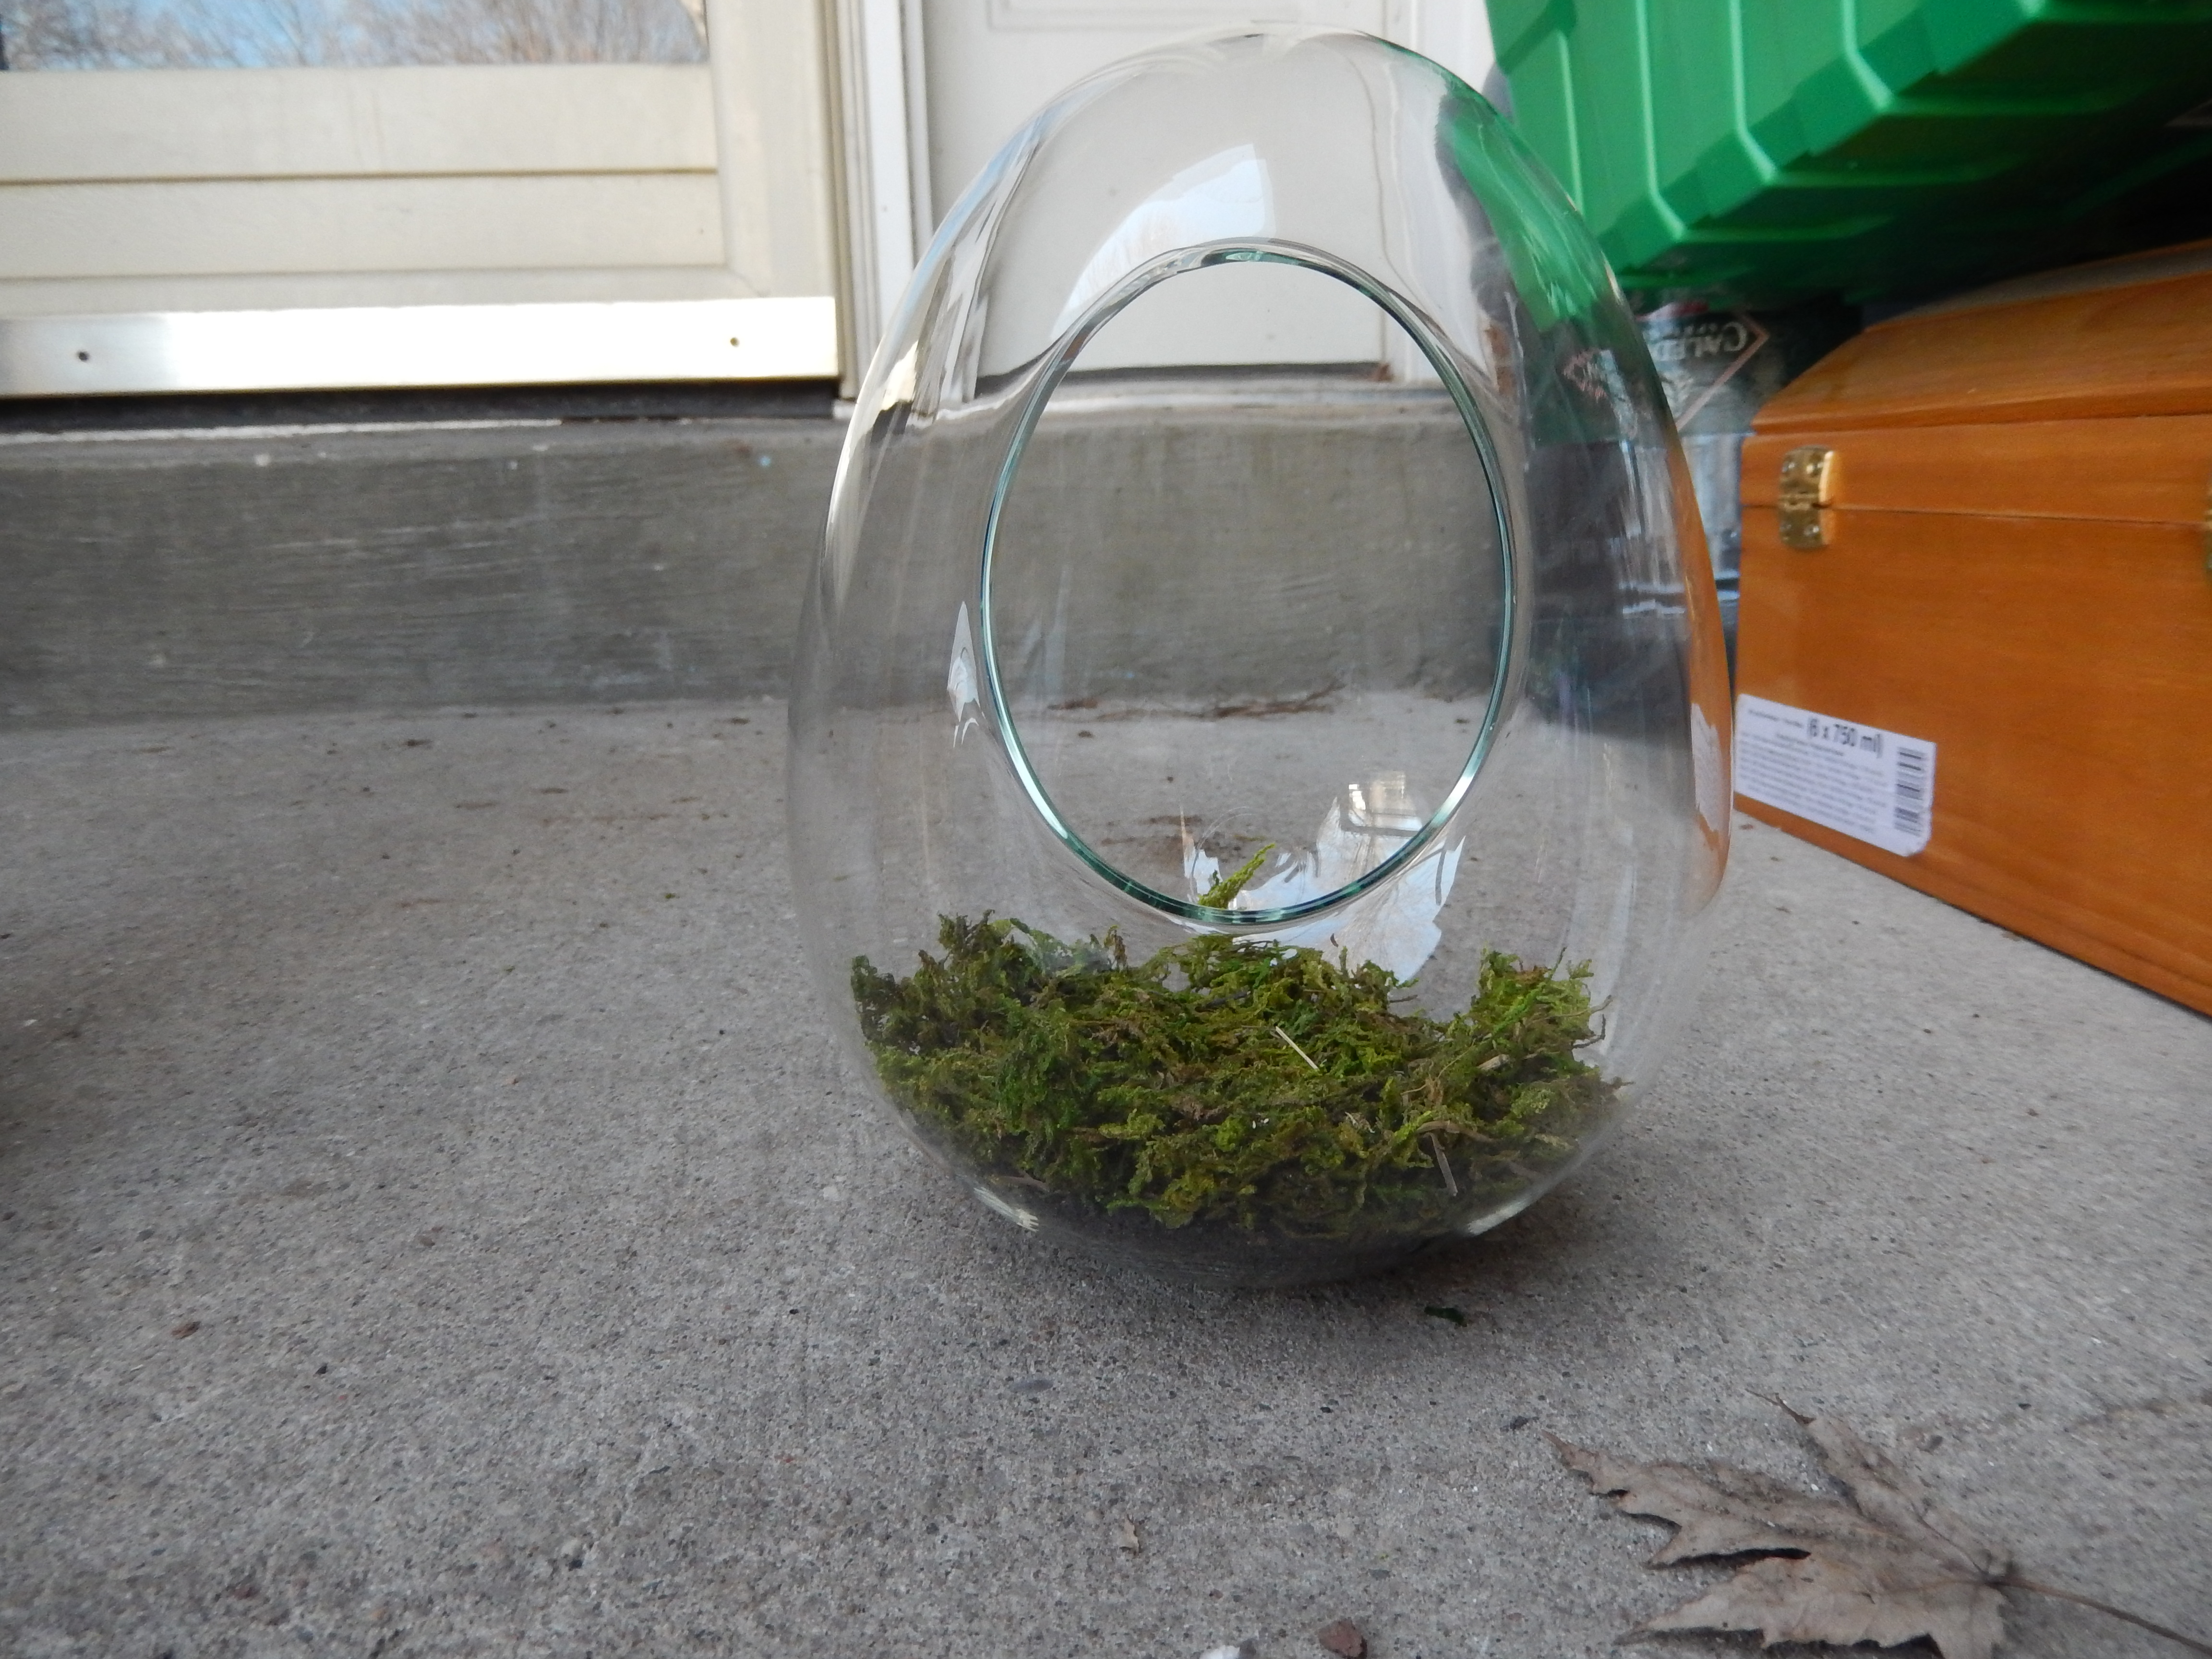
You want to add about 2 inches of the potting soil on top of the moss, Gray really enjoyed this part, shoveling the dirt around and flinging it into the air.

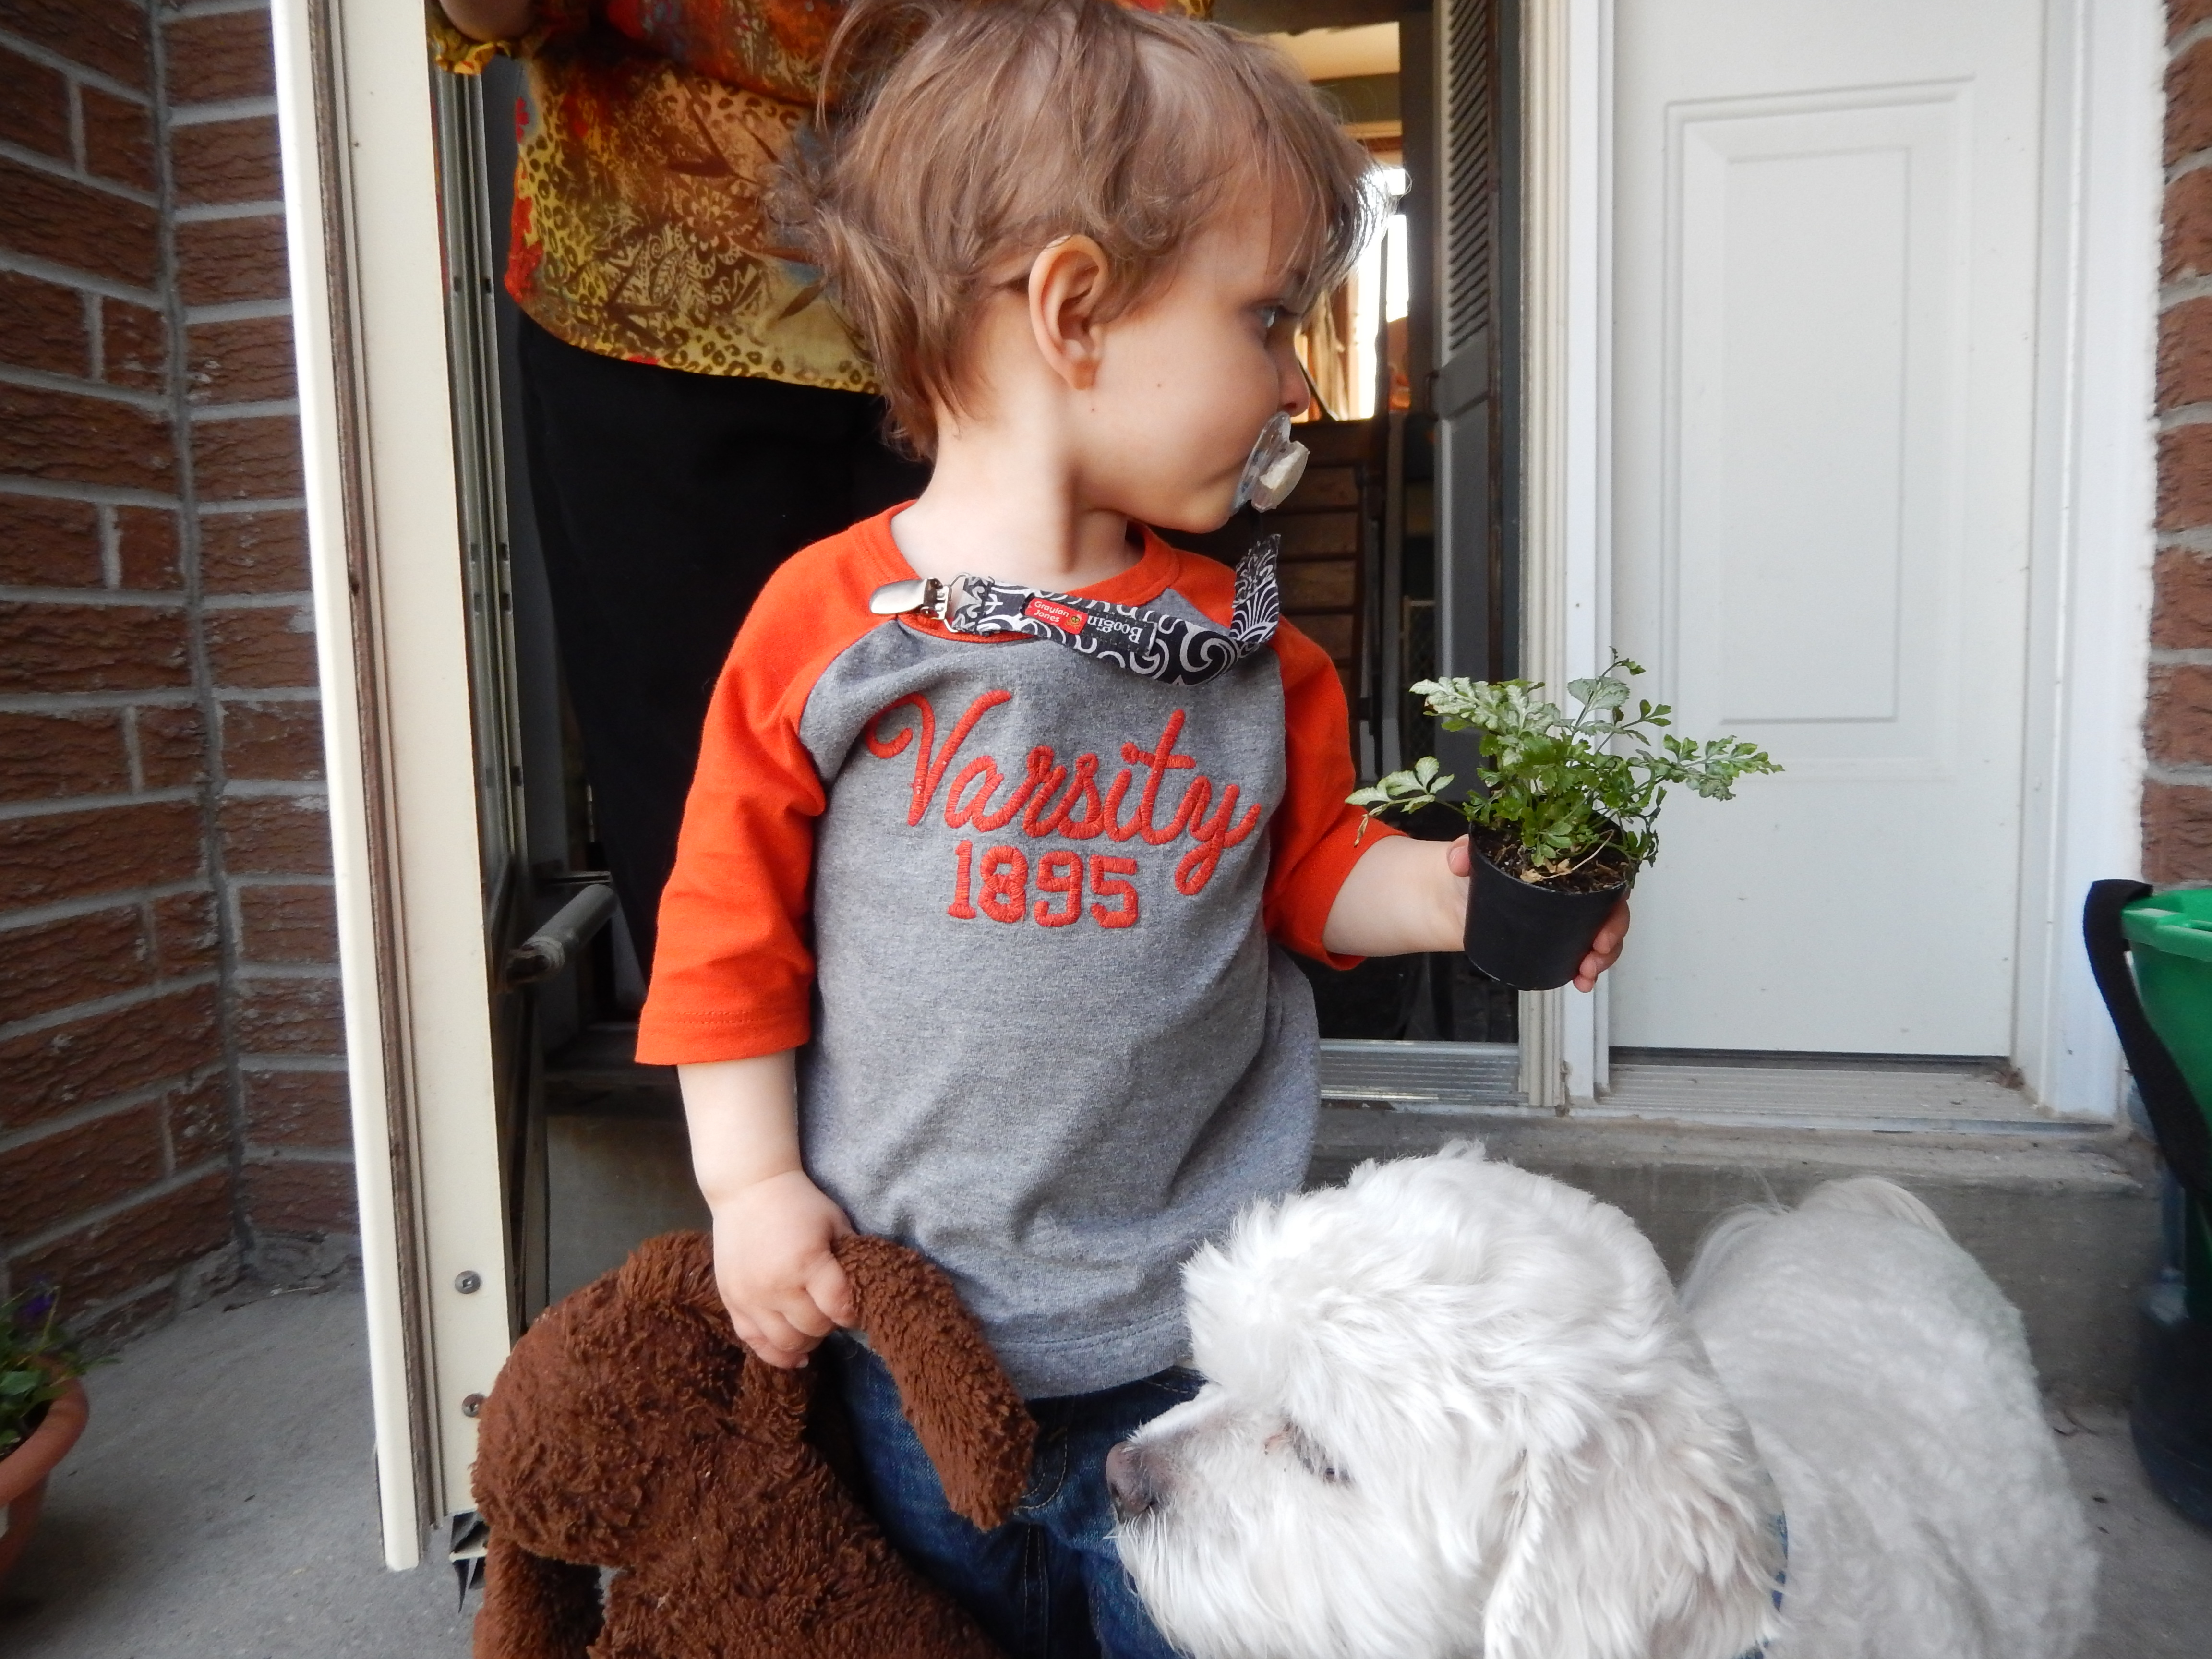
Next you want to add your décor, meaning plants. This was the fun part and Gray became really attached to one of them, carrying it around for a good half hour. This part can be a bit tricky, I found that because our terrarium was not very tall I had to sort of break up the roots a bit so they spread outwards instead of straight down so that our plants would fit into our terrarium, so if necessary do so carefully.

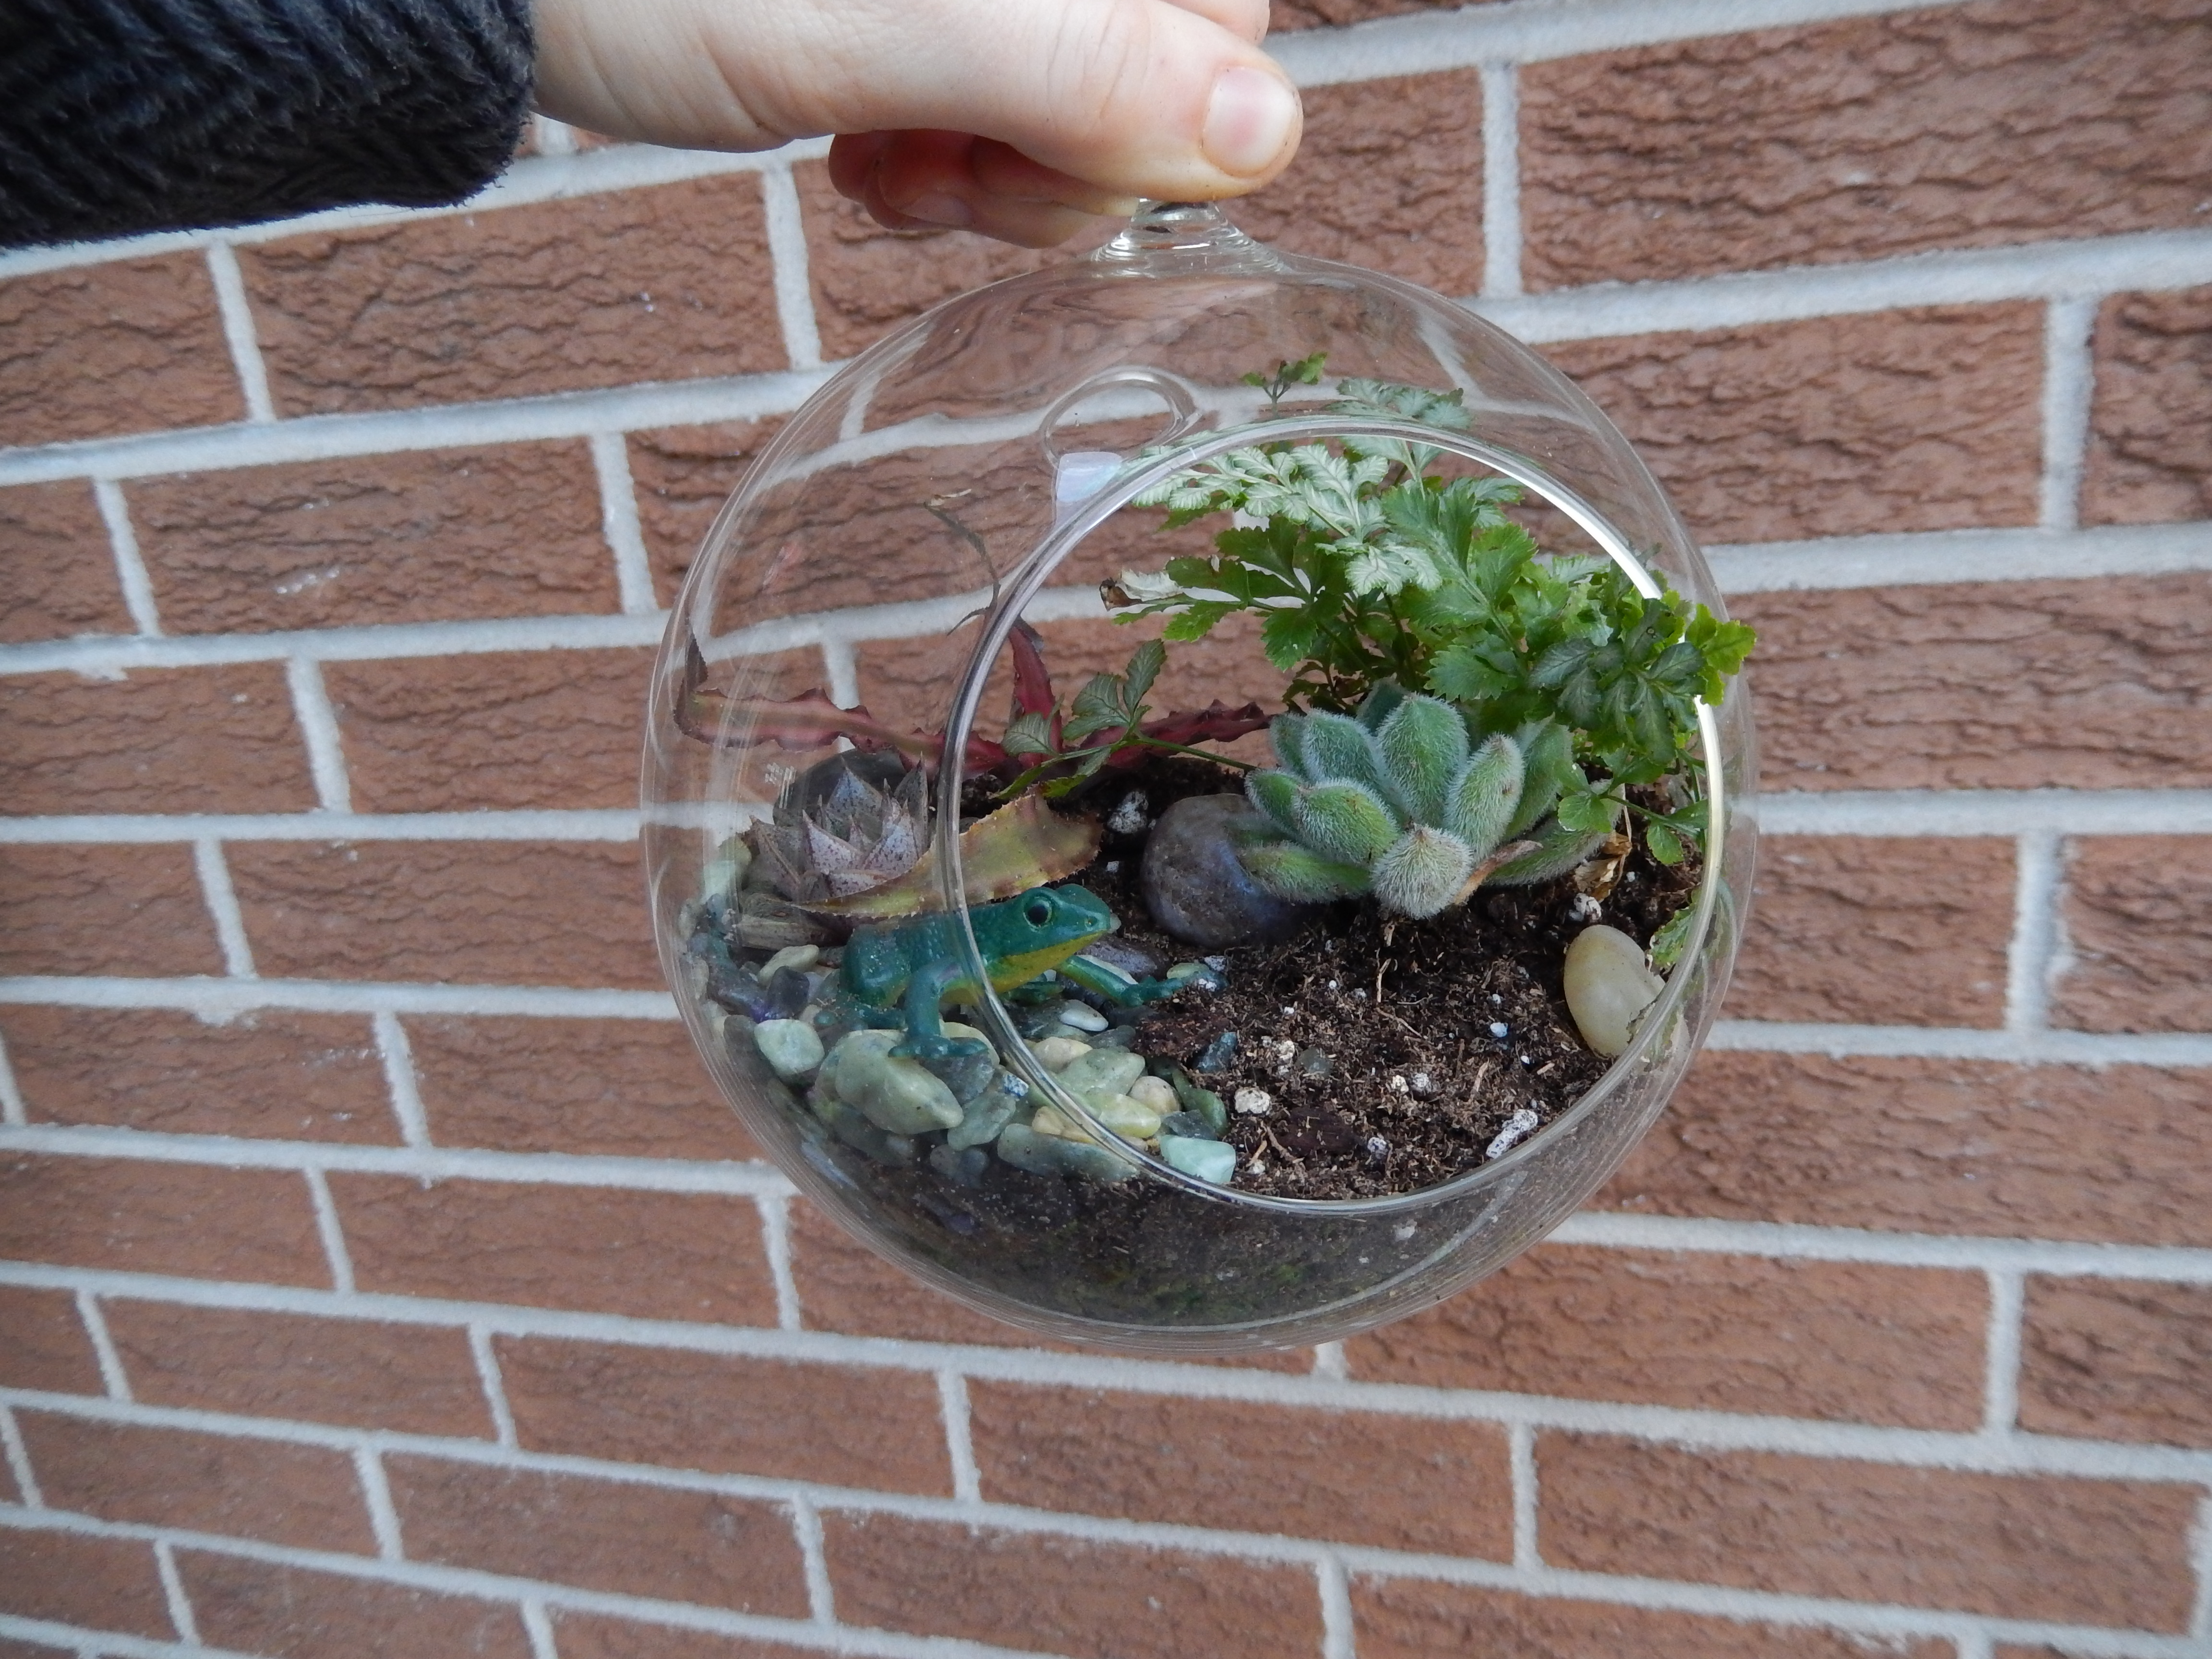
We added a little pathway of these pretty stones and a couple larger stones for décor and I let Gray pick out one of his plastic animals to add since it is going in his room. The mistake I made was not limiting the options of what he could chose from, leading to a meltdown because the 2 foot dinosaur would not fit in the less than 2 foot terrarium. In the end we settled on a little lizard. This was our first finished terrarium!

The one we made later for my room hangs from the ceiling since I had no where to else to put one, it was a bit smaller but turned out really well.
Terrariums recycle their moisture so they need very little watering, and once a moisture balance has fallen into place if your terrarium is enclose it can go up to a month without water. I was told that because mine was in the open air to spritz it twice a week. It should not be placed in direct sunlight, the sun will cook the plants through the glass, but indirect is fine. To help prevent rot you will want to remove any fallen leaves from your terrarium. If your plants leaves start to droop they may need some more water so give them a spritz. That is all for tonight, thanks for joining us and please come visit us again at Excite and Explore!

April 27, 2014 at 5:16 pm
Just an update, I have found that a turkey baster works really well for watering, it can reach the plants in the back and doesn’t mess up the glass.