Excite and Explore

One mom, one toddler and a passion for learning and adventure.


Leave a comment

Box and Ball Painting

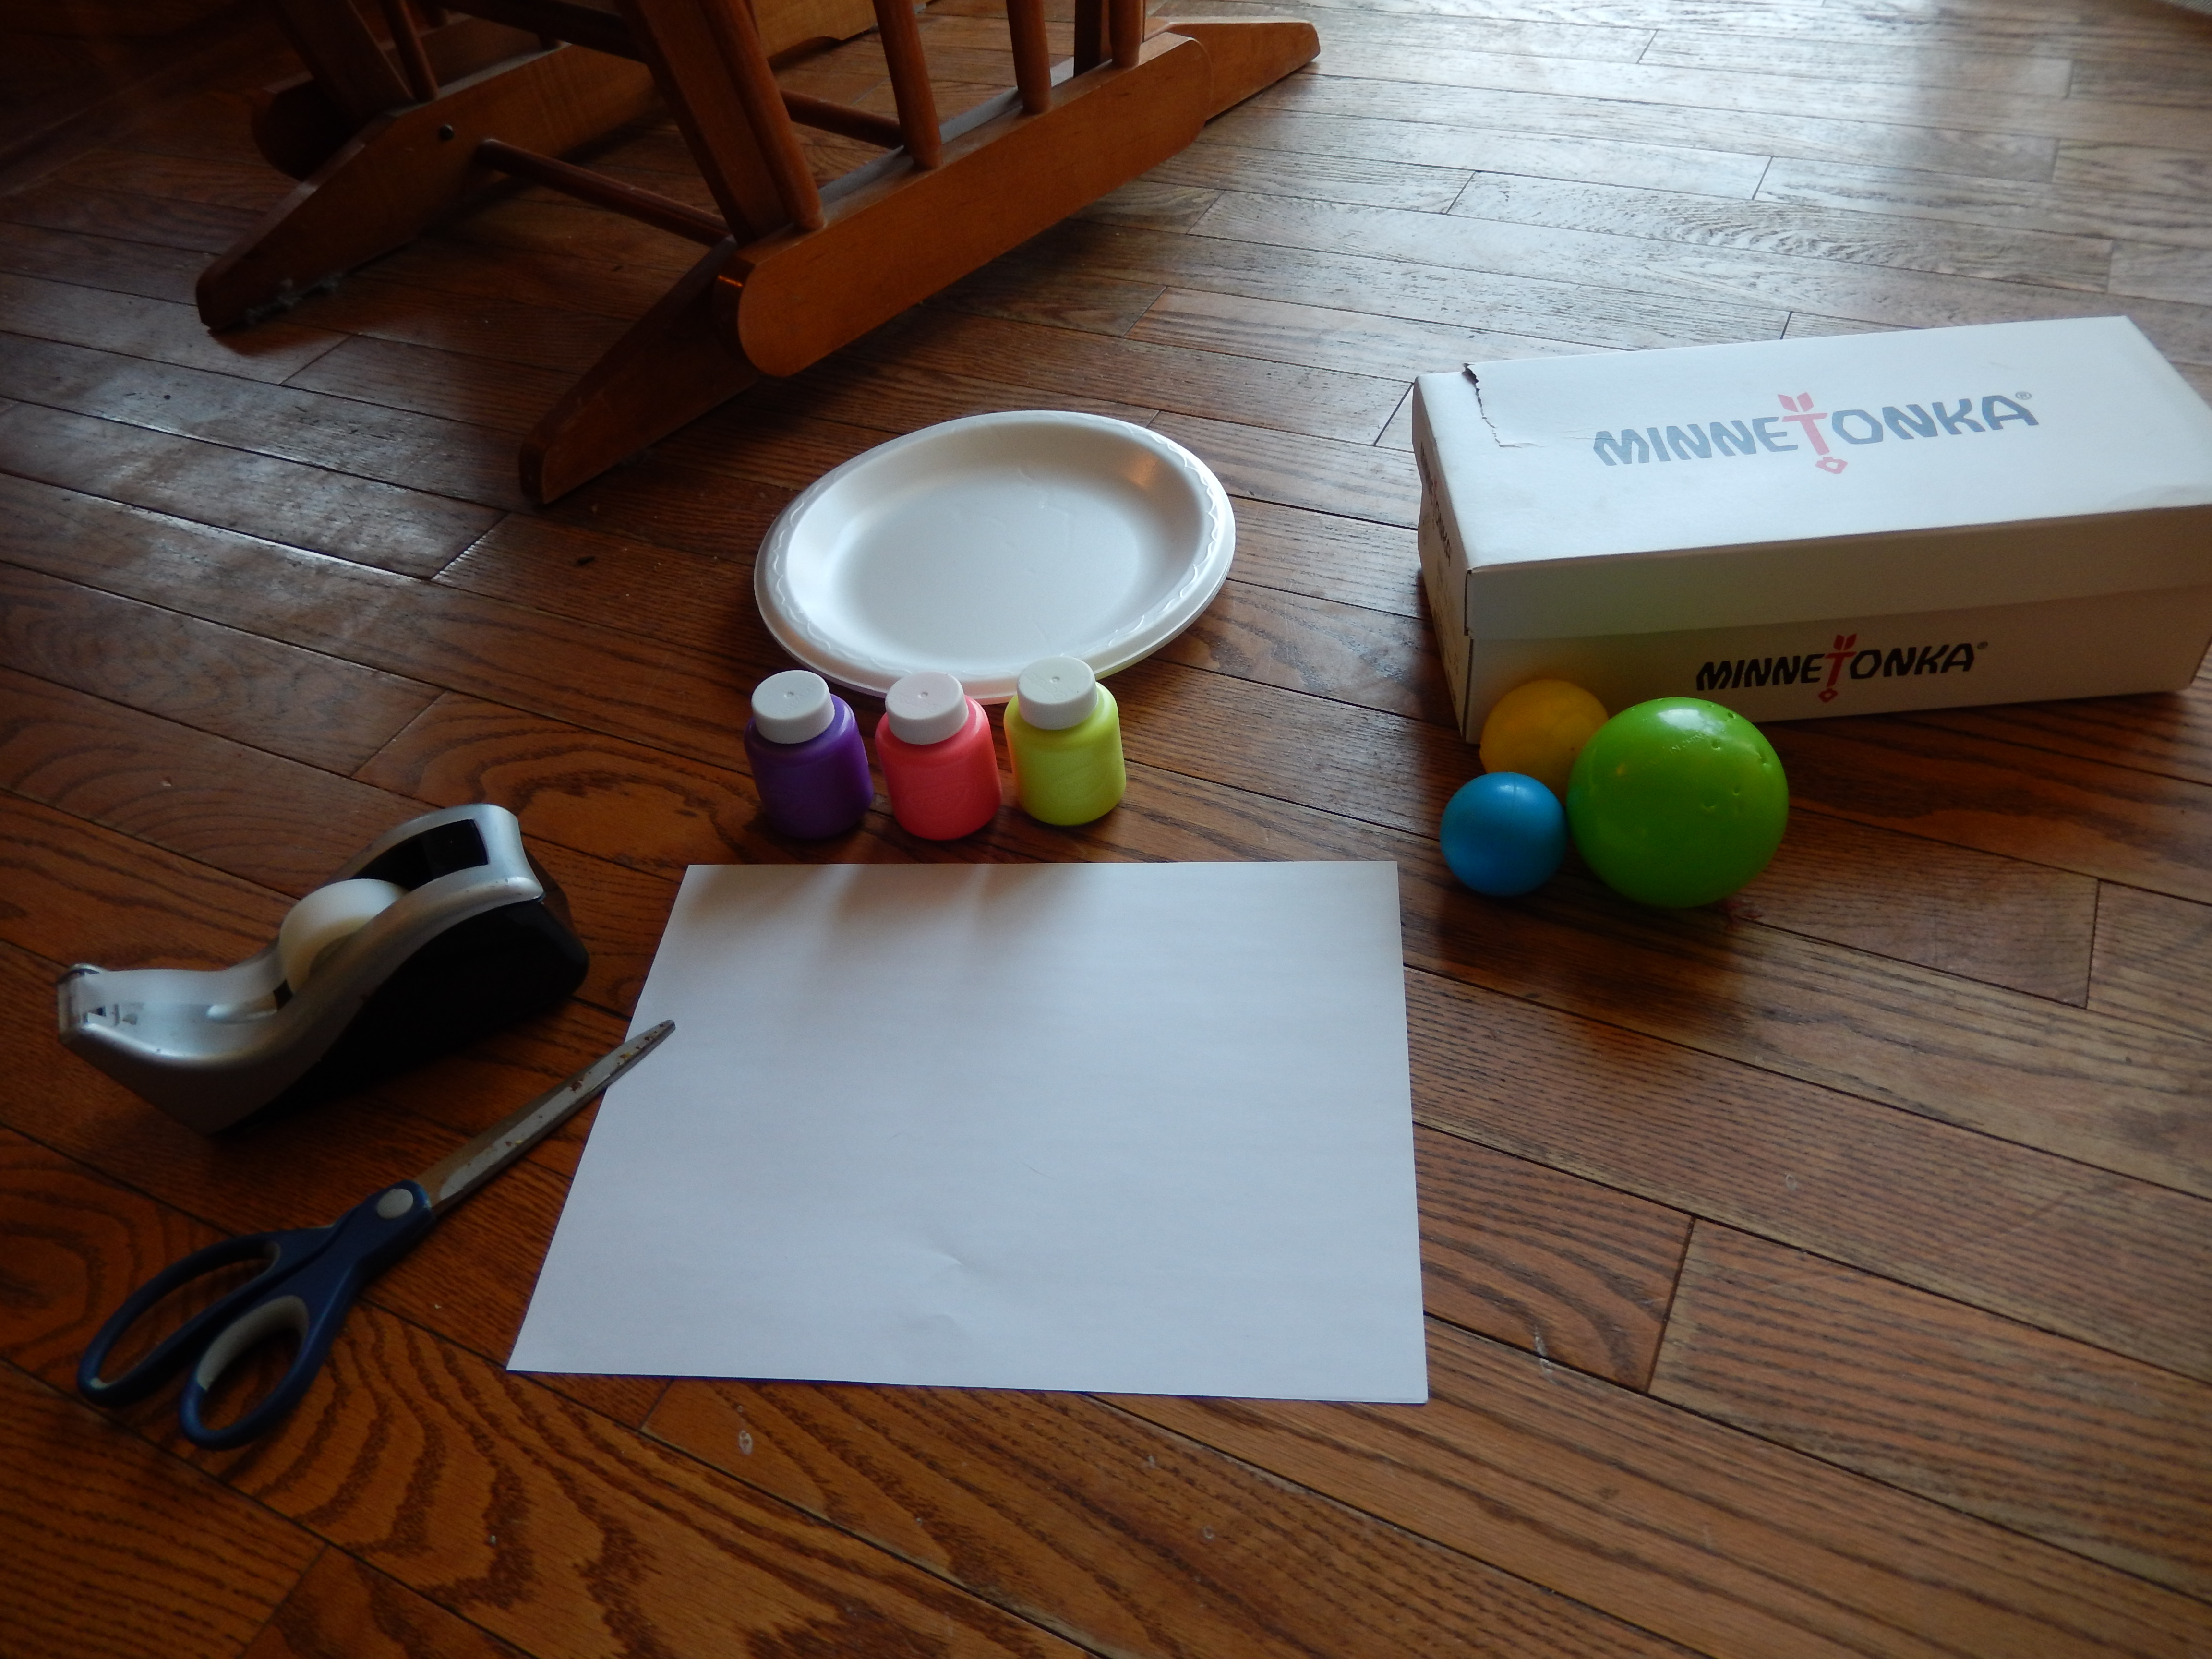
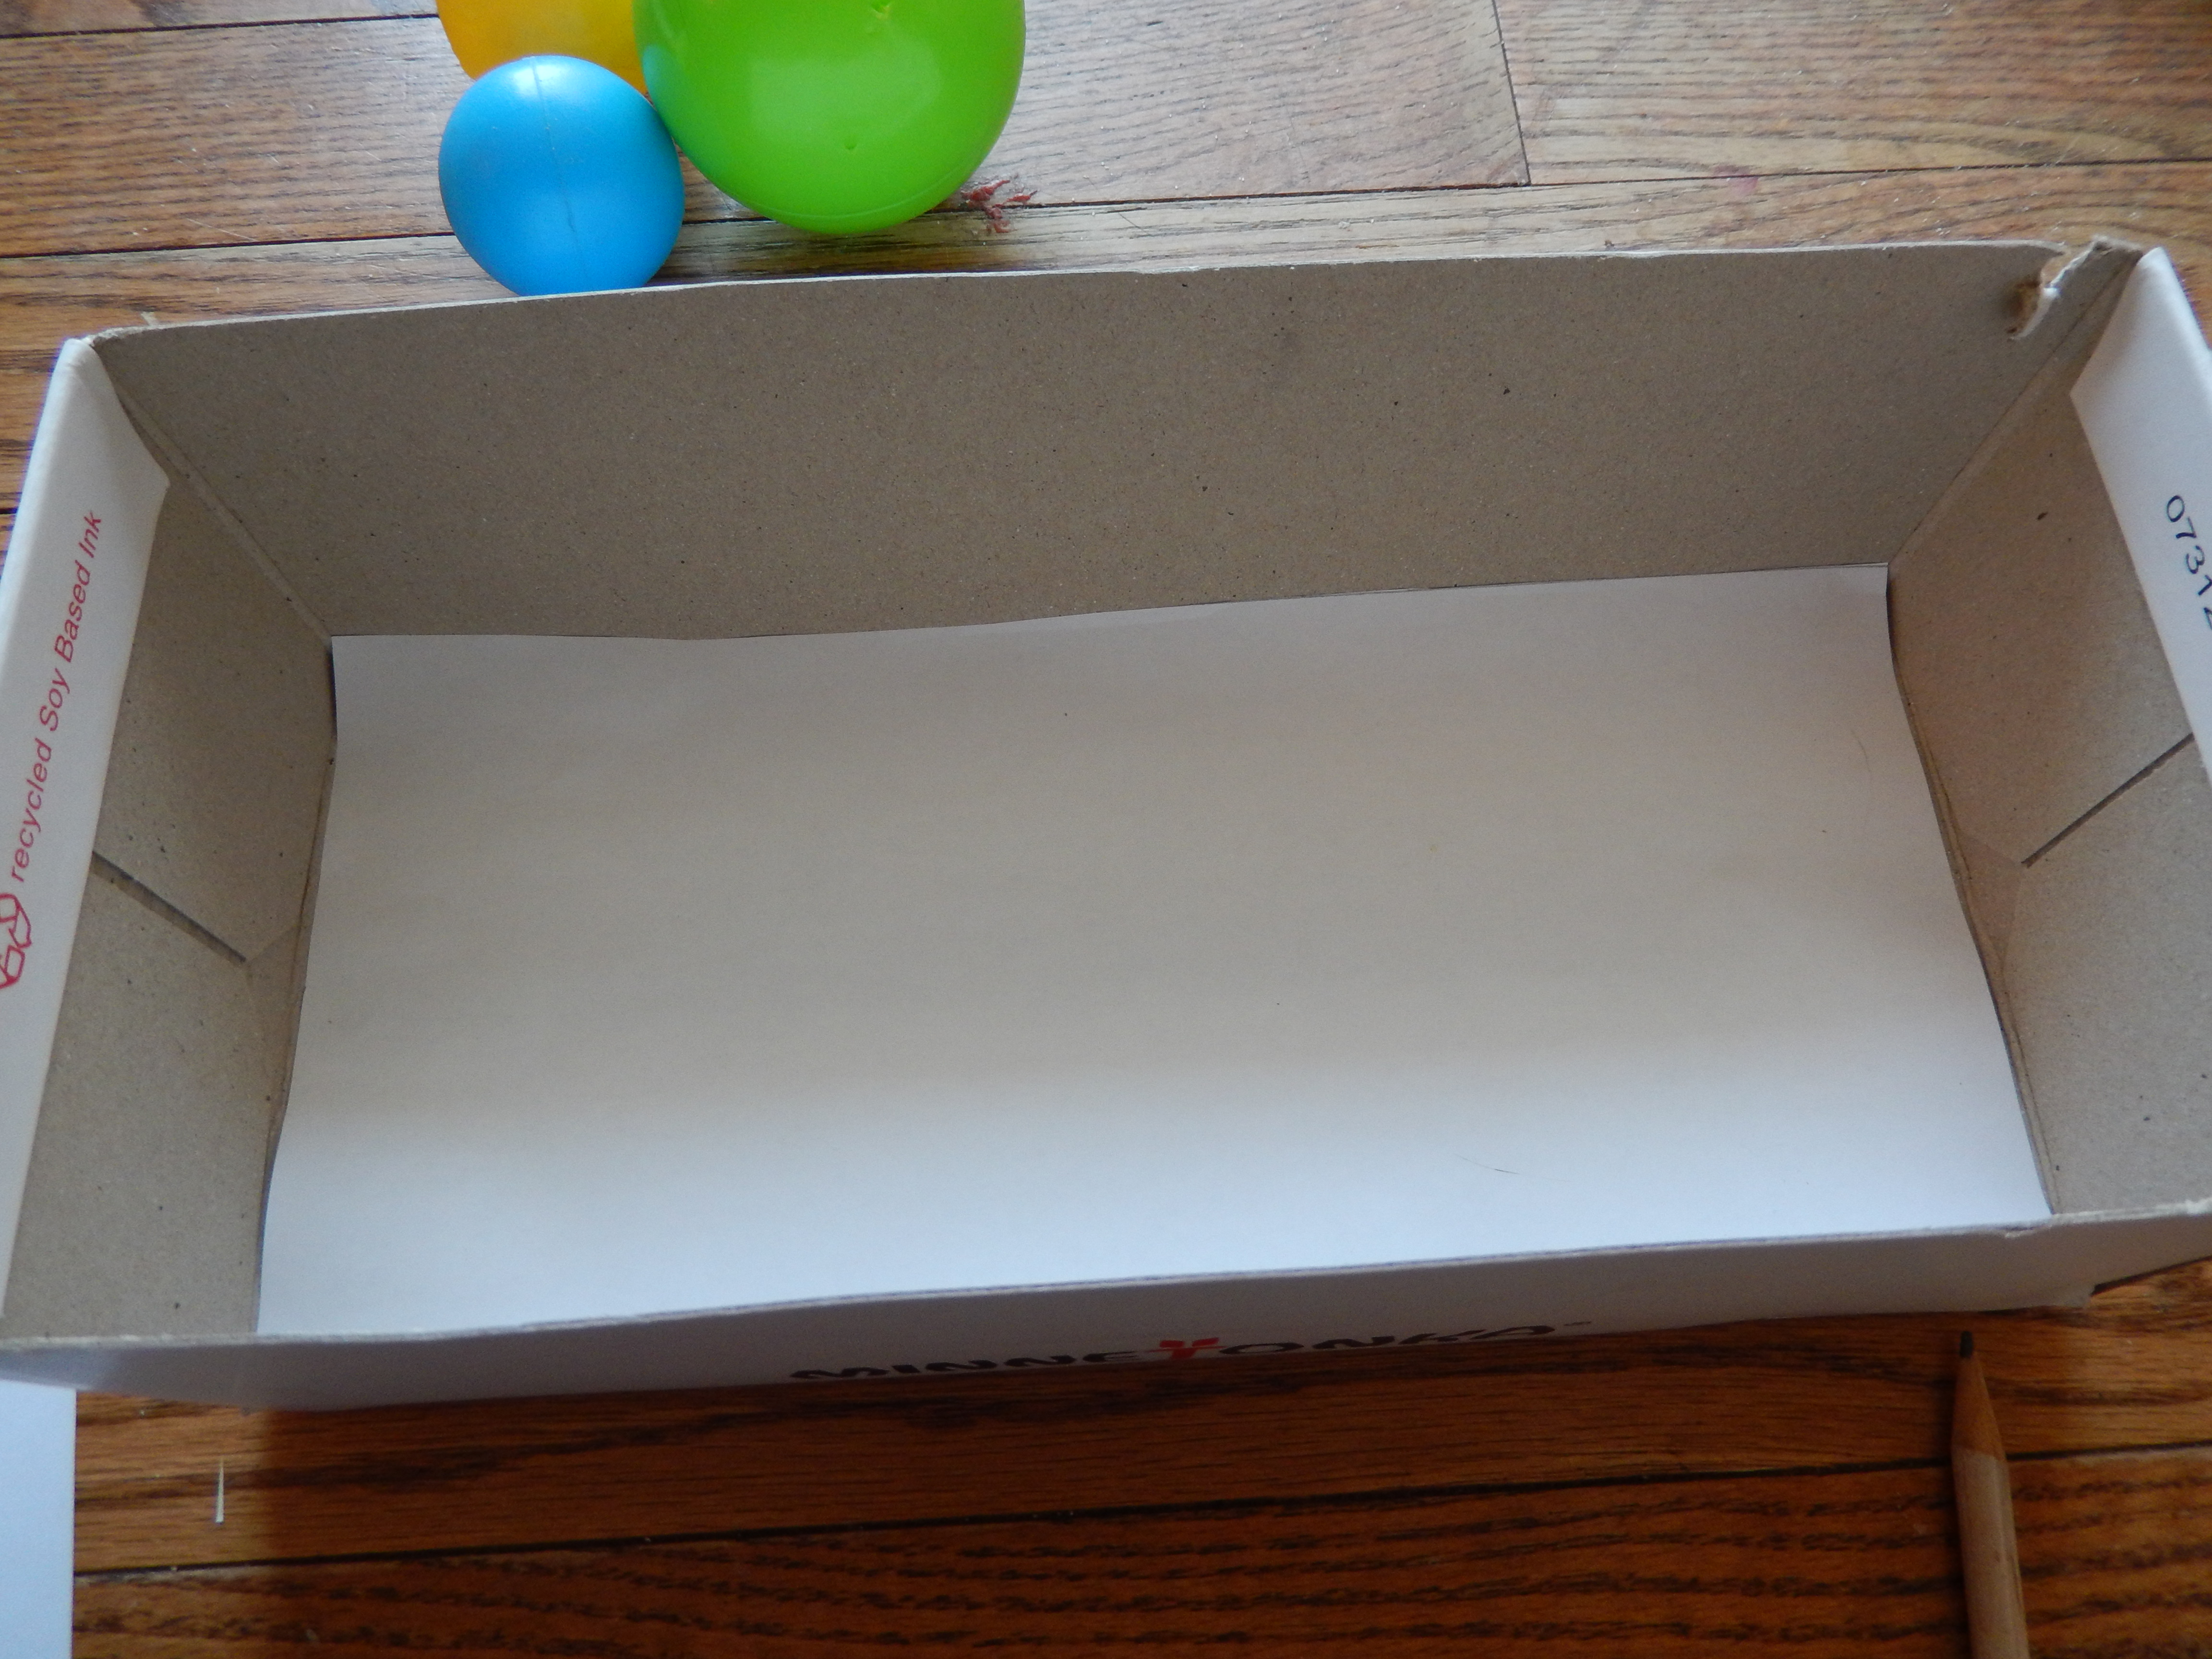
   We are finally all feeling better and getting back to some fun activities at our house! The other day we decided to try something a little different, and it was quite a bit of fun! For this activity you will need scissors, a piece of paper (we used a white piece of printer paper but if you want to go for some fun colours!) a shoebox, some tape, paint, a paper plate or pie tin and some type of ball (s) we used some little balls leftover from an old toy Gray used to have but another great option if you don’t have any of those lying around would be golf or ping pong balls.

Image

   Trace the bottom of the box onto your piece of paper and cut it out, then tape it to the bottom of the shoe box.

Image

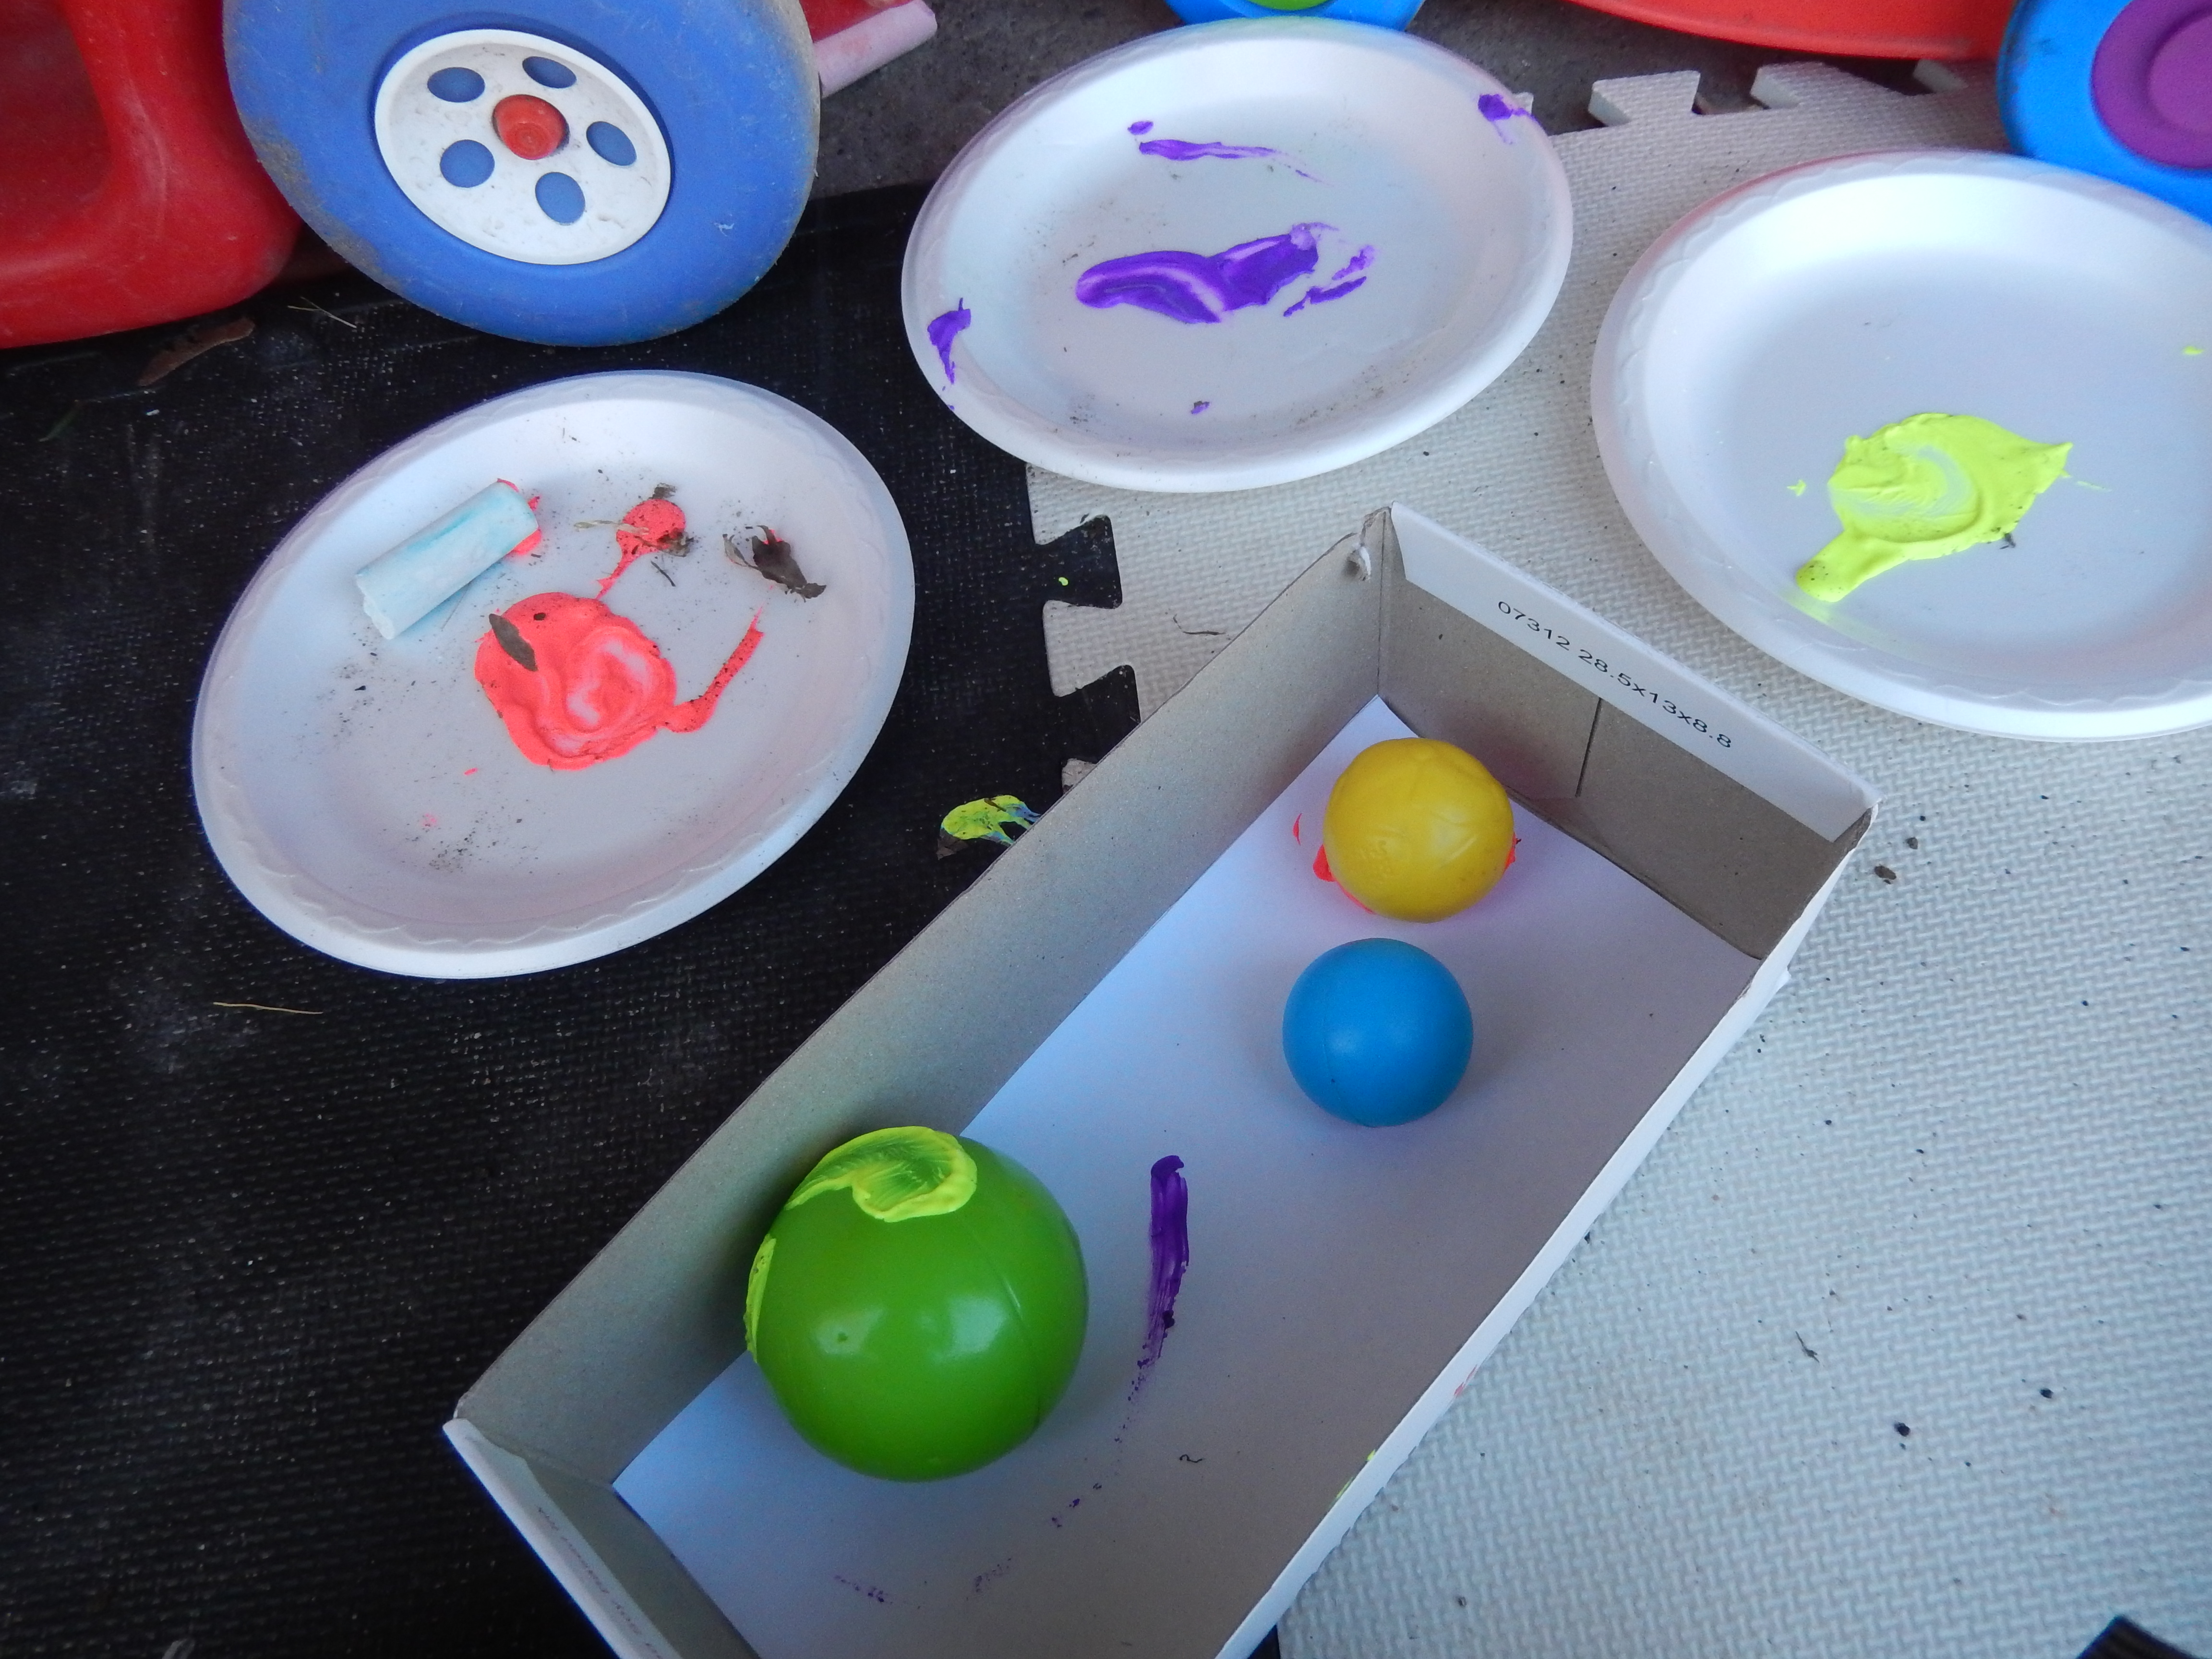
   Choose your desired colours (We used 3 since that was how many balls we had dug up.) and pour a small bit onto your paper plate, you don’t need a lot. Let your child dip one of the balls into each of the colour, coating as much of it as they like and place them into the box.

Image

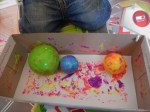
   Place the lid back on your shoe box and tape it shut. Then encourage your little one(s) to shake around the shoe box as hard as they can until they tire of it, or like mine get bored. Then open her up and remove the balls. (I gave ours a wash off and they are as good as new)


Image

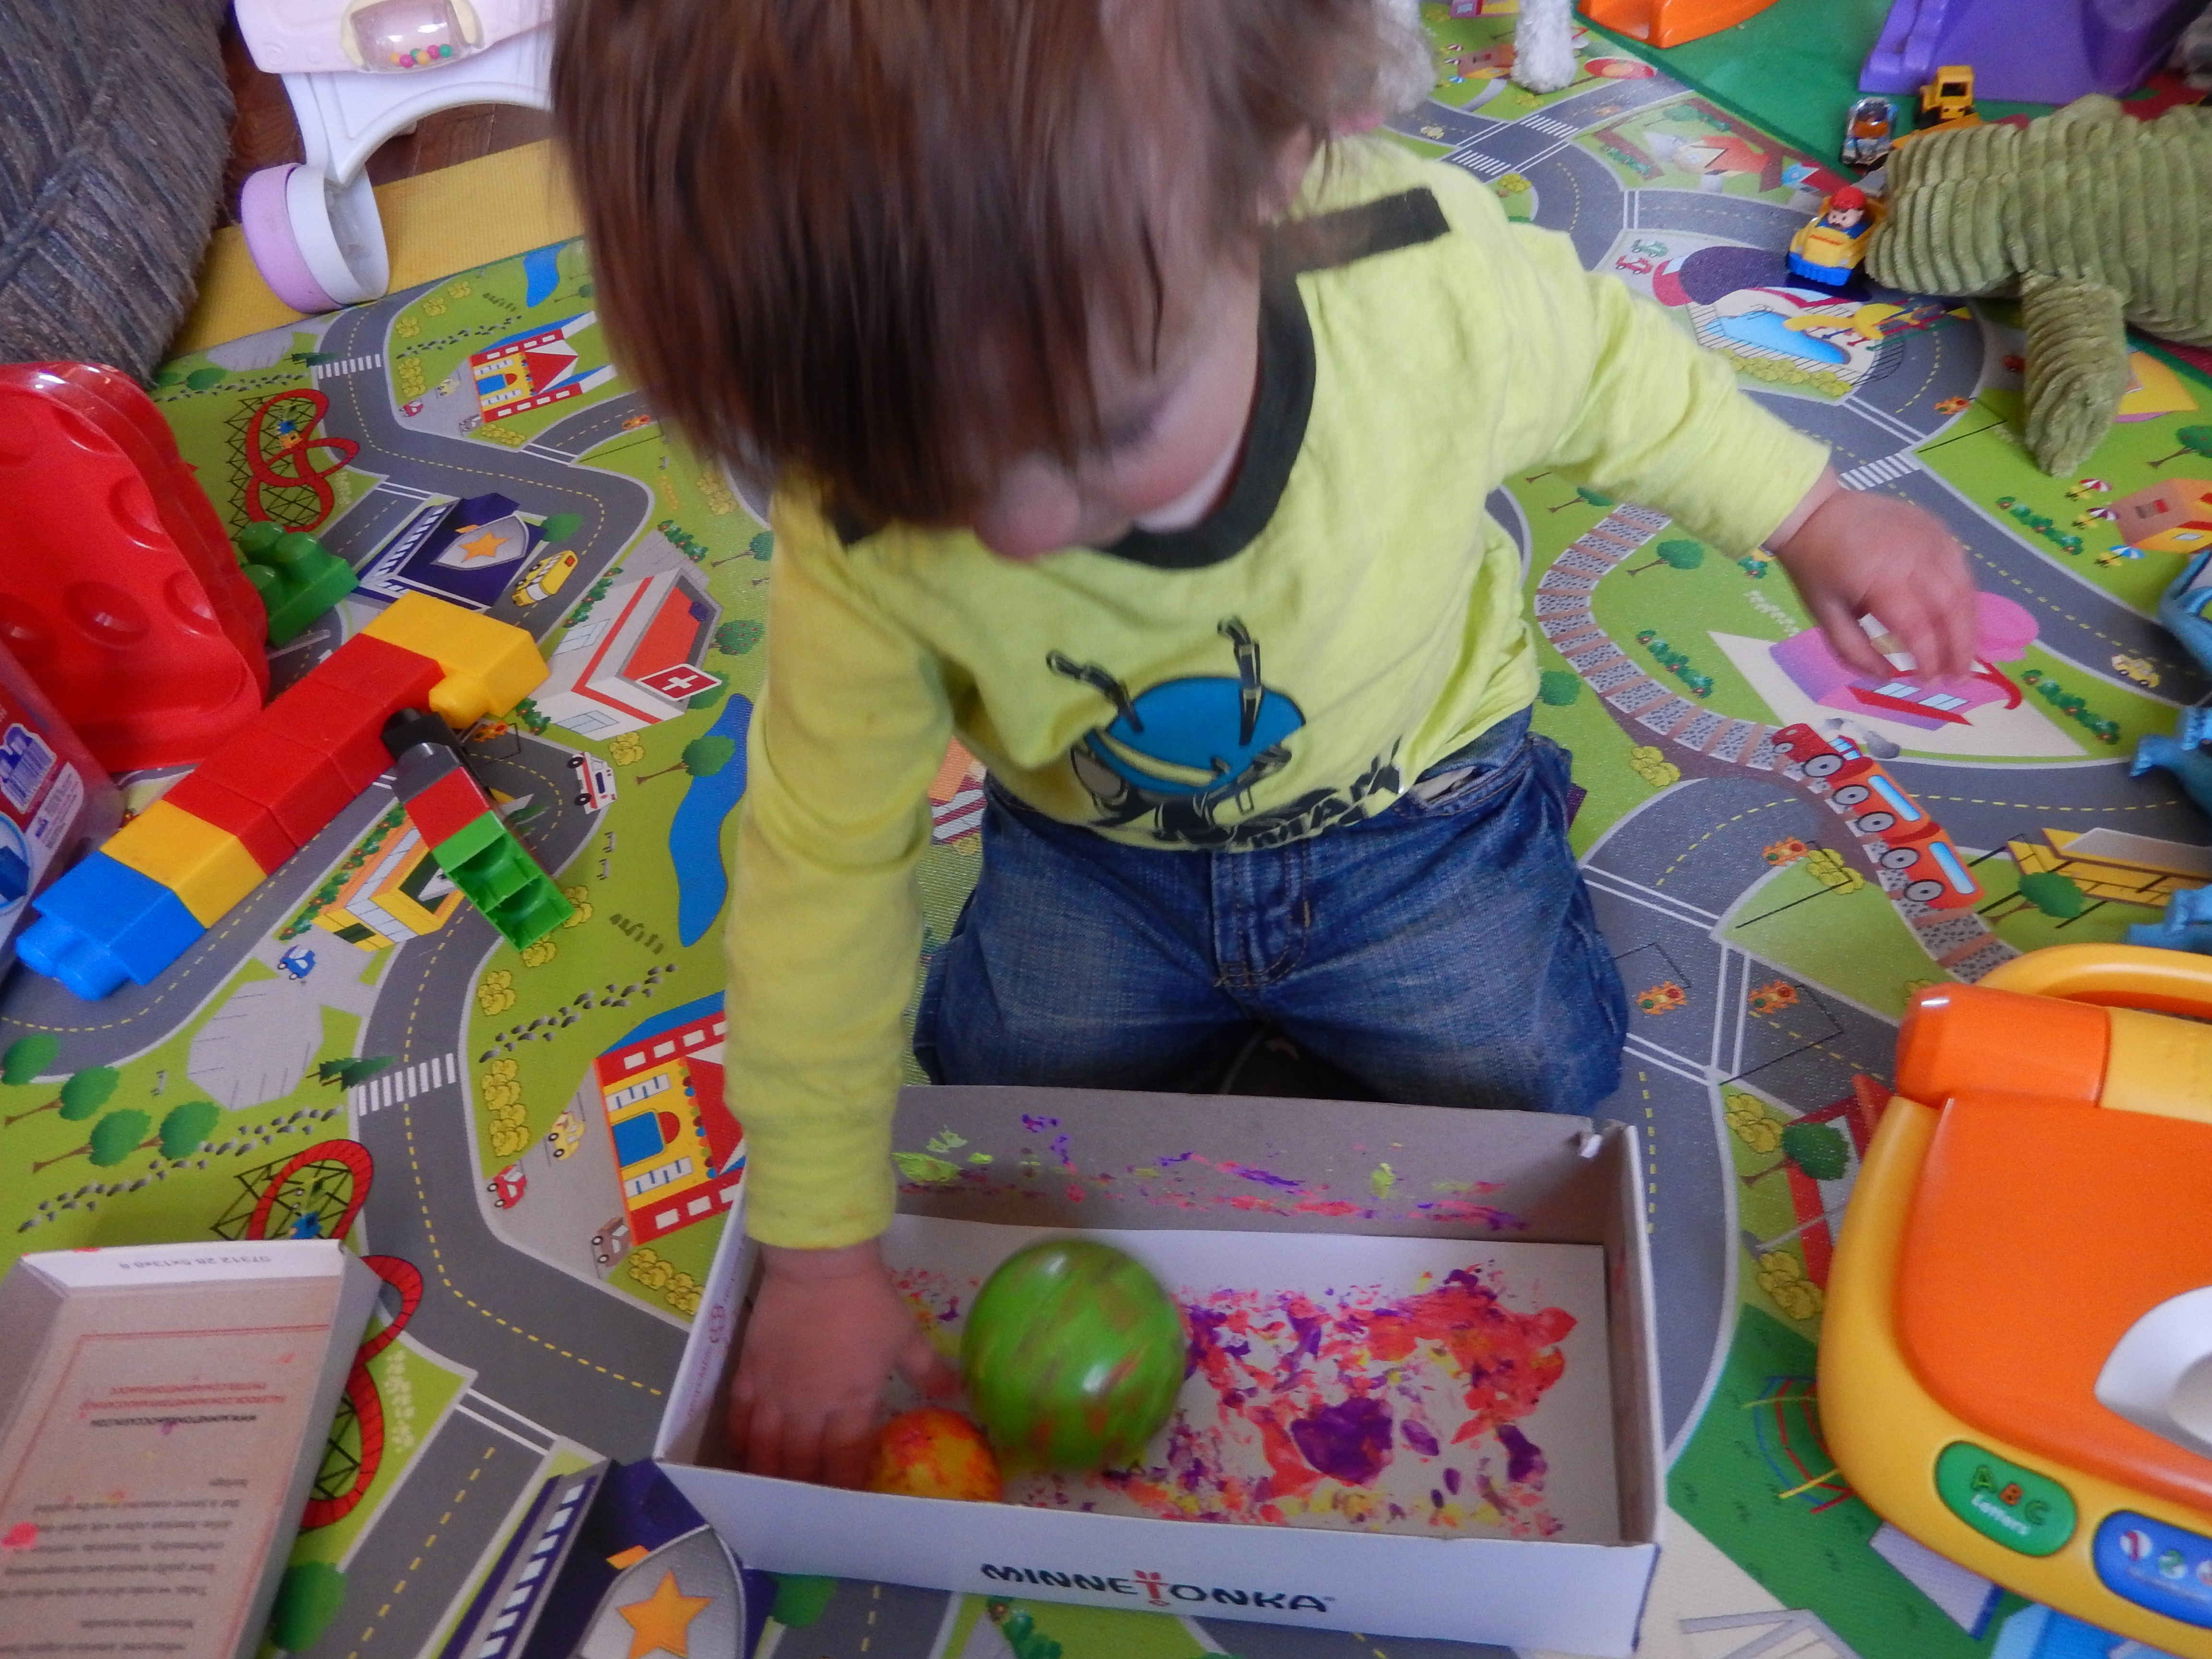
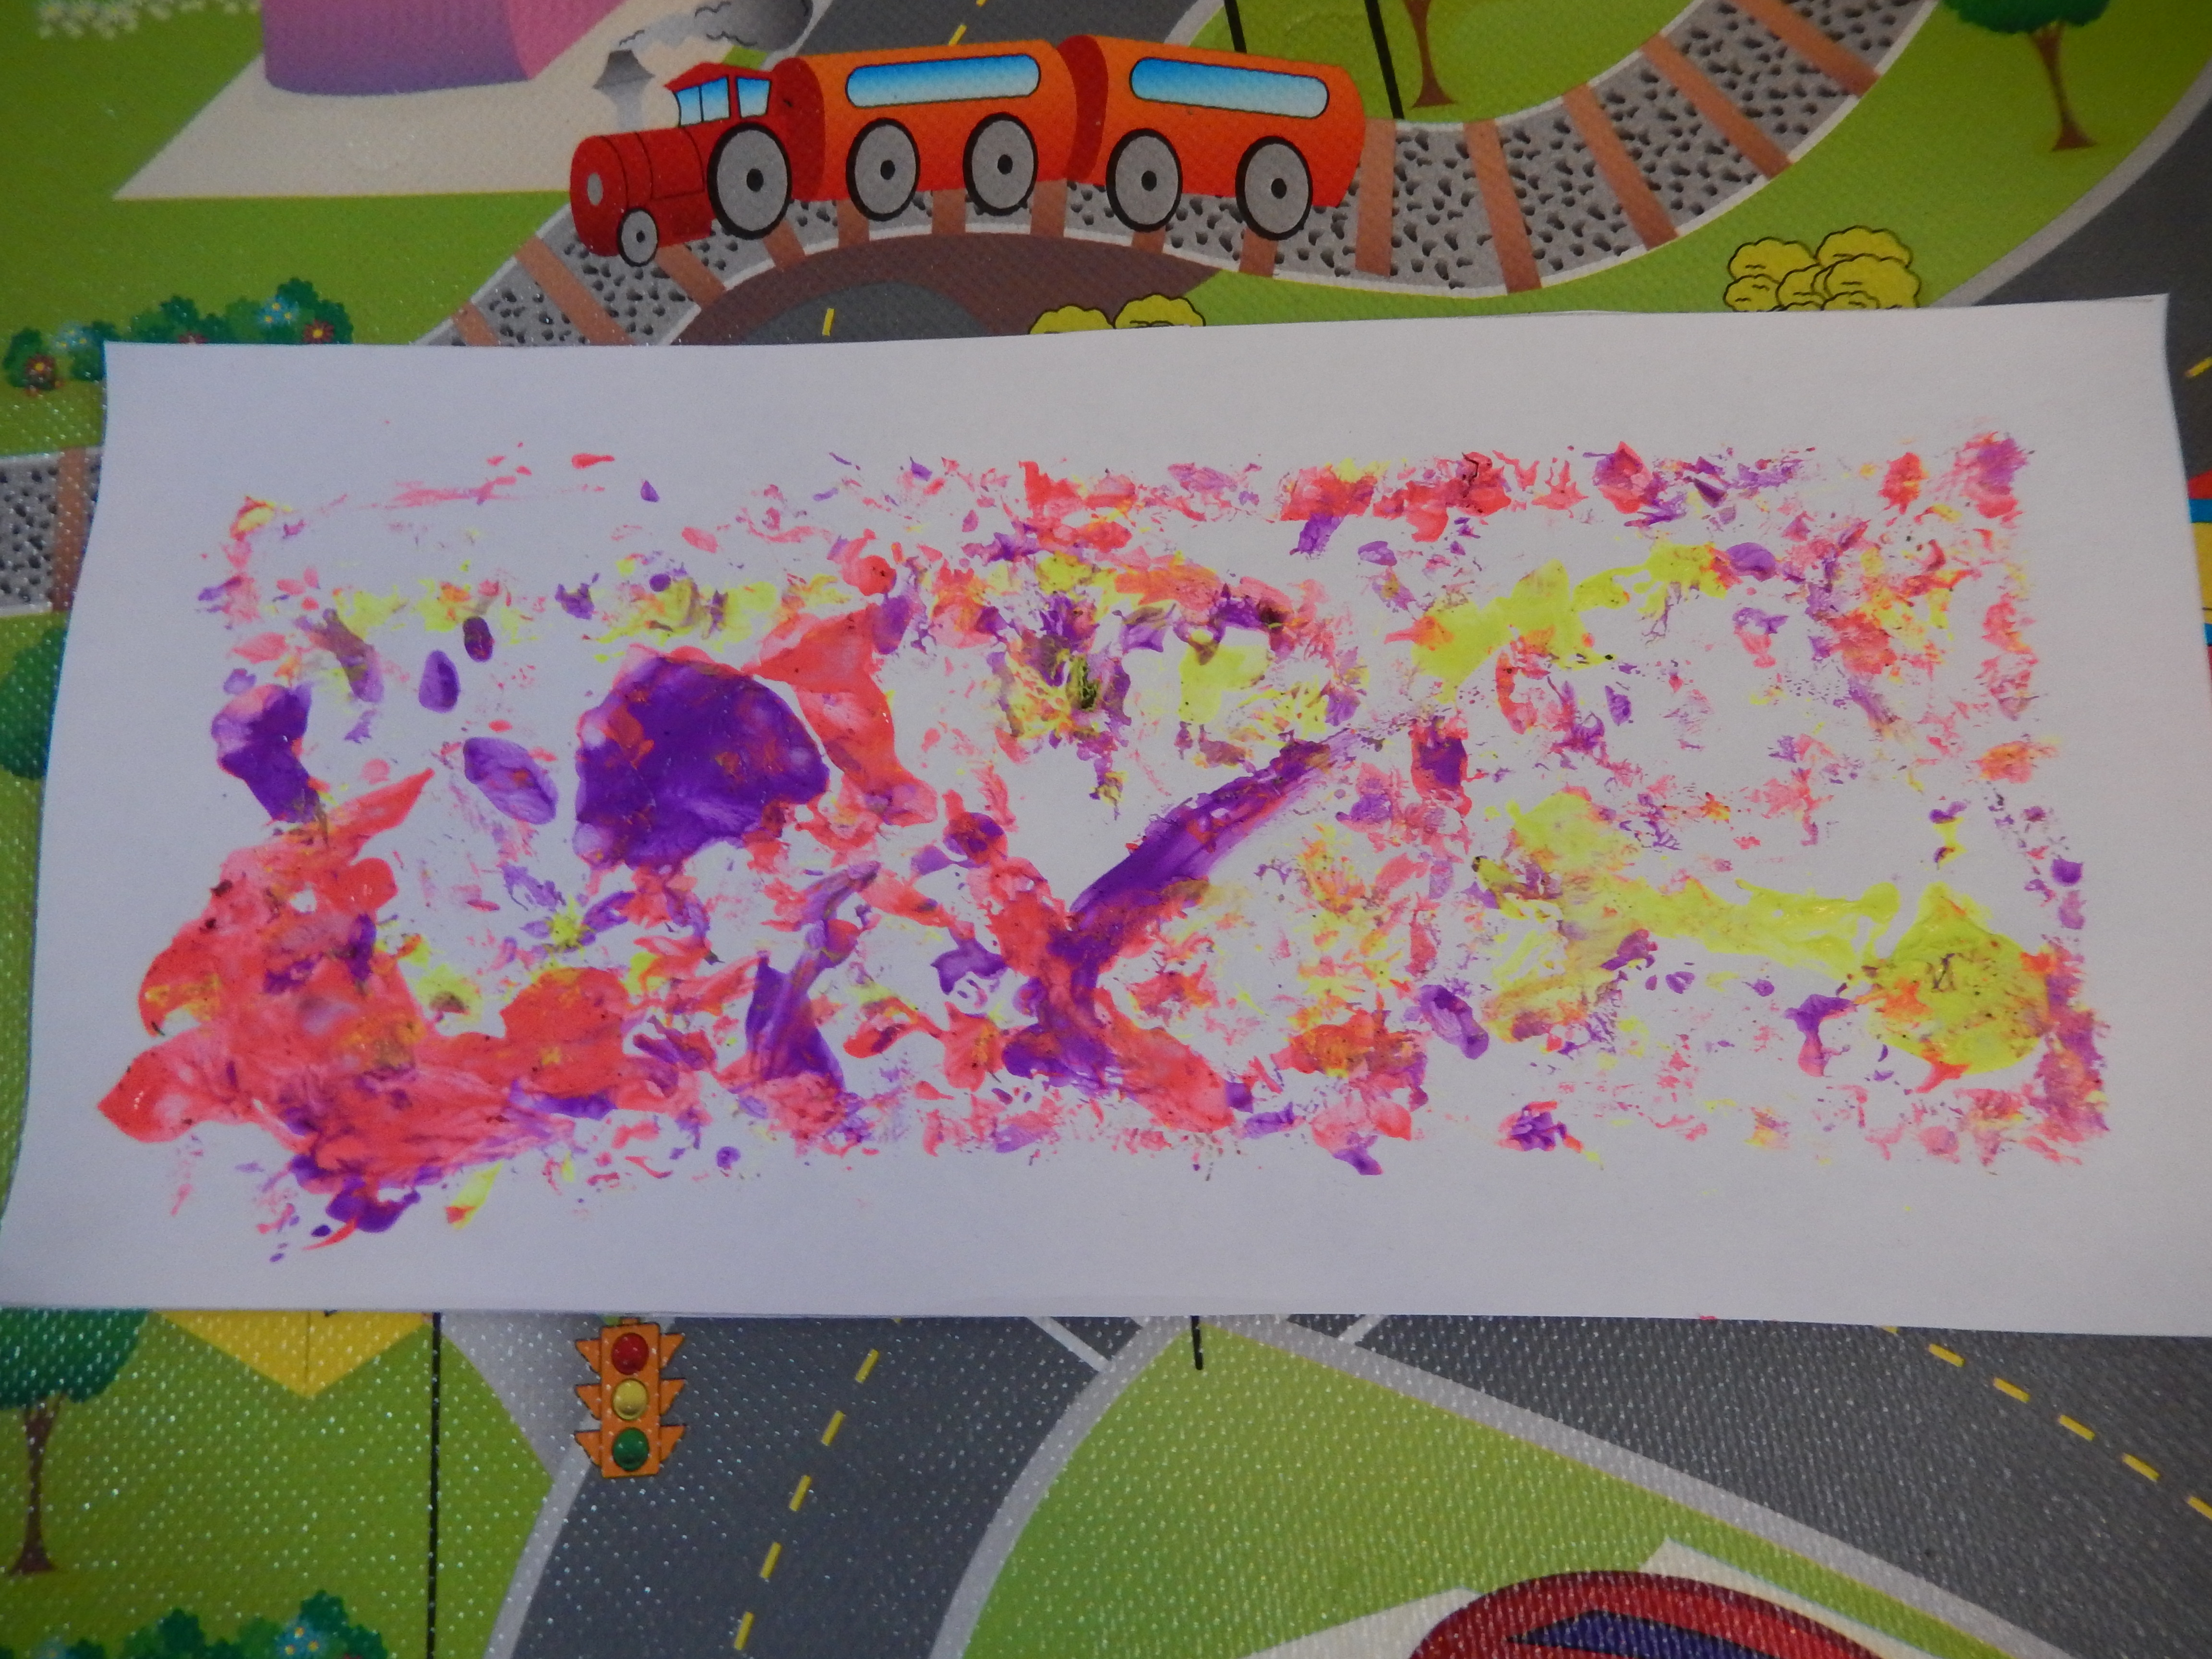
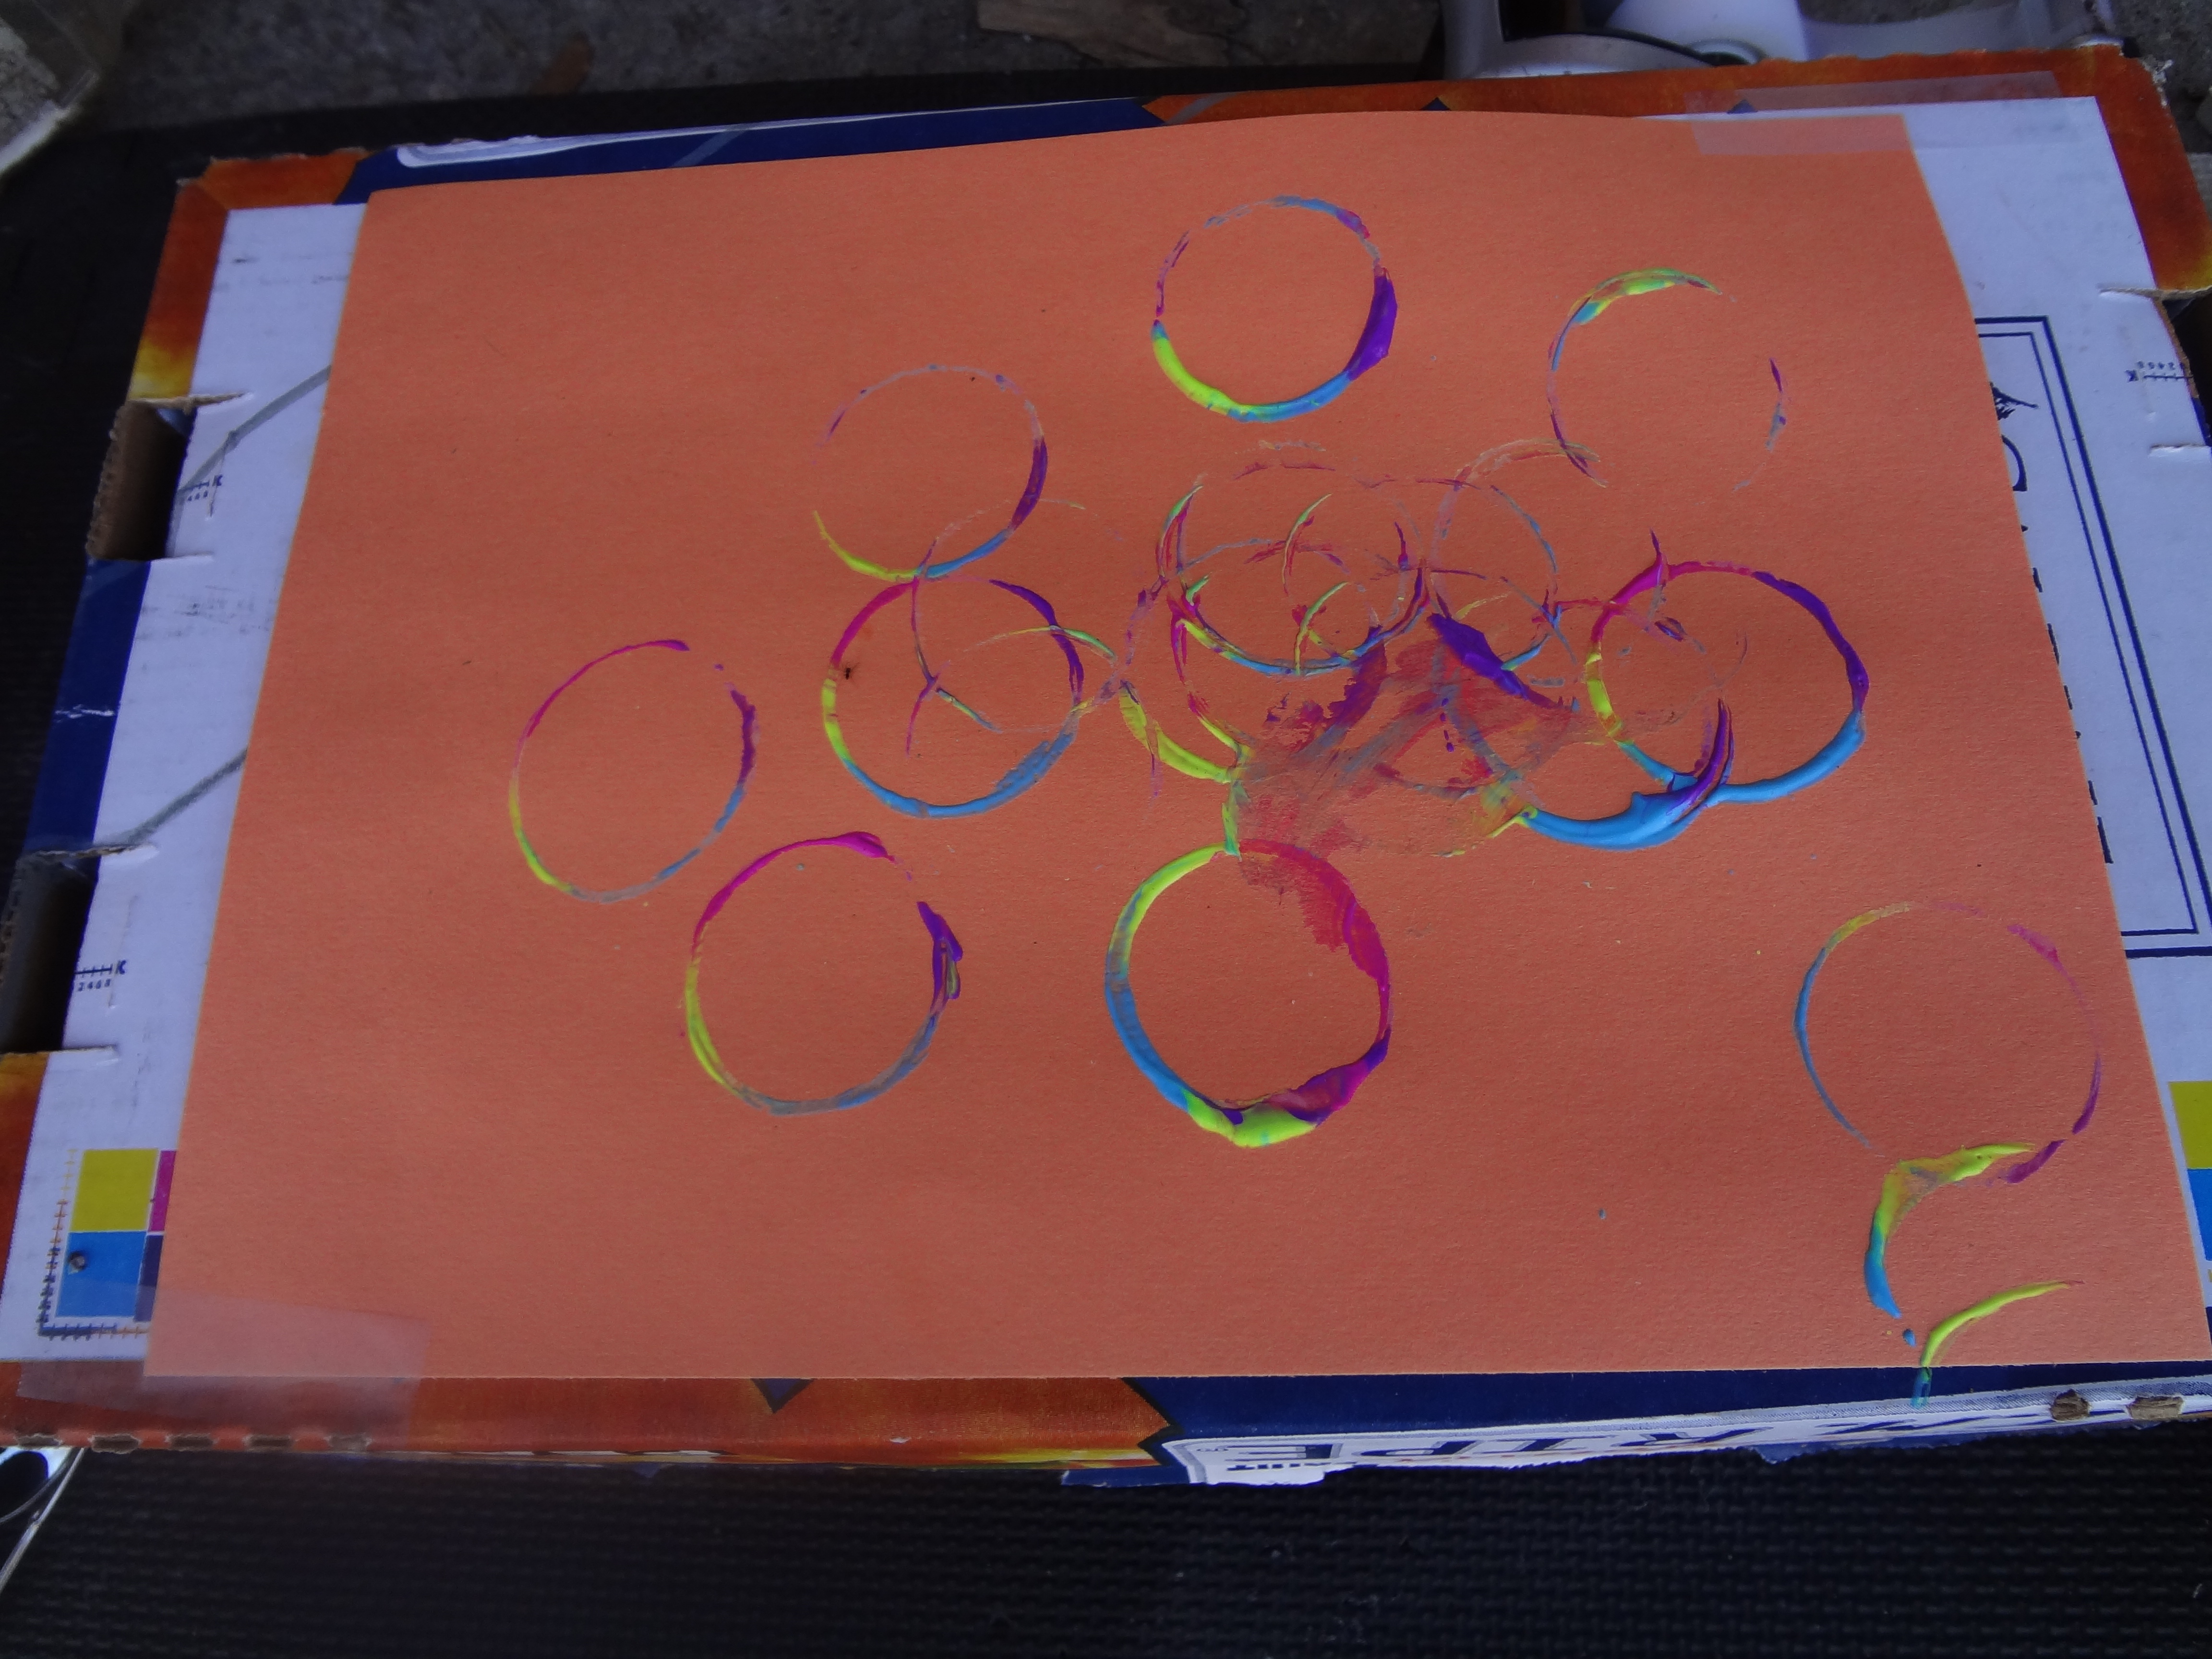
   You should be left with a neat looking painting that, depending on the size of ball you used, will probably have a border where the balls didn’t touch, an added bonus. This was our end product, feel free to add more paint and do it again or switch up colours.

Image


Leave a comment

3 Easy Crafts For Toddlers

cc06bc8d-ee52-4caf-b78c-c905fbaeadaewallpaper
It has been a very crafty week in our house, and I thought I would share our work with everyone so you can get crafty as well. First up we have a good craft to celebrate spring, our tissue paper tree. It is an easy craft that appeals to toddlers since they just have to stick the ‘flowers’ on. Start out with a couple of pieces of coloured construction paper to make your tree trunk and leaves. Cut out your desired trunk and tree top and glue them together, then cut out a piece of contact paper and tape it to the outside of your tree top.
DSC02565(1)
Cut around the contact paper to regain your tree top shape.
DSC02566(1)
I scrunched up tissue paper into little puffs for our flowers and put them aside and your tree is ready for your little one! Once ready peel of the outside of the contact paper and let them have at it.
DSC02576
Next up is another simple on perfect even for babies as well as toddlers and requires virtually no set up. The contact paper collage! I taped a piece of contact paper to the window and provided lots of fun doodads such as pipe cleaners, paper flowers, yarn bits and buttons. We are working on colours so I named all the different colours as he stuck them in place, and he had an even better time pulling the pieces off and sticking them back on again.
DSC02590DSC02591
Earlier in the week I was at a craft store and they had finger paint in these awesome neon colours so I grabbed some. This one is a classic, we used to do it when I was a kid. All you need is some paint, a toilet paper roll and some paper. I set this up in the garage for messes sake and we stamped away, dipping the toilet paper roll (by which I mean the cardboard tube found inside) into the paint and stamping it on the paper. My little guy really liked this one, and it brought back a lot of good child hood memories for me.
DSC02592
This was our finished masterpiece.
DSC02594
That was our week in crafts, I hope you get a chance to try out some of these simple toddler crafts at home and thank you for joining us, please come again!