Excite and Explore

One mom, one toddler and a passion for learning and adventure.


2 Comments

Edible Summer Luau Sensory Bin

   The weather is beautiful and we felt like celebrating the start of summer with some sensory play. I recently saw this awesome post on Blog Me Mom with this amazing Edible Sand Recipe and knew we had to try it! I just want to take a minute to rave about this recipe, it is incredibly simple, smells amazing, and feel just like sand while at the same time being edible so it is perfect for little ones who like to put whatever they touch in their mouths. We whipped up a small batch in green and pink, which Gray loved helping to make.


DSCN0505
DSCN0507
   Then we put it away until after nap time, because he was getting a little worn out. While he was asleep I added some luau flowers, sea shells and a little plastic beach shovel and it was ready for play! I set it up on top of a plastic picnic table cover for easy clean up and when he woke up I put out the little bin.

DSCN0508
He plucked up the shovel. My son has always been a bit reluctant with sensory play until he has had some time to poke and prod at the base material with a scoop or shovel, but once he is used to the idea he usually dives in. He had a great time scooping sand with the shovel and shells and just mixing it around in his hands, and I think in the future we will have to make a bugger version of this recipe for more play.

DSCN0544
DSCN0548


3 Comments

What To Do With A Water Table?

   As always we are always looking for fun new toddler activities to do, and this week I pulled out the water table and (after a good scrubbing with a magic eraser) it was ready for some time to shine! I went searching for some inspiration for some unexpected ways to play with our splash works and thanks to my fellow bloggers I was not disappointed! The weather is getting warmer, so here are some fun ways to cool down while making the most out of your water table!

1. Dinosaur Sensory Bin – Fantastic Fun and Learning

  I thought this was the coolest idea! Make a fun for kids dinosaur mini world right there in your water table!

Image

2. Water Beads – Excite and Explore

Why not fill it up with these slippery little balls, a neat sensory experience for your little ones, my son loves this! I sounds odd but I myself find running my fingers through these to be so relaxing, I even had a dream that we filled a pool up with them and it was glorious! Keep in mind that they can be a choking hazard so keep them away from small children or those you worry will put them in their mouth. Always supervise when using water beads!

Image

3. Colourful Foaming Water – Life With Moore Babies

Who didn’t love bubble baths as a kid? So why not bring the foam (and colourful to boot) to the water table!

Image

4. Sensory Spring Water Table – The Pleasantest Thing

It is spring, the dandelions are plentiful, why not?!

Image

5. Coloured Ice Play – Excite and Explore

It is getting warm out and it will get warmer! Cool down with some coloured ice play!

Image

6. Beachcombing in the Water Table – My Nearest And Dearest


What a great way to bring the fun of the beach home with you!
blue-shell

7. Colour Sort Water Table – Frogs and Snails and Puppy Dog Tails
Want to squeeze in some learning while you are at play? Check this out!
colorsortwatertablefspdt
I hope we have been able to help inspire you today, I know we will be having a lot of fun with our water table this summer, we would love to hear some more ideas or feedback, thanks for joining us at excite and explore!


6 Comments

Coloured Ice Play

   So recently I saw this neat post on Learn Play Imagine about coloured ice play and I thought we would give it a try and share some ways to play with coloured ice. It is really easy to make, and we used the put the food colouring in the ice cube tray before water method, which left us with really nice, evenly coloured ice. I put two drops of food colouring for each ice cube and added water.

Image

   I also made some bigger pucks using more food colouring and some glass cups.

Image

   I left it over night in the freezer, and since the weather was lovely today I pulled it out in the afternoon to have some fun. (I turned on the hot water and ran the sides of the cup under the water to loosen it to get the pucks out.)

Image

   I left the cubes in a bowl by the water table and released the toddler, after stripping him to his diaper and a hat since I wasn’t into scrubbing food colouring out of his clothes. He was really curious as to what exactly these were, so in typical small child fashion he tried to eat them, but once he discovered that they weren’t anything special he started off by using them as building blocks, which was quite the challenge since, being made of ice, they were pretty slippery and slightly rounded from the mould.

Image

Image

   I dubbed this our castle. I had a sudden thought and brought out a Kleenex and we put three different coloured ice cubes on it and left it on the deck to melt.

Image

   Which melted into this really cool tye-dye like piece, that we hung up to dry in the sun.

Image

   Then they went into the water table, swirling around and colouring the water. This was all done in-between attempts to eat the ice cubes, since he seemed convinced that they would taste different than the last time.

Image

Image

   That was our adventure with coloured ice! We would love to hear your ideas for playing with this cooling activity, thank you for joining us at Excite and Explore!


Leave a comment

Under the Sea Sensory Play

   What a time of the year! The weather is lovely, the flowers are blooming and it isn’t boiling hot out yet! It has been really warm however, so to cool down a bit I whipped up a fun Under The Sea Sensory Bin for the little man to play with out on our back deck, incorporating some water play and imaginative play with a fun sensory experience. This is a really easy bin to make, it took maybe 5 minutes to whip up and has provided hours of entertainment so far. I used the small rock/gravel you put on the bottom of fish tanks that we had left over from my sons fish tank ( Grandma took him to the pet store to ‘look’ at the animals and when they came home they had a small friend. ) some rocks and plastic coral as well as a fake plant also meant for a fish tank. I added some plastic underwater animals such as fish and whales to the bin and it was ready to be filled up.

Image

   I filled it up with water from the garden hose and it was ready for little hands.

Image

   As he explored the new bin we chatted about the different animals in the bin and I named them as he held them up for inspection. He really liked the gravel, it was something new for him to dig through and feel and of course there were lots of splashes. I’ve been keeping this bin outside simply because the weather is nice enough for it and that way there is little mess to clean up once he wanders of to do something else.  That is all for today folks, thank you for joining us at Excite and Explore!

Image


Leave a comment

An Invitation to Play With Lavender Calming Playdough

   It has rained all week, and I don’t mean sprinkled here and there, I mean poured. We have been going a little stir crazy being stuck in doors so much and when the little one woke up from his nap today he was angry, at everything and anything. He cried and screamed and threw his toys and thrashed when I tried to hold him. I’m still not quite sure why this happens but sometimes he just wakes up mad, though it seems to happen when he hasn’t slept as long as he usually does. Once I got him calmed down I decided we were going to take another shot at playdough. I tried playdough when he was, maybe 11 months old but he really had no interest in it and I think he was just to young. This is a really simple playdough recipe that is no cook, because he just wasn’t up for hanging around while I made a cooked version and it turned out really well. It is as follows:

1 Cup of Salt

1 Cup of Flour

1/2 Cup Water

Food colouring ( We used 14 drops of red and 14 drops of blue to get our light purple colour)

Lavender Essential Oil

Combine in a bowl your salt, flour and water. Add in your food colouring and mix. We mixed ours with our hands, because I was feeling lazy and didn’t want to wash the mixer. This was actually surprisingly difficult to do by hand and while trying to mix in our food colouring I had to take a break because my arms and hands were sore and our dough still looked like a mixture of blue and red streaks which made some type of American Pride type dough, which while nice was not our objective. I probably should have gotten out the mixer but while I like to do things the easy way I am also stubborn and something inside me had already decided that I was doing it by hand ( I’m pretty sure my spirit animal is some kind of mix between a donkey and Jenifer Laurence.) so I added in a shake of lavender oil and kept going. What I’m trying to say but will never admit is that you may want to get out your mixer. It turned out really nicely (eventually) and I gathered some materials and set up a little invitation to play for the wee man. If you are unfamiliar with an Invitation to play here are some excellent articles than can explain it in greater detail.

http://theimaginationtree.com/2012/05/creating-invitations-to-play.html

http://www.teachpreschool.org/2012/07/an-invitation-to-play-tutorial/

   Basically it means setting up an arrangement of materials that invites your child to explore, learn, and create independently. Lavender is considered to be a calming oil and I felt it was just the thing we needed, and it smelled wonderful! This was our little invitation to play.

Image

   Gray has a bit of an issue with new sensory experiences, he is always hesitant to touch them at first, so I always make sure to include lots of things to scoop and prod with, which usually leads to him grabbing it and exploring it with his hands once he has had some time to admire from afar with some type of utensil. I would say that he is ready for playdough and I’m glad we tried again, because he had a really great time with this. I sat back with a much needed coffee and watched as he grabbed the spoon and prodded the lump of dough, and smiled. Soon he moved on to the popsicle sticks and eventually he grabbed it and pulled of a clump to squish around.

Image

    He also discovered that he could make a cool pattern in the dough by pressing the pinecone into it which he was pretty delighted with. This dough will have to be stored in an airtight container to be kept soft once your done playing with it. I’d love to see some of your playdough recipes, thank you for joining us at Excite and Explore!


4 Comments

Water Play At Home

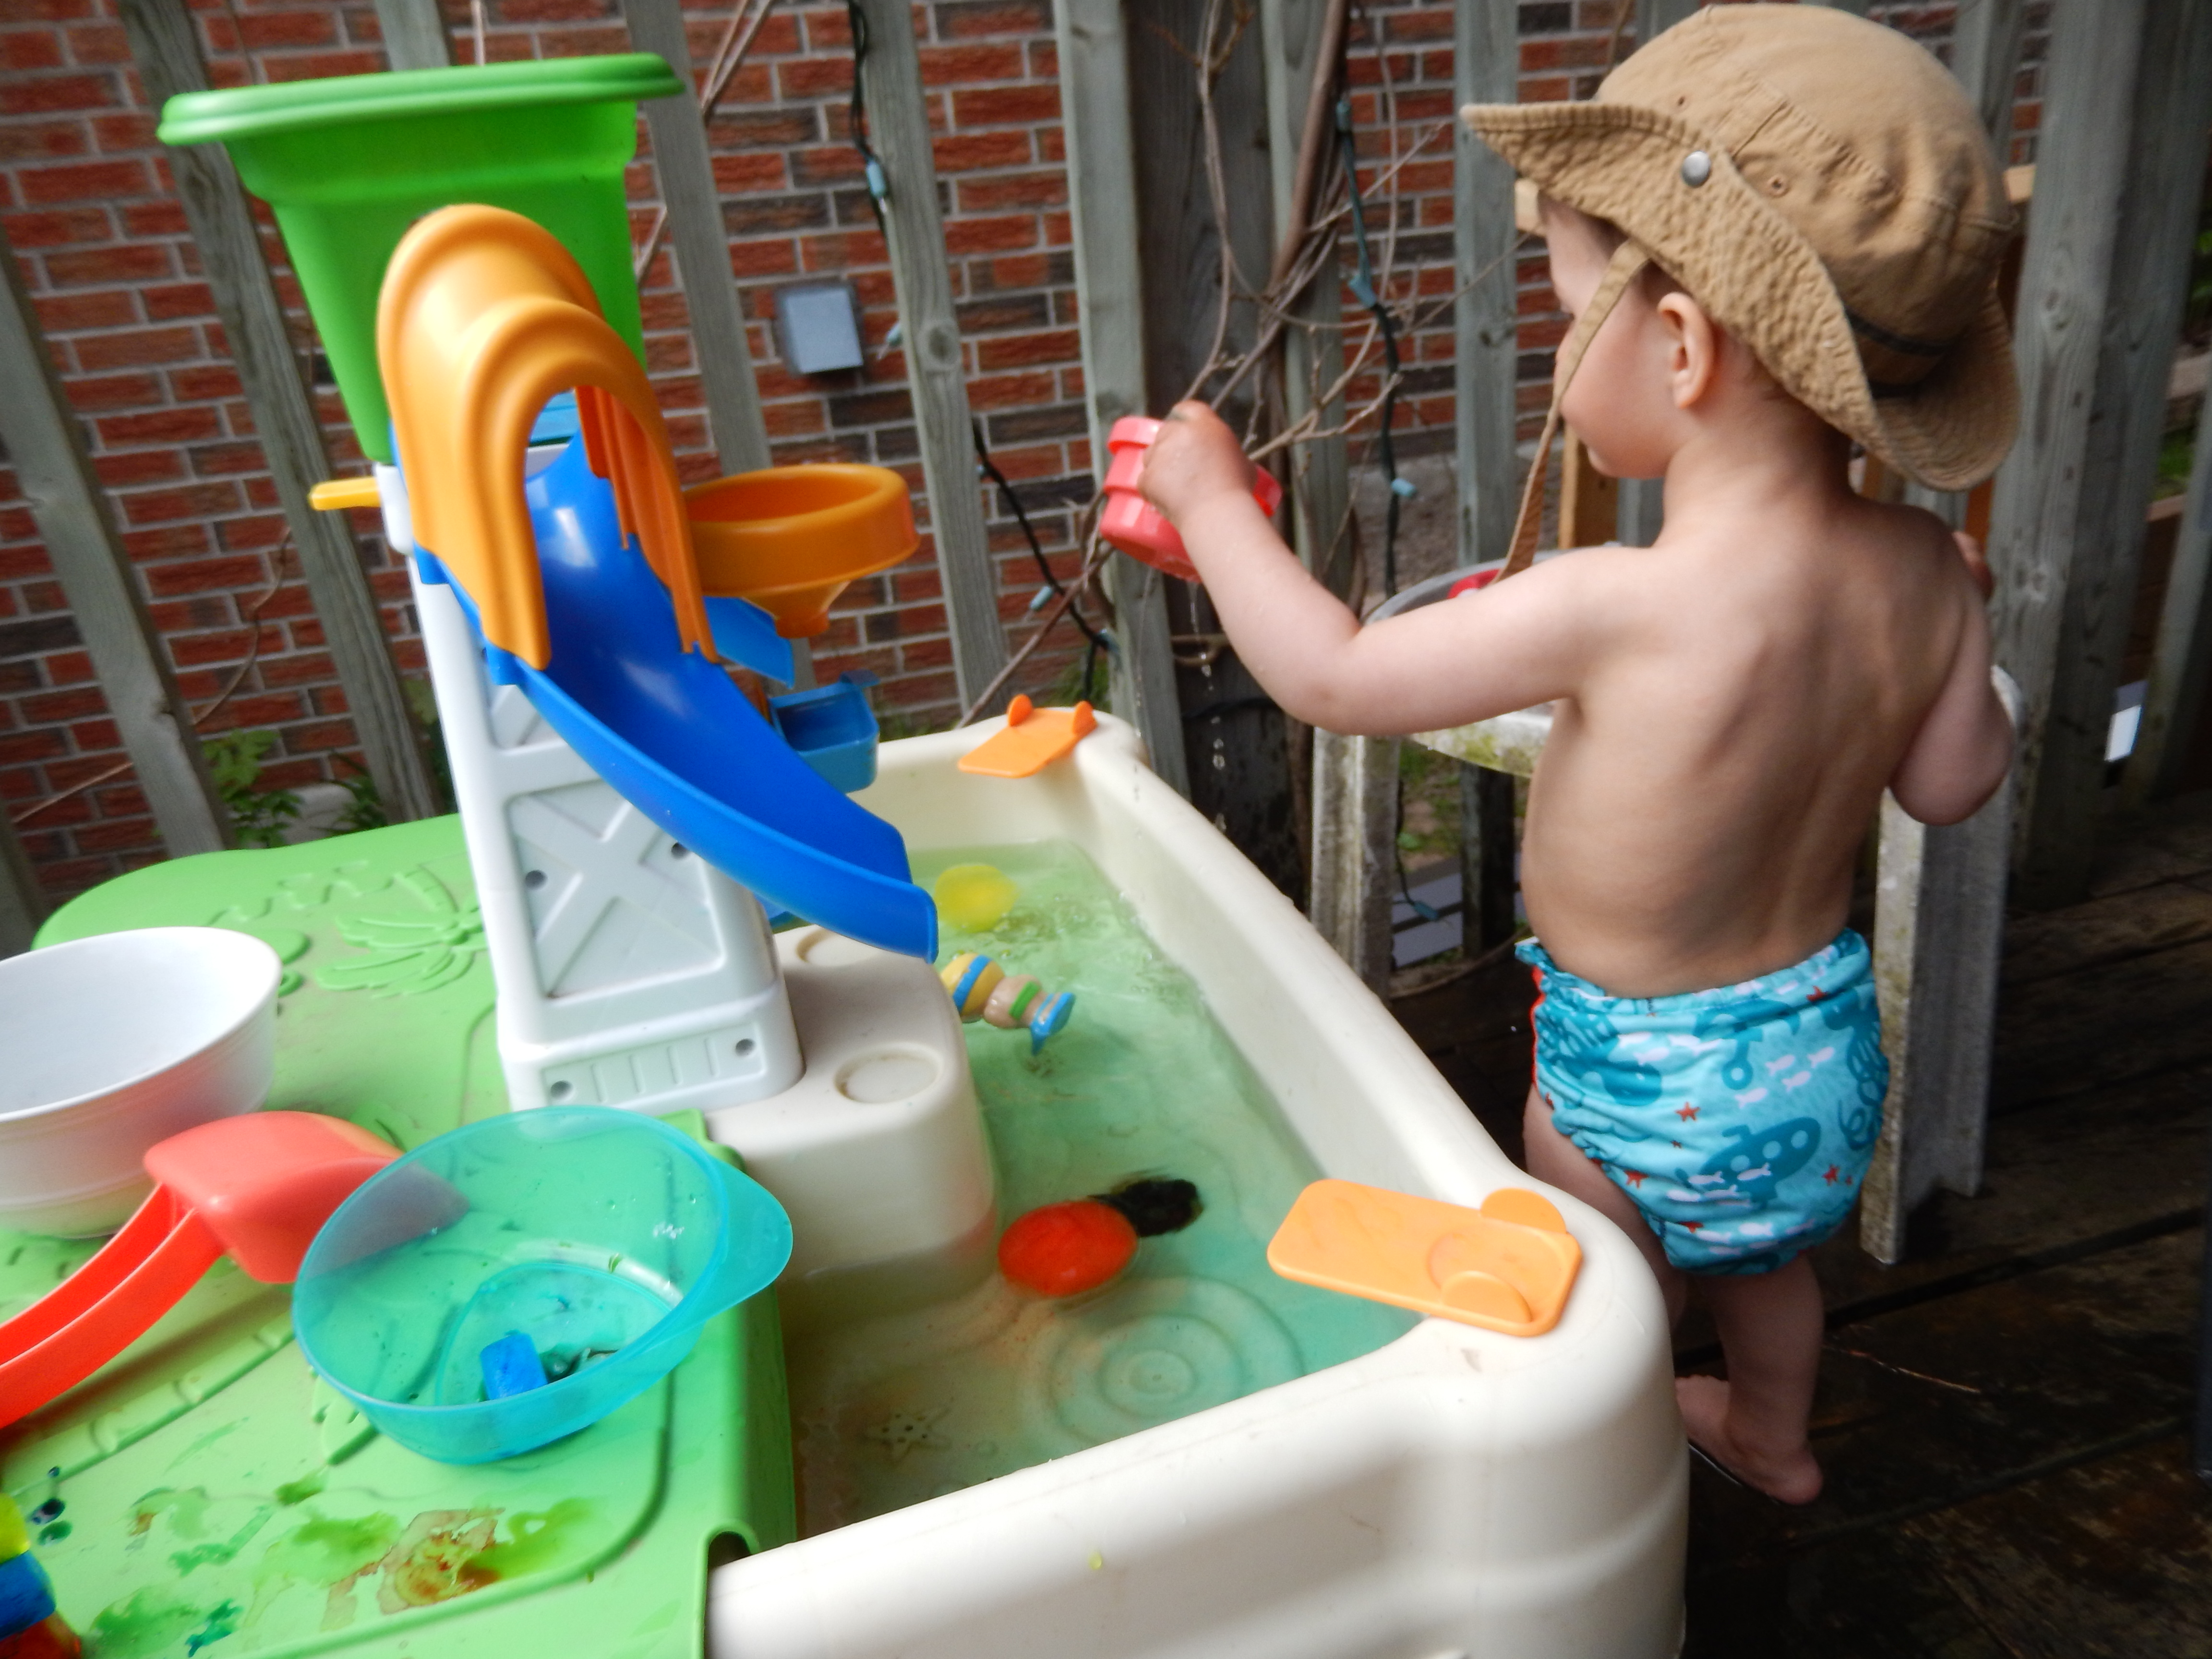
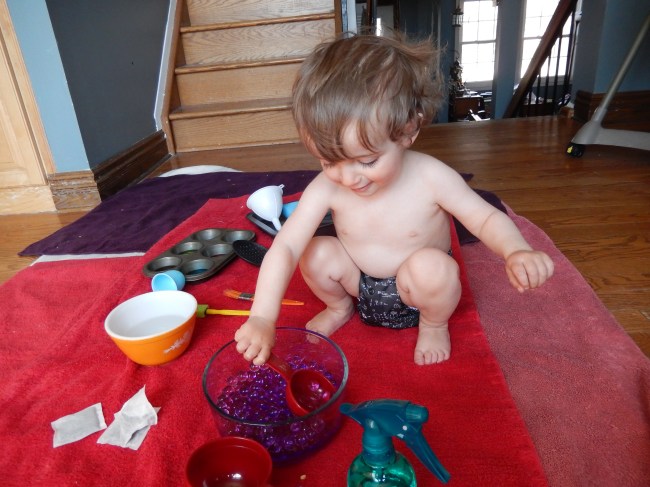
We have been sick in our house, and it has been miserable, which is why this post has been delayed for so long. We have been excitedly waiting for the weather to get nice enough to set up the water table in the backyard, but unfortunately that time is still not here, so I went ahead and set up a water station in the kitchen. Toddlers seem to love water, any water, whether it is a muddy puddle in the yard, the water you left on the table last night that their little hands found their way into, or in the tub where they can splash around to their hearts content. And why not? Water play is great, it is so open ended, they can take it anywhere and it has so many variations that no session need be like the last! We have hardwood so I put down a drop sheet on the floor and covered it in towels (I imagine a tarp would be even better but I couldn’t find ours) so that he could splash around without to much water soaking through. I gathered some supplies from around the house.

Image

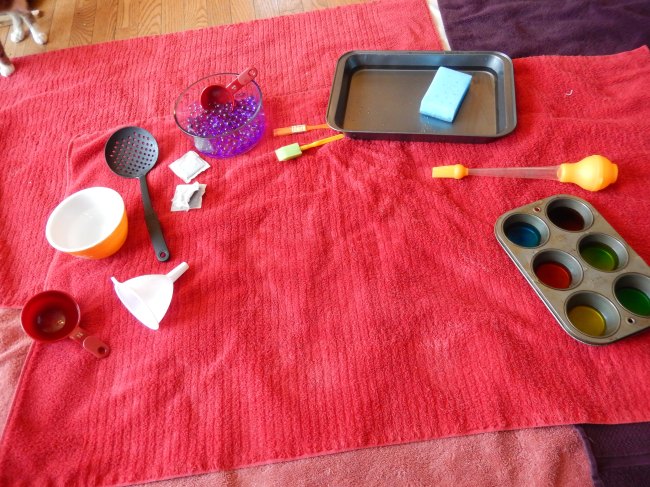
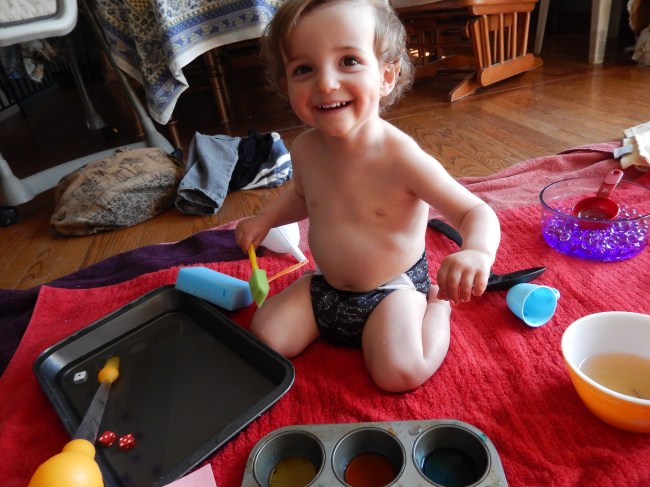
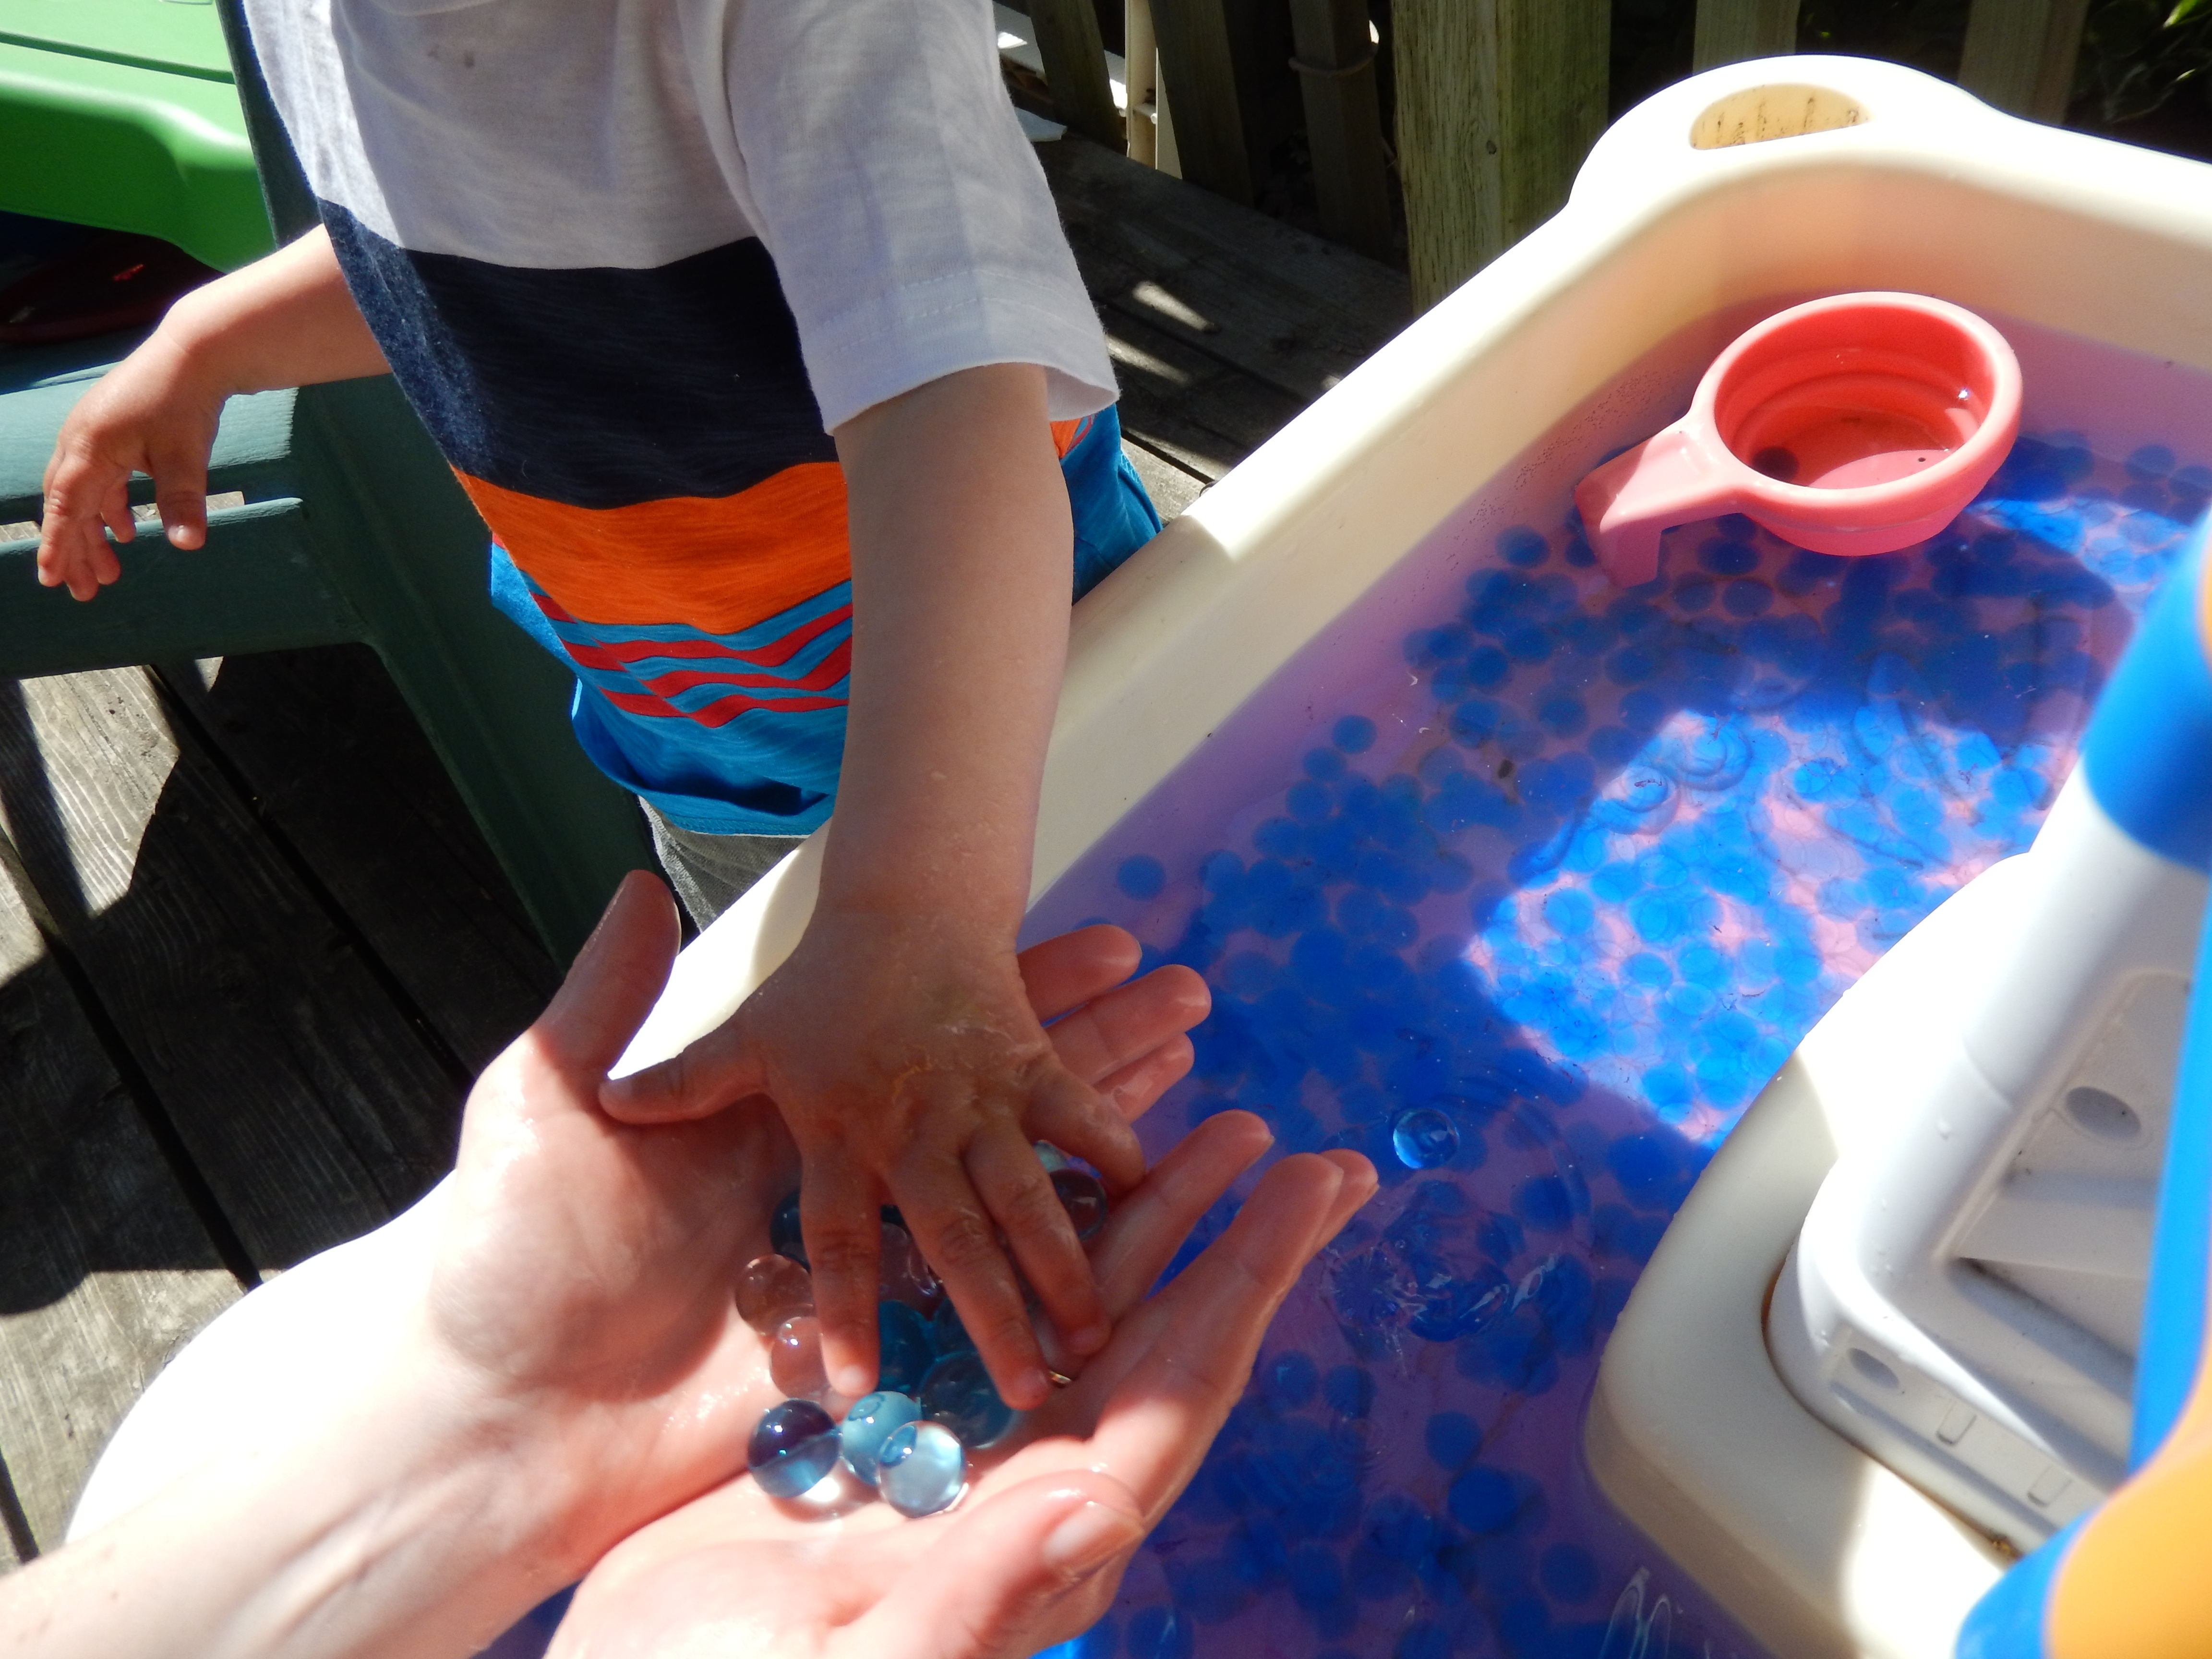
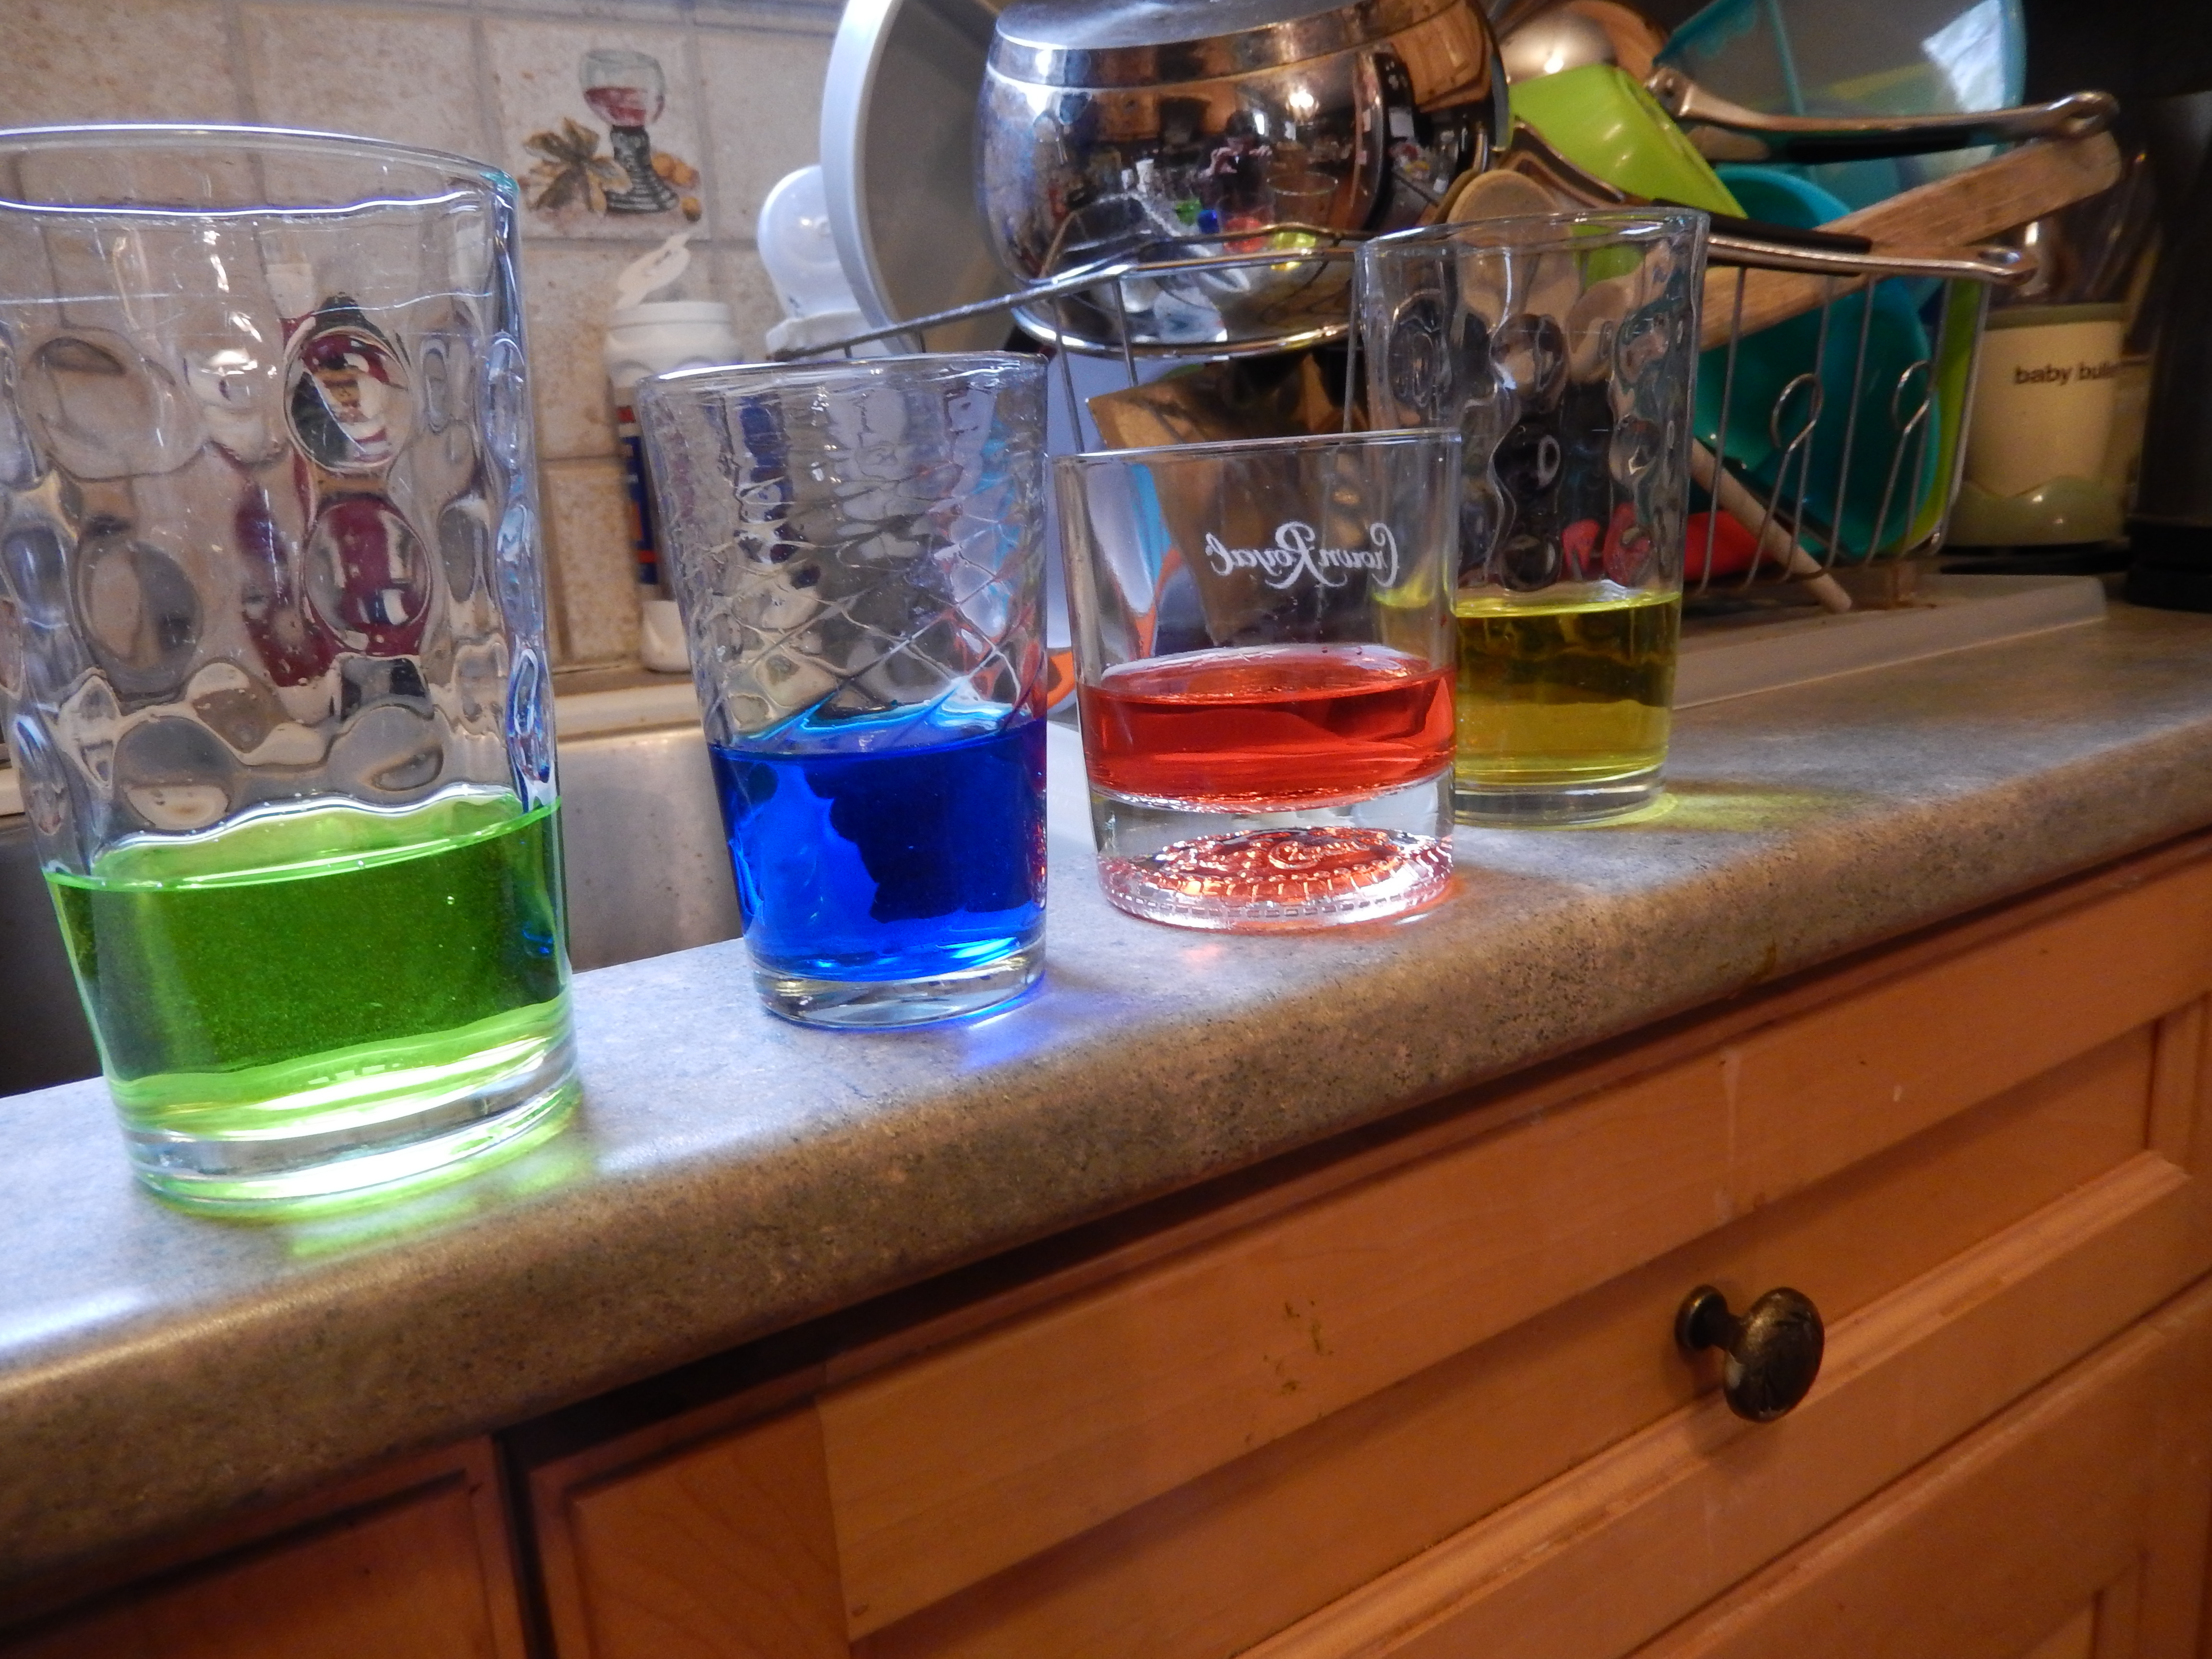
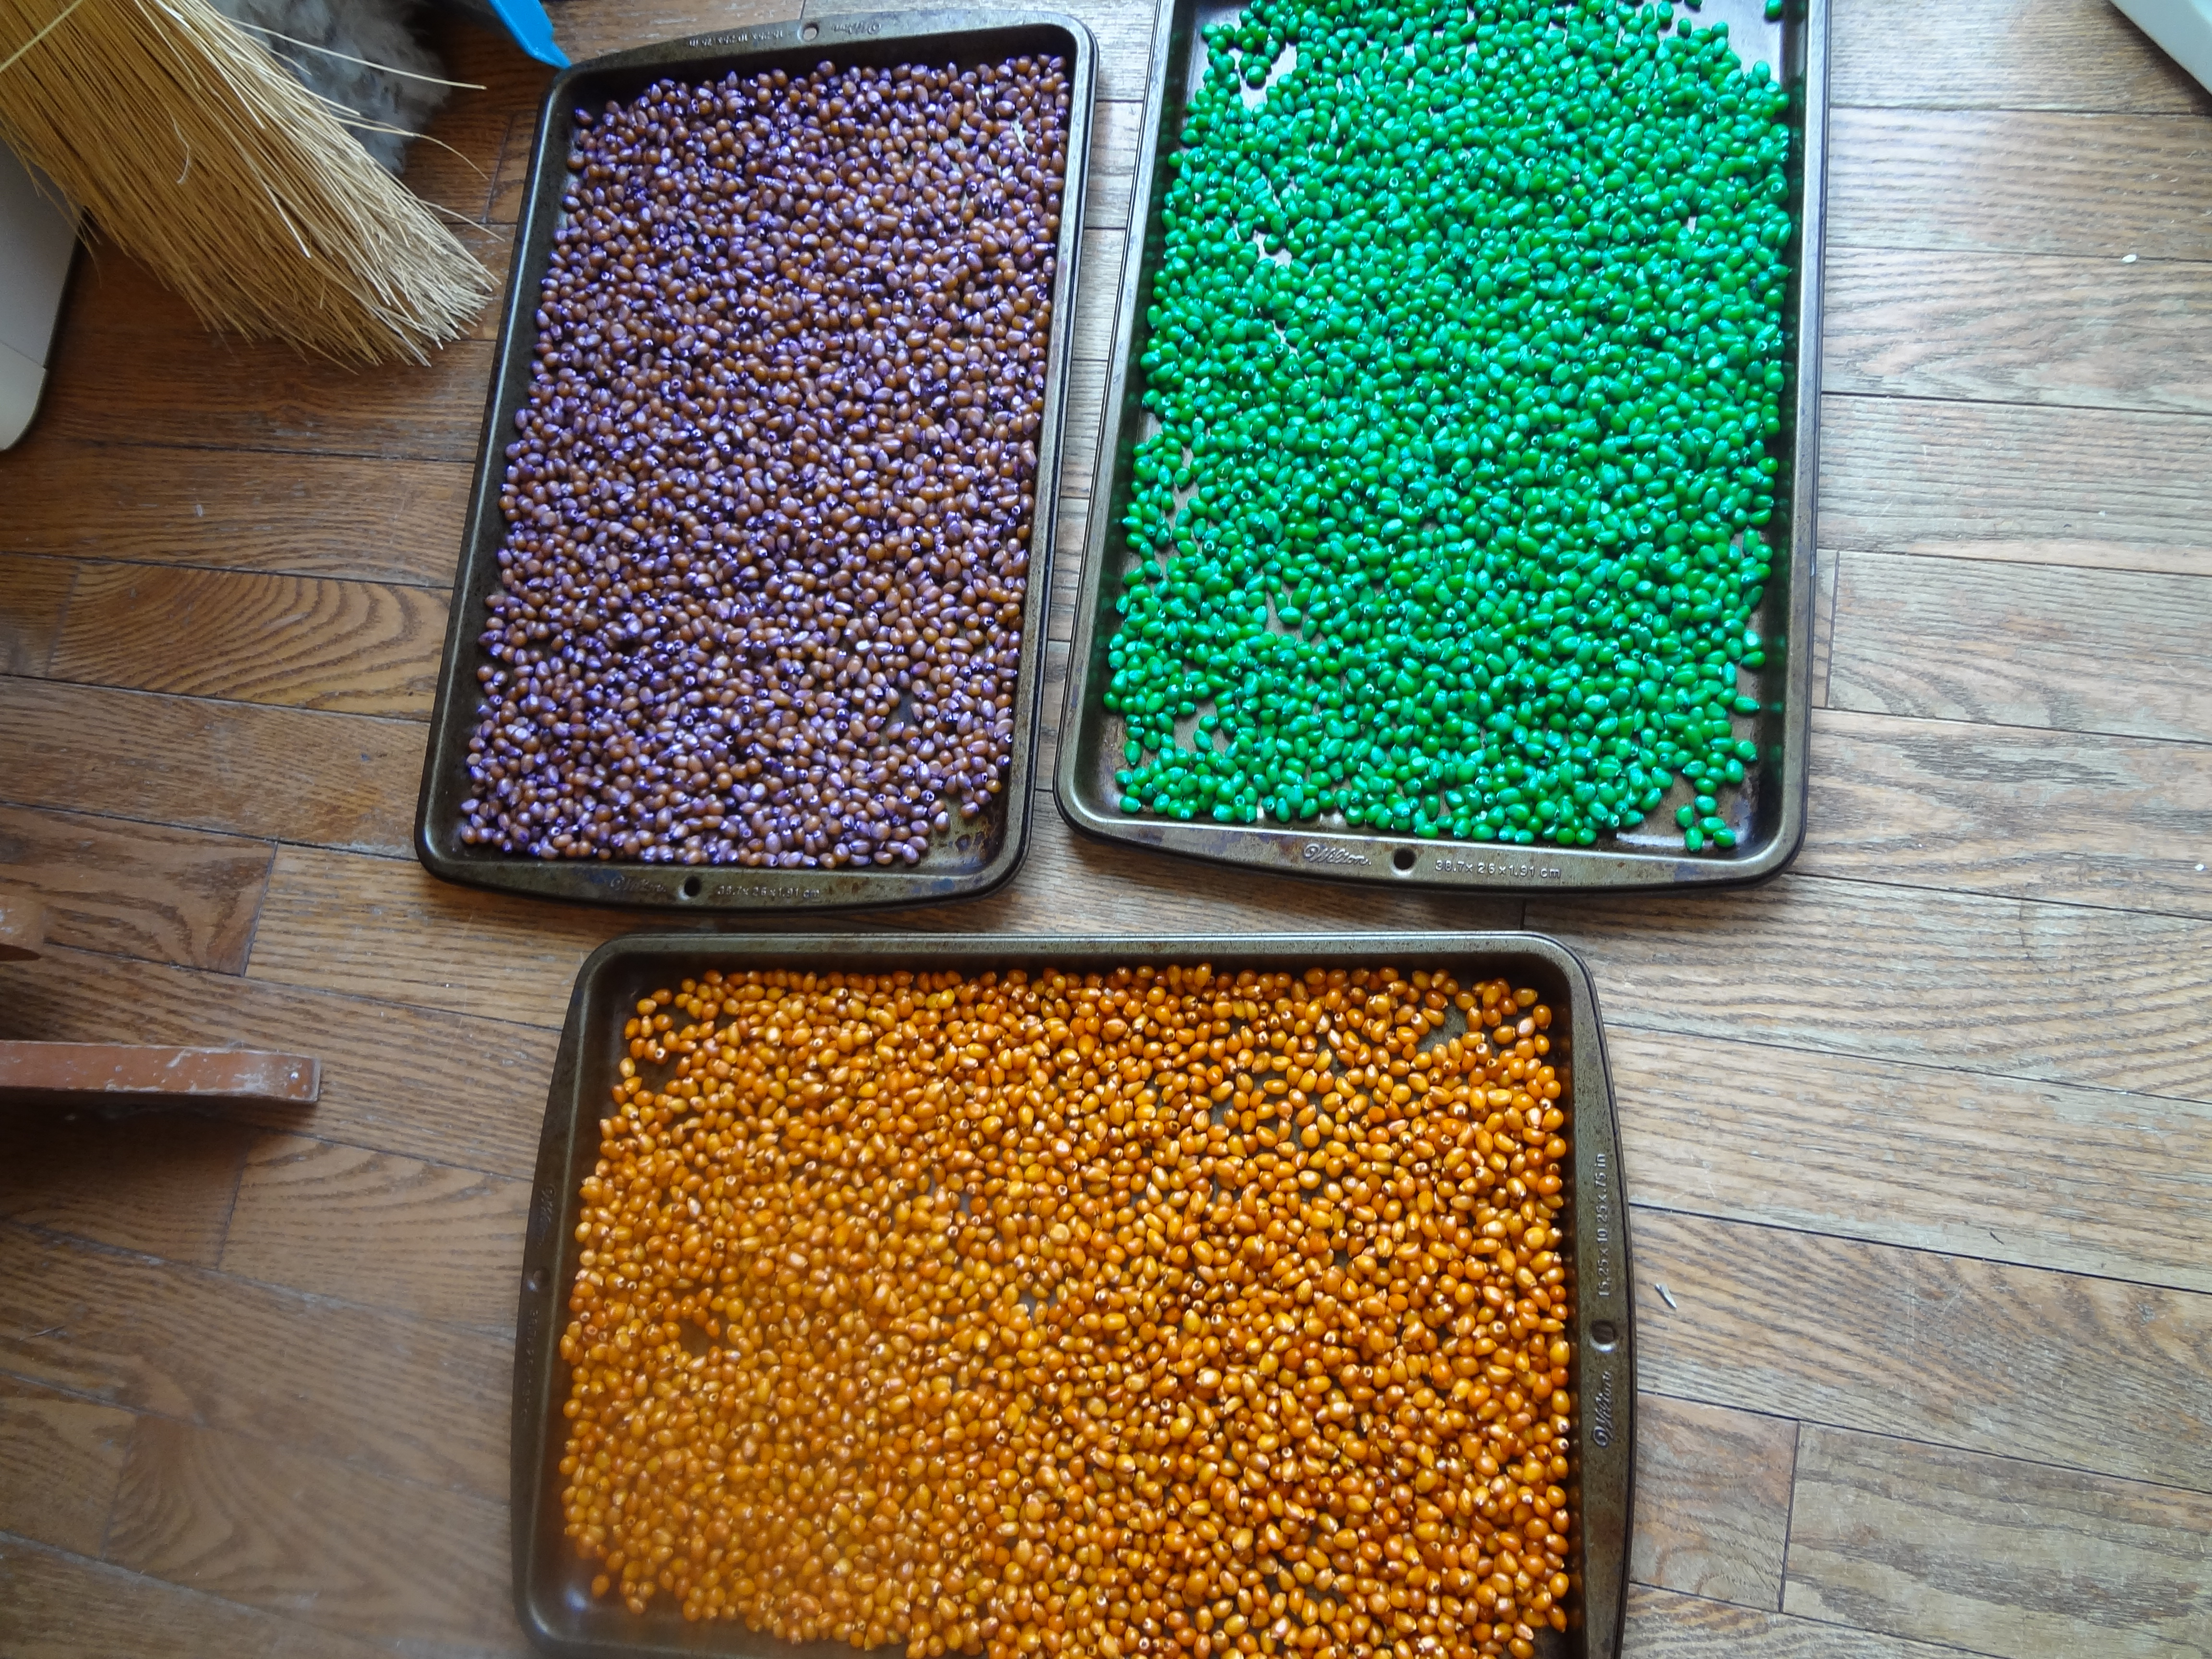
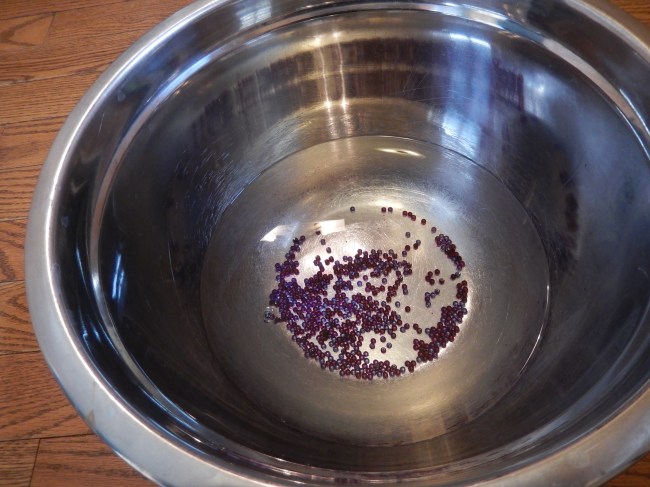
   We used bowls and trays filled with water, funnels, measuring cups for scooping and pouring, spoons, tea bags to add some scent when mixed into the water, water beads in a bowl, paint brushes, a sponge, a turkey baster, and a muffin tin filled with water. I added food colouring to this one, an invitation to explore colour mixing. After this picture was taken I also added a spray bottle. I stripped him down to his diaper and since I knew I was probably going to get wet as well I took of my shirt and let him have at it. He went straight to the water beads. Water beads are a great item for sensory play, they start as these little tiny beads and after soaking in water for a couple days they turn into a much larger bead that is slippery and a bit squishy, for example, here is what they looked like before expansion.

Image

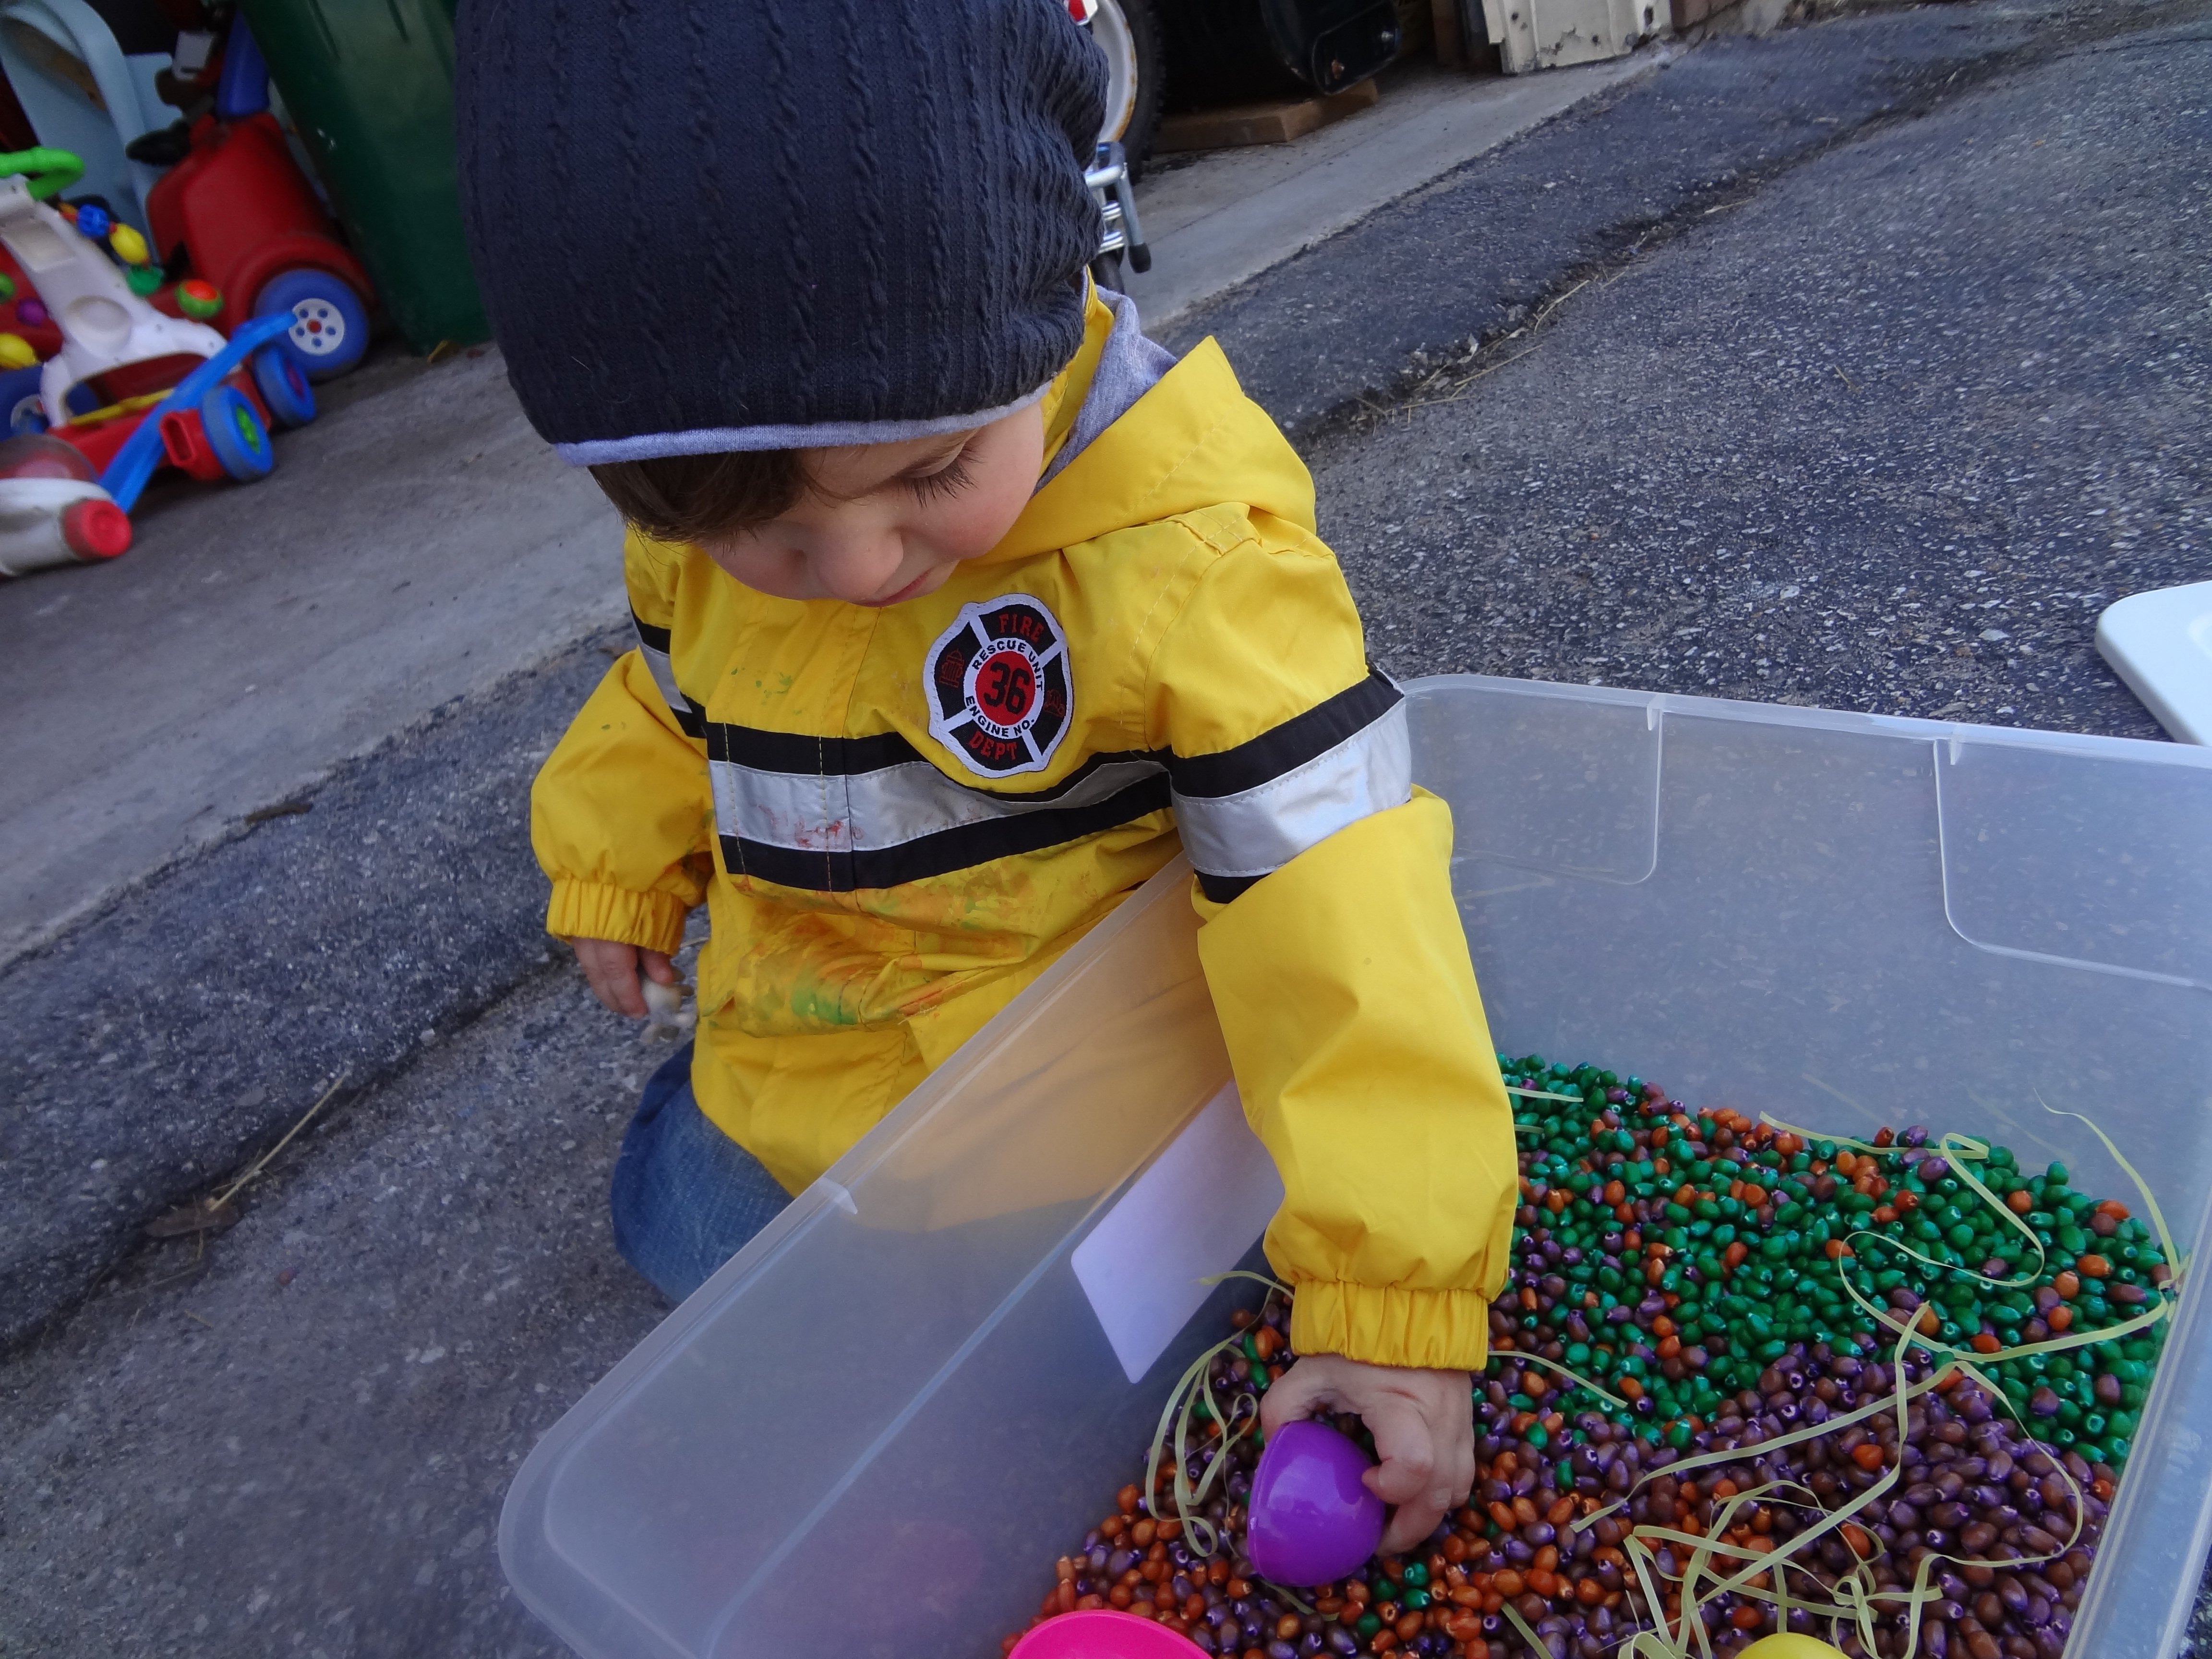
   And here they are once Gray started scooping them up. Water beads are definitely something that needs to be monitored while young children are using them, they are small and easily a choking hazard, even thought they are non toxic.

Image

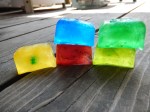
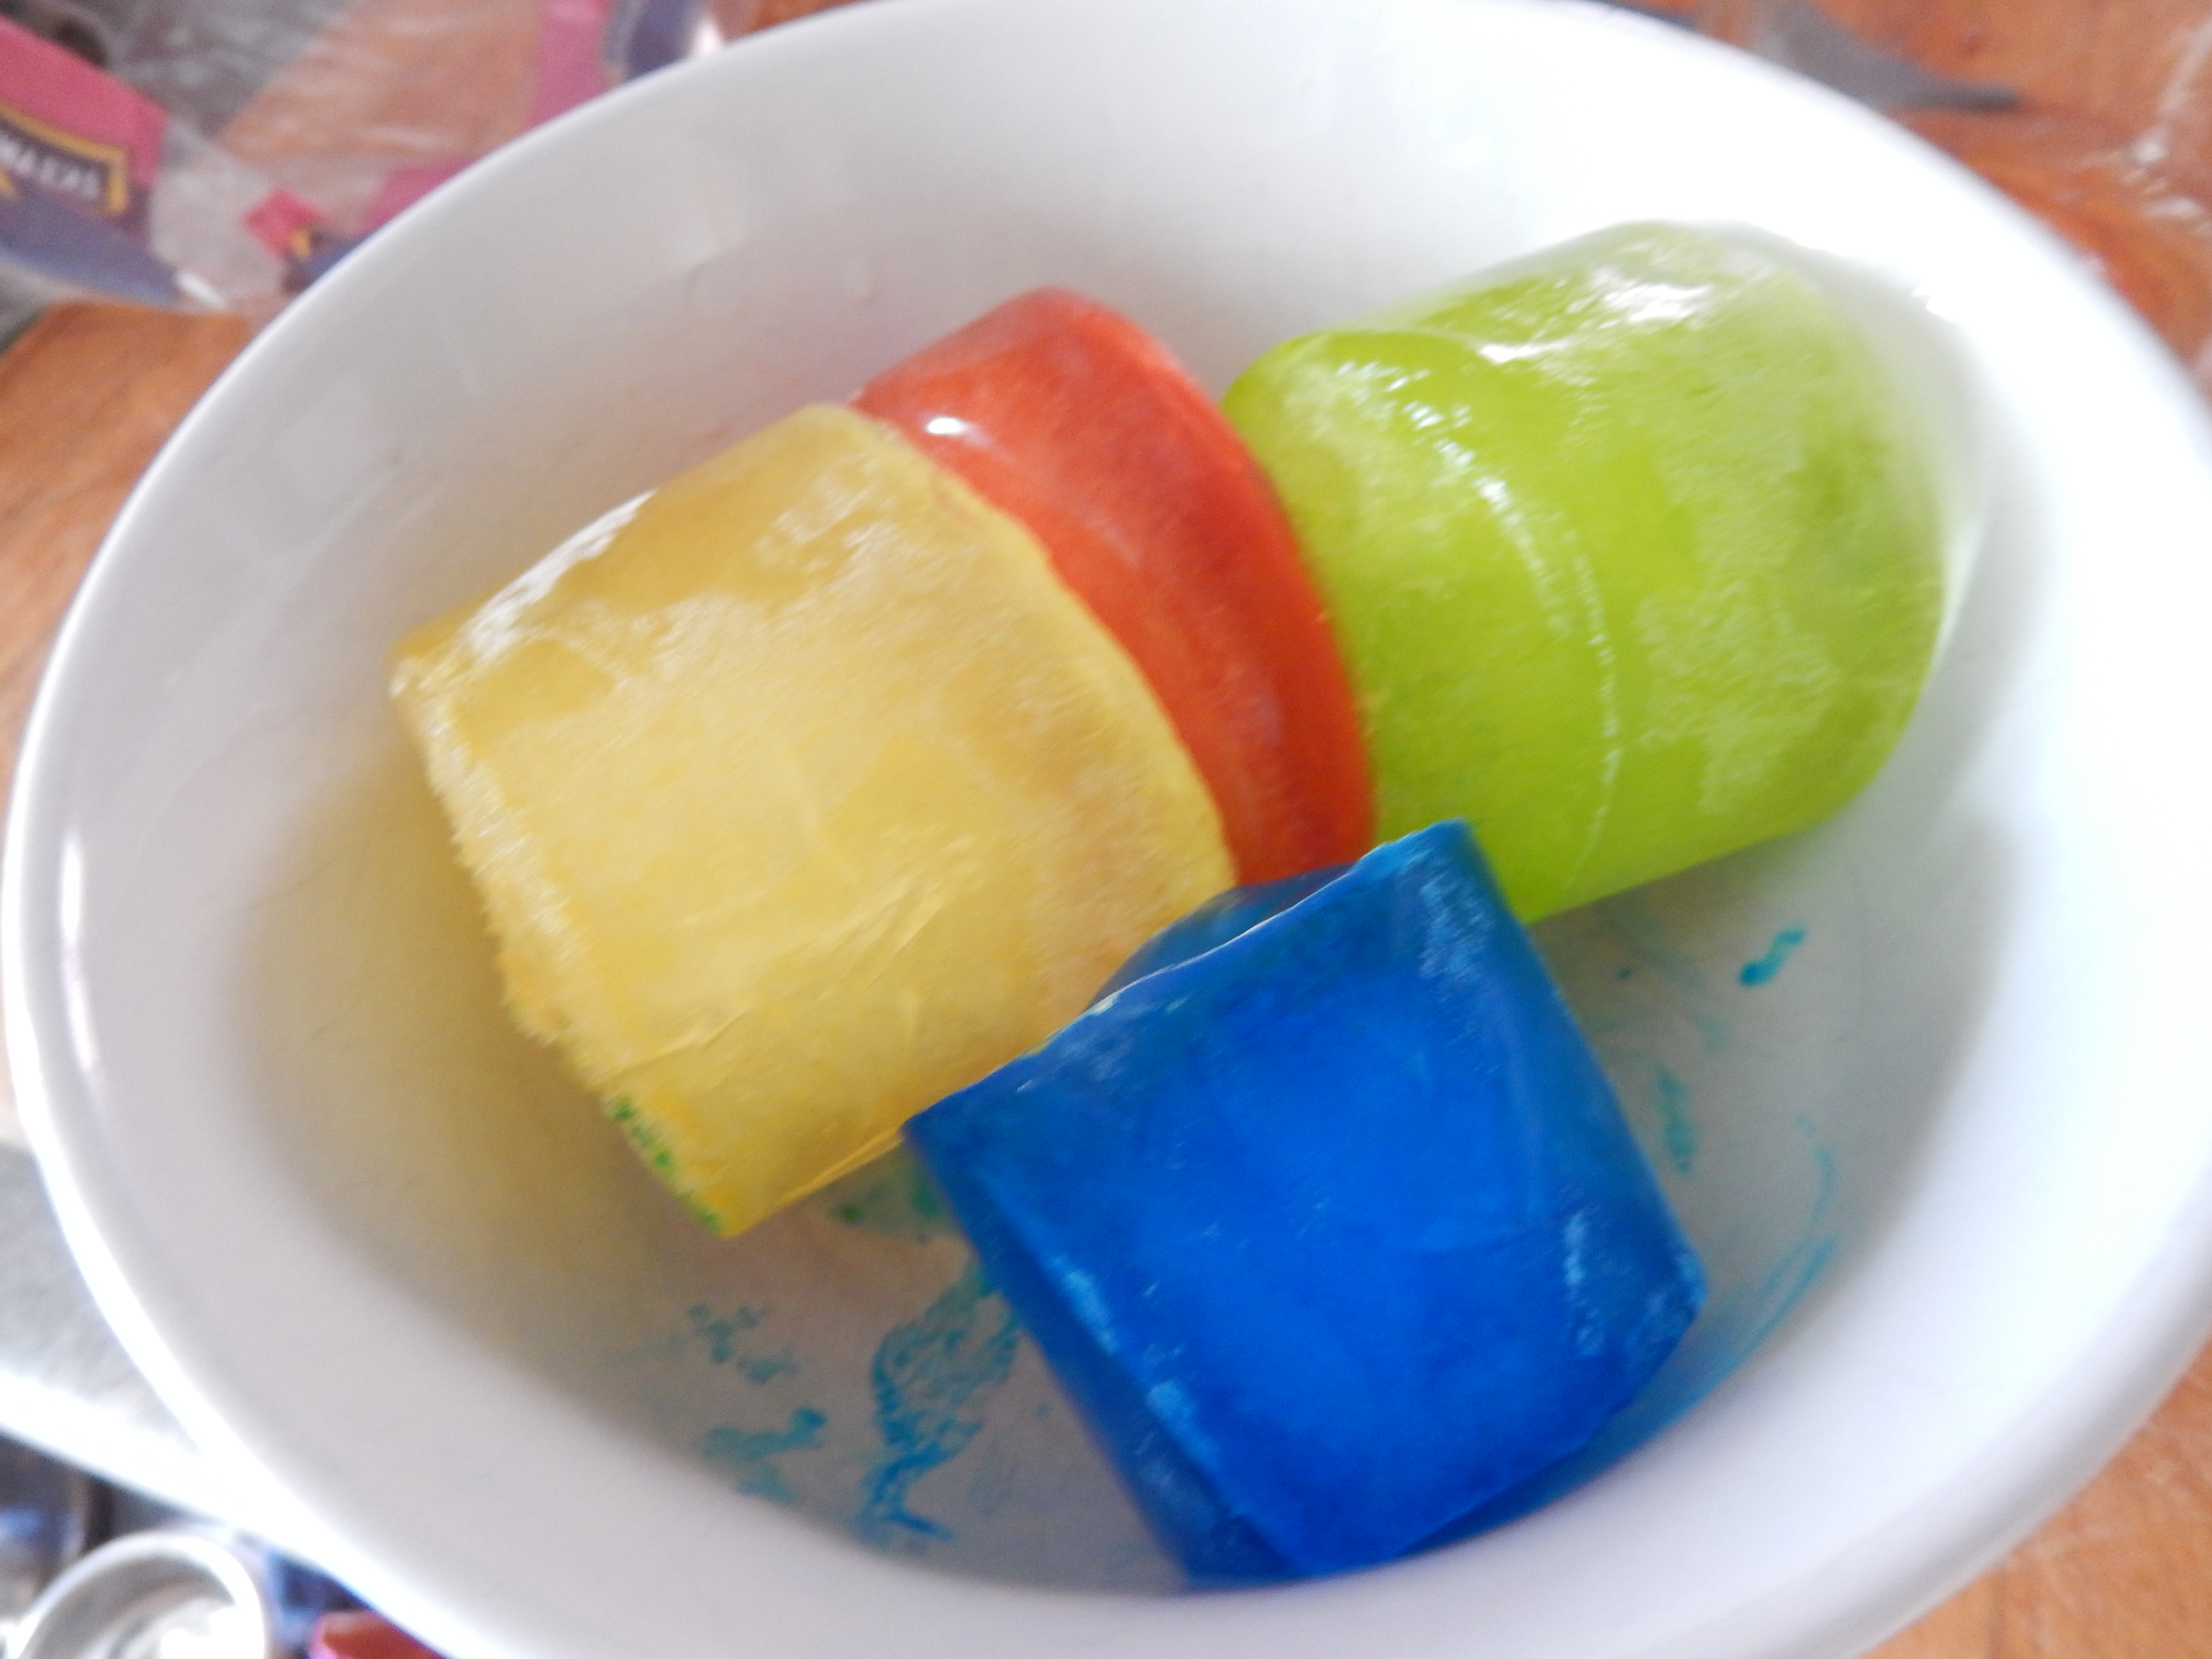
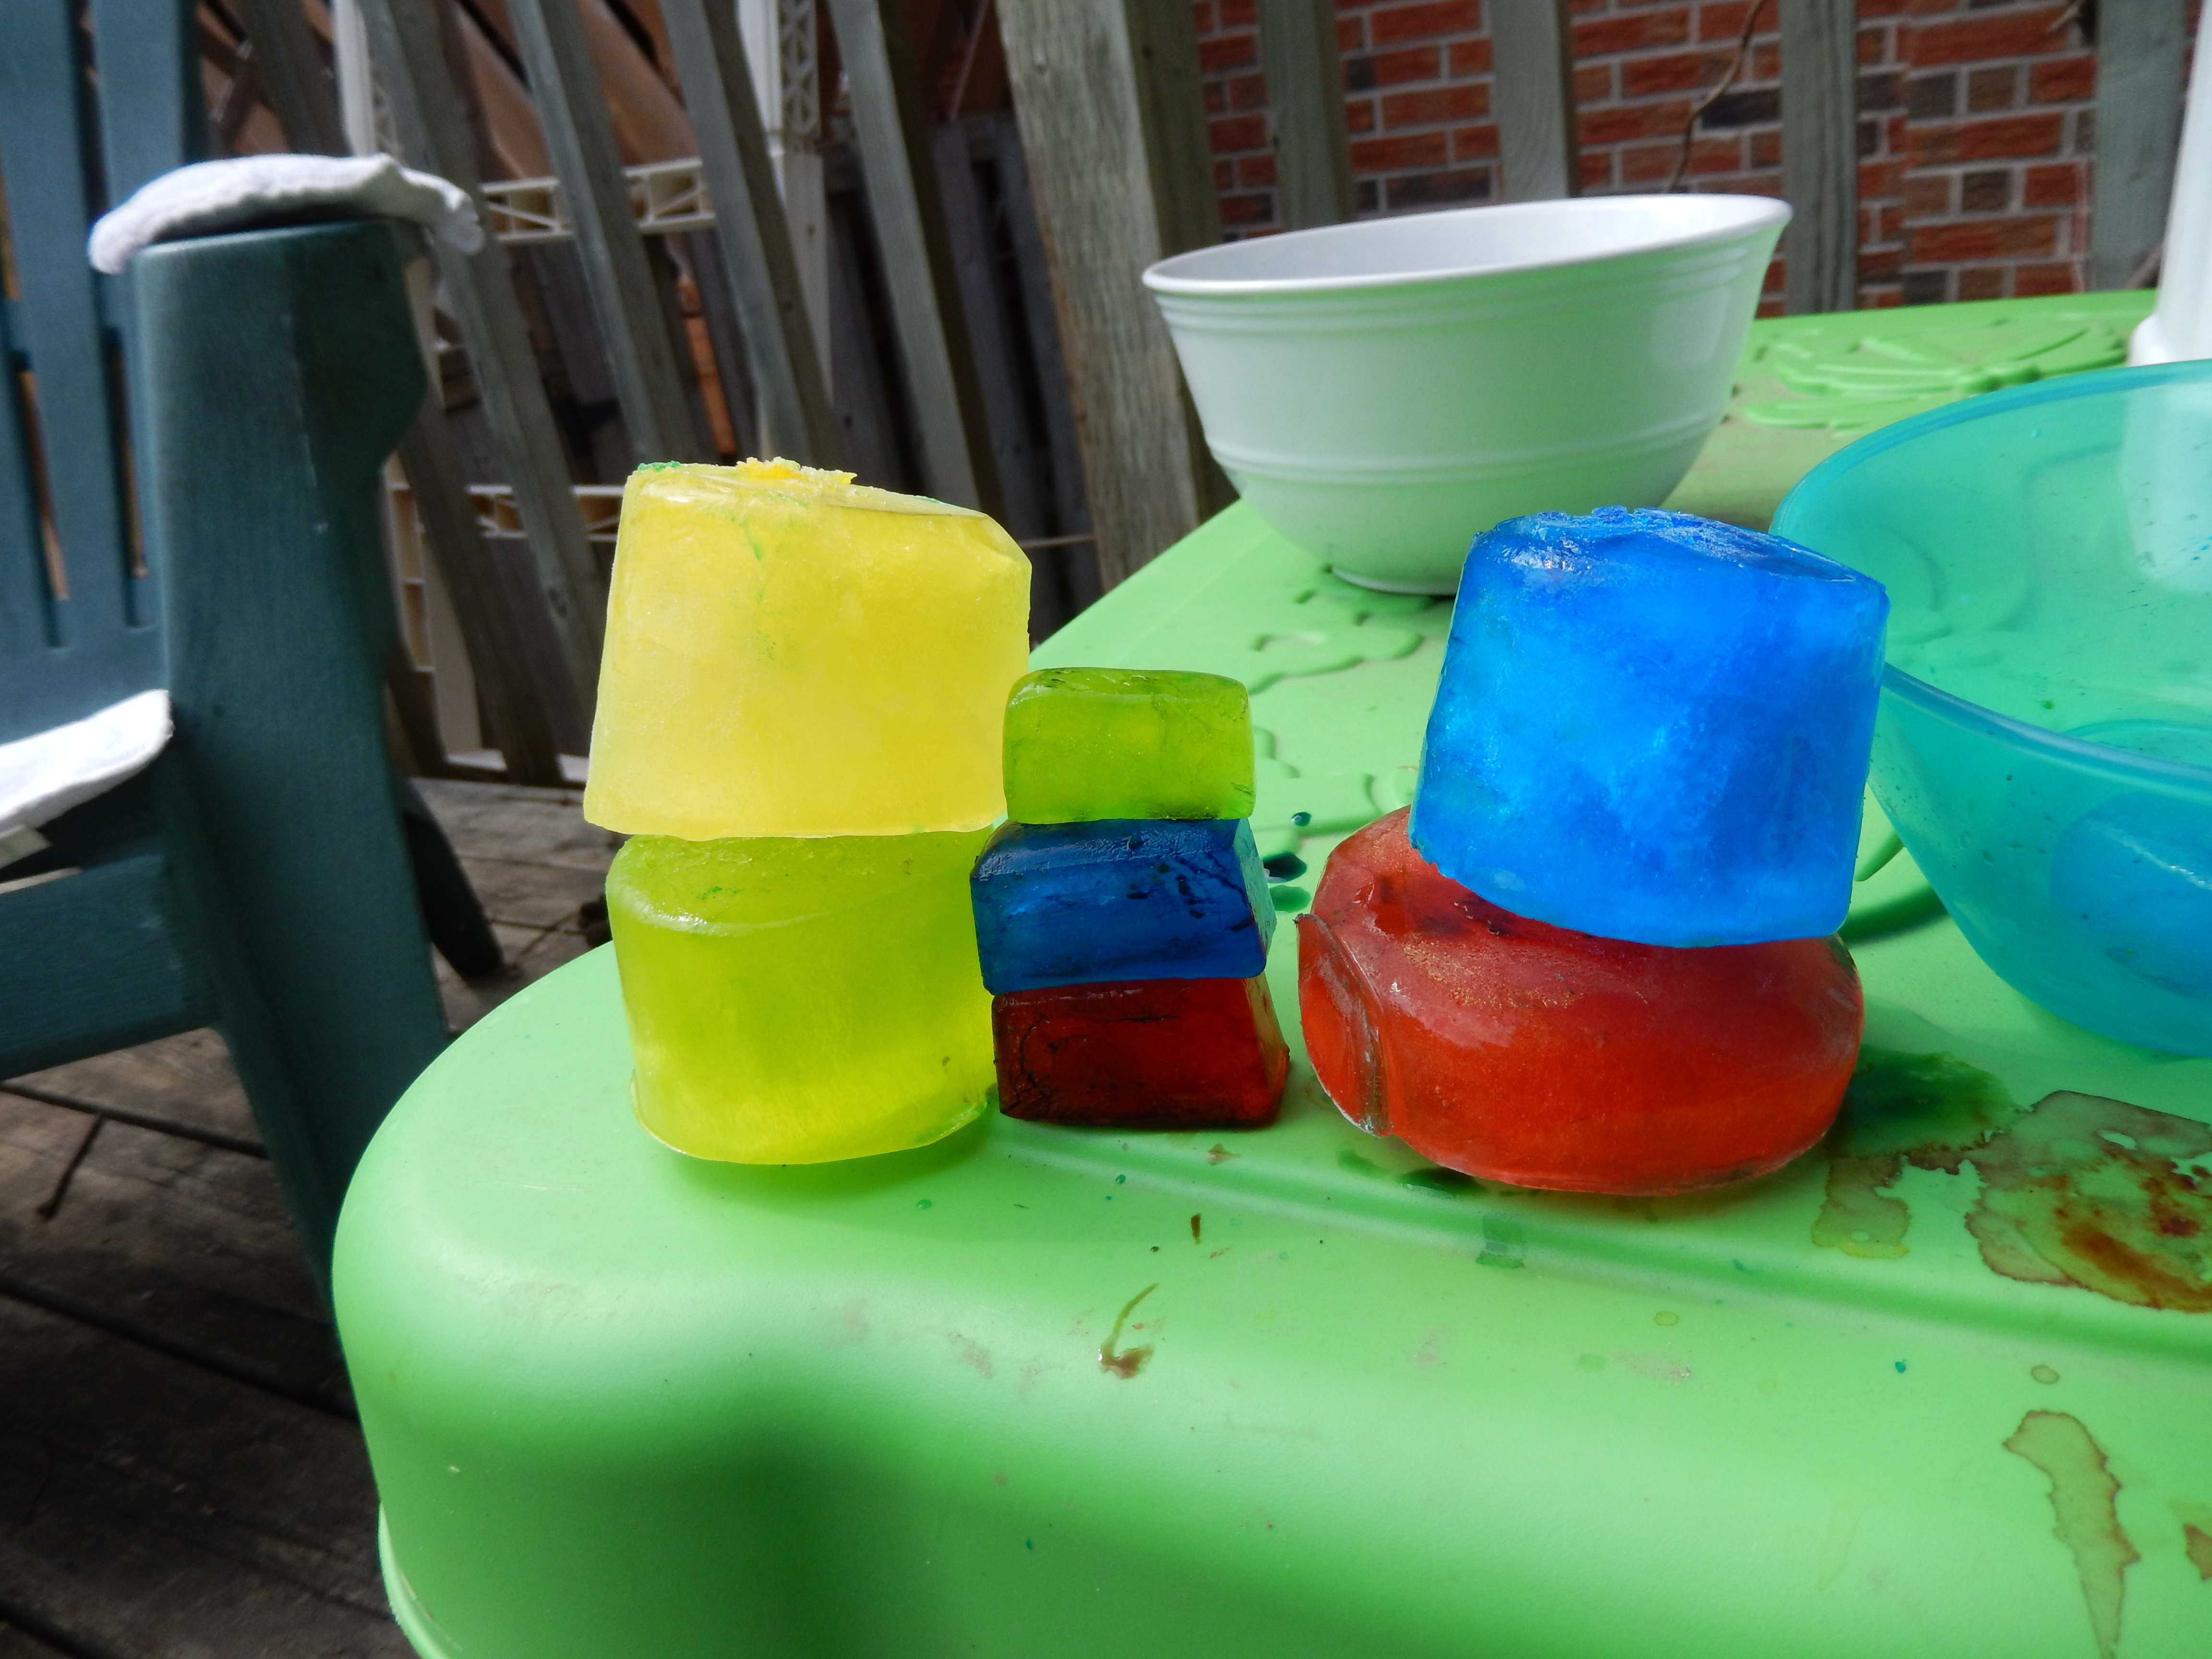
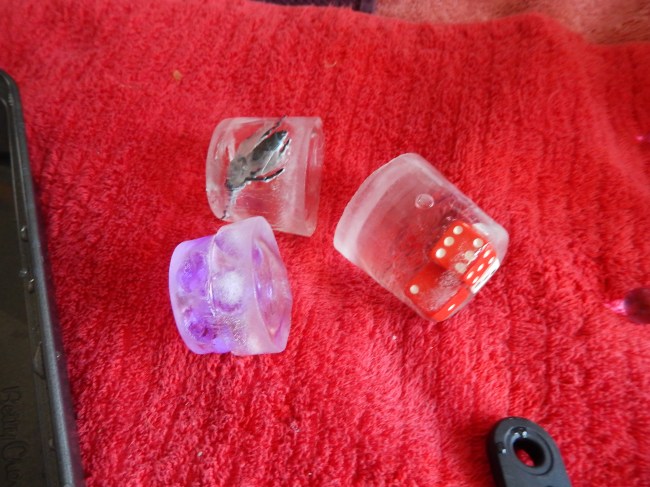
    For added fun and discovery earlier in the day I had frozen a few things into ice to add to our water play, I froze a small plastic bug, some water beads, and a few dice for him to discover as the ice melted, they were much to big to fit in an ice cube tray so I froze them in small cups and ran the cups under hot water to loosen the ice chunk so I could remove it.

Image

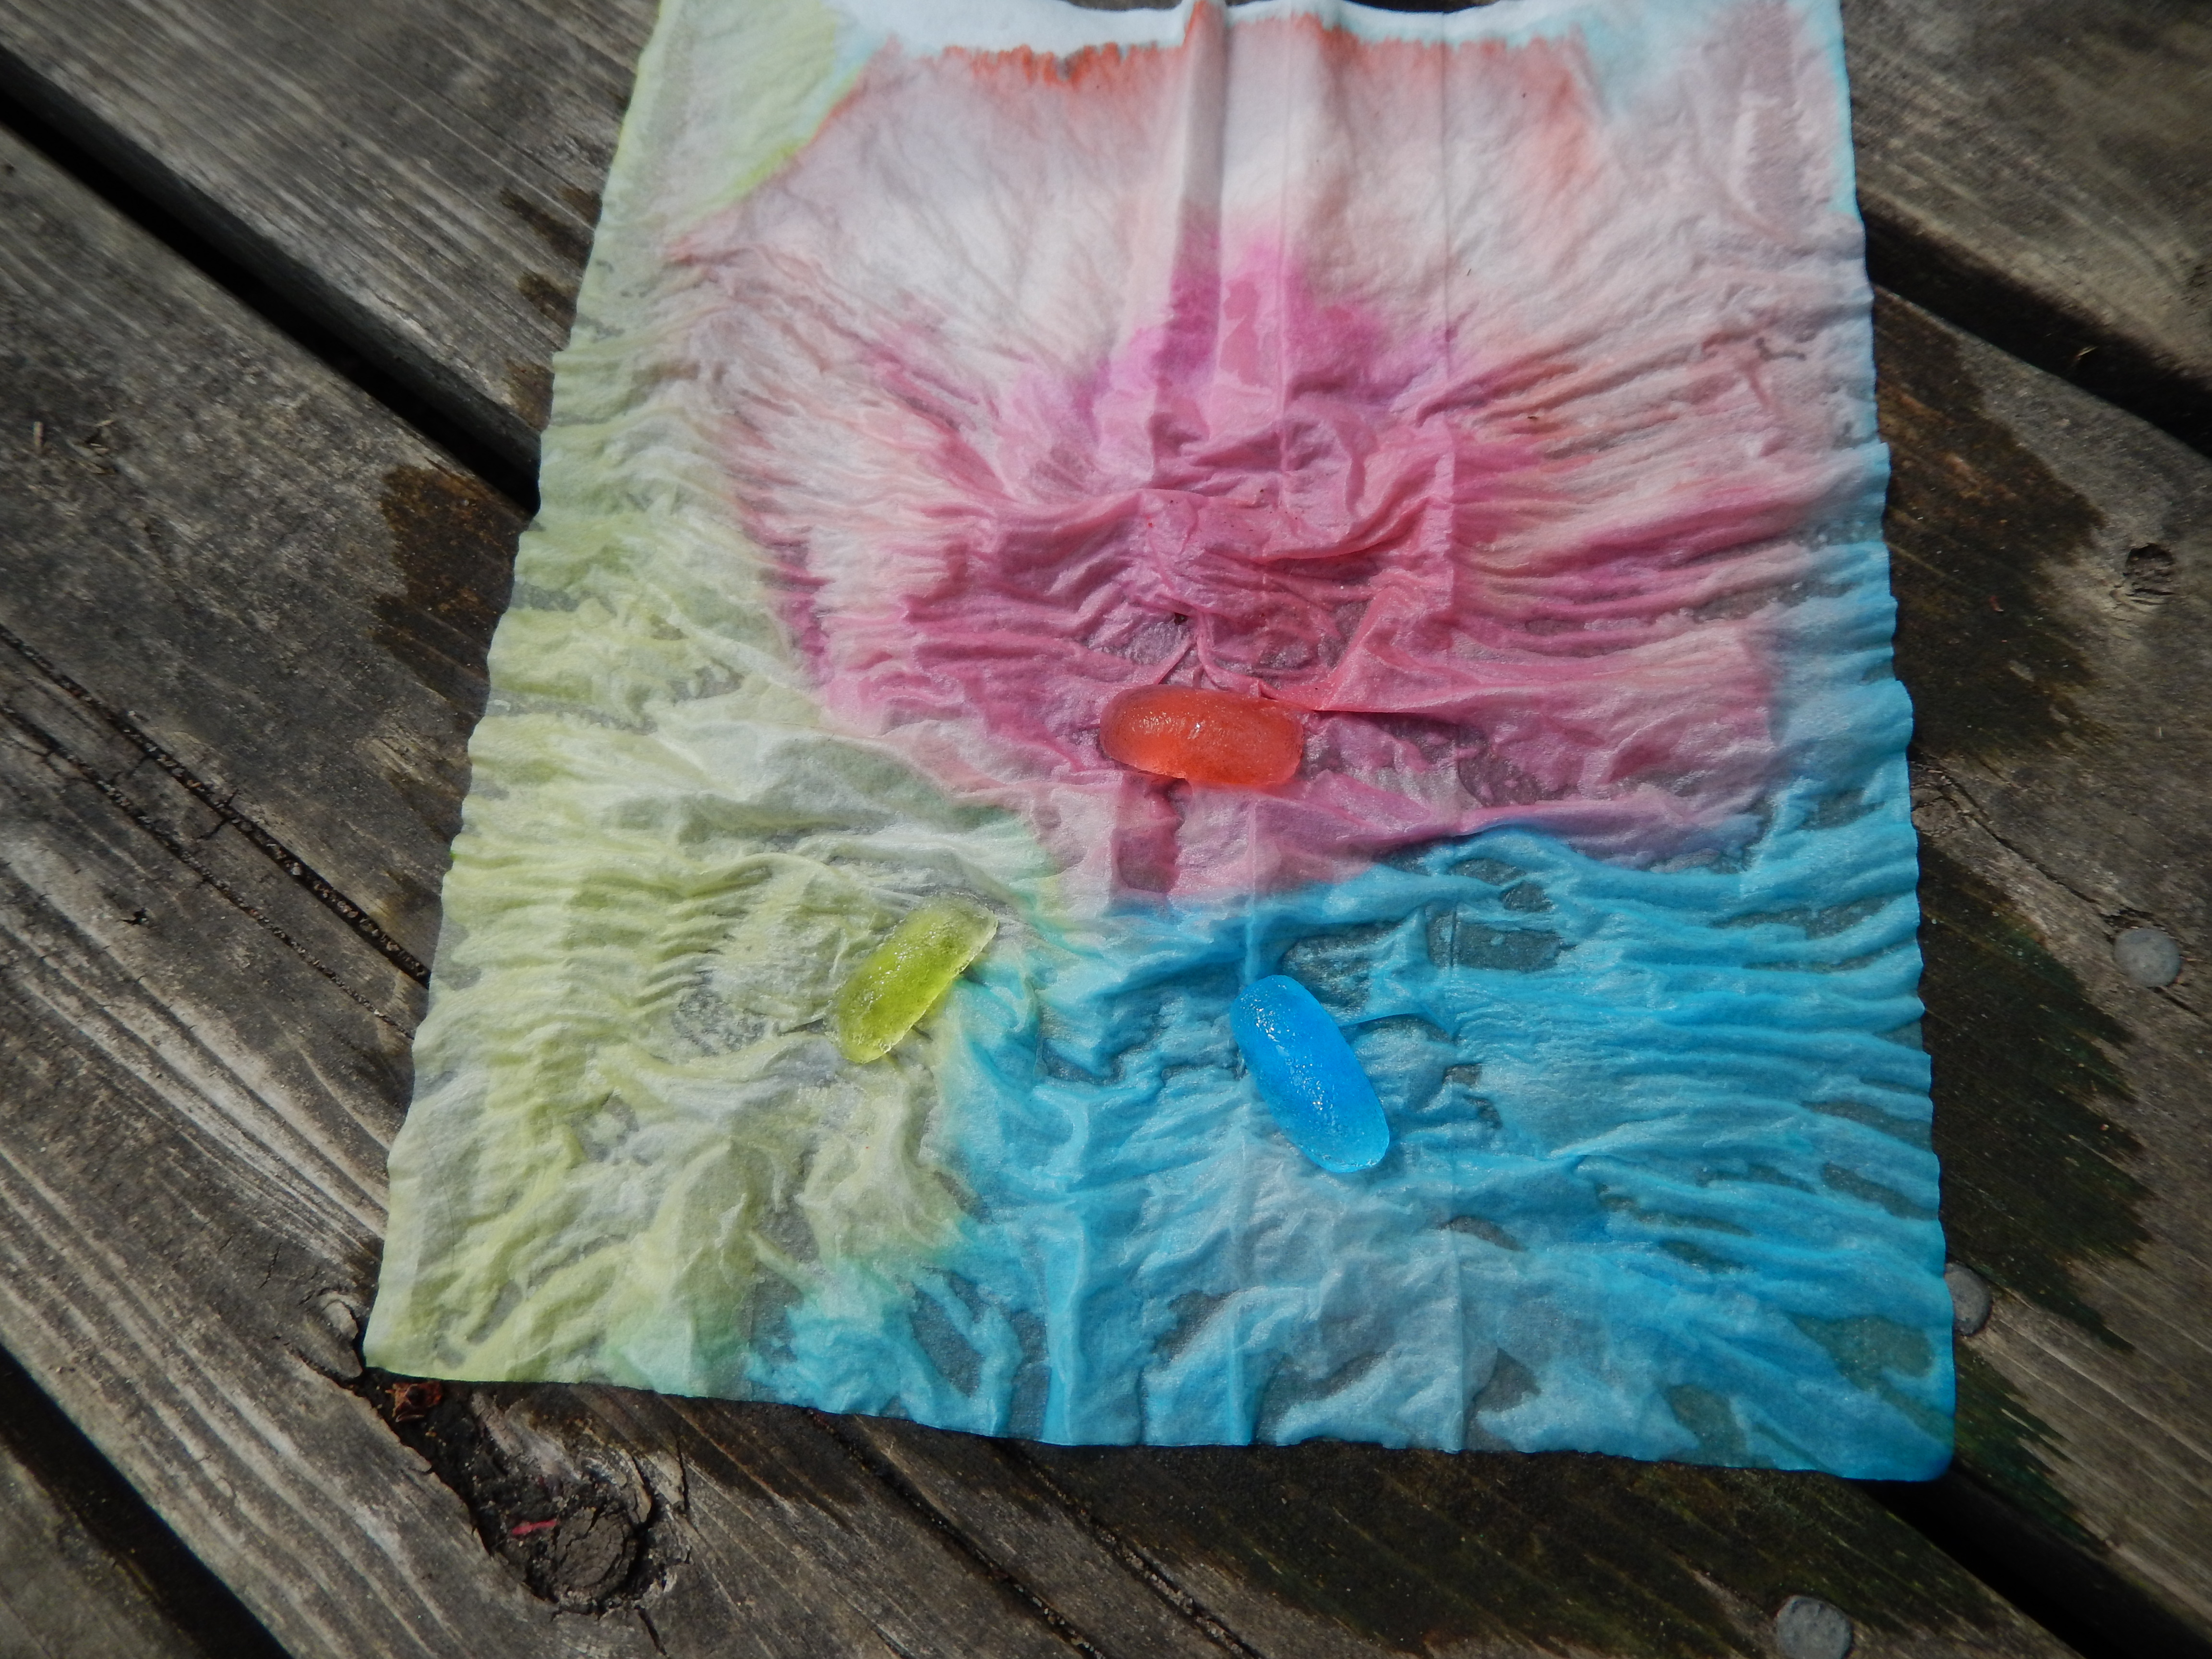
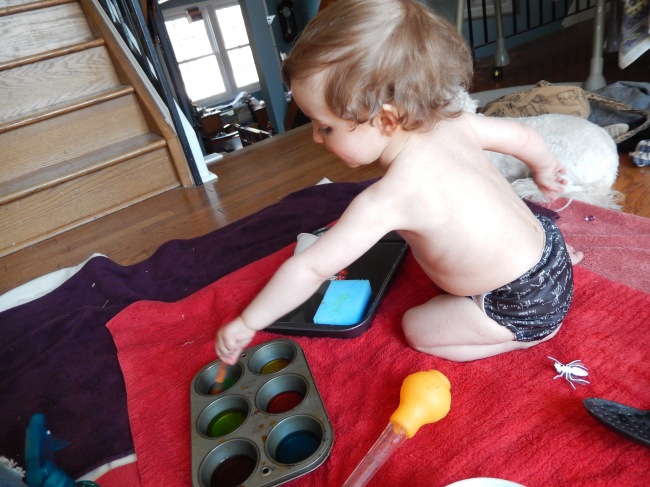
   Once we moved on to the muffin tin he discovered the different coloured water and boy was he excited! He took up one of the paint brushes and started painting the towels so I got him a piece of construction paper and he painted that with the coloured water.

ImageImage

   He then discovered the sponge, which he quickly learned would absorb the coloured water and left a really cool looking splatter, which he had a  lot of fun mixing colours into.

Image

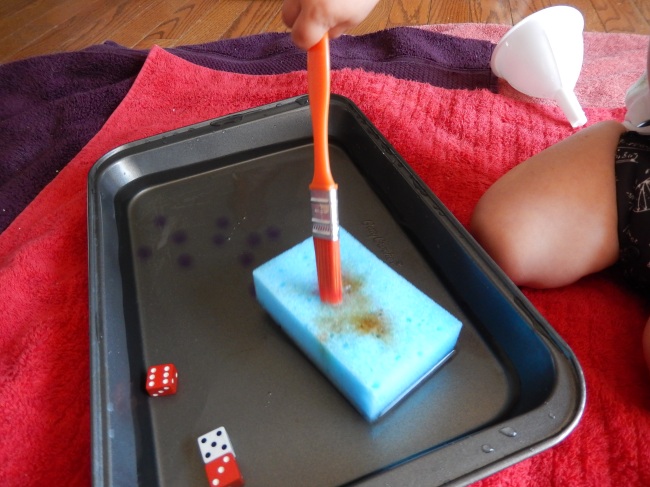
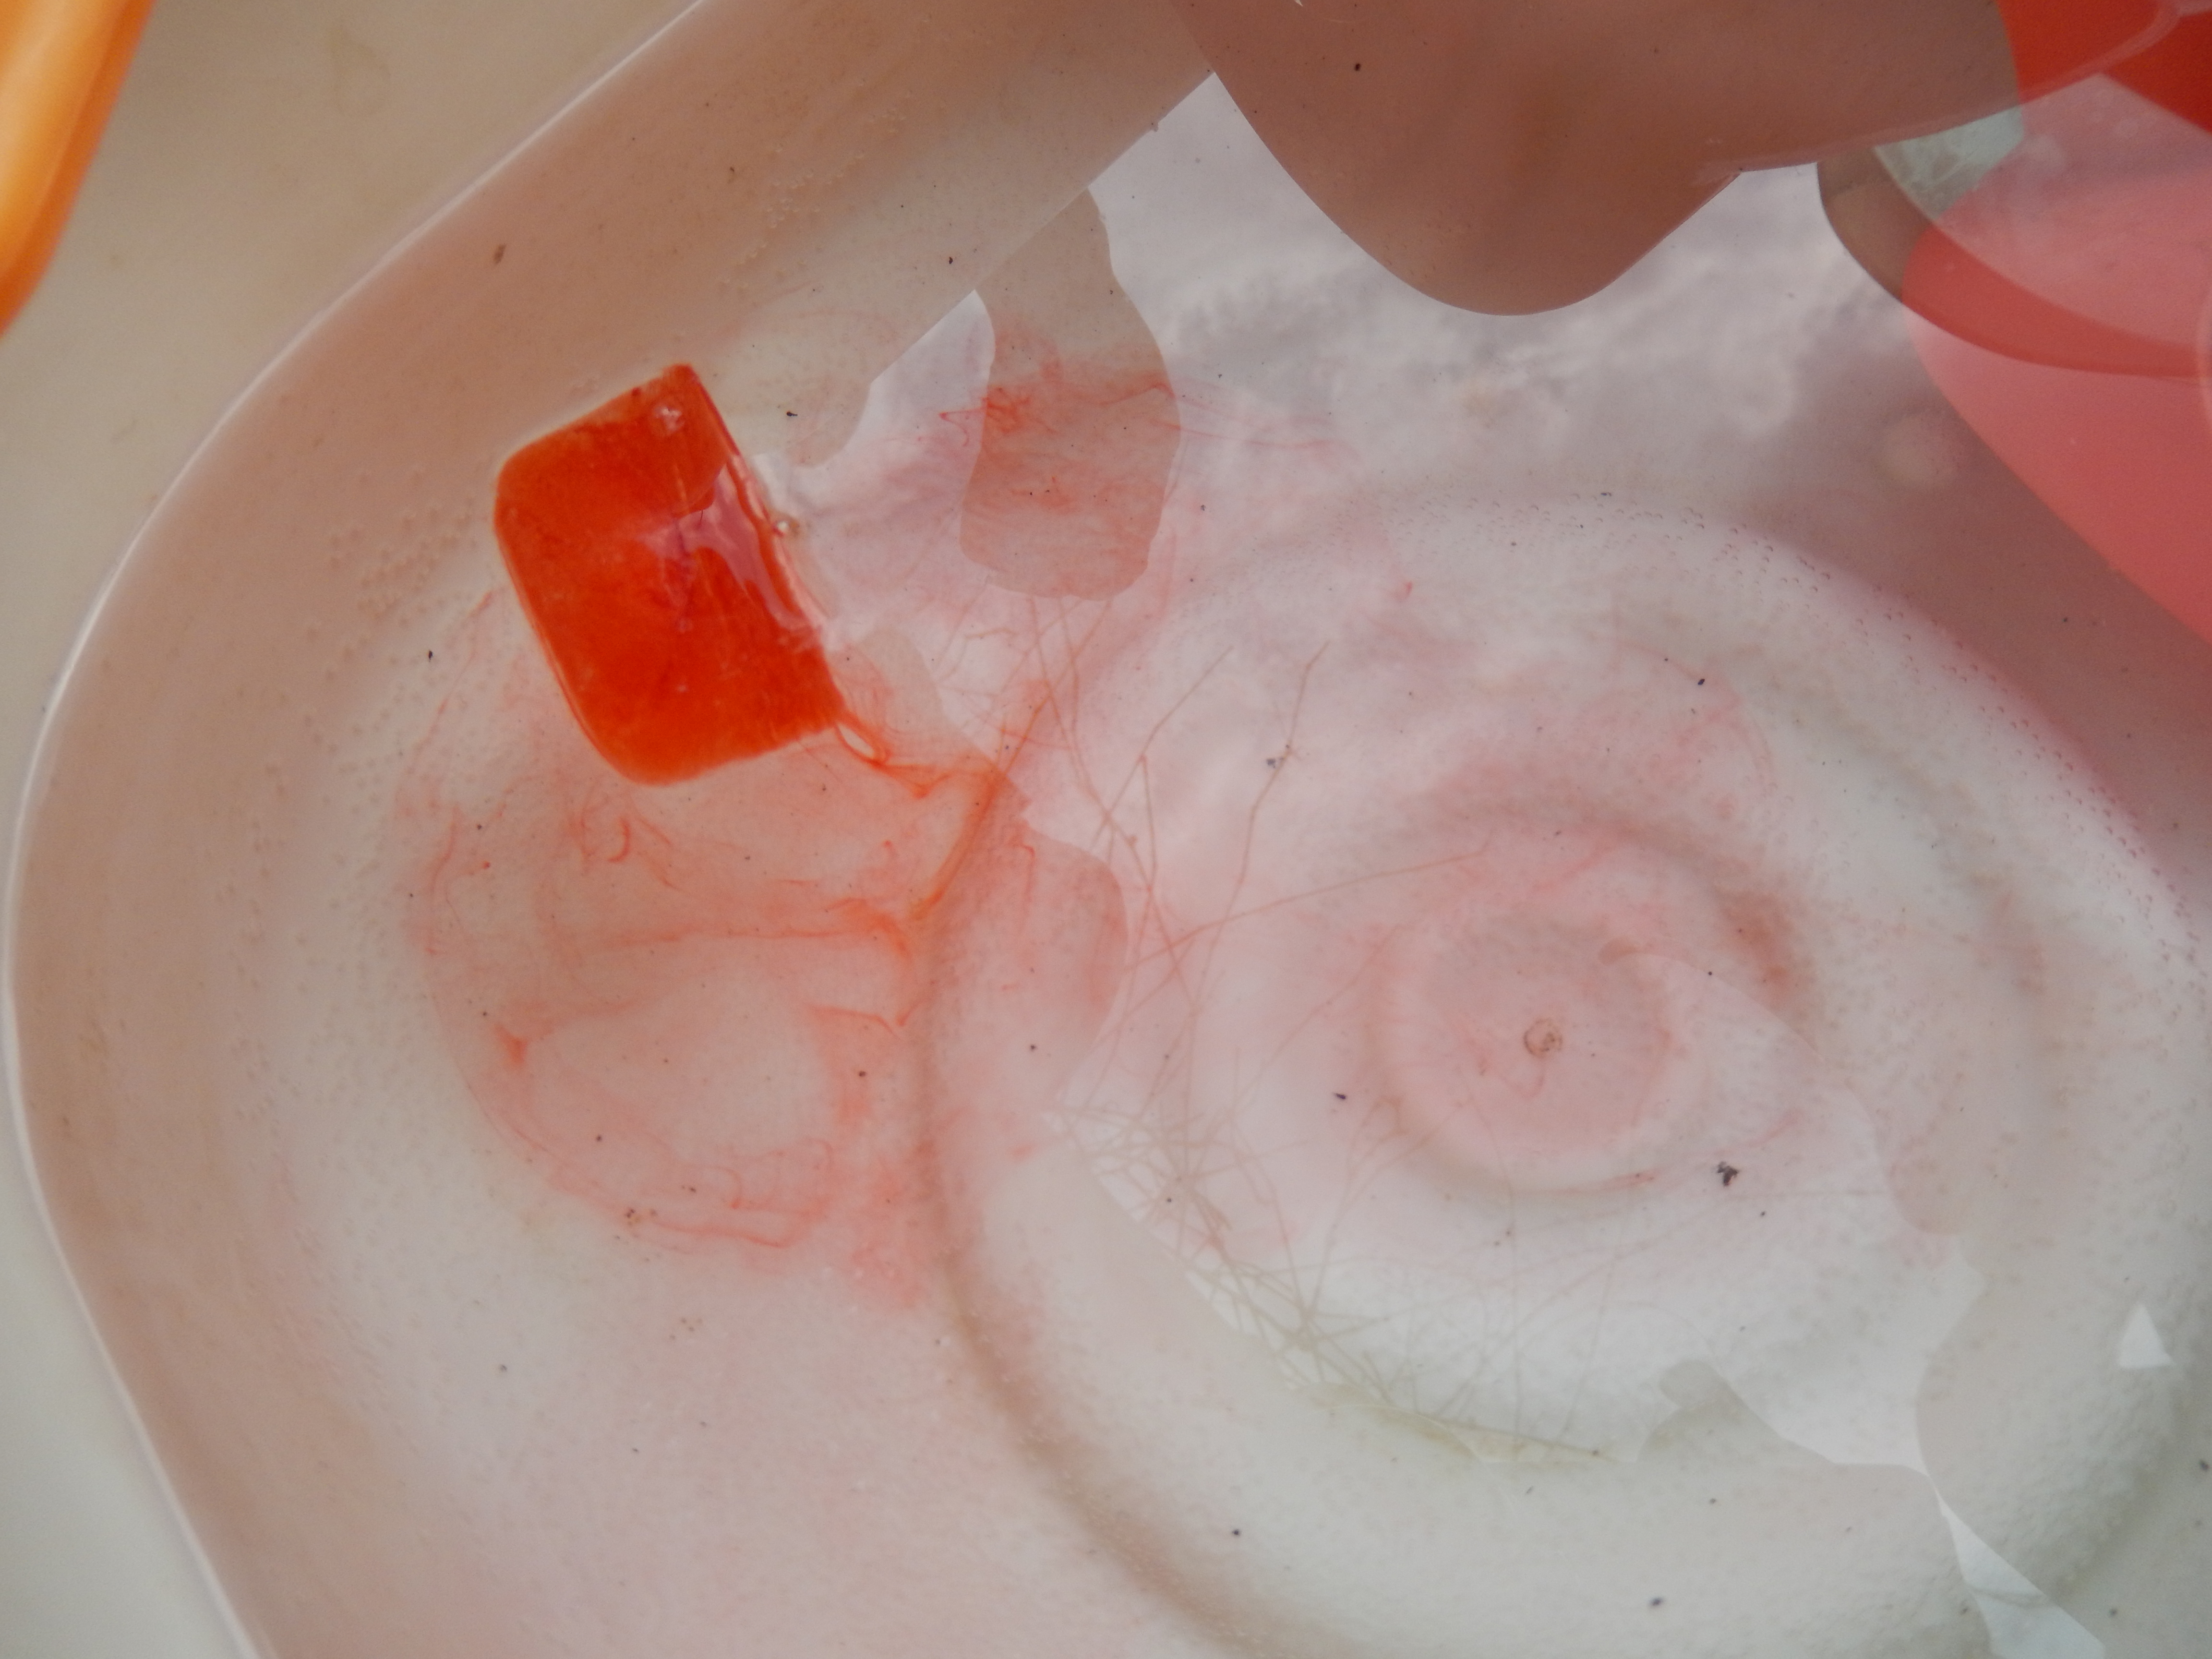
   The sponge ended up being the biggest hit of the play session, and once he discovered that if you squeezed it water would come out he squealed in delight and squeezed away, followed by a revelation that if you throw the sponge at the pan of water it makes a big splash. As I mentioned there is so much you can do with water play, and he spent an hour and half with just this small set up! I would love to hear about your water play ideas and what you like to do, thank you for joining us at excite and explore!

Image


2 Comments

Mini Worlds – Bugs

We have been collecting things lately. We go outside every  day and wander around the neighbourhood with Grays wagon and he picks things he finds up and puts them in his wagon and brings them home. (Think pinecones, sticks, leaves, things like that.) So we ended up with this big pile of assorted mish mash in the garage and for the last couple weeks I’ve been a bit unsure of what to do with it, wondering if he would be upset if I threw it out. The weather forecast for later tonight and tomorrow isn’t looking great (think rain) so I decided to bring a bit of mother nature indoors and use up some of the pile of nature sitting around. About a month ago I made a bug sensory bin for the little man and it is still his favourite on to date, this was it.

 Image

I figured I could change it up a bit and make a mini world for him to play with his bugs in, and it would be perfect for a rainy day. I used split peas as my base, since real grass is till scarce due to the time of the year.

Image

Next I picked some sticks, branches, rocks, seedlings, flowers, leaves, vines and pinecones out of our little collection. All of these materials were scavenged from the ground, nothing was picked out of a garden or cut off of a tree, so no worries.

Image

Arrange your greenery however you like and lastly add some bugs. I got a 12 pack of mine from Party City for $1.50, so this is a really frugal bin to make and doesn’t hurt your wallet.

Image

   I added a magnifying glass into it last minute for some added fun and voila, rainy day entertainment for tomorrow and lots of fun, imaginative play to be had. I hope you enjoyed this post on Excite and Explore and get to build your own little bug worlds, please join us again!


Leave a comment

Easter Sensory Bin

Easter is fast approaching and we have been getting ready in our house. Yesterday I read on how to dye corn kernels for sensory fun or crafts and knew I had to try it, so I decided to make an Easter sensory bin. You can find the tutorial here on Fun-A-Day. http://fun-a-day.com/how-to-dye-corn-kernels/ It was an easy tutorial but I wanted to make some fun colours. I made the recipe without adding the food colouring, I made 3 batches. I used this neon food colouring I found at Zehrs.
DSC02487
After a bit of experimentation I made these.
DSC02486
The purple is 1 table spoon of the purple dye, simple enough. For the green/teal colour I used 1 teaspoon of the blue and 1/4 a teaspoon plus 10 drops of the green. Lastly for the neat deep orange I used 1 teaspoon of green, 1/4 a teaspoon of purple and 1/4 a teaspoon of pink. These measurements are for every 2 cups of corn. I let them soak overnight as instructed. In the morning I spread paper towel on baking sheets and drained the excess liquid with a strainer and gave them a quick rinse (not to long) and spread the kernels evenly over the paper towel, dabbing the tops with another piece. (If you don’t let them soak over night you won’t get as vibrant a colouring.) An hour later I removed the paper towel, dried the pans and spread out the kernels again, and left them for a further 6 hours, shifting their position once to help speed up the process.
DSC02488
It turned out wonderfully! They are so vibrant and bright! I threw in some Easter eggs, the hollow plastic ones. I filled one with some of the kernels to use as a shaker and added some fluff, different types of eggs, a little plastic bunny and a scoop.
DSC02489

DSC02499
We brought it outside to play with since it was so nice out and we’ve really missed the sunshine this winter. He had a great time scooping and pouring and really liked the shaker. Hopefully this will inspire you to create some Easter fun of your own, thank you for reading and please join us again at Excite and Explore!
DSC02490