Excite and Explore

One mom, one toddler and a passion for learning and adventure.


5 Comments

D is For Dinosaur Lagoon

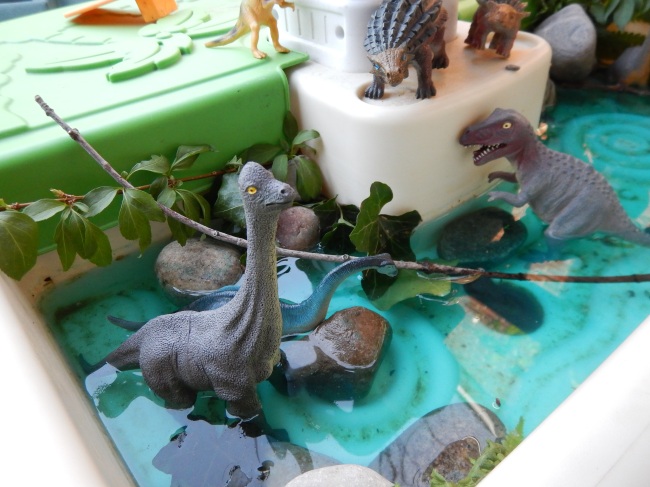
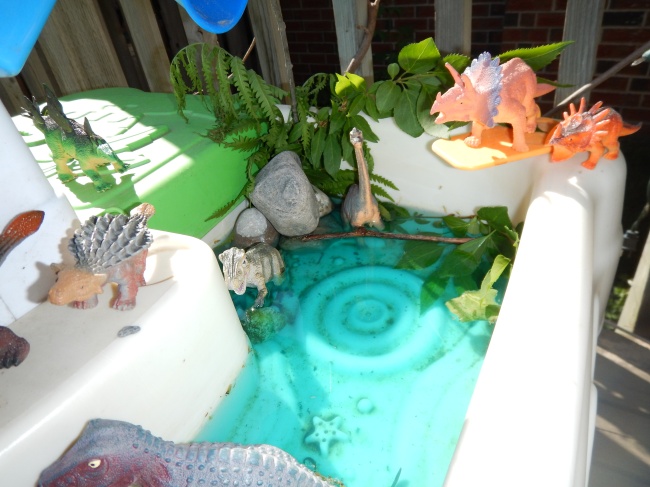
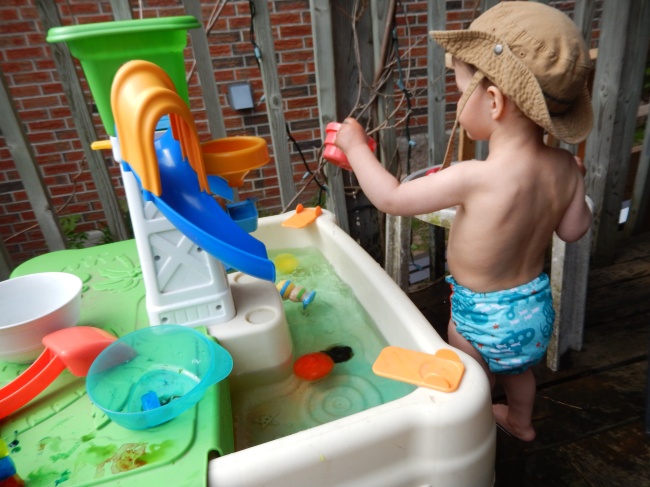
   Welcome to another letter of the week! This week we will be learning about the letter D, and I will be sharing a fun toddler activity for the letter D, the Dinosaur Lagoon! Since the weather is so lovely we are always looking for ways to cool down outdoors, and thus the dinosaur lagoon was born! It is fairly simple to make, and has provided us with hours of fun for my little one. I filled up our water table with a shallow layer of water (If you use to much water the dinosaurs will float)  in one half, and added a few drops of food colouring spread out around the water and mixed it in. Then I took some leaves and rocks from around the yard and placed them around our lagoon, wedging the sticks and some branches from bushes into the rocks so they seemed to sprout upwards. Last came the dinosaurs which were set up around the marsh and it was ready for play, see easy peasy!

Image

Image

   I stripped the little man to his diaper, since the water is coloured with food colouring it may satin clothes, and when he plays in the water table very little water is left in the table by the end. I hope you enjoyed our dinosaur lagoon, thank you for joining us at Excite and Explore!

Image


3 Comments

What To Do With A Water Table?

   As always we are always looking for fun new toddler activities to do, and this week I pulled out the water table and (after a good scrubbing with a magic eraser) it was ready for some time to shine! I went searching for some inspiration for some unexpected ways to play with our splash works and thanks to my fellow bloggers I was not disappointed! The weather is getting warmer, so here are some fun ways to cool down while making the most out of your water table!

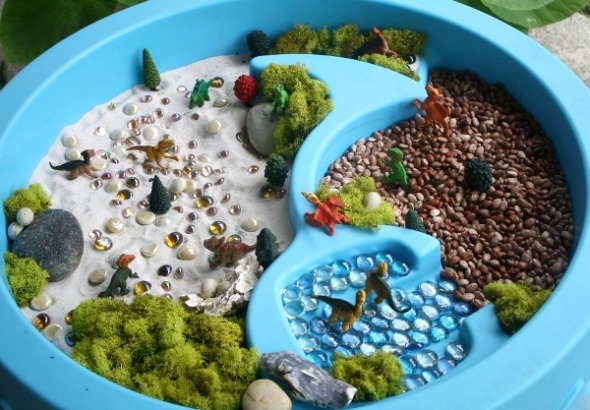
1. Dinosaur Sensory Bin – Fantastic Fun and Learning

  I thought this was the coolest idea! Make a fun for kids dinosaur mini world right there in your water table!

Image

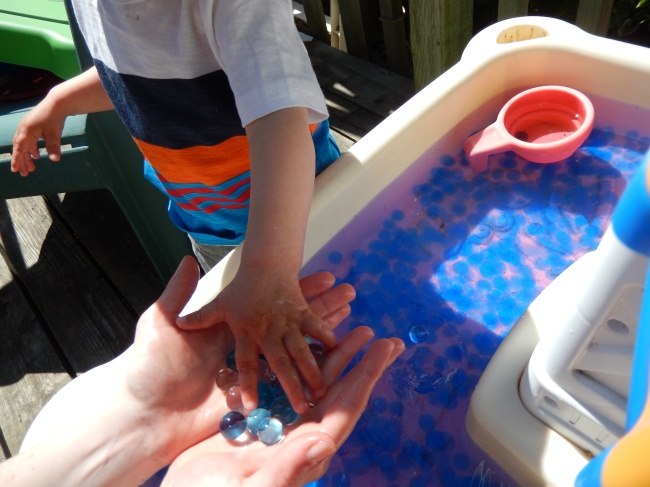
2. Water Beads – Excite and Explore

Why not fill it up with these slippery little balls, a neat sensory experience for your little ones, my son loves this! I sounds odd but I myself find running my fingers through these to be so relaxing, I even had a dream that we filled a pool up with them and it was glorious! Keep in mind that they can be a choking hazard so keep them away from small children or those you worry will put them in their mouth. Always supervise when using water beads!

Image

3. Colourful Foaming Water – Life With Moore Babies

Who didn’t love bubble baths as a kid? So why not bring the foam (and colourful to boot) to the water table!

Image

4. Sensory Spring Water Table – The Pleasantest Thing

It is spring, the dandelions are plentiful, why not?!

Image

5. Coloured Ice Play – Excite and Explore

It is getting warm out and it will get warmer! Cool down with some coloured ice play!

Image

6. Beachcombing in the Water Table – My Nearest And Dearest


What a great way to bring the fun of the beach home with you!
blue-shell

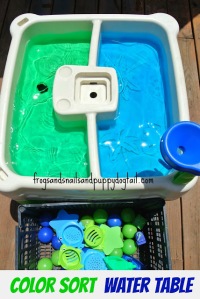
7. Colour Sort Water Table – Frogs and Snails and Puppy Dog Tails
Want to squeeze in some learning while you are at play? Check this out!
colorsortwatertablefspdt
I hope we have been able to help inspire you today, I know we will be having a lot of fun with our water table this summer, we would love to hear some more ideas or feedback, thanks for joining us at excite and explore!


6 Comments

Coloured Ice Play

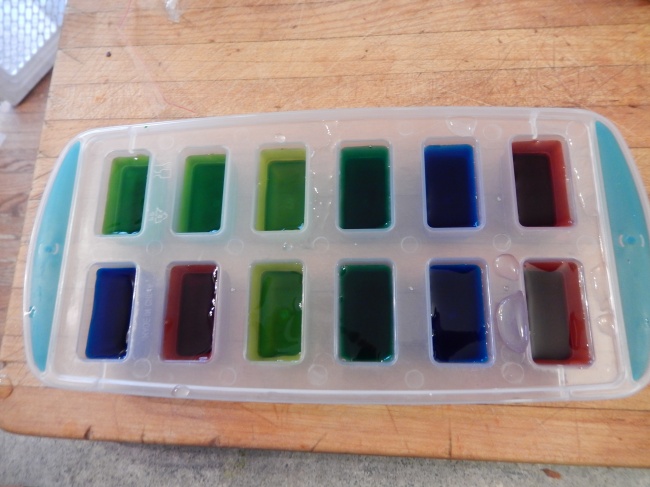
   So recently I saw this neat post on Learn Play Imagine about coloured ice play and I thought we would give it a try and share some ways to play with coloured ice. It is really easy to make, and we used the put the food colouring in the ice cube tray before water method, which left us with really nice, evenly coloured ice. I put two drops of food colouring for each ice cube and added water.

Image

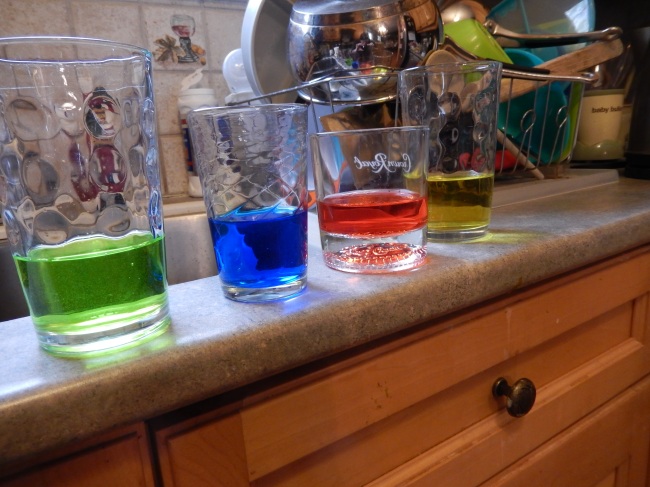
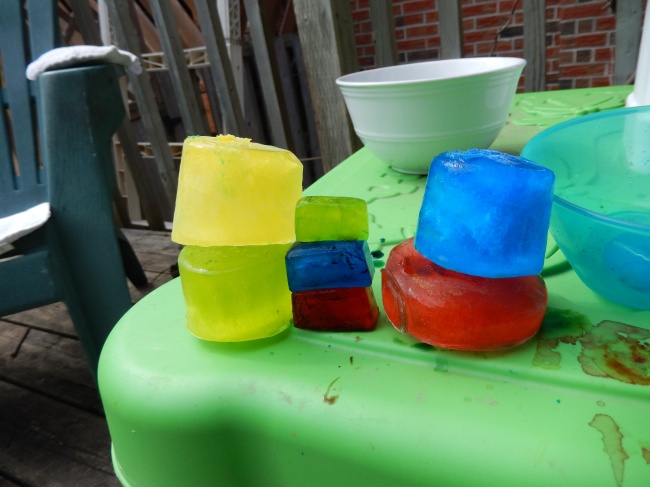
   I also made some bigger pucks using more food colouring and some glass cups.

Image

   I left it over night in the freezer, and since the weather was lovely today I pulled it out in the afternoon to have some fun. (I turned on the hot water and ran the sides of the cup under the water to loosen it to get the pucks out.)

Image

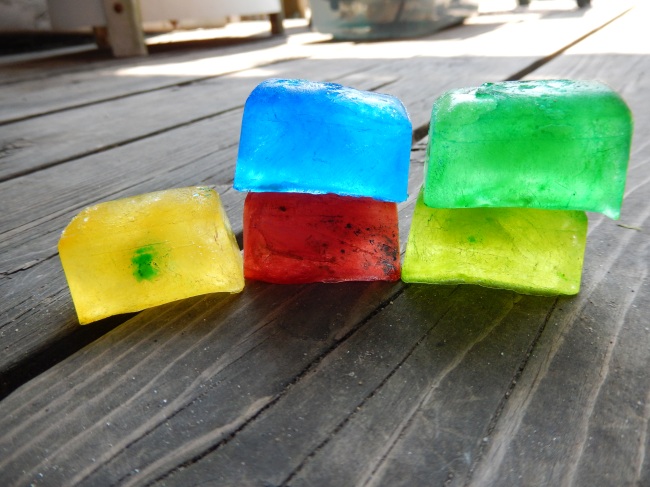
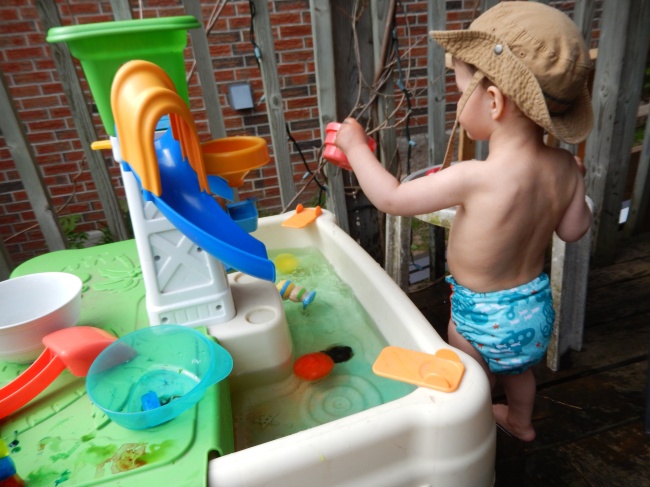
   I left the cubes in a bowl by the water table and released the toddler, after stripping him to his diaper and a hat since I wasn’t into scrubbing food colouring out of his clothes. He was really curious as to what exactly these were, so in typical small child fashion he tried to eat them, but once he discovered that they weren’t anything special he started off by using them as building blocks, which was quite the challenge since, being made of ice, they were pretty slippery and slightly rounded from the mould.

Image

Image

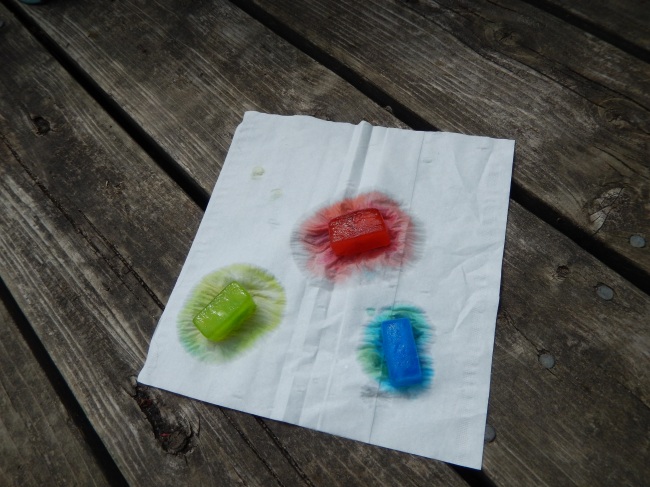
   I dubbed this our castle. I had a sudden thought and brought out a Kleenex and we put three different coloured ice cubes on it and left it on the deck to melt.

Image

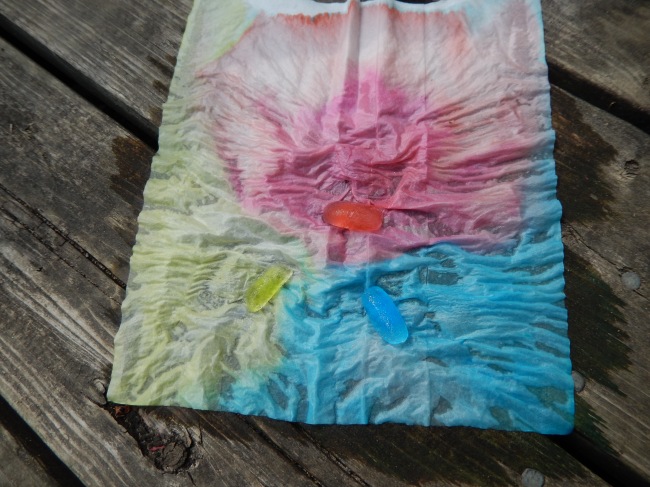
   Which melted into this really cool tye-dye like piece, that we hung up to dry in the sun.

Image

   Then they went into the water table, swirling around and colouring the water. This was all done in-between attempts to eat the ice cubes, since he seemed convinced that they would taste different than the last time.

Image

Image

   That was our adventure with coloured ice! We would love to hear your ideas for playing with this cooling activity, thank you for joining us at Excite and Explore!


Leave a comment

Spring Soup

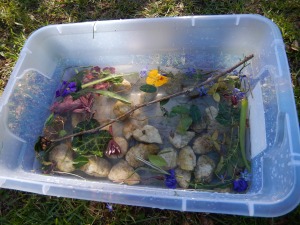
 Yesterday was a lovely day out and we spent most of it out in the sunshine and fresh air. I was talking to Gray about the different seasons and how excited I was that spring has arrived. ( Honestly here it really has just arrived, the snow is finally gone and I no longer wake up, look out the window and fight the urge to cry at the thought of scraping of the car.) Gray has recently decided that soup isn’t so bad after all, when for the first year and a half of his life he detested the wholesome goodness that is soup, so I thought we would do some pretend play out in the back yard. Best of all this activity is free! (Provided you have something at home you don’t mind using as a pot.) I emptied out a small Tupperware bin and brought it out back with us, and we went around the yard collecting things that reminded us of spring. ( or in Grays case whatever he felt needed to go into the soup pot. ) We placed it all in our soup bowl and added some water from the hose.
DSCN0124
DSCN0126
Soon he grabbed a stick and was stirring the soup after every ingredient he added and pretending to drink it with a leaf spoon. The he discovered that rocks make a big splash when added to our delicacy so in went handful after handful of rocks. We had a great time doing this and I am always trying to find new ideas for imaginative play, I find that he struggles a little bit with it sometimes but this activity went off without a hitch. What do you like to do to welcome spring?
DSCN0131


1 Comment

DIY Terrarium

   I have been meaning to make one of these with Gray for quite a while, and today we stopped by the local plant nursery and picked up the plants finally. We ended up making two because they were just so cool looking and I couldn’t stop picking out plants! These are really easy to make and a lot of fun for kids to help out with, and they look pretty funky in your house. First you need to gather some materials, you will need: some sort of glass house for your plants, I ended up buying a couple that are actually made to be turned into terrariums but for a more frugal option you can use a mason jar, and old vase, anything you want really! Moss, small rocks, potting soil ( it must be a well draining one, we used the Farfar Argo mix which was recommended to us at the nursery. You only need activated charcoal if your terrarium is sealed, mine has an opening so I didn’t get any. I used decorative gravel for my small rocks (this is for draining.). You will also need your plants, select according to where you will be keeping your terrarium, some need more sunlight than others, so they should be paired accordingly. Lastly you will need a spray bottle, I got mine at the dollar store.

Image

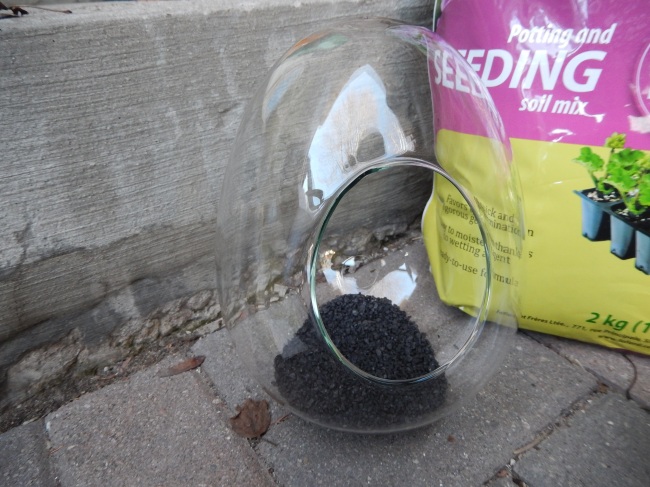
   Once you have gathered your materials you are ready to put it together. First add a 1 inch layer of the small stones to the bottom of your habitat. Place these carefully because you may shatter the glass if they are poured in. If needed use a funnel, depending on the size of your opening.
 Image

   Next you want to add your activated charcoal (remember only if your terrarium is enclosed.) After this in goes the moss, you want a thin layer, this will keep the soil from settling.

Image

   You want to add about 2 inches of the potting soil on top of the moss, Gray really enjoyed this part, shoveling the dirt around and flinging it into the air.

Image

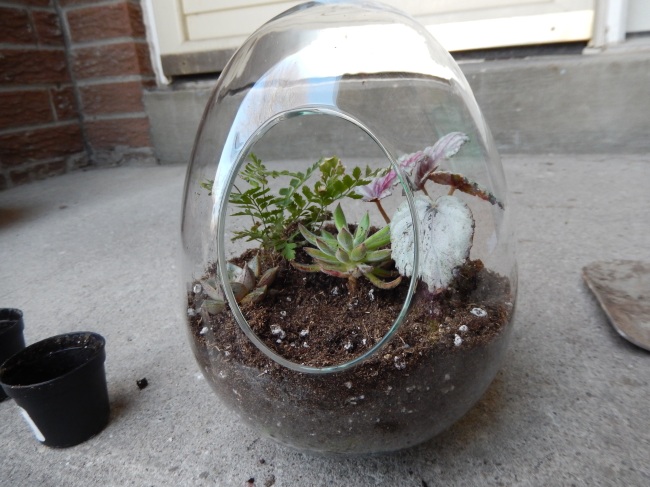
   Next you want to add your décor, meaning plants. This was the fun part and Gray became really attached to one of them, carrying it around for a good half hour. This part can be a bit tricky, I found that because our terrarium was not very tall I had to sort of break up the roots a bit so they spread outwards instead of straight down so that our plants would fit into our terrarium, so if necessary do so carefully.

Image

Image

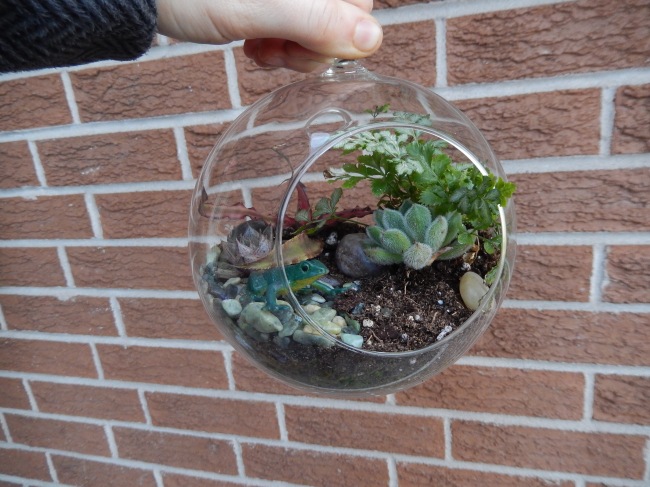
   We added a little pathway of these pretty stones and a couple larger stones for décor and I let Gray pick out one of his plastic animals to add since it is going in his room. The mistake I made was not limiting the options of what he could chose from, leading to a meltdown because the 2 foot dinosaur would not fit in the less than 2 foot terrarium. In the end we settled on a little lizard. This was our first finished terrarium!

Image

   The one we made later for my room hangs from the ceiling since I had no where to else to put one, it was a bit smaller but turned out really well.
Image

   Terrariums recycle their moisture so they need very little watering, and once a moisture balance has fallen into place if your terrarium is enclose it can go up to a month without water. I was told that because mine was in the open air to spritz it twice a week. It should not be placed in direct sunlight, the sun will cook the plants through the glass, but indirect is fine. To help prevent rot you will want to remove any fallen leaves from your terrarium. If your plants leaves start to droop they may need some more water so give them a spritz. That is all for tonight, thanks for joining us and please come visit us again at Excite and Explore!


1 Comment

Help A Bird Build A Nest

Gray has been pretty interested in birds lately, and bird season is coming into full swing now that the weather is getting nicer so today we made a little ‘cage’ full of nesting materials for all the birds visiting us every day. You can buy these little cages made out of metal from some gardening and home stores but I figured we could make our own. Gather some supplies.
DSC02577
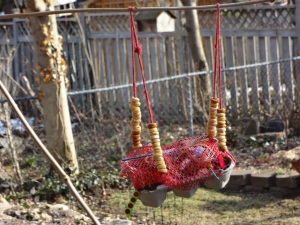
First we cut up some yarn into pieces, 4-8 inches are ideal for the birds to build their nests with. We also used colourful ribbon and leftover felt, Gray had a great time unravelling the yarn and throwing it all over the place. I cut an egg carton in half for our base and we filled it with our scraps of fabric. To cover it and keep the wind from blowing our scraps all over the yard we covered it with the netting from the top of a clementine container, quite a few fruits come in this netting.
DSC02579
I ended up hot gluing the netting to the egg carton but if you have the patience you could use regular glue or poke holes in the carton and thread the netting in. I wanted to use wire to hang it but I couldn’t find ours so we used the yarn, and I figured why not find a way to attract the birds to our little helping hand so we threaded the yarn we were hanging it up with full of cheerios (Also great for fine motor development) and had a bit of a snack at the same time. This was our finished product.
DSC02586
Gray was quite proud of this little project and carried it around the house for a while before I took him outside and we hung it up in our back yard, here’s to hoping we will see some colourful little nests around the area soon! Thank you for joining us at Excite and Explore, if you have any questions feel free to ask and please come again!
DSC02588