Excite and Explore

One mom, one toddler and a passion for learning and adventure.


6 Comments

Coloured Ice Play

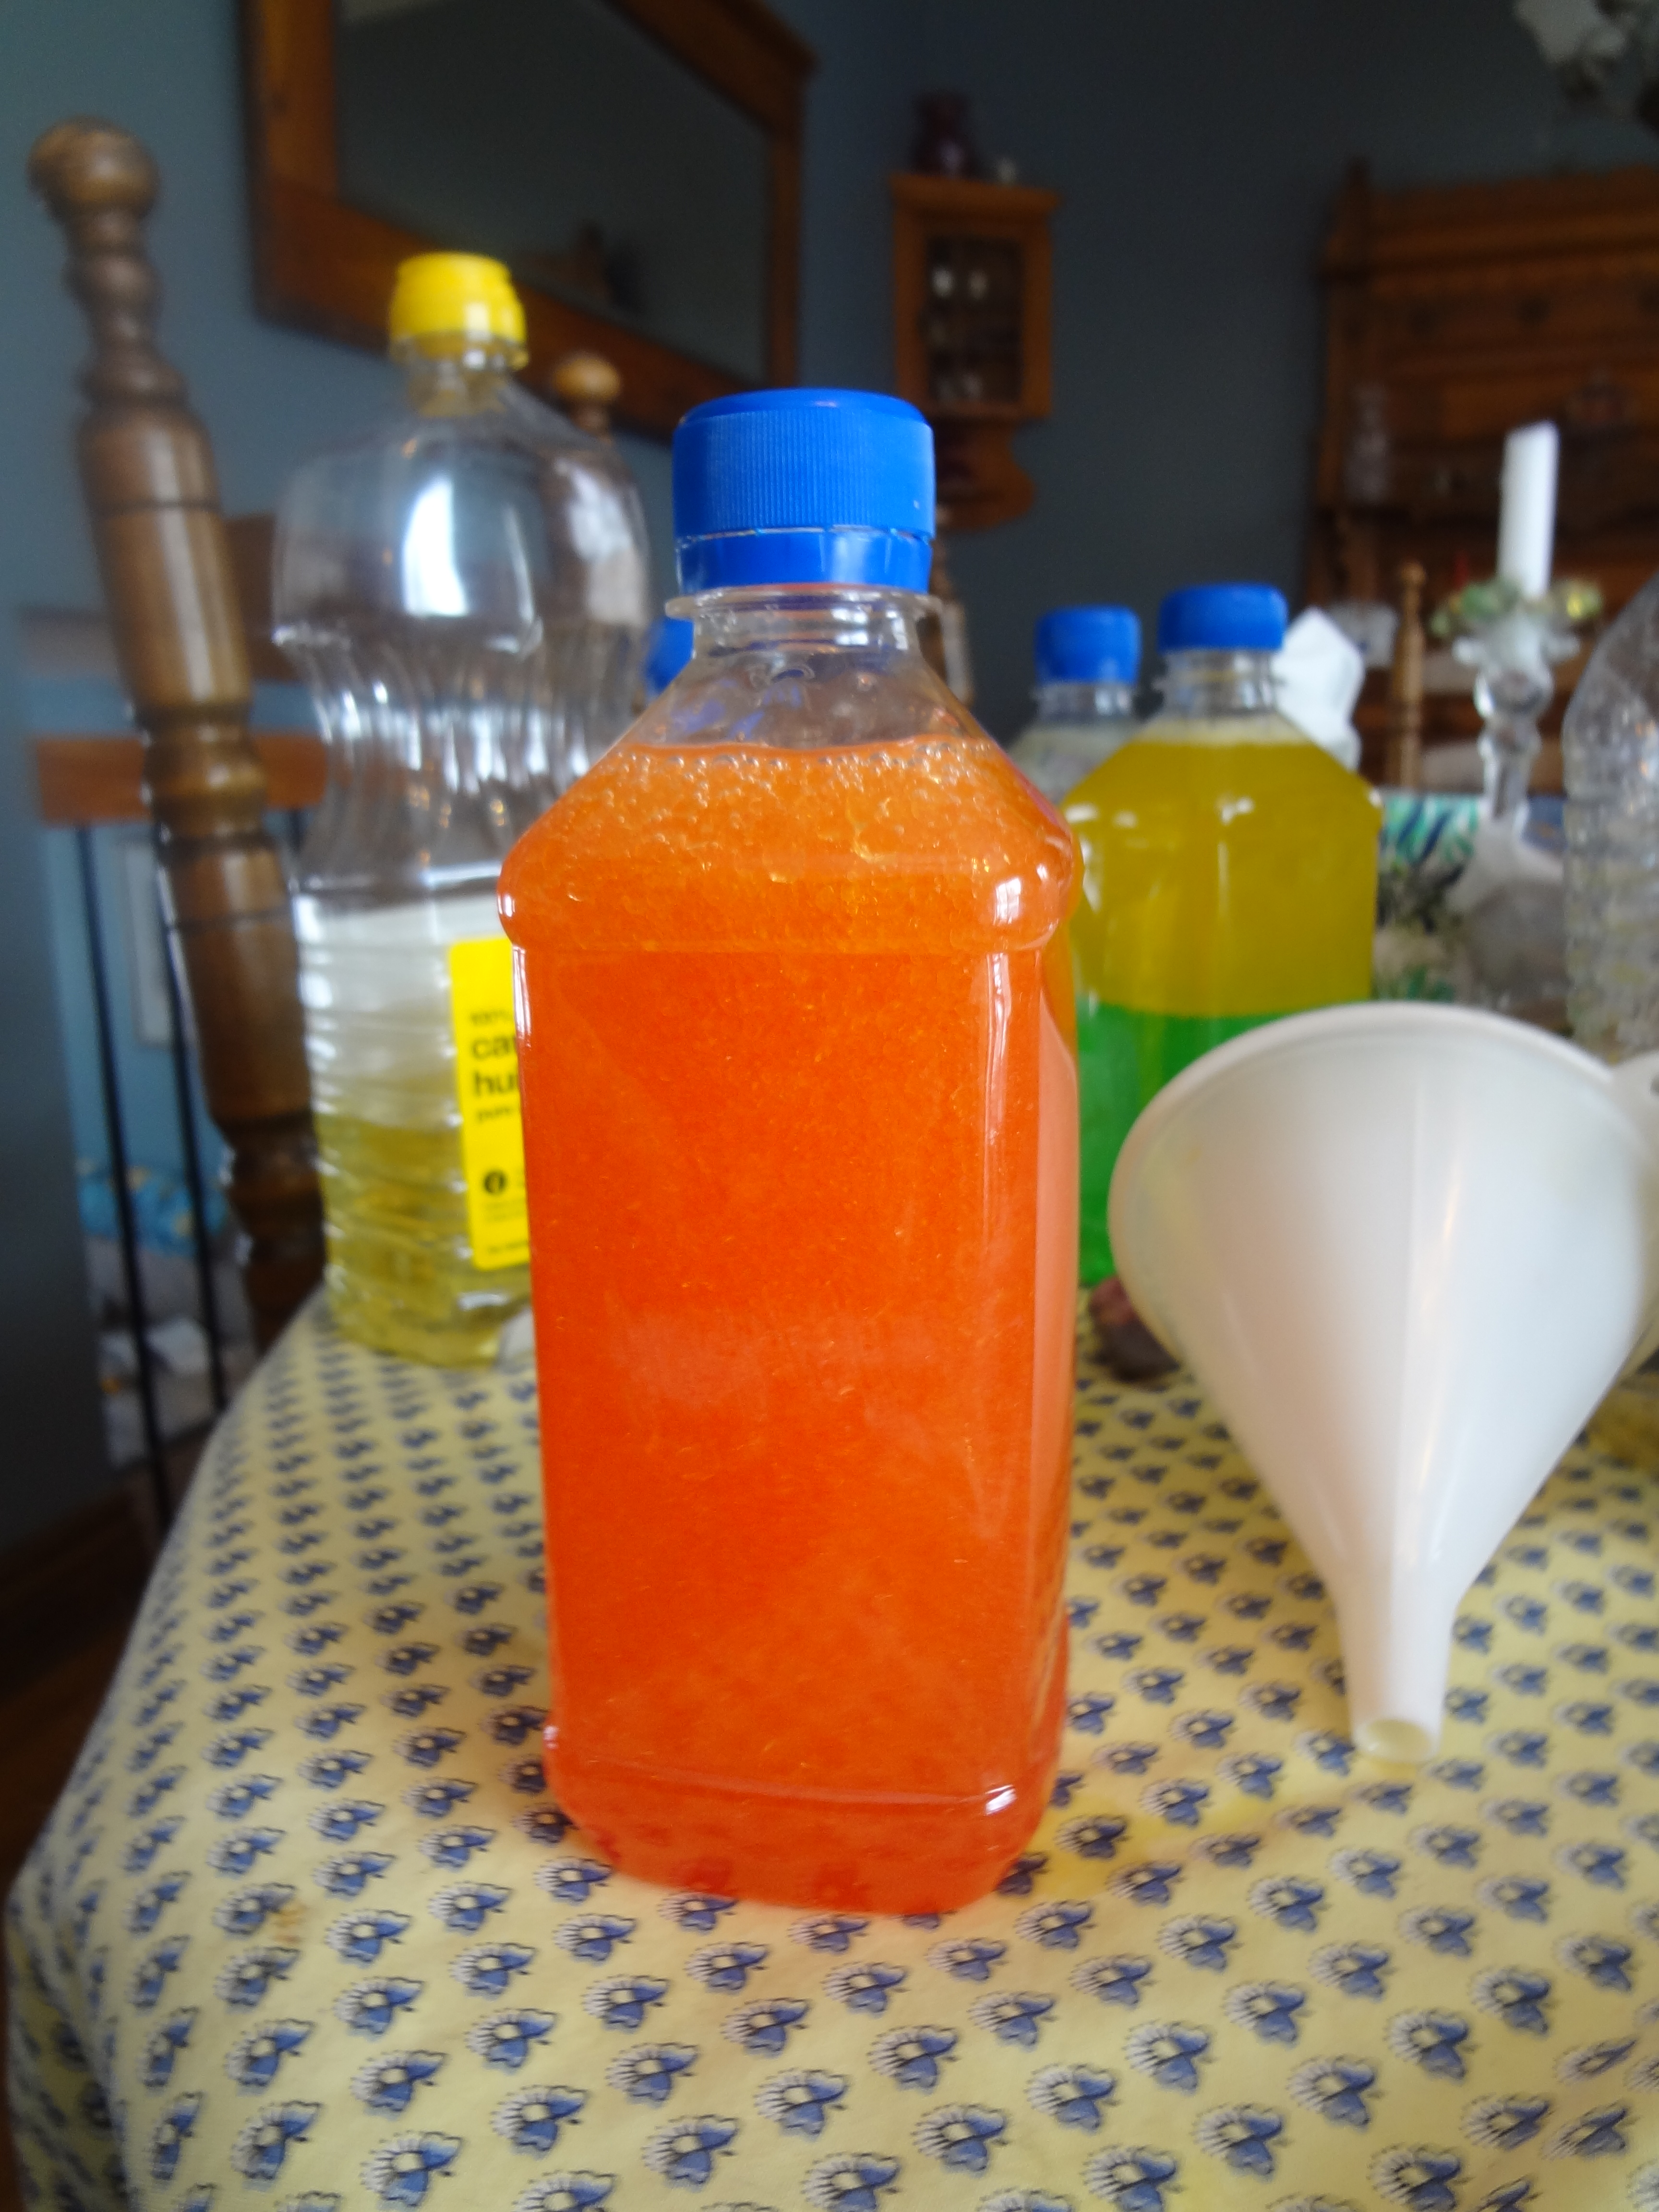
   So recently I saw this neat post on Learn Play Imagine about coloured ice play and I thought we would give it a try and share some ways to play with coloured ice. It is really easy to make, and we used the put the food colouring in the ice cube tray before water method, which left us with really nice, evenly coloured ice. I put two drops of food colouring for each ice cube and added water.

Image

   I also made some bigger pucks using more food colouring and some glass cups.

Image

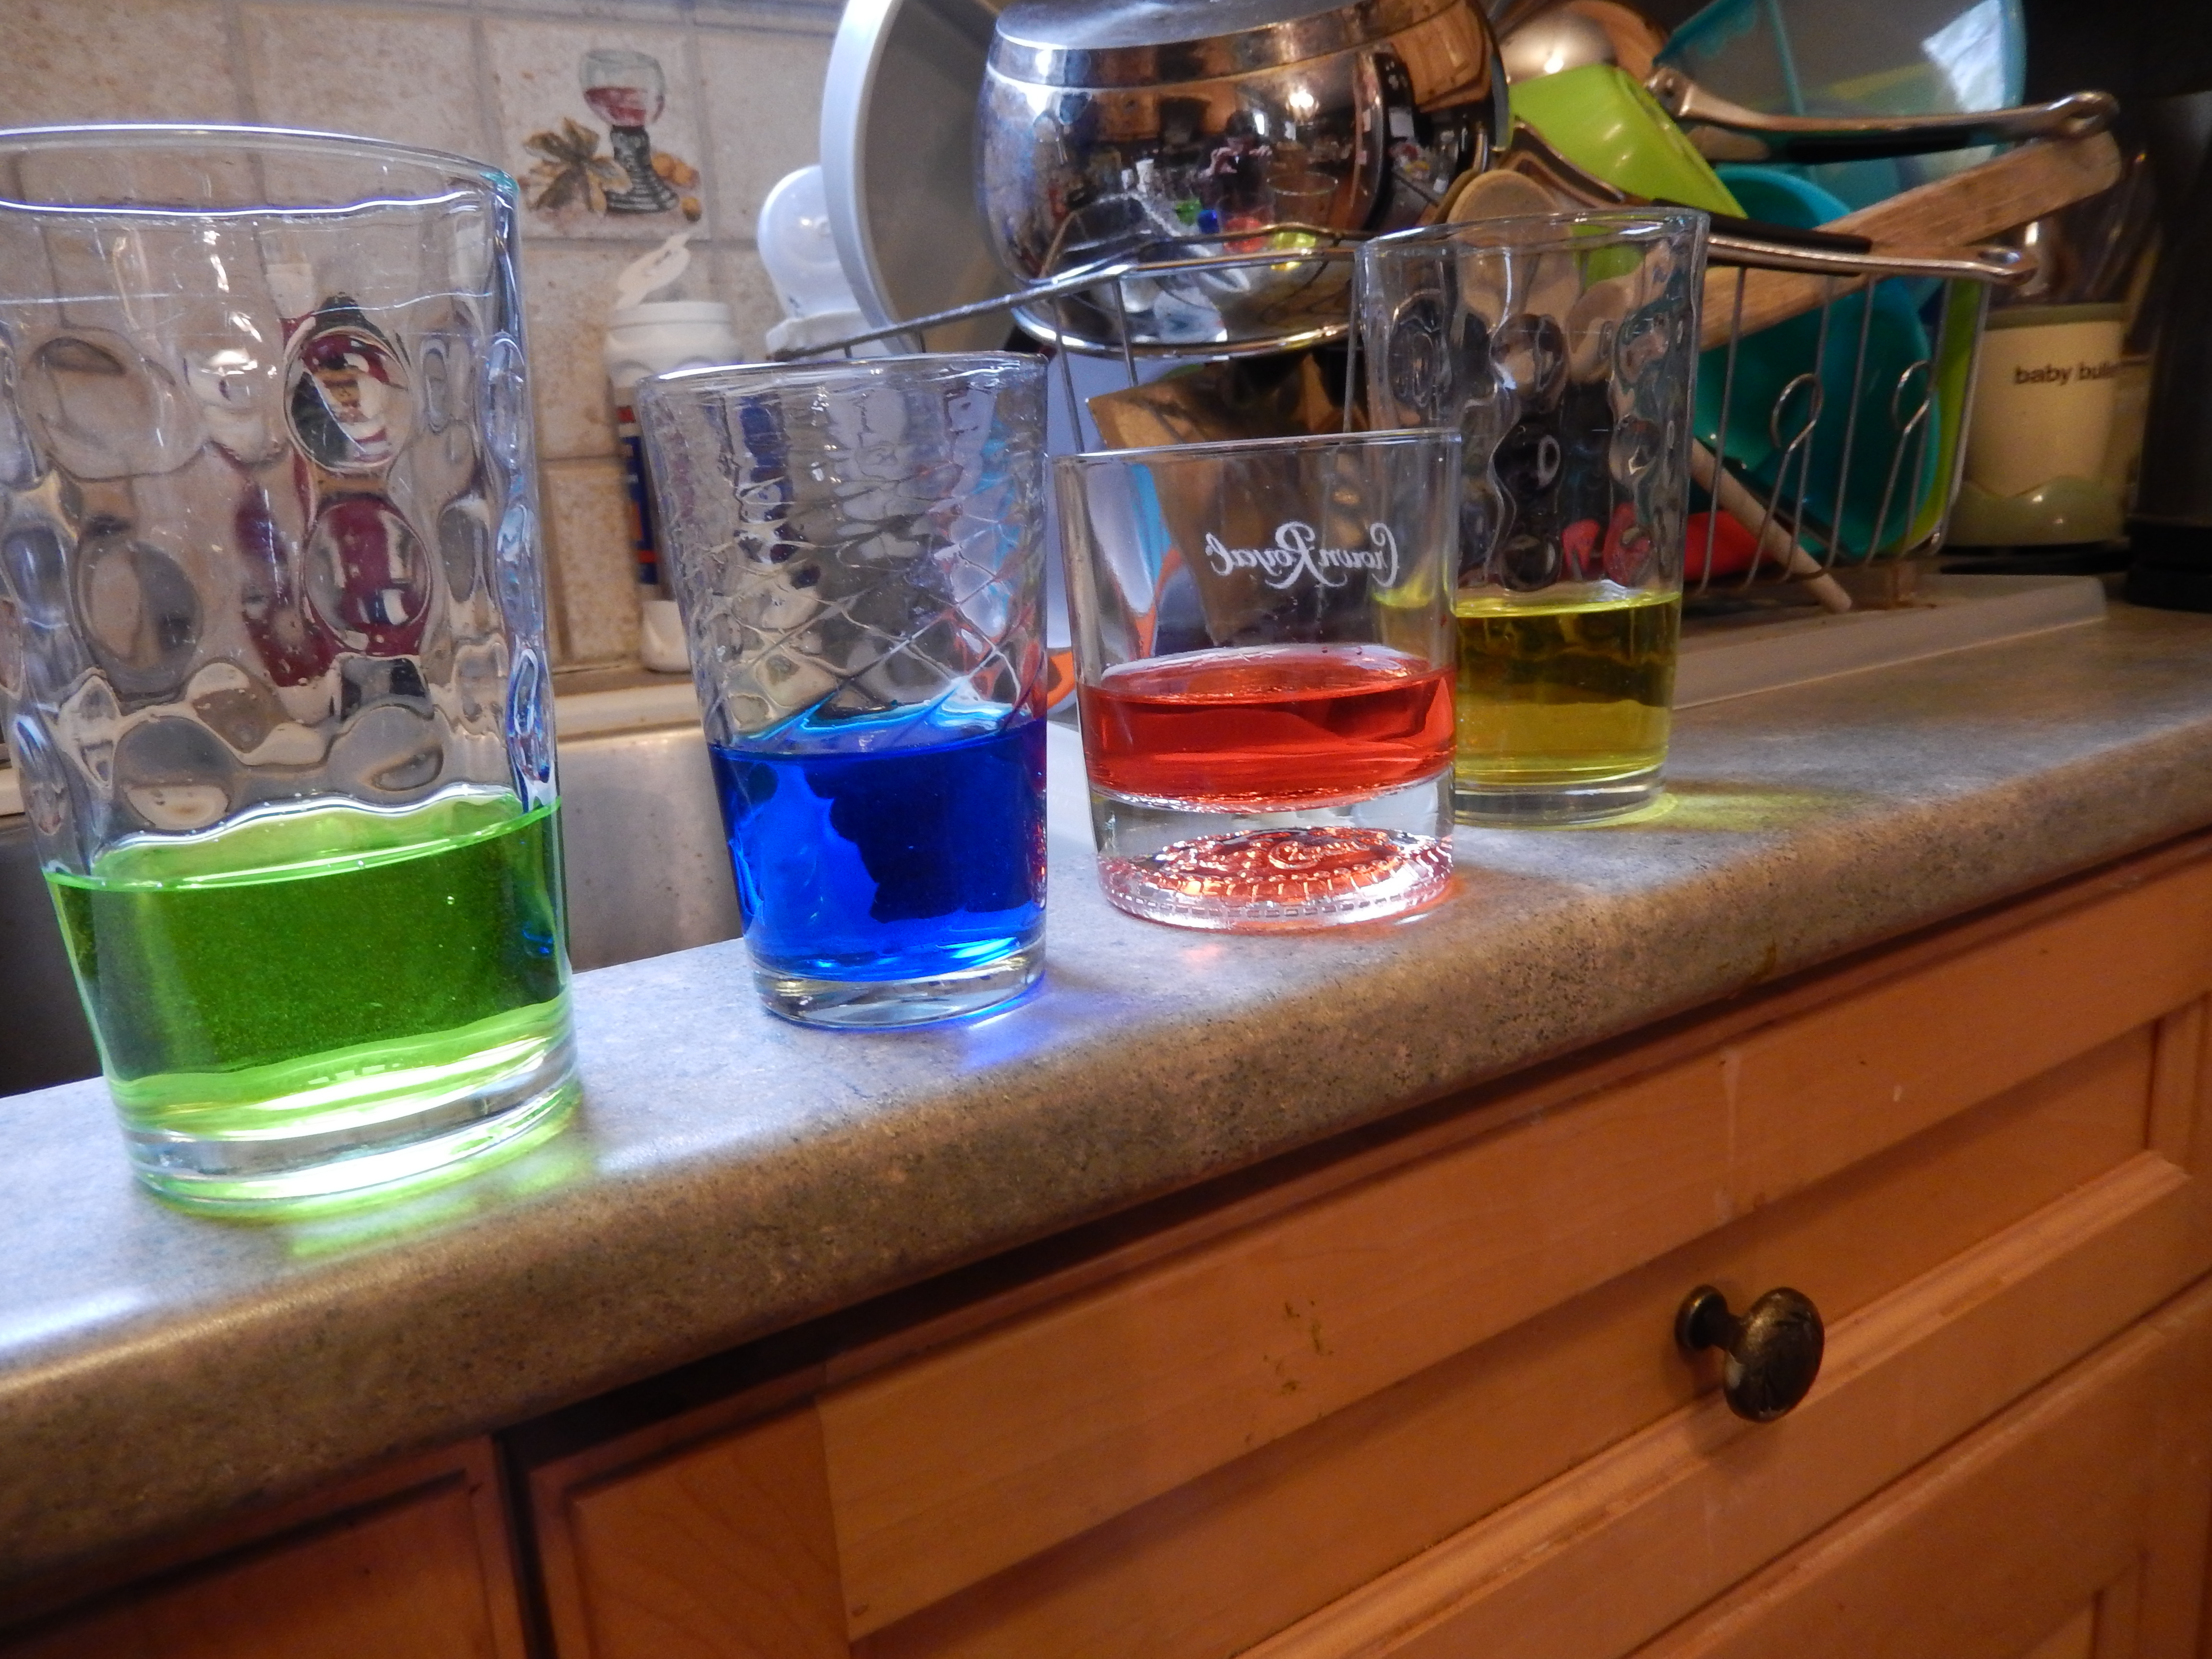
   I left it over night in the freezer, and since the weather was lovely today I pulled it out in the afternoon to have some fun. (I turned on the hot water and ran the sides of the cup under the water to loosen it to get the pucks out.)

Image

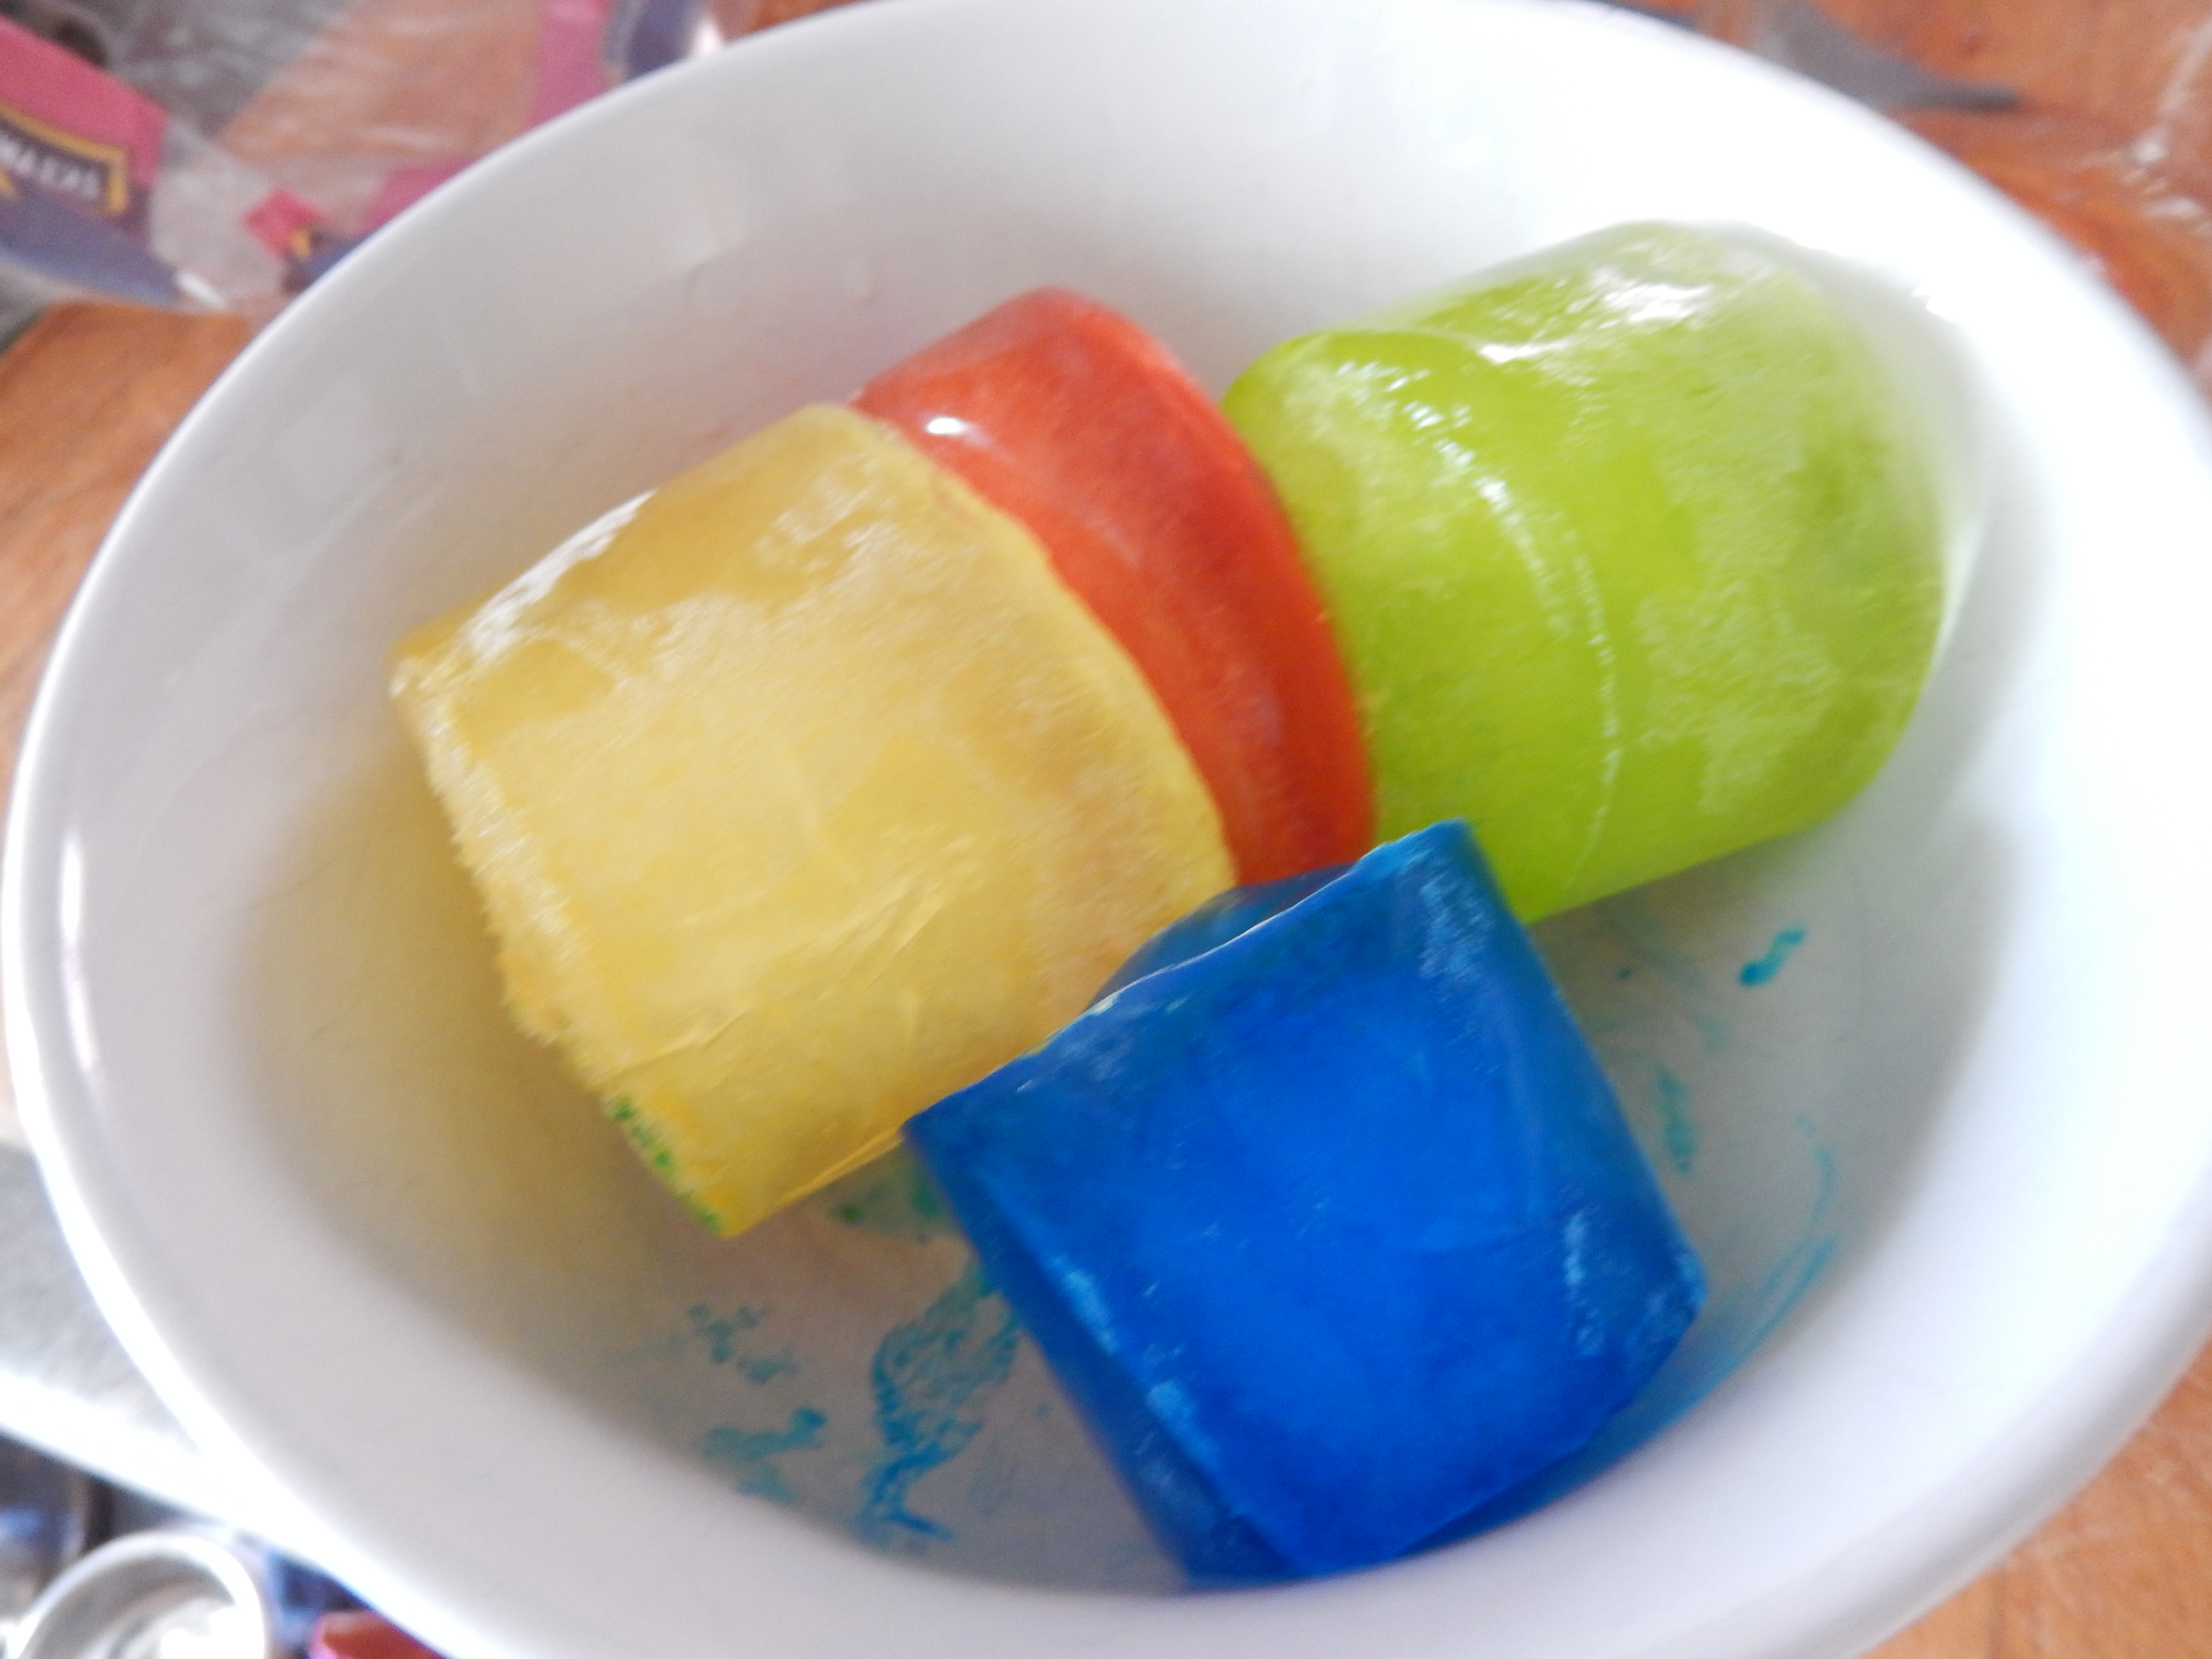
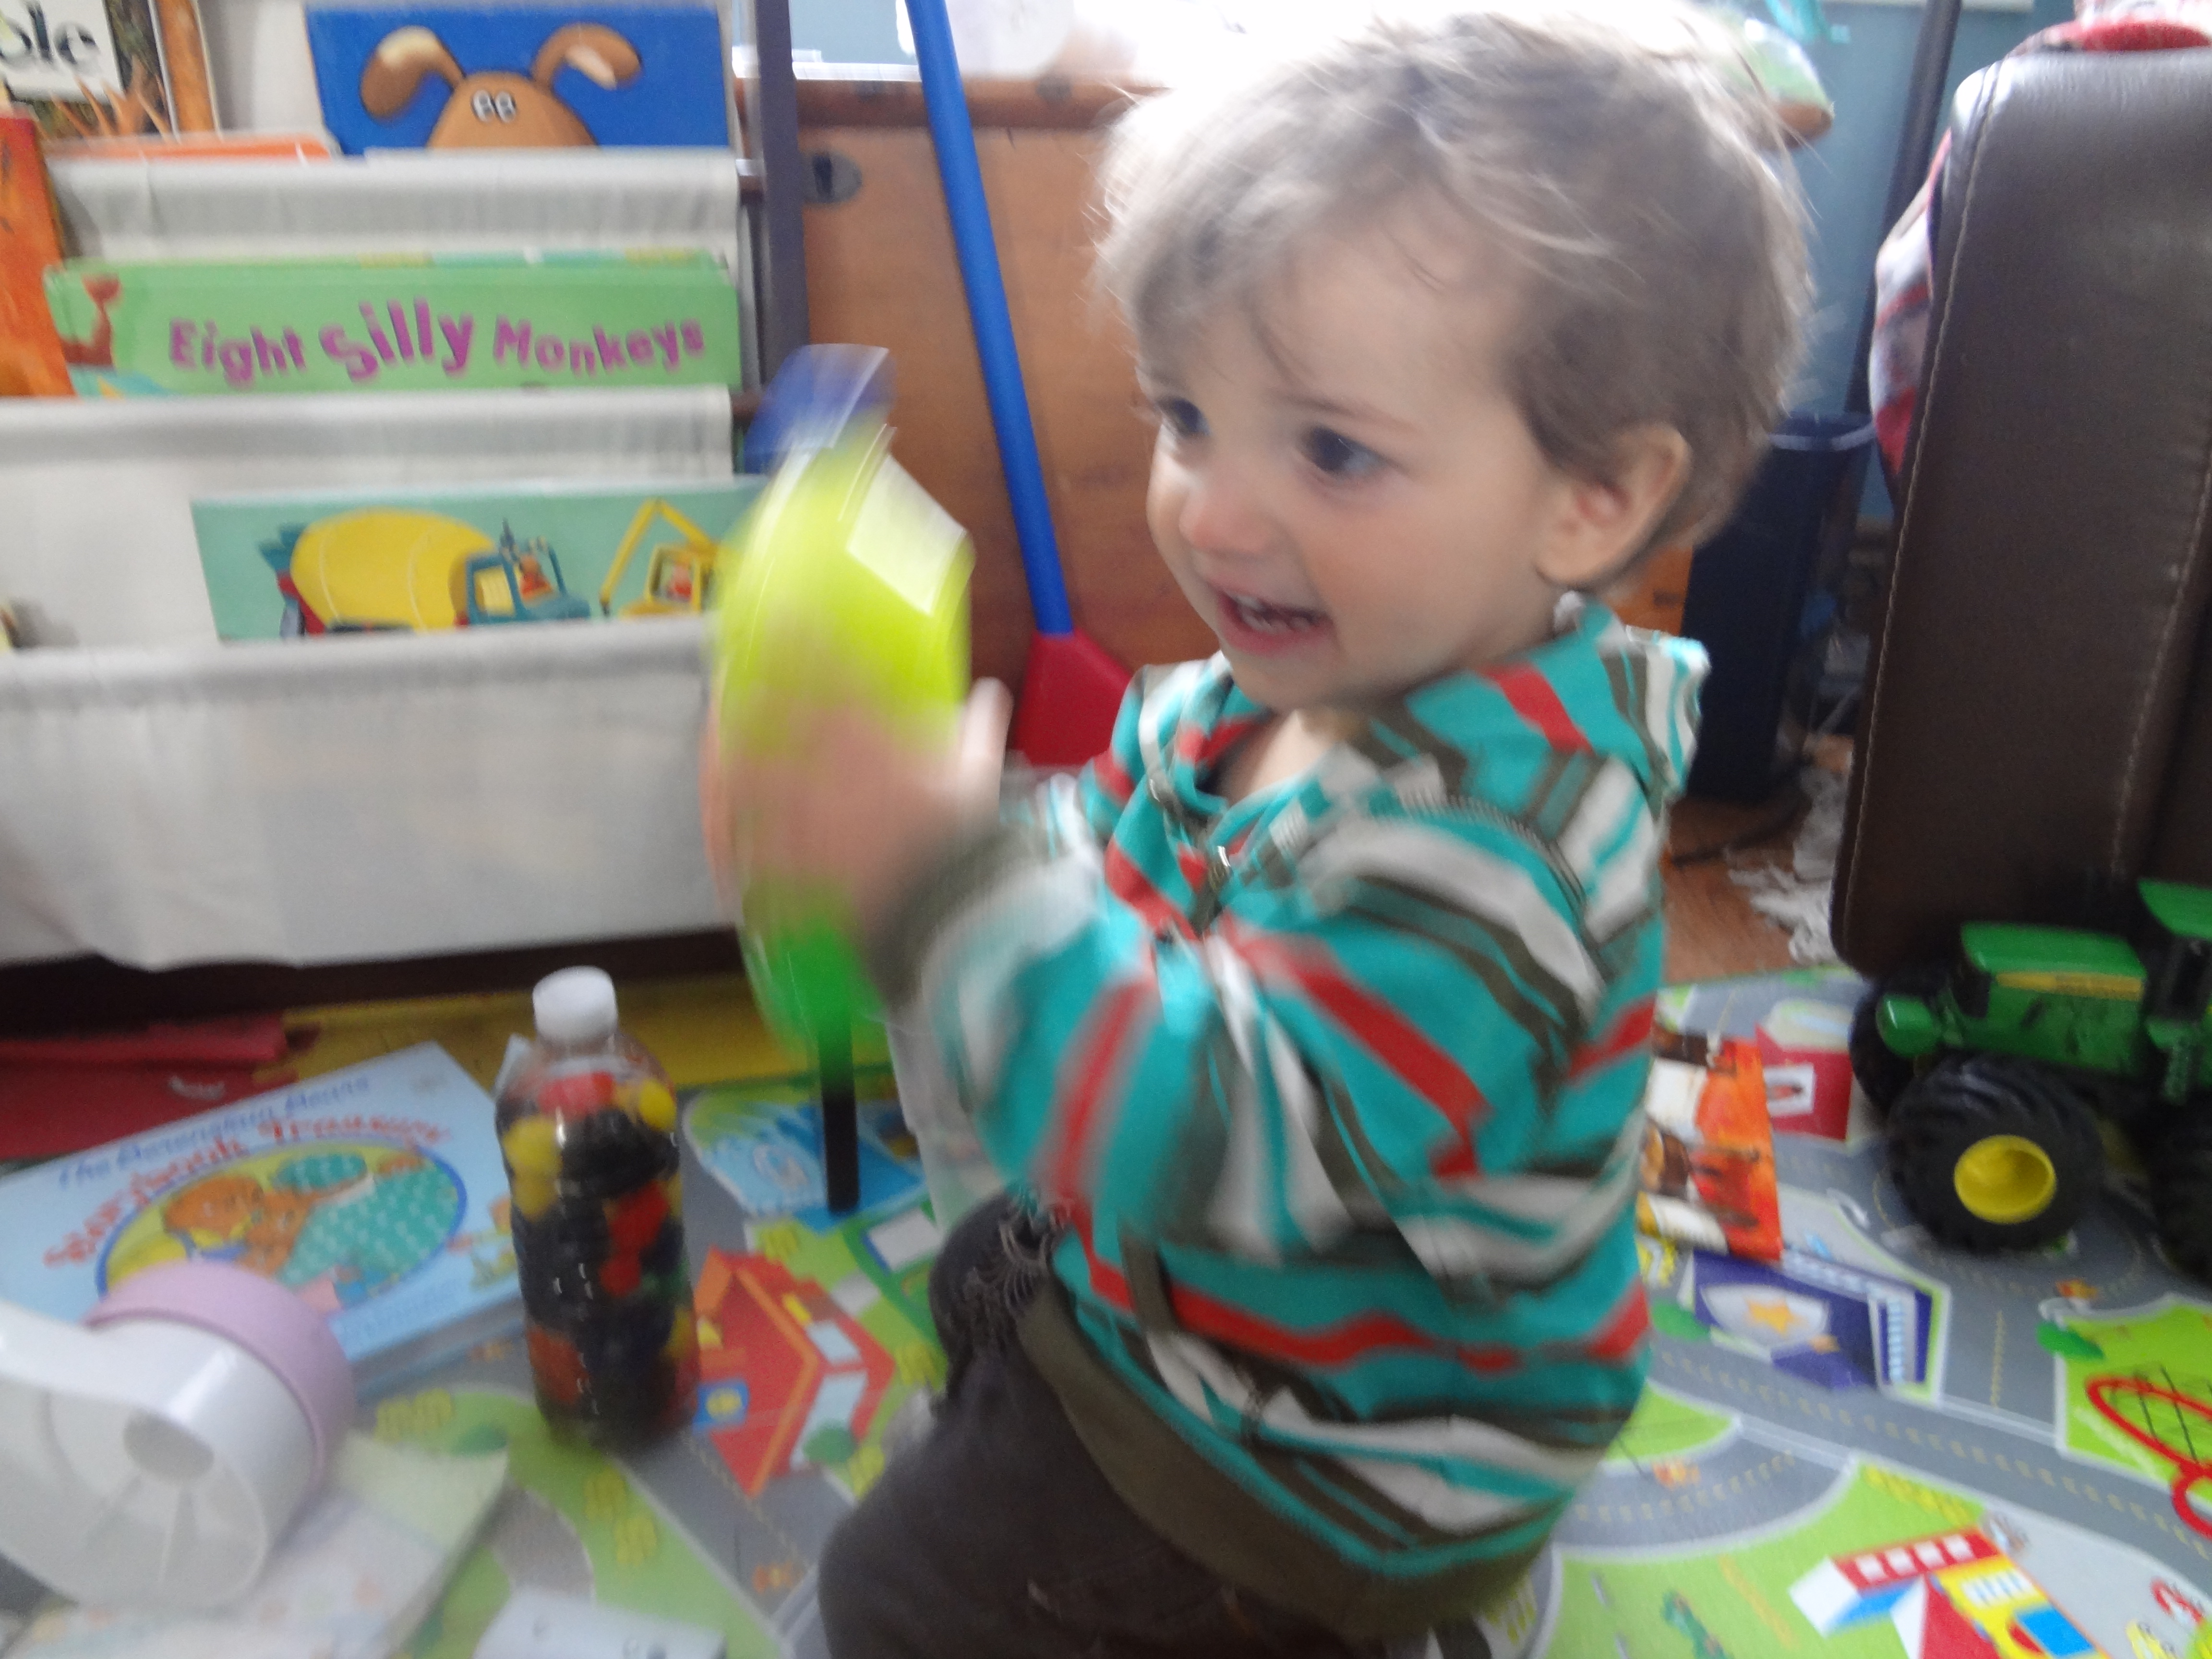
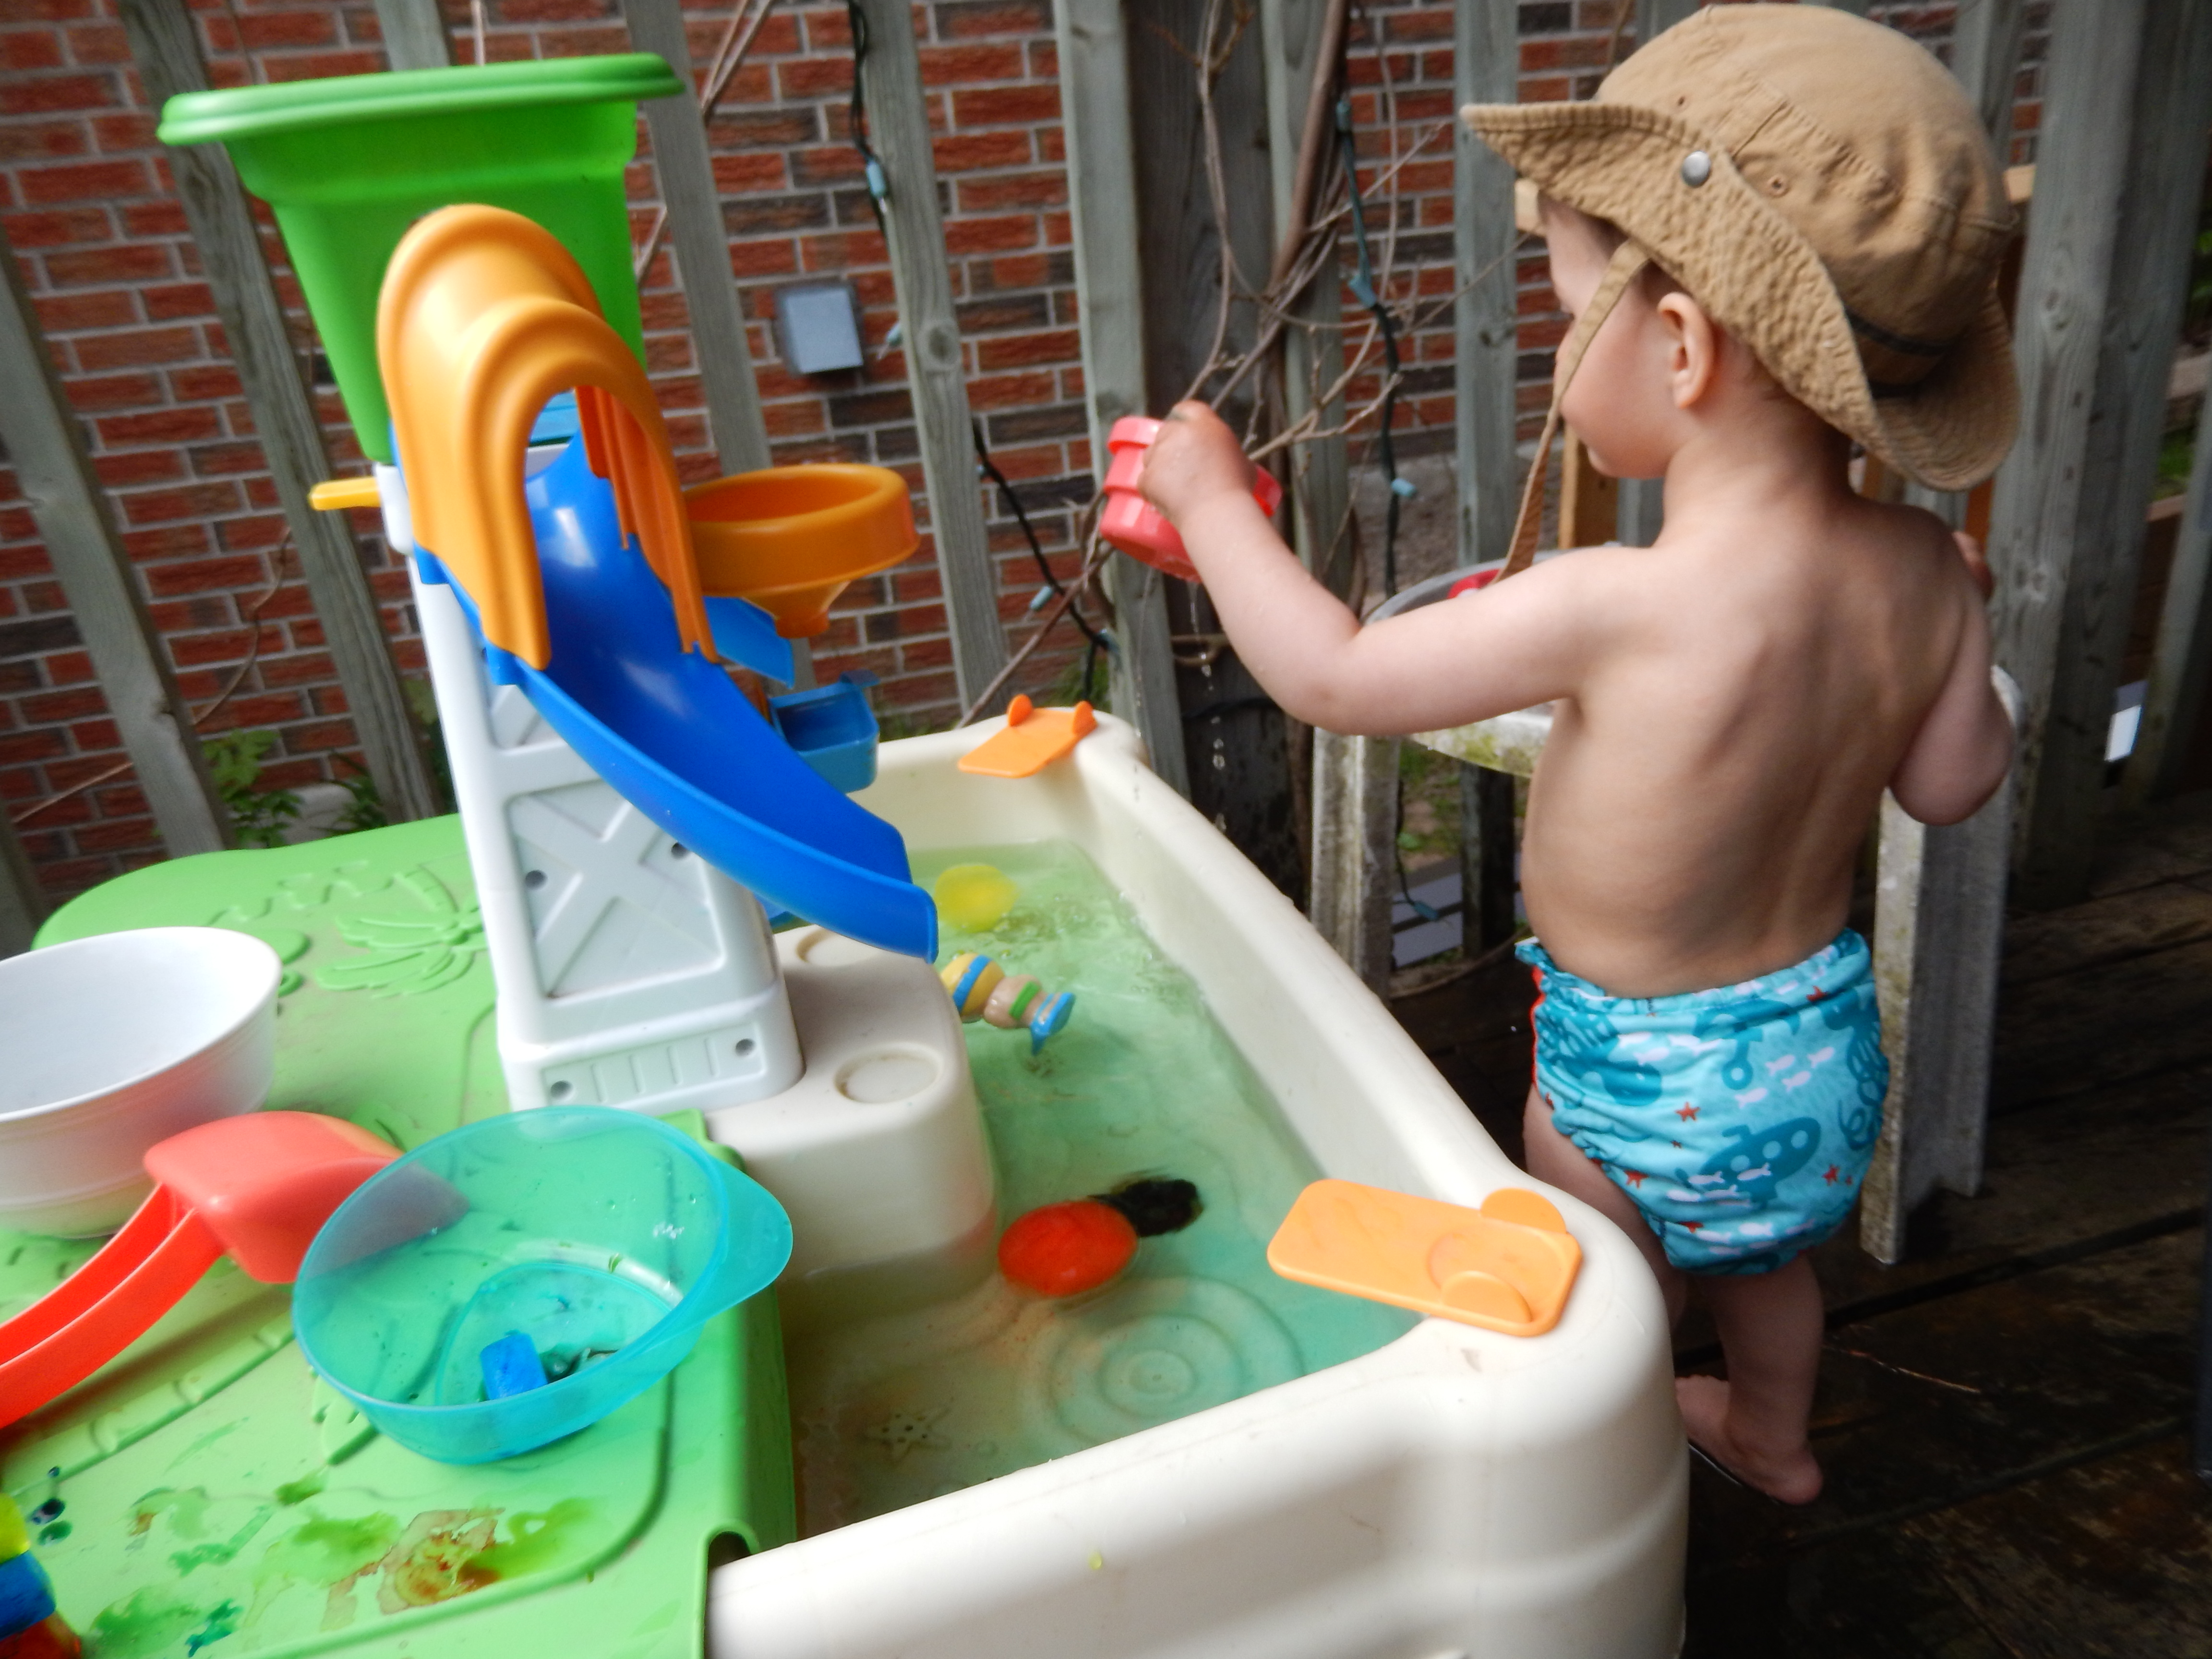
   I left the cubes in a bowl by the water table and released the toddler, after stripping him to his diaper and a hat since I wasn’t into scrubbing food colouring out of his clothes. He was really curious as to what exactly these were, so in typical small child fashion he tried to eat them, but once he discovered that they weren’t anything special he started off by using them as building blocks, which was quite the challenge since, being made of ice, they were pretty slippery and slightly rounded from the mould.

Image

Image

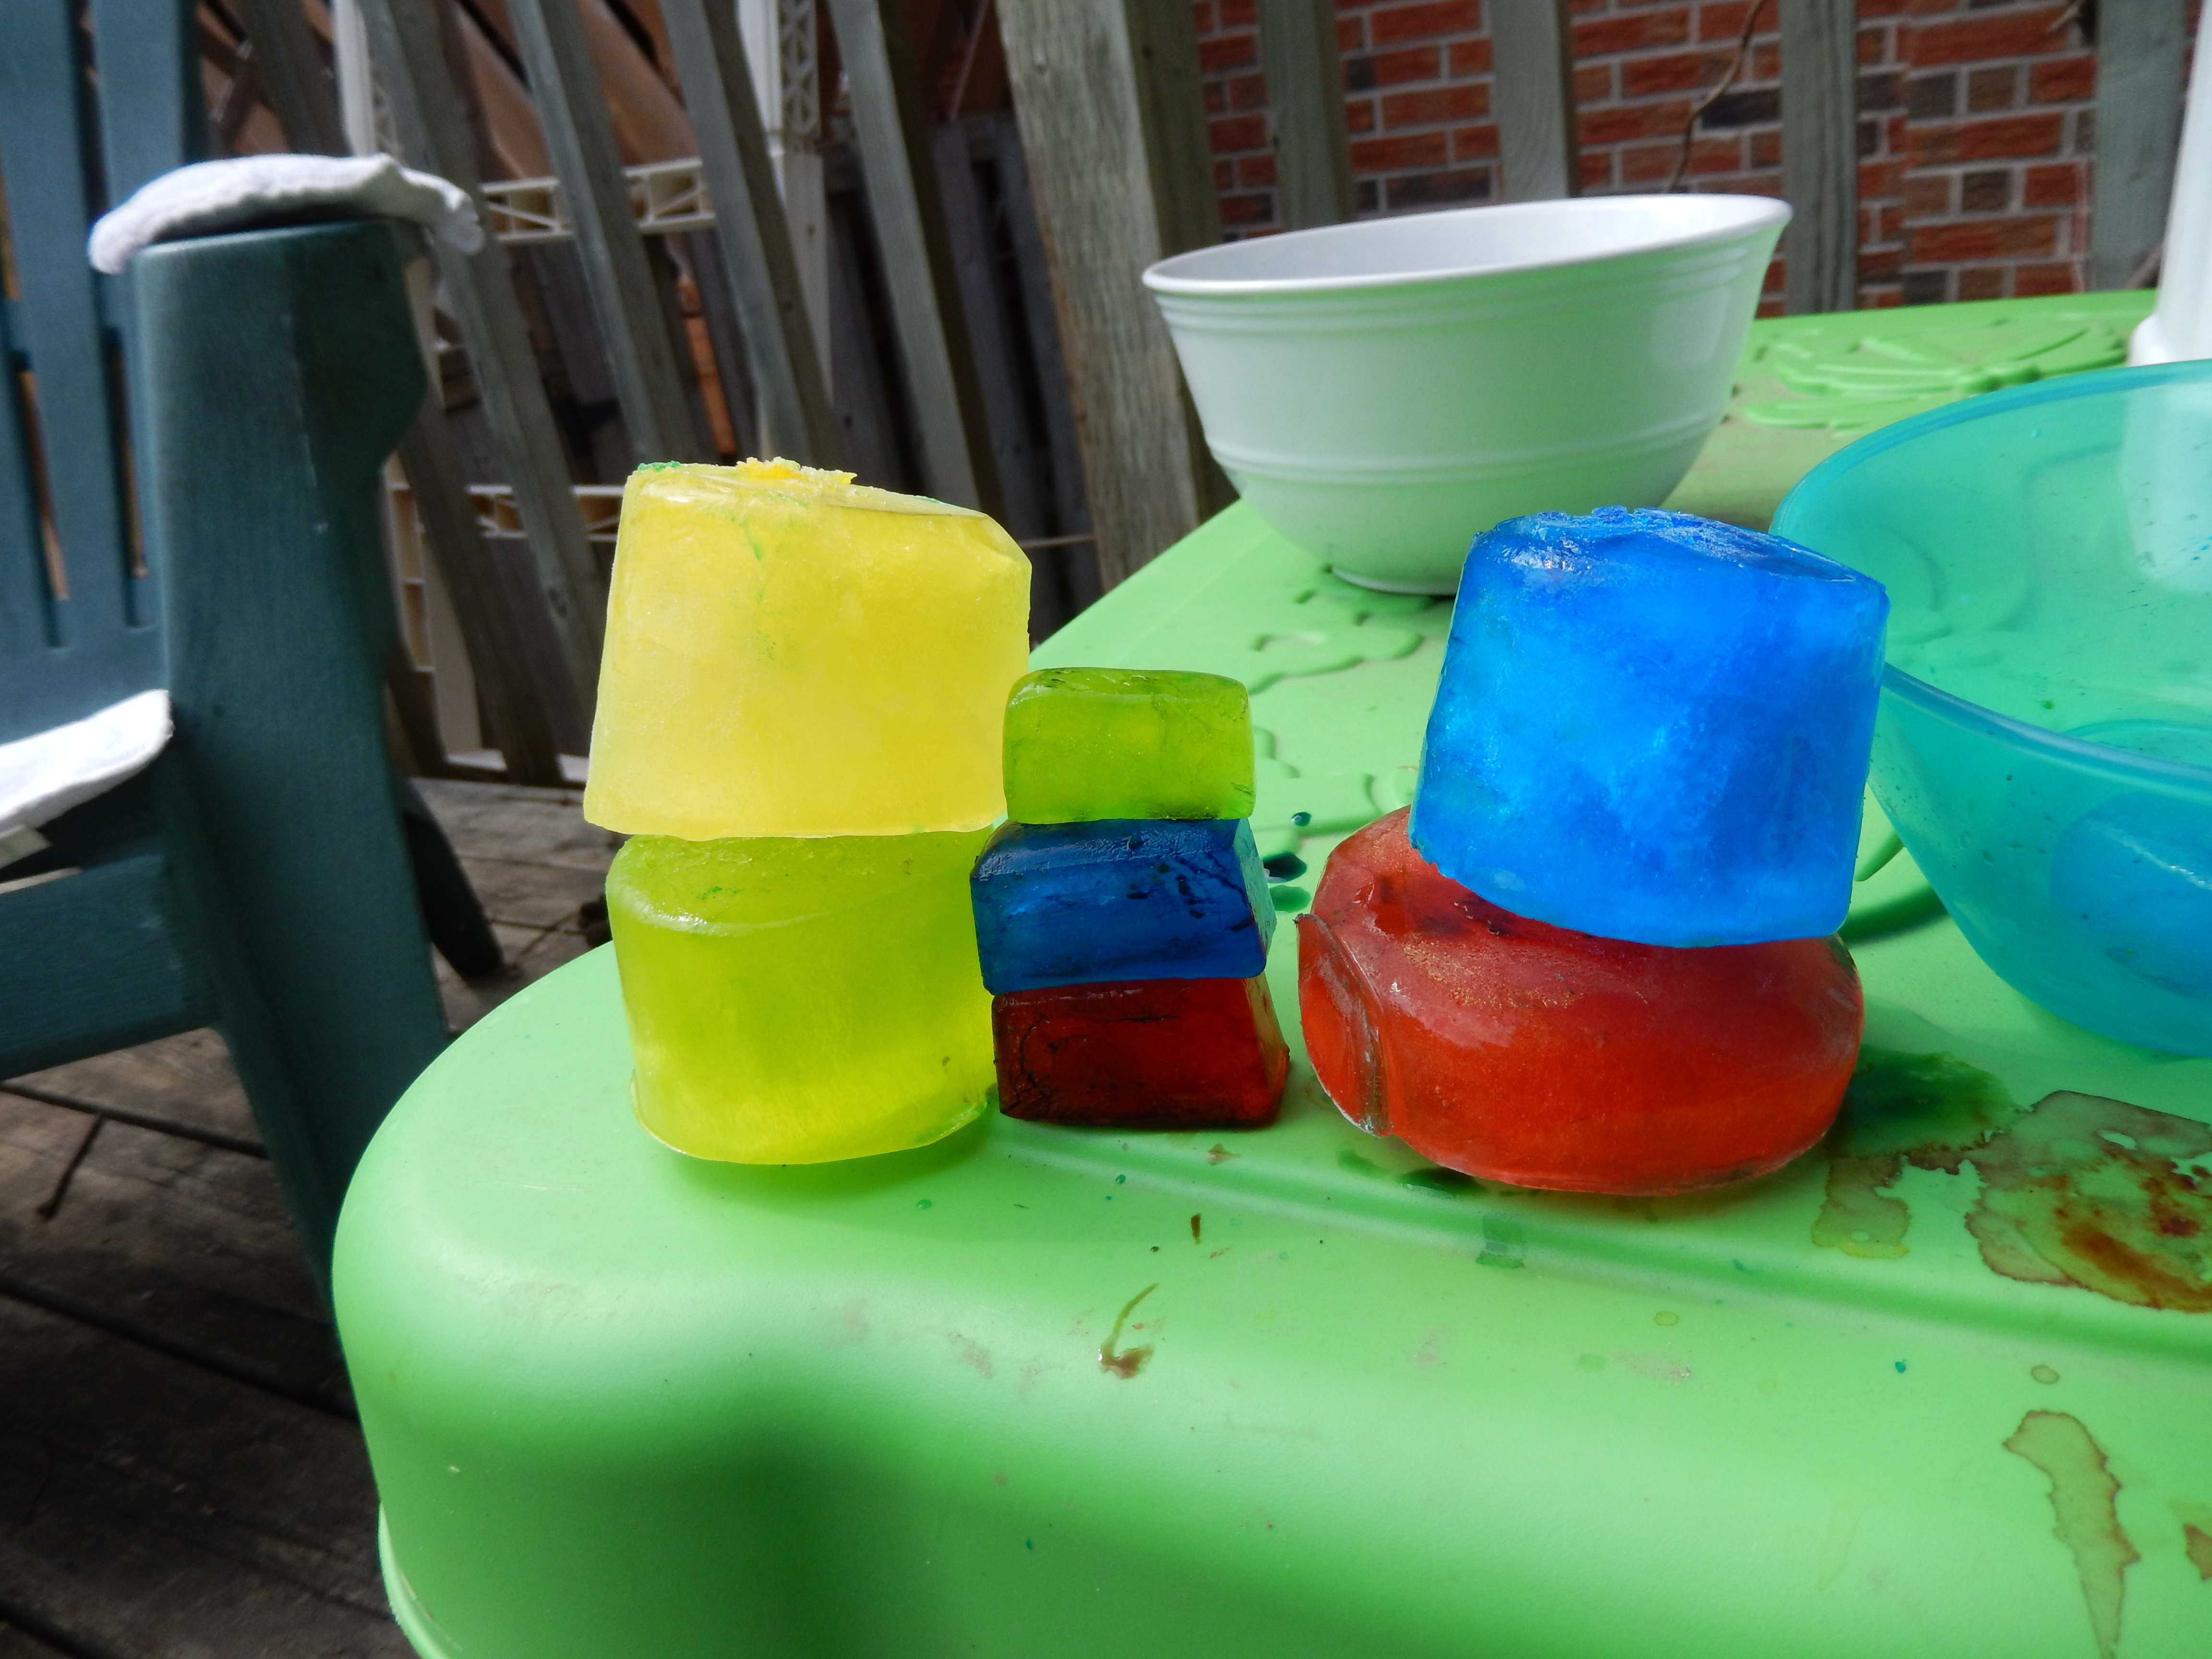
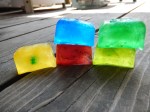
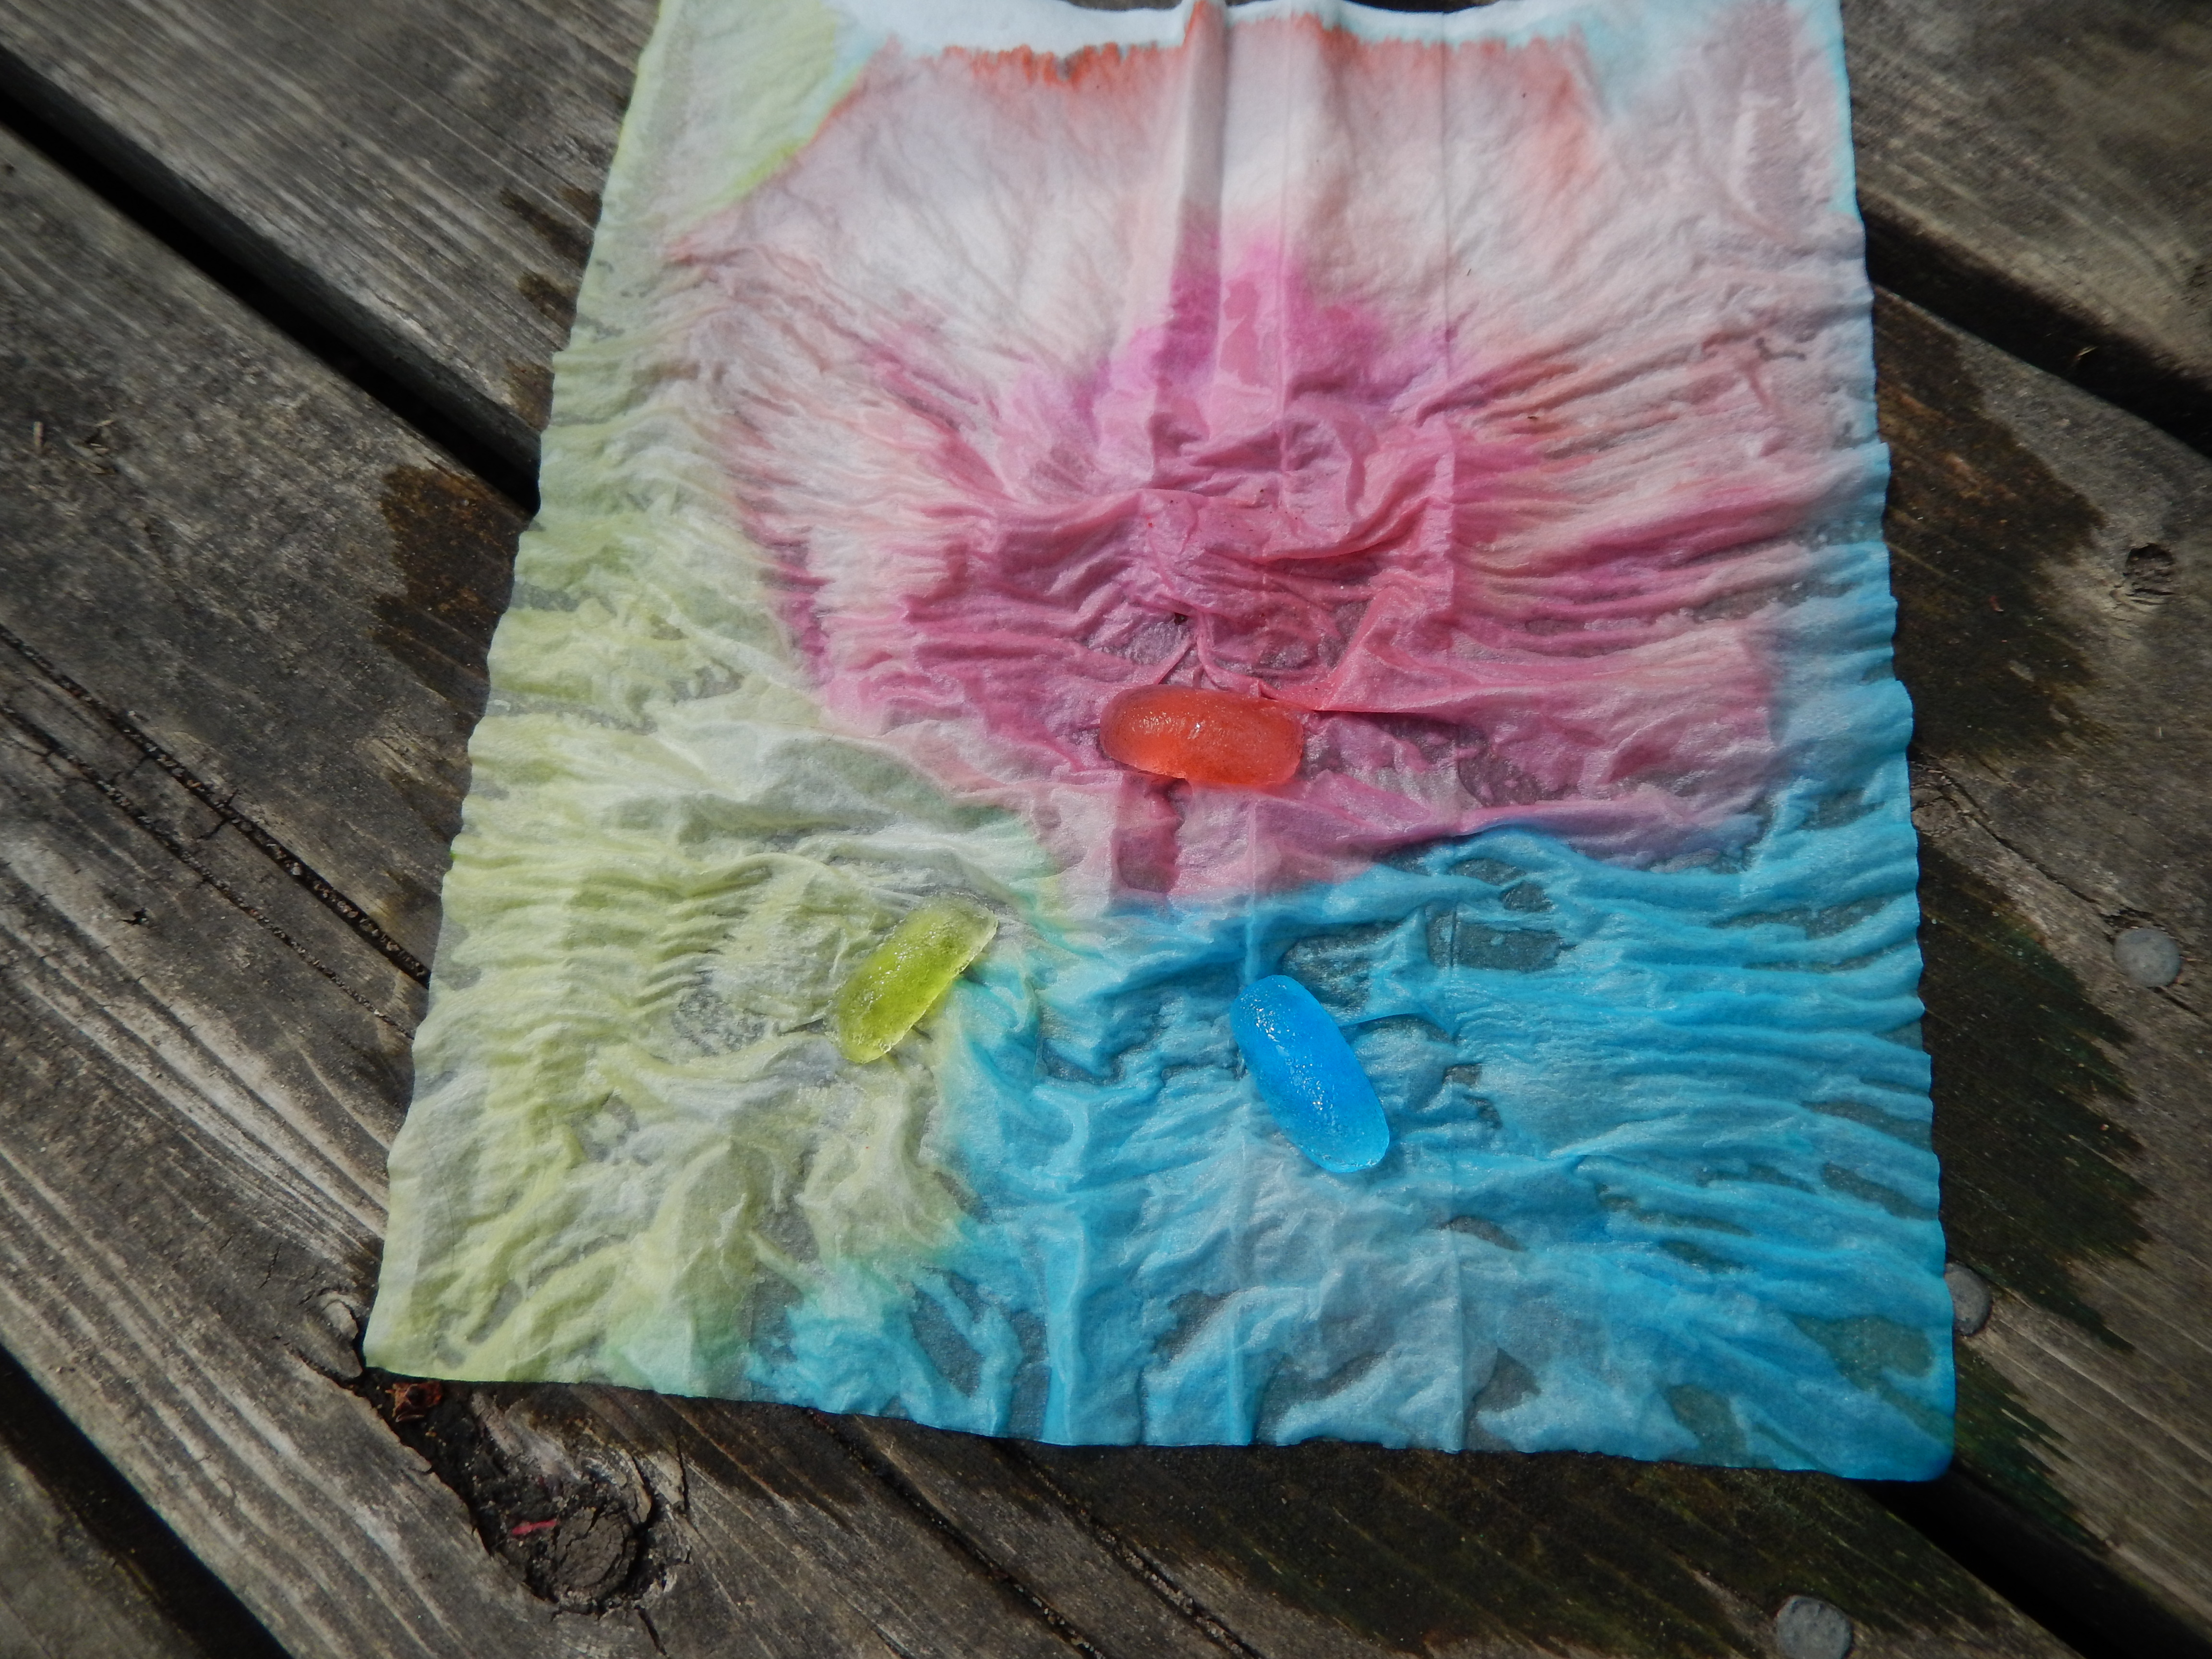
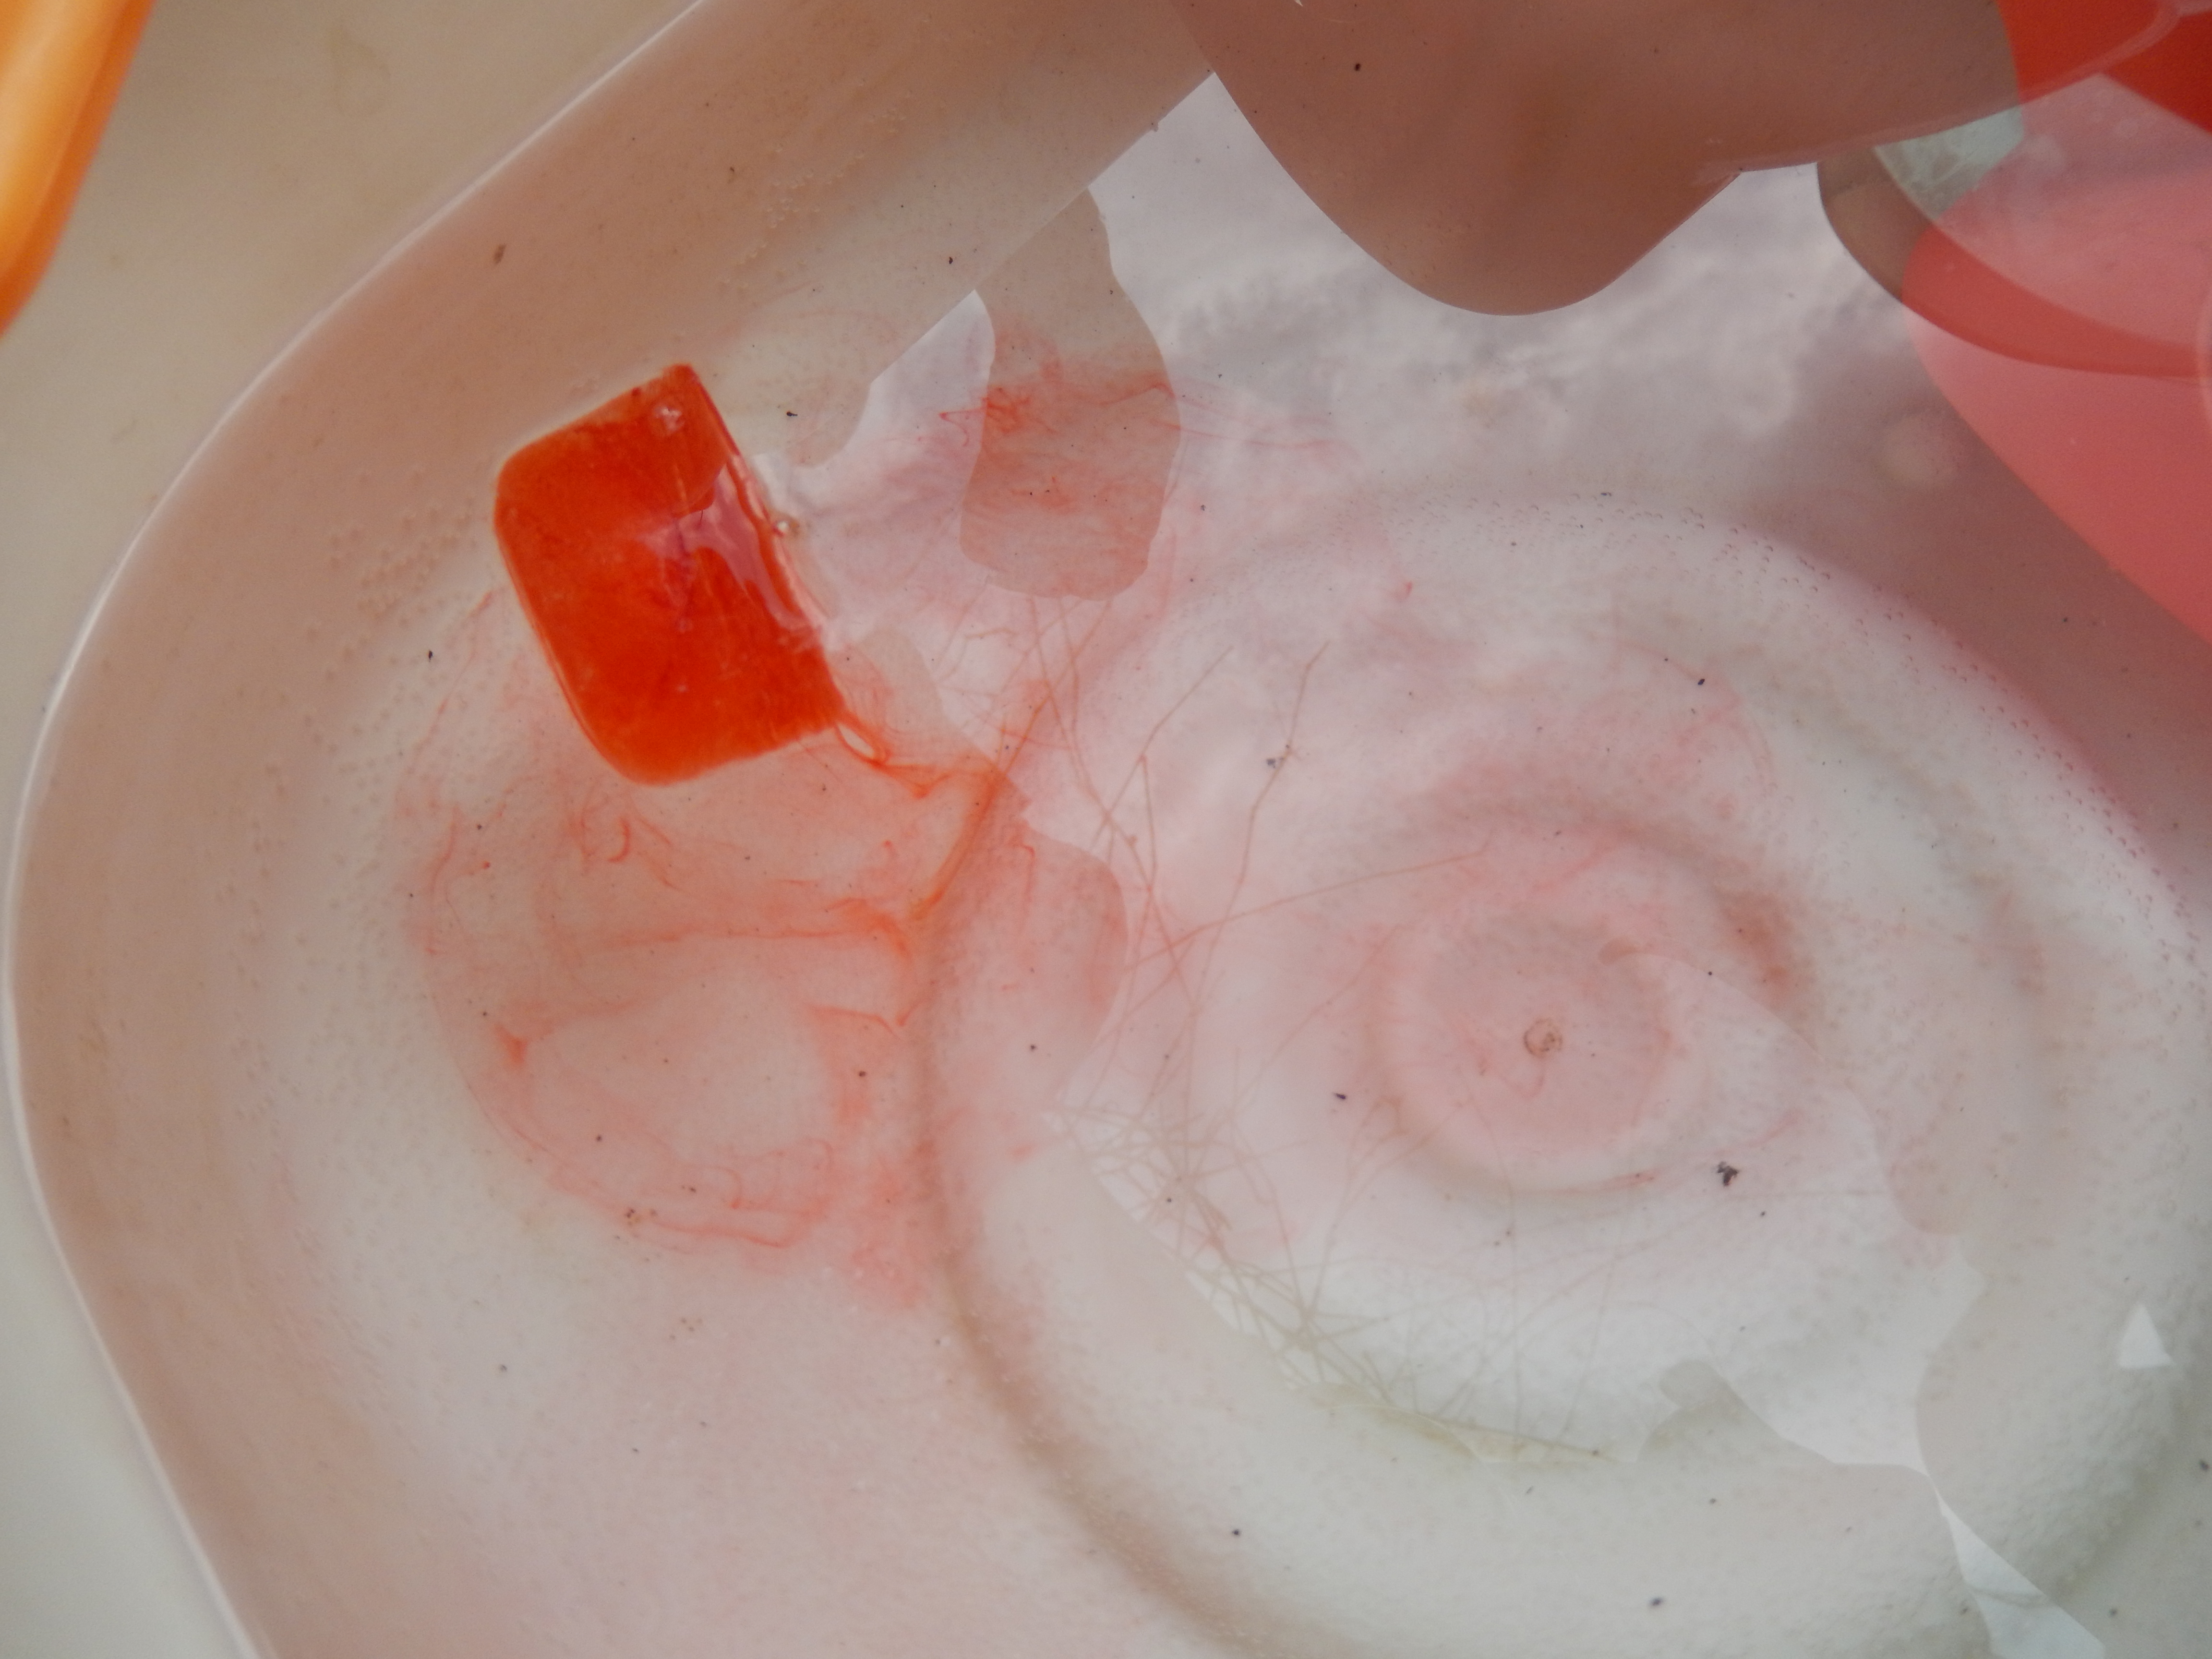
   I dubbed this our castle. I had a sudden thought and brought out a Kleenex and we put three different coloured ice cubes on it and left it on the deck to melt.

Image

   Which melted into this really cool tye-dye like piece, that we hung up to dry in the sun.

Image

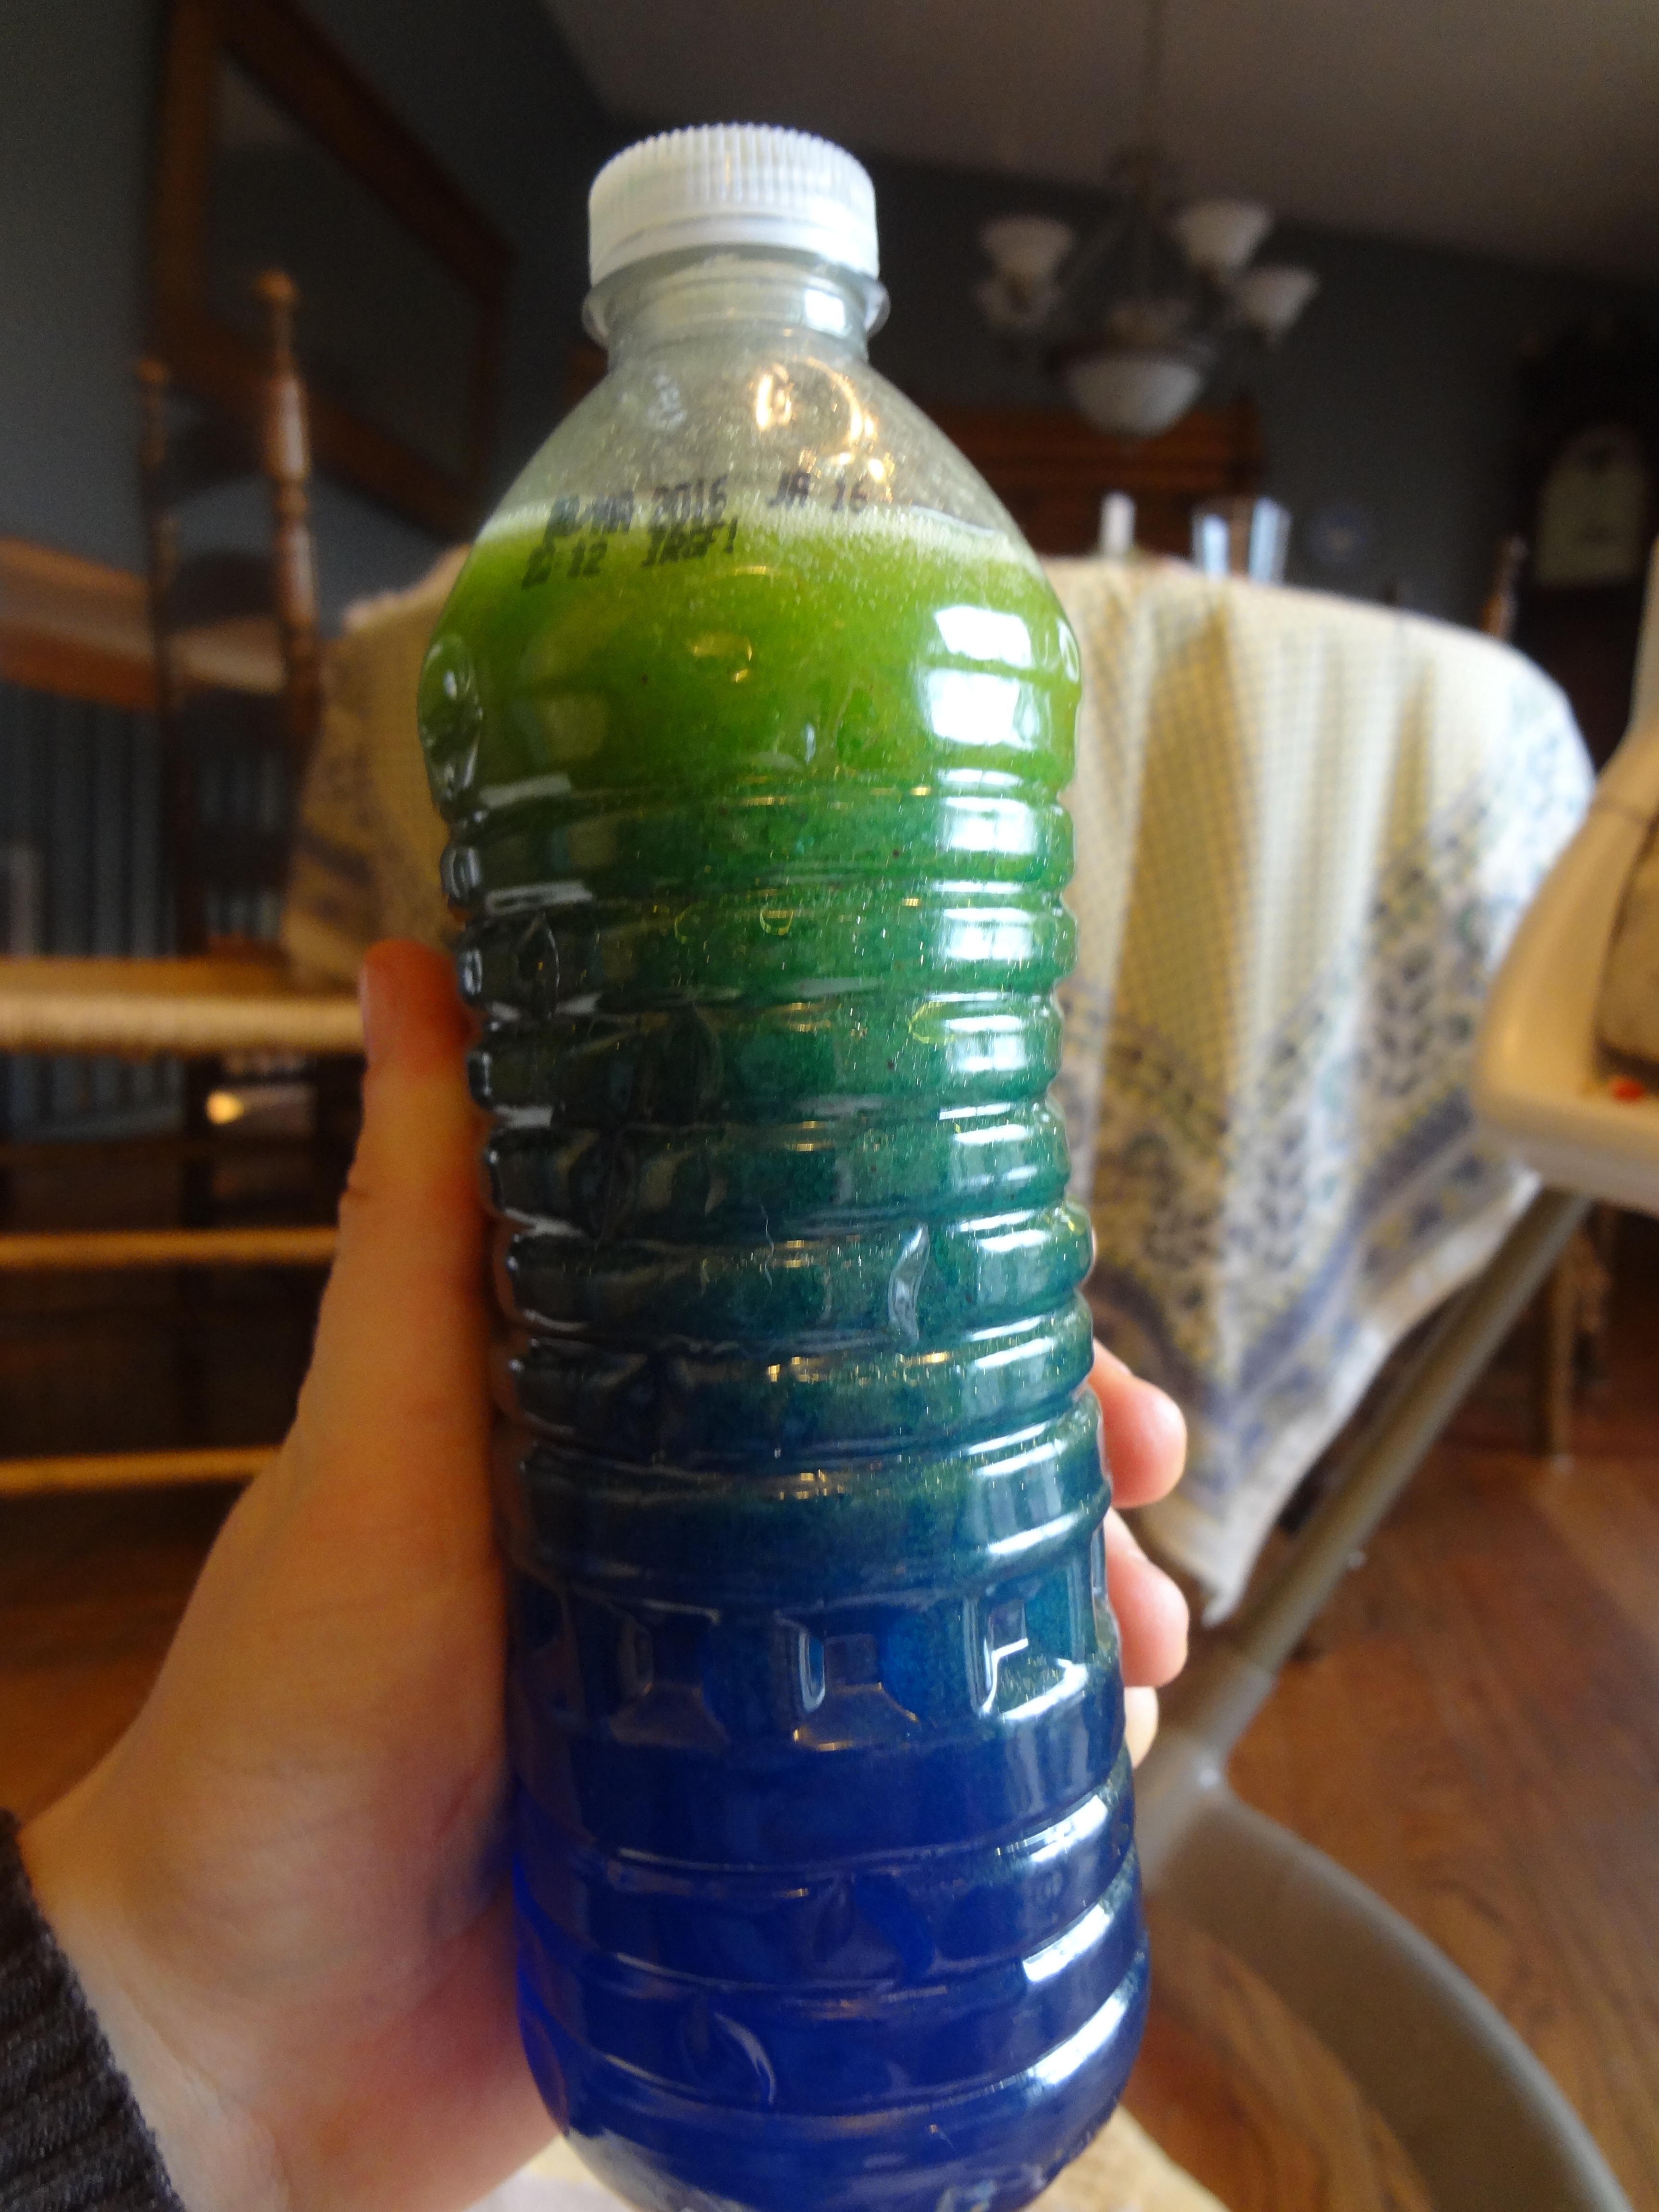
   Then they went into the water table, swirling around and colouring the water. This was all done in-between attempts to eat the ice cubes, since he seemed convinced that they would taste different than the last time.

Image

Image

   That was our adventure with coloured ice! We would love to hear your ideas for playing with this cooling activity, thank you for joining us at Excite and Explore!


2 Comments

Mini Worlds – Bugs

We have been collecting things lately. We go outside every  day and wander around the neighbourhood with Grays wagon and he picks things he finds up and puts them in his wagon and brings them home. (Think pinecones, sticks, leaves, things like that.) So we ended up with this big pile of assorted mish mash in the garage and for the last couple weeks I’ve been a bit unsure of what to do with it, wondering if he would be upset if I threw it out. The weather forecast for later tonight and tomorrow isn’t looking great (think rain) so I decided to bring a bit of mother nature indoors and use up some of the pile of nature sitting around. About a month ago I made a bug sensory bin for the little man and it is still his favourite on to date, this was it.

 Image

I figured I could change it up a bit and make a mini world for him to play with his bugs in, and it would be perfect for a rainy day. I used split peas as my base, since real grass is till scarce due to the time of the year.

Image

Next I picked some sticks, branches, rocks, seedlings, flowers, leaves, vines and pinecones out of our little collection. All of these materials were scavenged from the ground, nothing was picked out of a garden or cut off of a tree, so no worries.

Image

Arrange your greenery however you like and lastly add some bugs. I got a 12 pack of mine from Party City for $1.50, so this is a really frugal bin to make and doesn’t hurt your wallet.

Image

   I added a magnifying glass into it last minute for some added fun and voila, rainy day entertainment for tomorrow and lots of fun, imaginative play to be had. I hope you enjoyed this post on Excite and Explore and get to build your own little bug worlds, please join us again!


Leave a comment

Colour Mixing Bottles

Yesterday we learned how to make colour mixing bottles and they are so much fun and really easy to make. I first saw the idea on a wonderful blog called Play Trains and knew we just had to try it, the basic science behind this being that oil and water will always separate. Using oil, water, food colouring, oil based food colouring such as candy colours (This is a food colouring that can be mixed with oil, it is originally made for colouring those little chocolate melts used for baking.) and a water bottle. My sister has been drinking this Fuji water and I really like these bottles because the plastic is a lot sturdier than some of the ones we have so I ended up using those for our project. Fill your water bottle half full of water and add the desired amount of food colouring to the bottle and shake it up. ( This was Grays favourite part.)
DSC02550
In a separate bottle pour in some of the oil of your choice ( Since canola is already a faint yellow it is easy to make yellow based colours.) and add some of the oil based food colouring. At first I tried using a pipe cleaner to stir it in but this was unsuccessful and I ended up using a stick. Honestly looking back all the oil based food colouring really did was end up deepening the yellow and if you don’t mind a bit less vibrant of a yellow and you used canola oil you may not even need the colouring. (If you try this let me know how it works out!) If you plan on colouring the oil other colours however you will need the dye.
DSC02552
Using a funnel (or if your feeling brave just go for it) pour your oil into the water bottle holding your water, it will look pretty cool and eventually separate into two clearly defined colours. I ended up doing the pouring since Gray has somehow developed some deep animosity for the funnel and throws it across the room anytime it gets close to him.
DSC02553

Make sure once you finish you hot glue or tape the lids on so busy hands can’t twist them off. Give it a good shake and you get this!
DSC02556
After our ‘green’ bottle we made this one.
DSC02558
Which once shaken looks like this.
DSC02560
Gray insisted on making our next one with red and blue which look rather pretty but once shaken just makes a sort of murky brown purple.
DSC02563(1)
I also thought we would try one made with olive oil which is green instead of yellow and we coloured the water blue which turned out this.
DSC02547
Once again I would like to stress the importance of gluing the lid on, especially if you plan on putting fun little objects into your bottles like glitter or beads. All in all it was a lot of fun and when he gets a bit older it can help teach him how mixing two colours together can make a whole new colour, but for now they are more of a visual attraction to him than anything, which is fine by me! We hope you enjoyed this post and feel free to ask any questions or share your ideas, we hope you will join us again at Excite and Explore!
DSC02567