Excite and Explore

One mom, one toddler and a passion for learning and adventure.


Leave a comment

Under the Sea Sensory Play

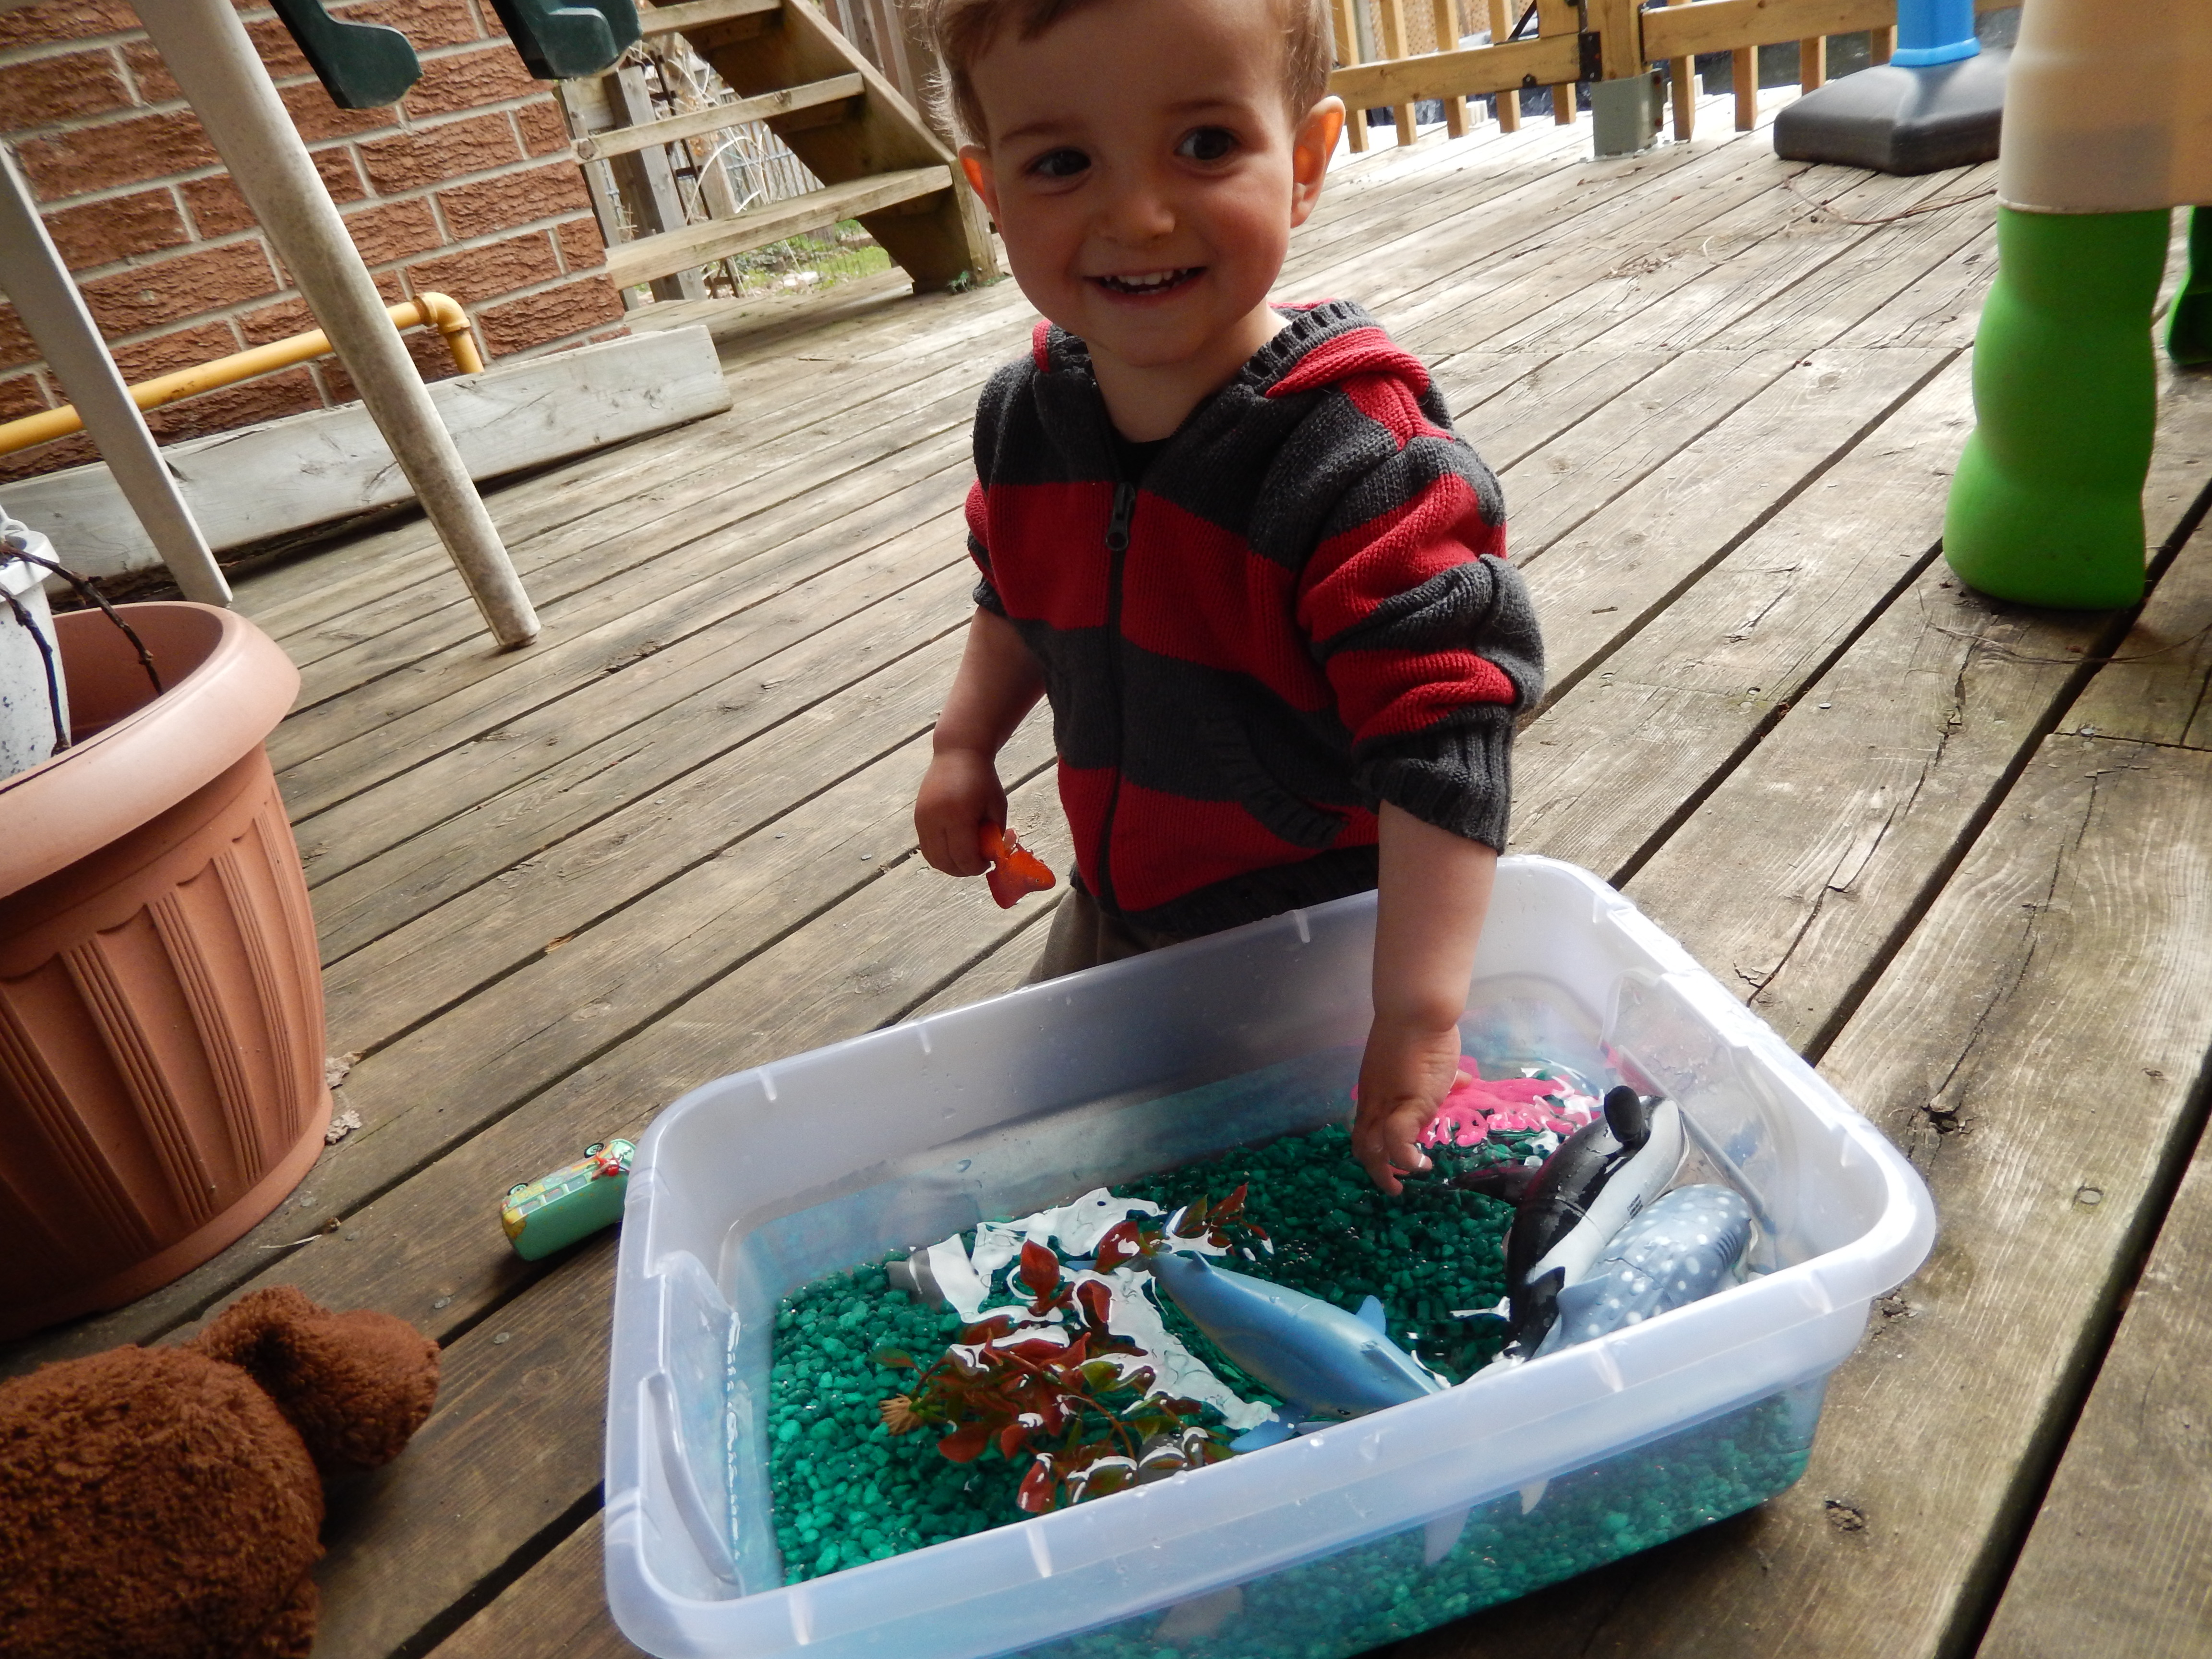
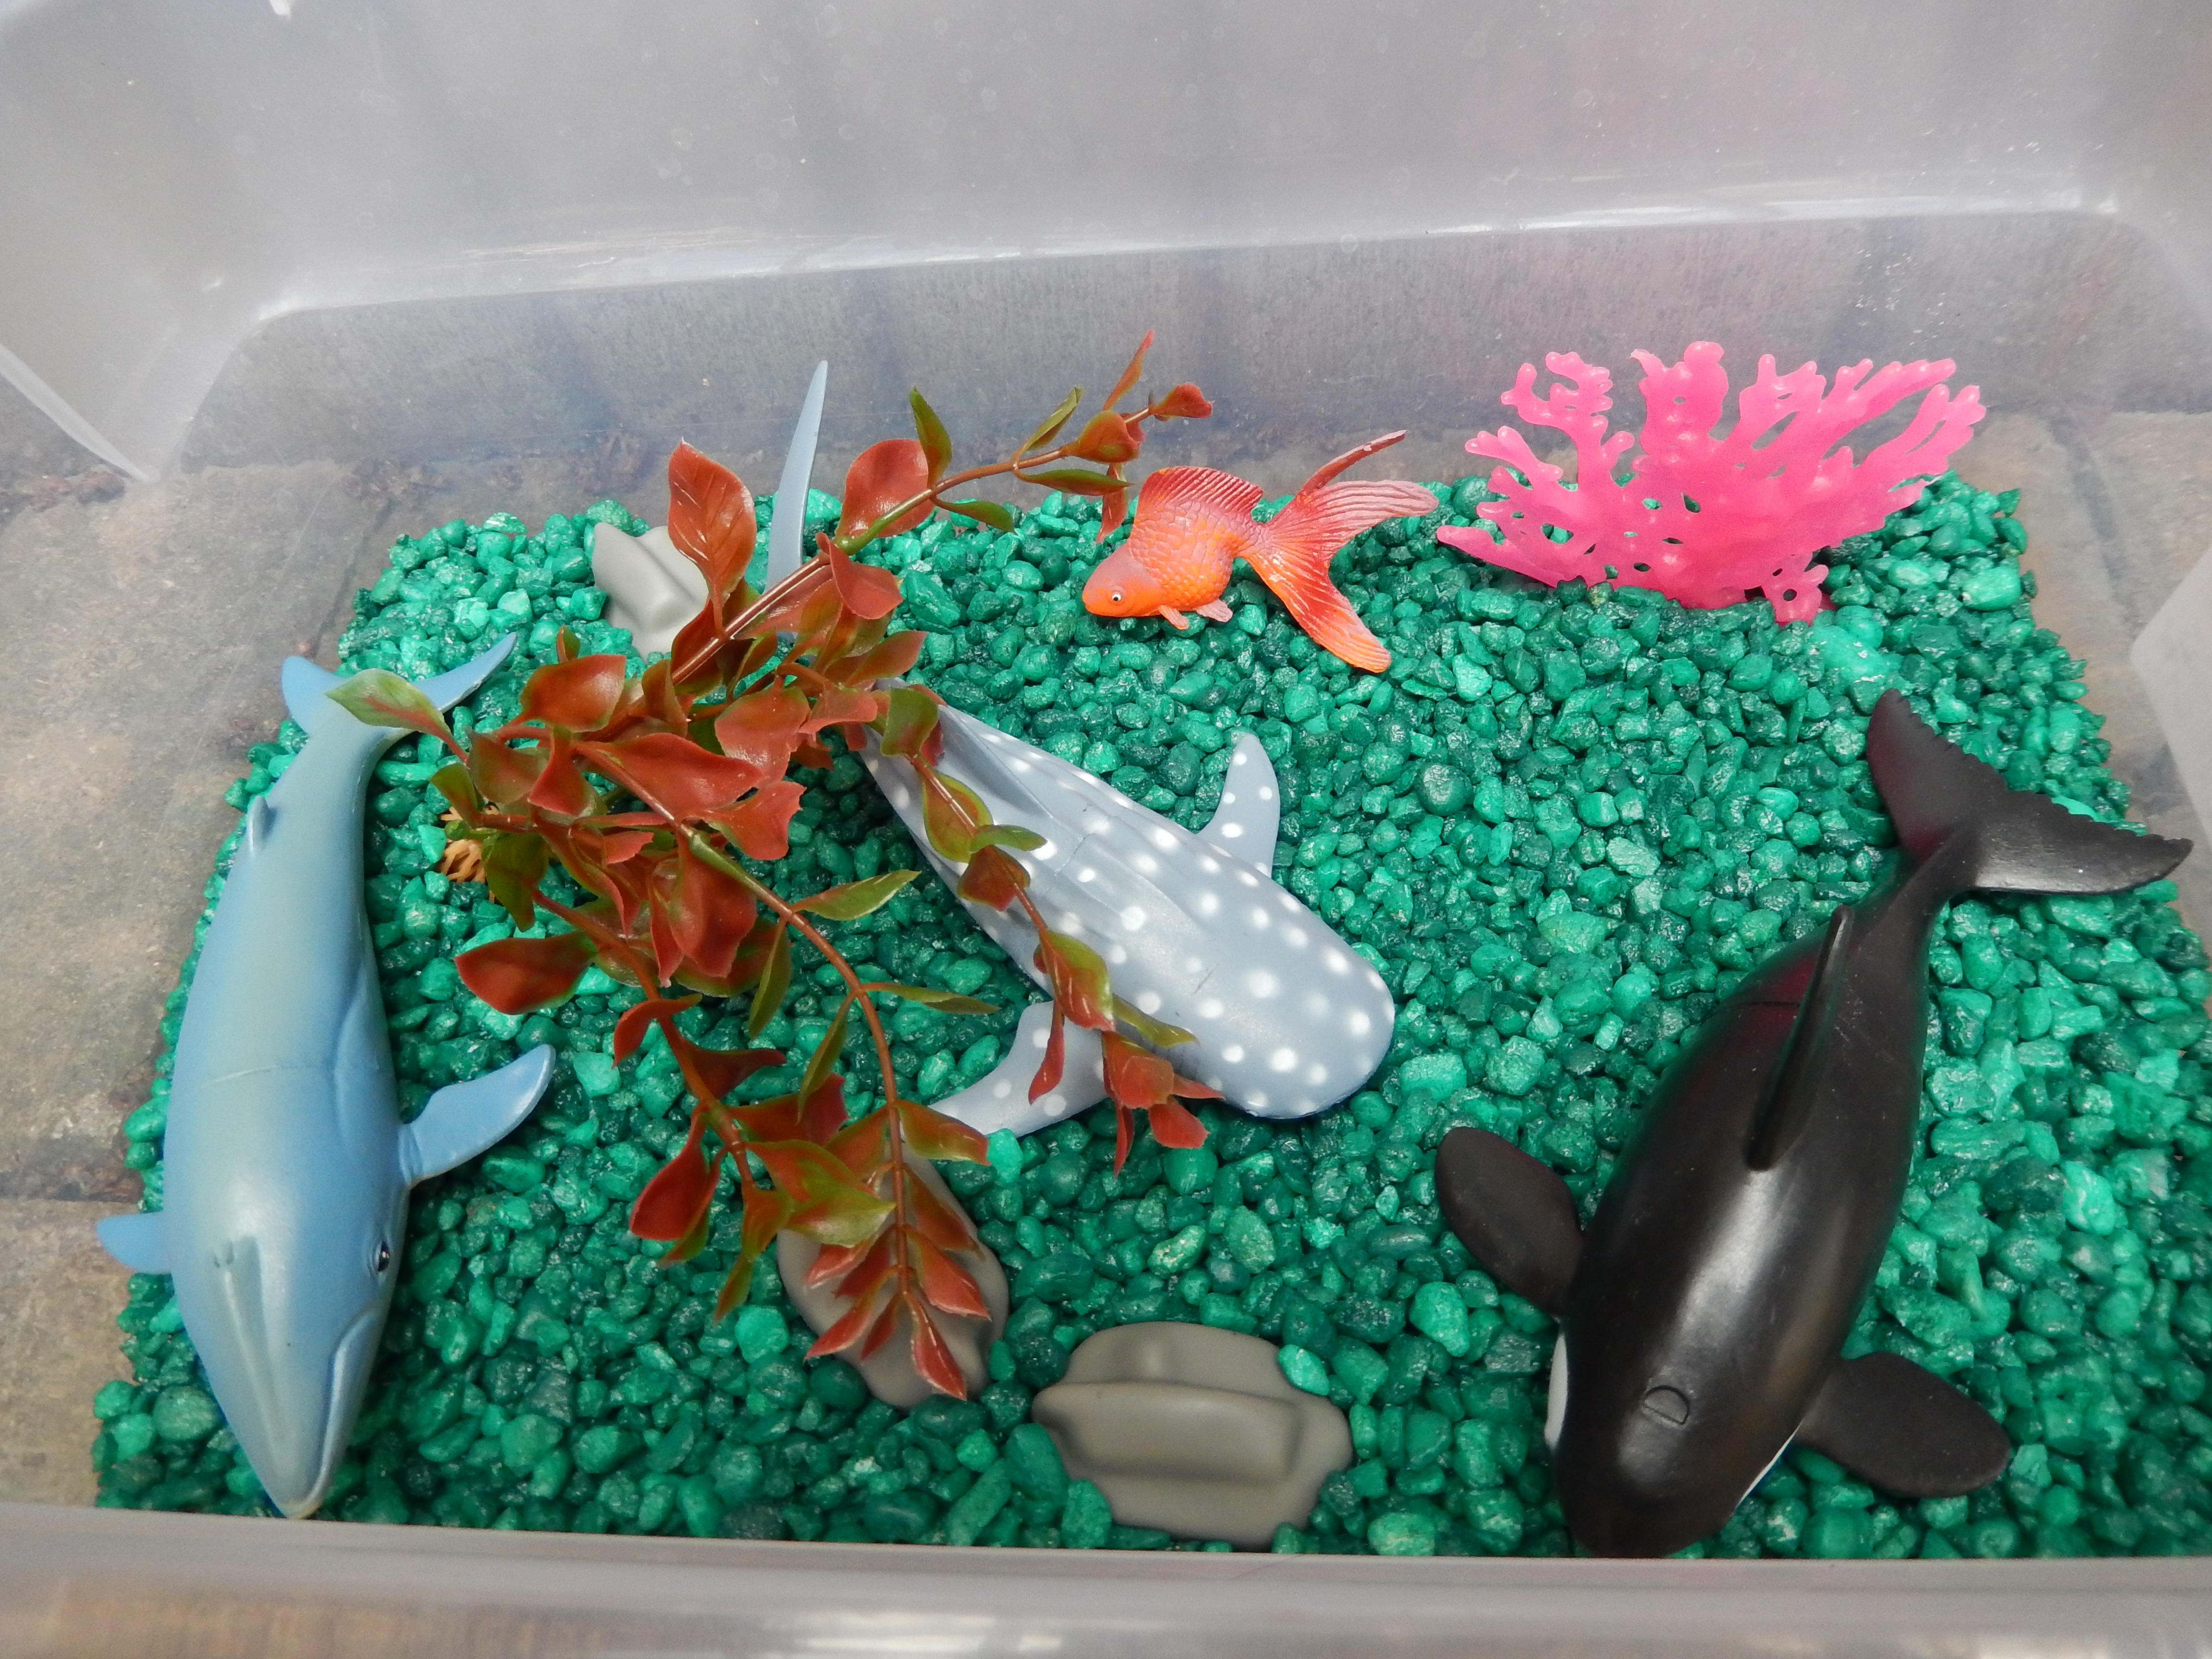
   What a time of the year! The weather is lovely, the flowers are blooming and it isn’t boiling hot out yet! It has been really warm however, so to cool down a bit I whipped up a fun Under The Sea Sensory Bin for the little man to play with out on our back deck, incorporating some water play and imaginative play with a fun sensory experience. This is a really easy bin to make, it took maybe 5 minutes to whip up and has provided hours of entertainment so far. I used the small rock/gravel you put on the bottom of fish tanks that we had left over from my sons fish tank ( Grandma took him to the pet store to ‘look’ at the animals and when they came home they had a small friend. ) some rocks and plastic coral as well as a fake plant also meant for a fish tank. I added some plastic underwater animals such as fish and whales to the bin and it was ready to be filled up.

Image

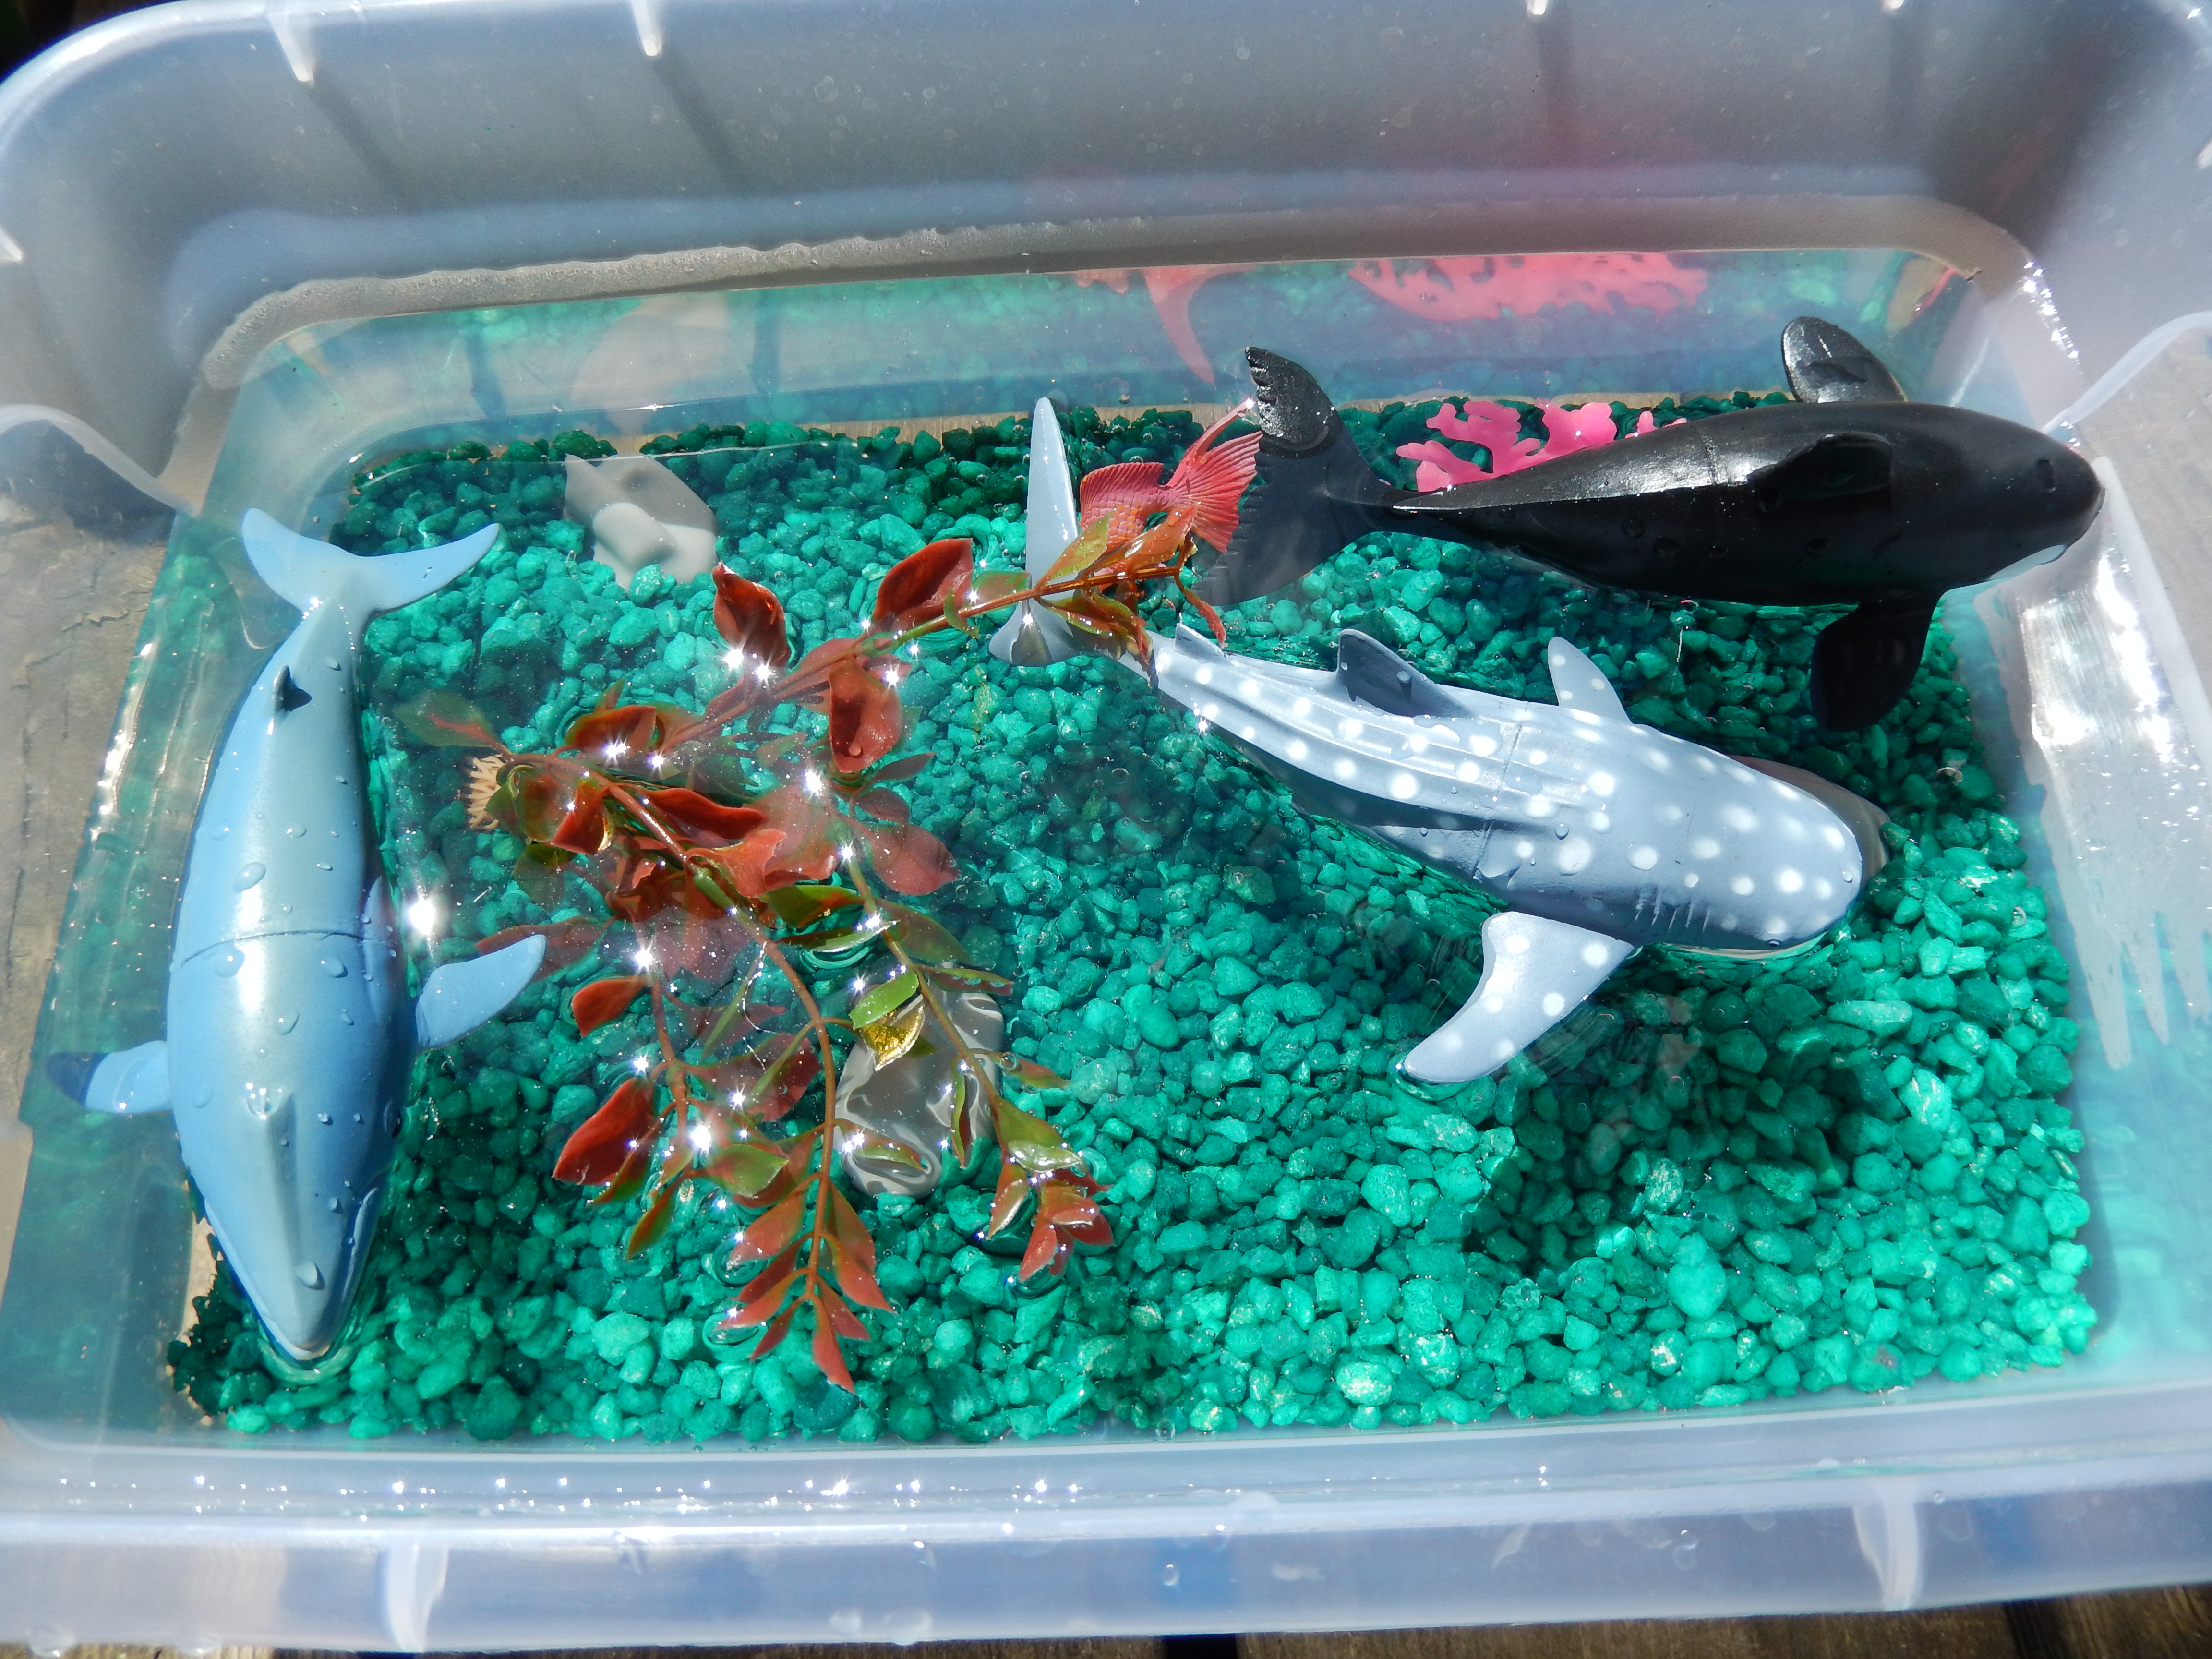
   I filled it up with water from the garden hose and it was ready for little hands.

Image

   As he explored the new bin we chatted about the different animals in the bin and I named them as he held them up for inspection. He really liked the gravel, it was something new for him to dig through and feel and of course there were lots of splashes. I’ve been keeping this bin outside simply because the weather is nice enough for it and that way there is little mess to clean up once he wanders of to do something else.  That is all for today folks, thank you for joining us at Excite and Explore!

Image


2 Comments

Mini Worlds – Bugs

We have been collecting things lately. We go outside every  day and wander around the neighbourhood with Grays wagon and he picks things he finds up and puts them in his wagon and brings them home. (Think pinecones, sticks, leaves, things like that.) So we ended up with this big pile of assorted mish mash in the garage and for the last couple weeks I’ve been a bit unsure of what to do with it, wondering if he would be upset if I threw it out. The weather forecast for later tonight and tomorrow isn’t looking great (think rain) so I decided to bring a bit of mother nature indoors and use up some of the pile of nature sitting around. About a month ago I made a bug sensory bin for the little man and it is still his favourite on to date, this was it.

 Image

I figured I could change it up a bit and make a mini world for him to play with his bugs in, and it would be perfect for a rainy day. I used split peas as my base, since real grass is till scarce due to the time of the year.

Image

Next I picked some sticks, branches, rocks, seedlings, flowers, leaves, vines and pinecones out of our little collection. All of these materials were scavenged from the ground, nothing was picked out of a garden or cut off of a tree, so no worries.

Image

Arrange your greenery however you like and lastly add some bugs. I got a 12 pack of mine from Party City for $1.50, so this is a really frugal bin to make and doesn’t hurt your wallet.

Image

   I added a magnifying glass into it last minute for some added fun and voila, rainy day entertainment for tomorrow and lots of fun, imaginative play to be had. I hope you enjoyed this post on Excite and Explore and get to build your own little bug worlds, please join us again!


Leave a comment

Easter Sensory Bin

Easter is fast approaching and we have been getting ready in our house. Yesterday I read on how to dye corn kernels for sensory fun or crafts and knew I had to try it, so I decided to make an Easter sensory bin. You can find the tutorial here on Fun-A-Day. http://fun-a-day.com/how-to-dye-corn-kernels/ It was an easy tutorial but I wanted to make some fun colours. I made the recipe without adding the food colouring, I made 3 batches. I used this neon food colouring I found at Zehrs.
DSC02487
After a bit of experimentation I made these.
DSC02486
The purple is 1 table spoon of the purple dye, simple enough. For the green/teal colour I used 1 teaspoon of the blue and 1/4 a teaspoon plus 10 drops of the green. Lastly for the neat deep orange I used 1 teaspoon of green, 1/4 a teaspoon of purple and 1/4 a teaspoon of pink. These measurements are for every 2 cups of corn. I let them soak overnight as instructed. In the morning I spread paper towel on baking sheets and drained the excess liquid with a strainer and gave them a quick rinse (not to long) and spread the kernels evenly over the paper towel, dabbing the tops with another piece. (If you don’t let them soak over night you won’t get as vibrant a colouring.) An hour later I removed the paper towel, dried the pans and spread out the kernels again, and left them for a further 6 hours, shifting their position once to help speed up the process.
DSC02488
It turned out wonderfully! They are so vibrant and bright! I threw in some Easter eggs, the hollow plastic ones. I filled one with some of the kernels to use as a shaker and added some fluff, different types of eggs, a little plastic bunny and a scoop.
DSC02489

DSC02499
We brought it outside to play with since it was so nice out and we’ve really missed the sunshine this winter. He had a great time scooping and pouring and really liked the shaker. Hopefully this will inspire you to create some Easter fun of your own, thank you for reading and please join us again at Excite and Explore!
DSC02490