Excite and Explore

One mom, one toddler and a passion for learning and adventure.


1 Comment

Learning Letters | The Letter C

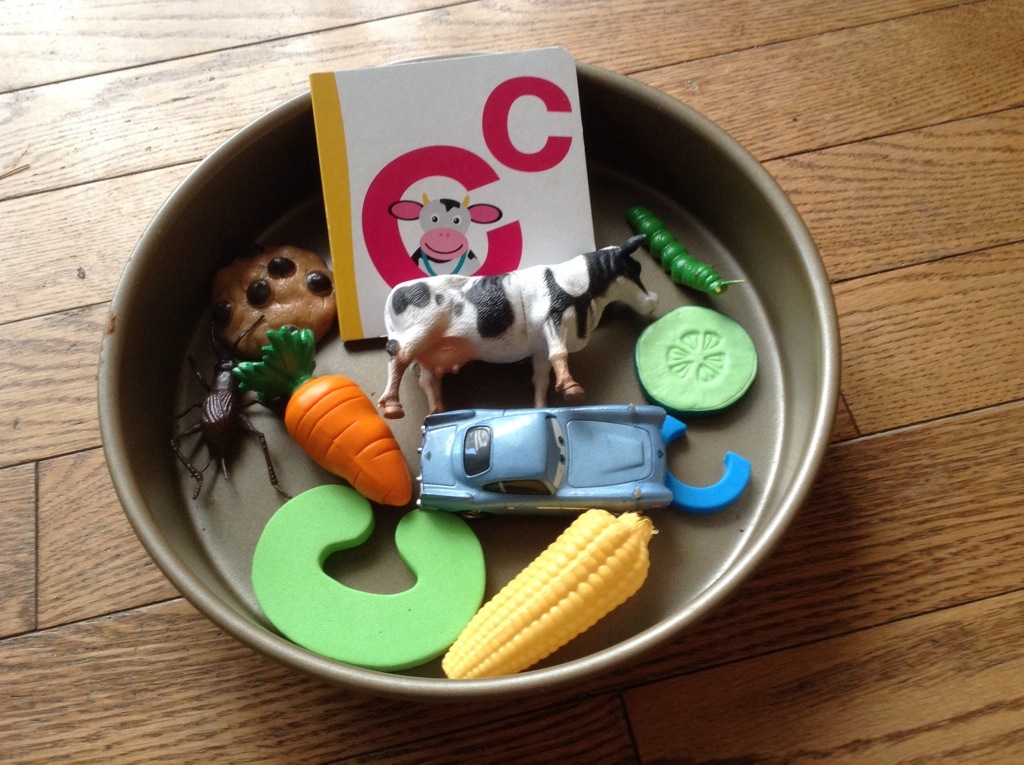
   Today we worked on learning the alphabet, and today we learned about the letter C. We started off with our usual pie tin bin full of things that start with the letter C. We had a cow, a cricket, corn on the cob, cucumbers, a caterpillar, a car, a carrot and a cookie to explore, as well as our Letter C book.


20140601-200009-72009969.jpg
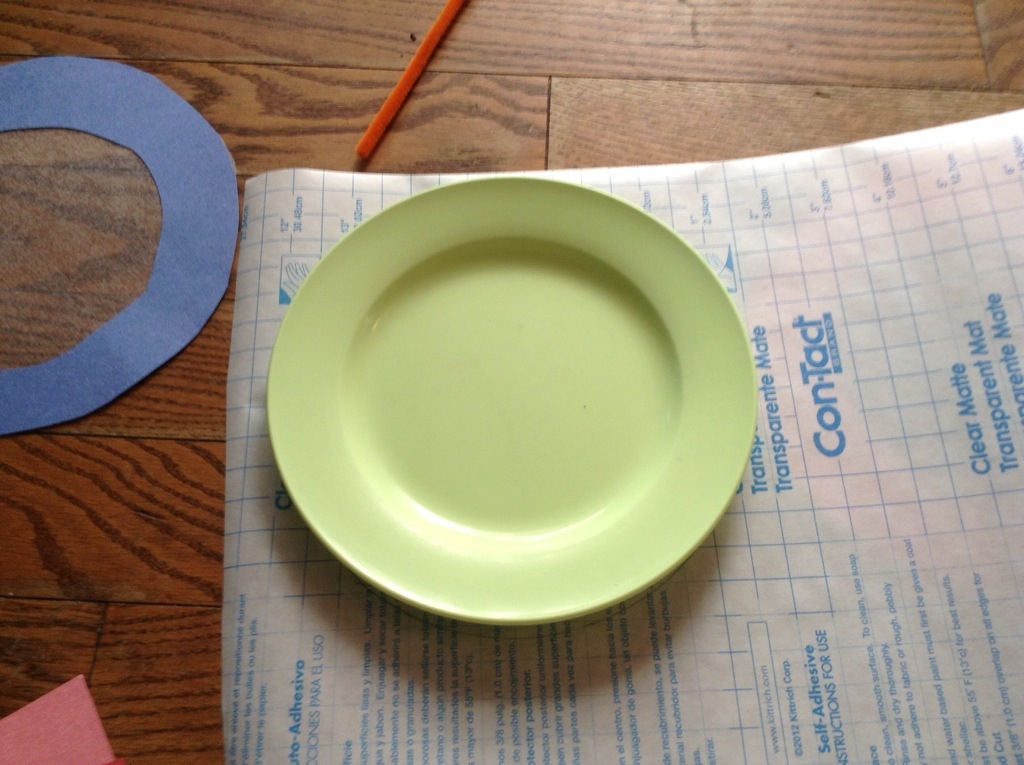
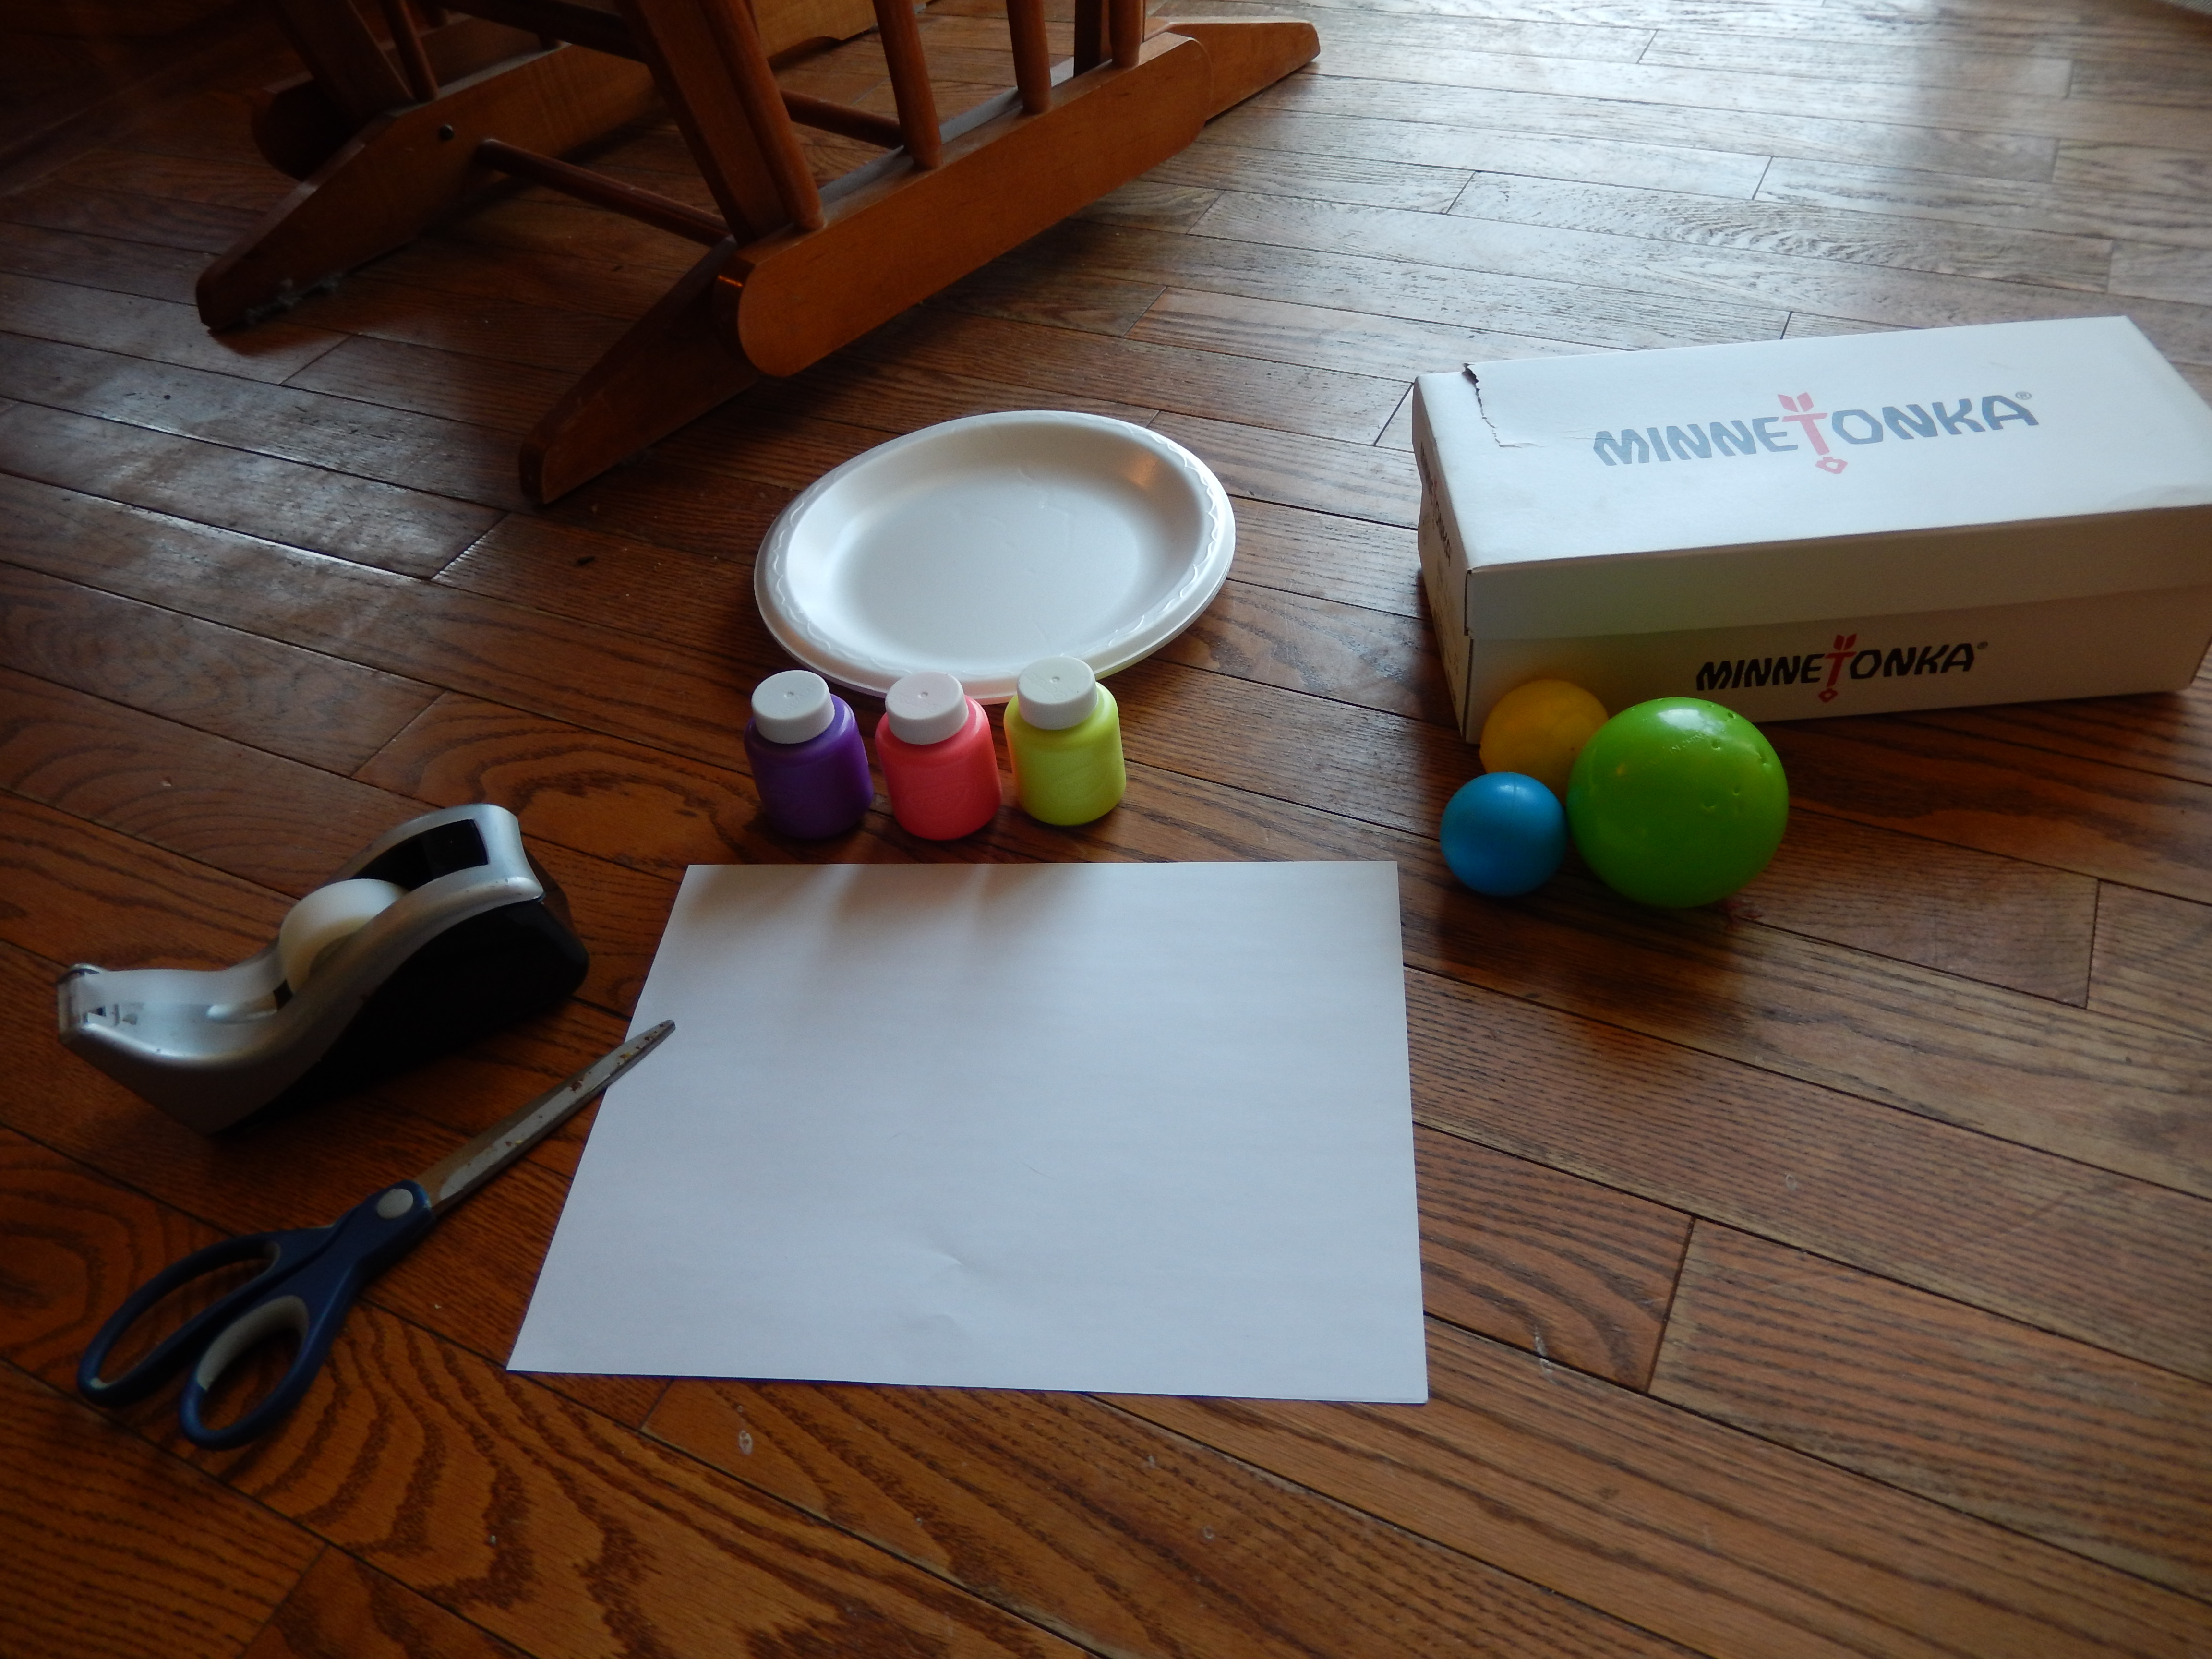
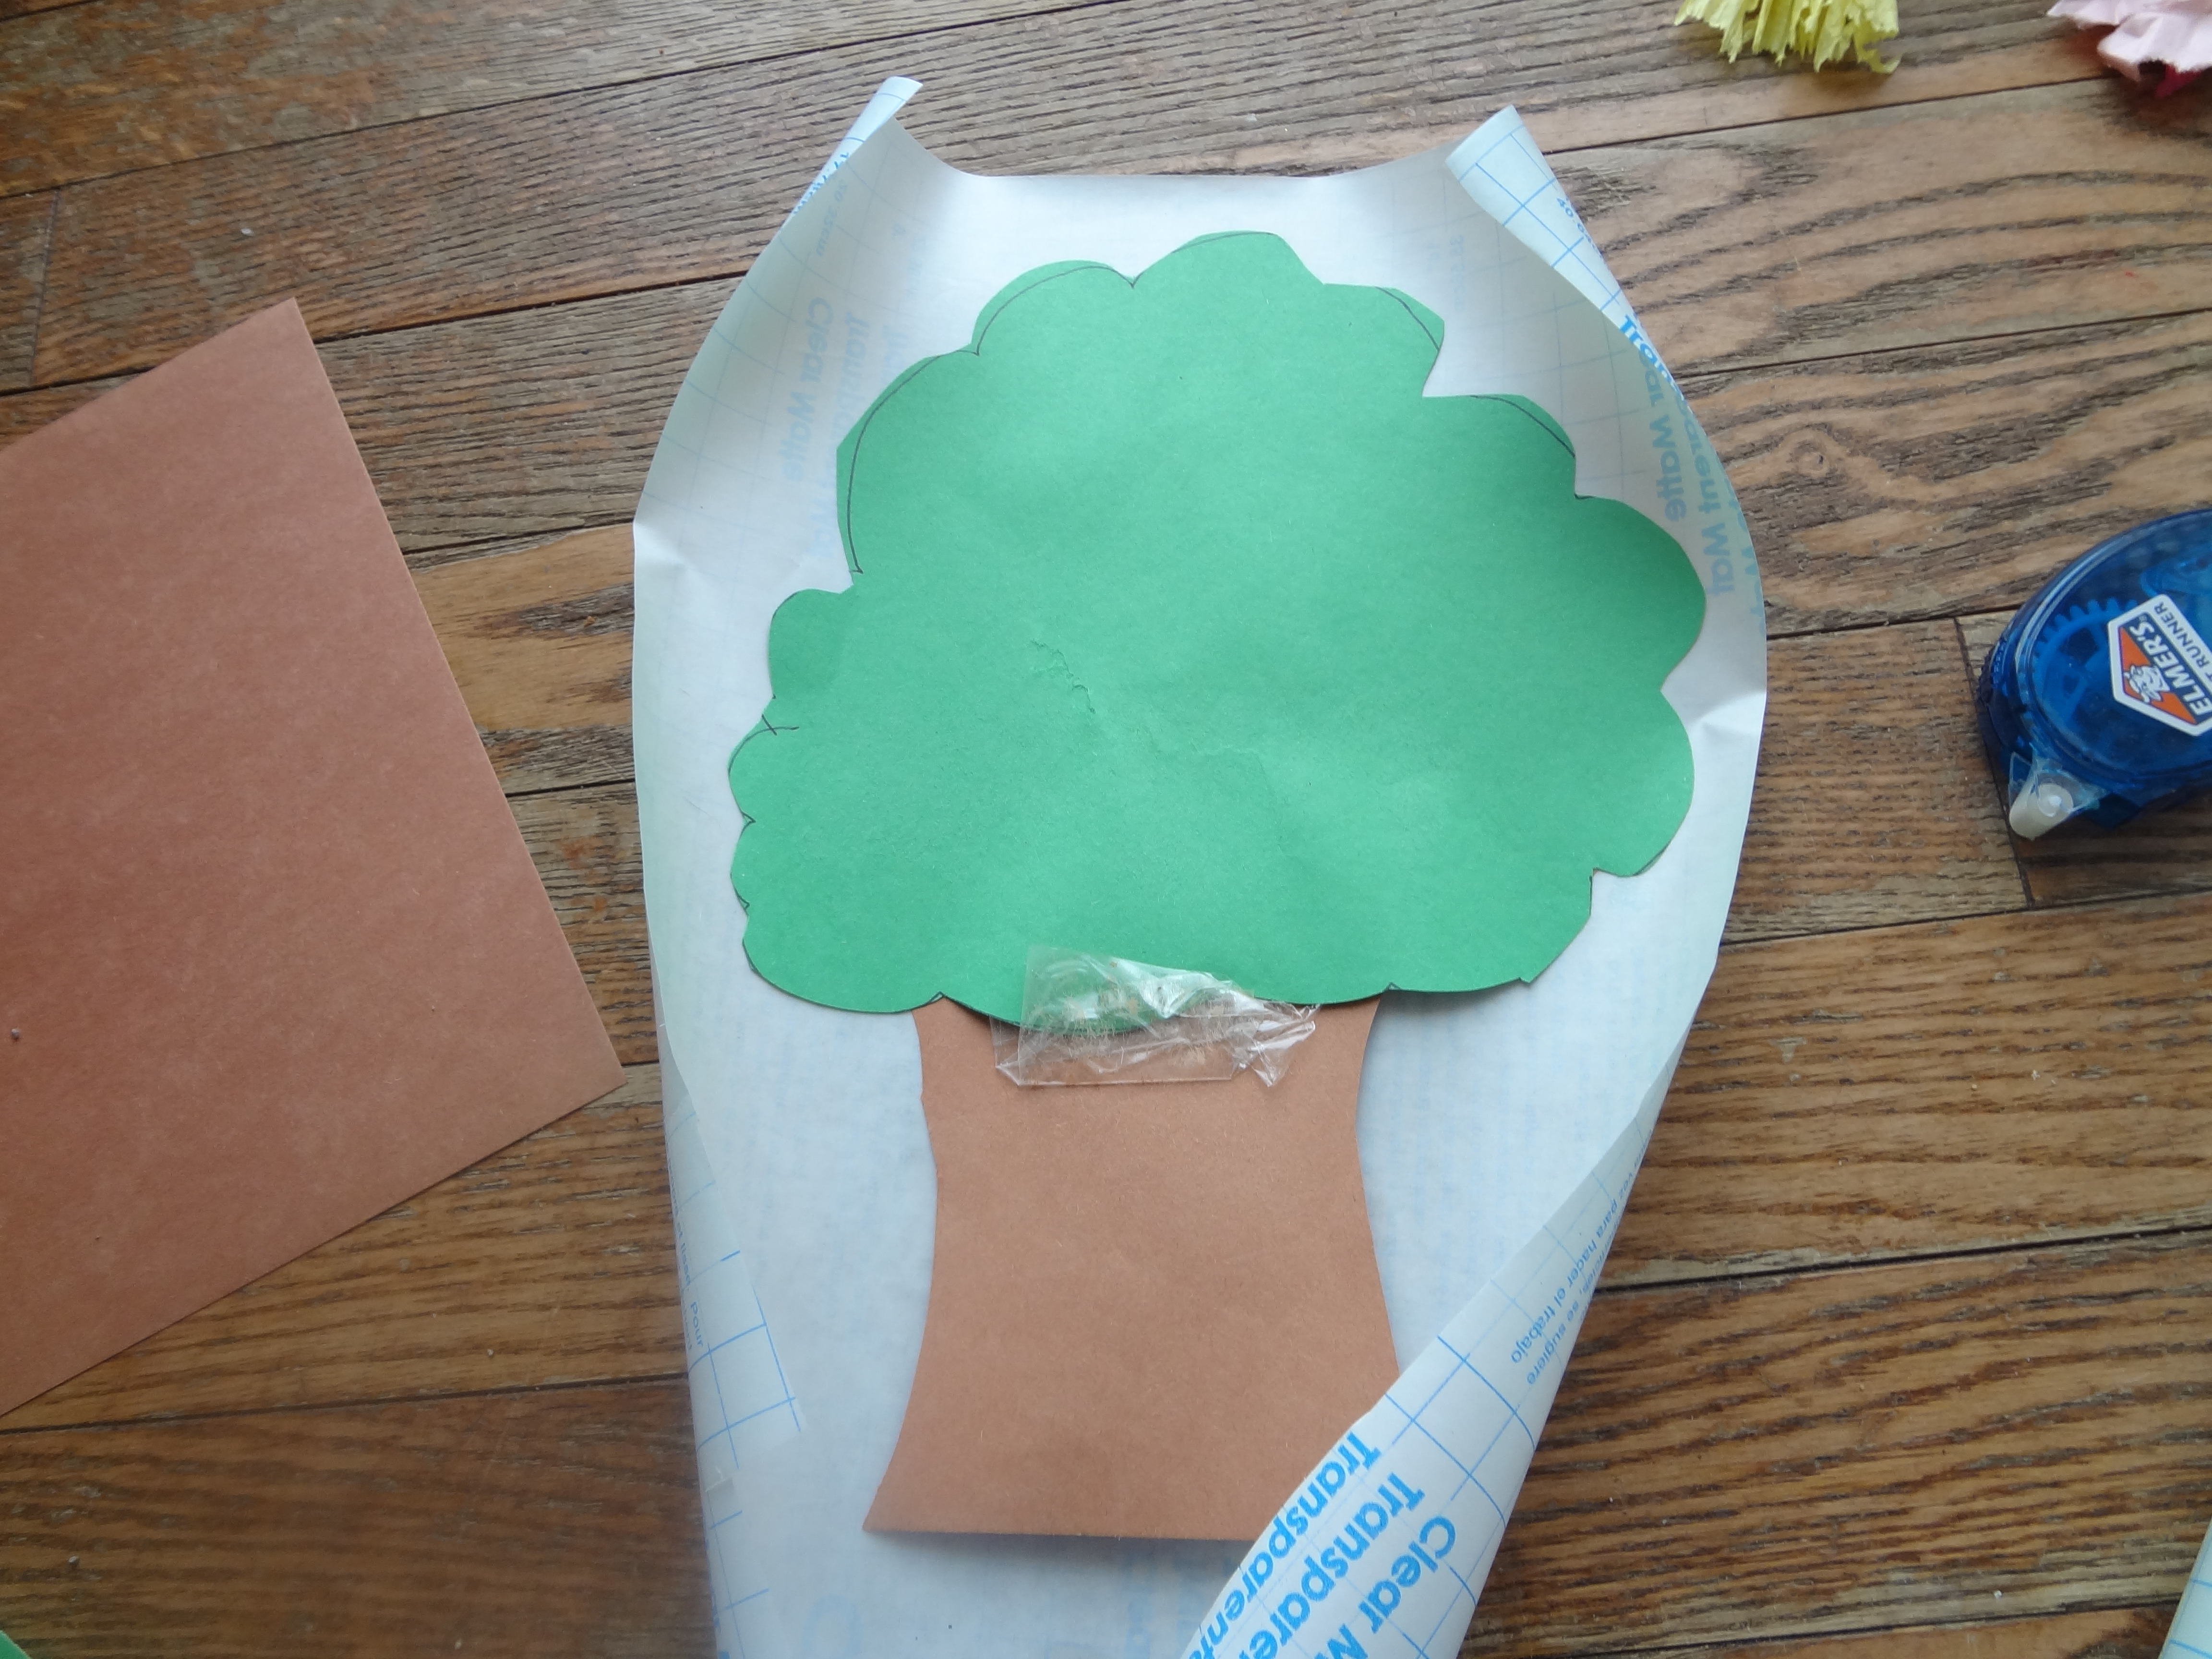
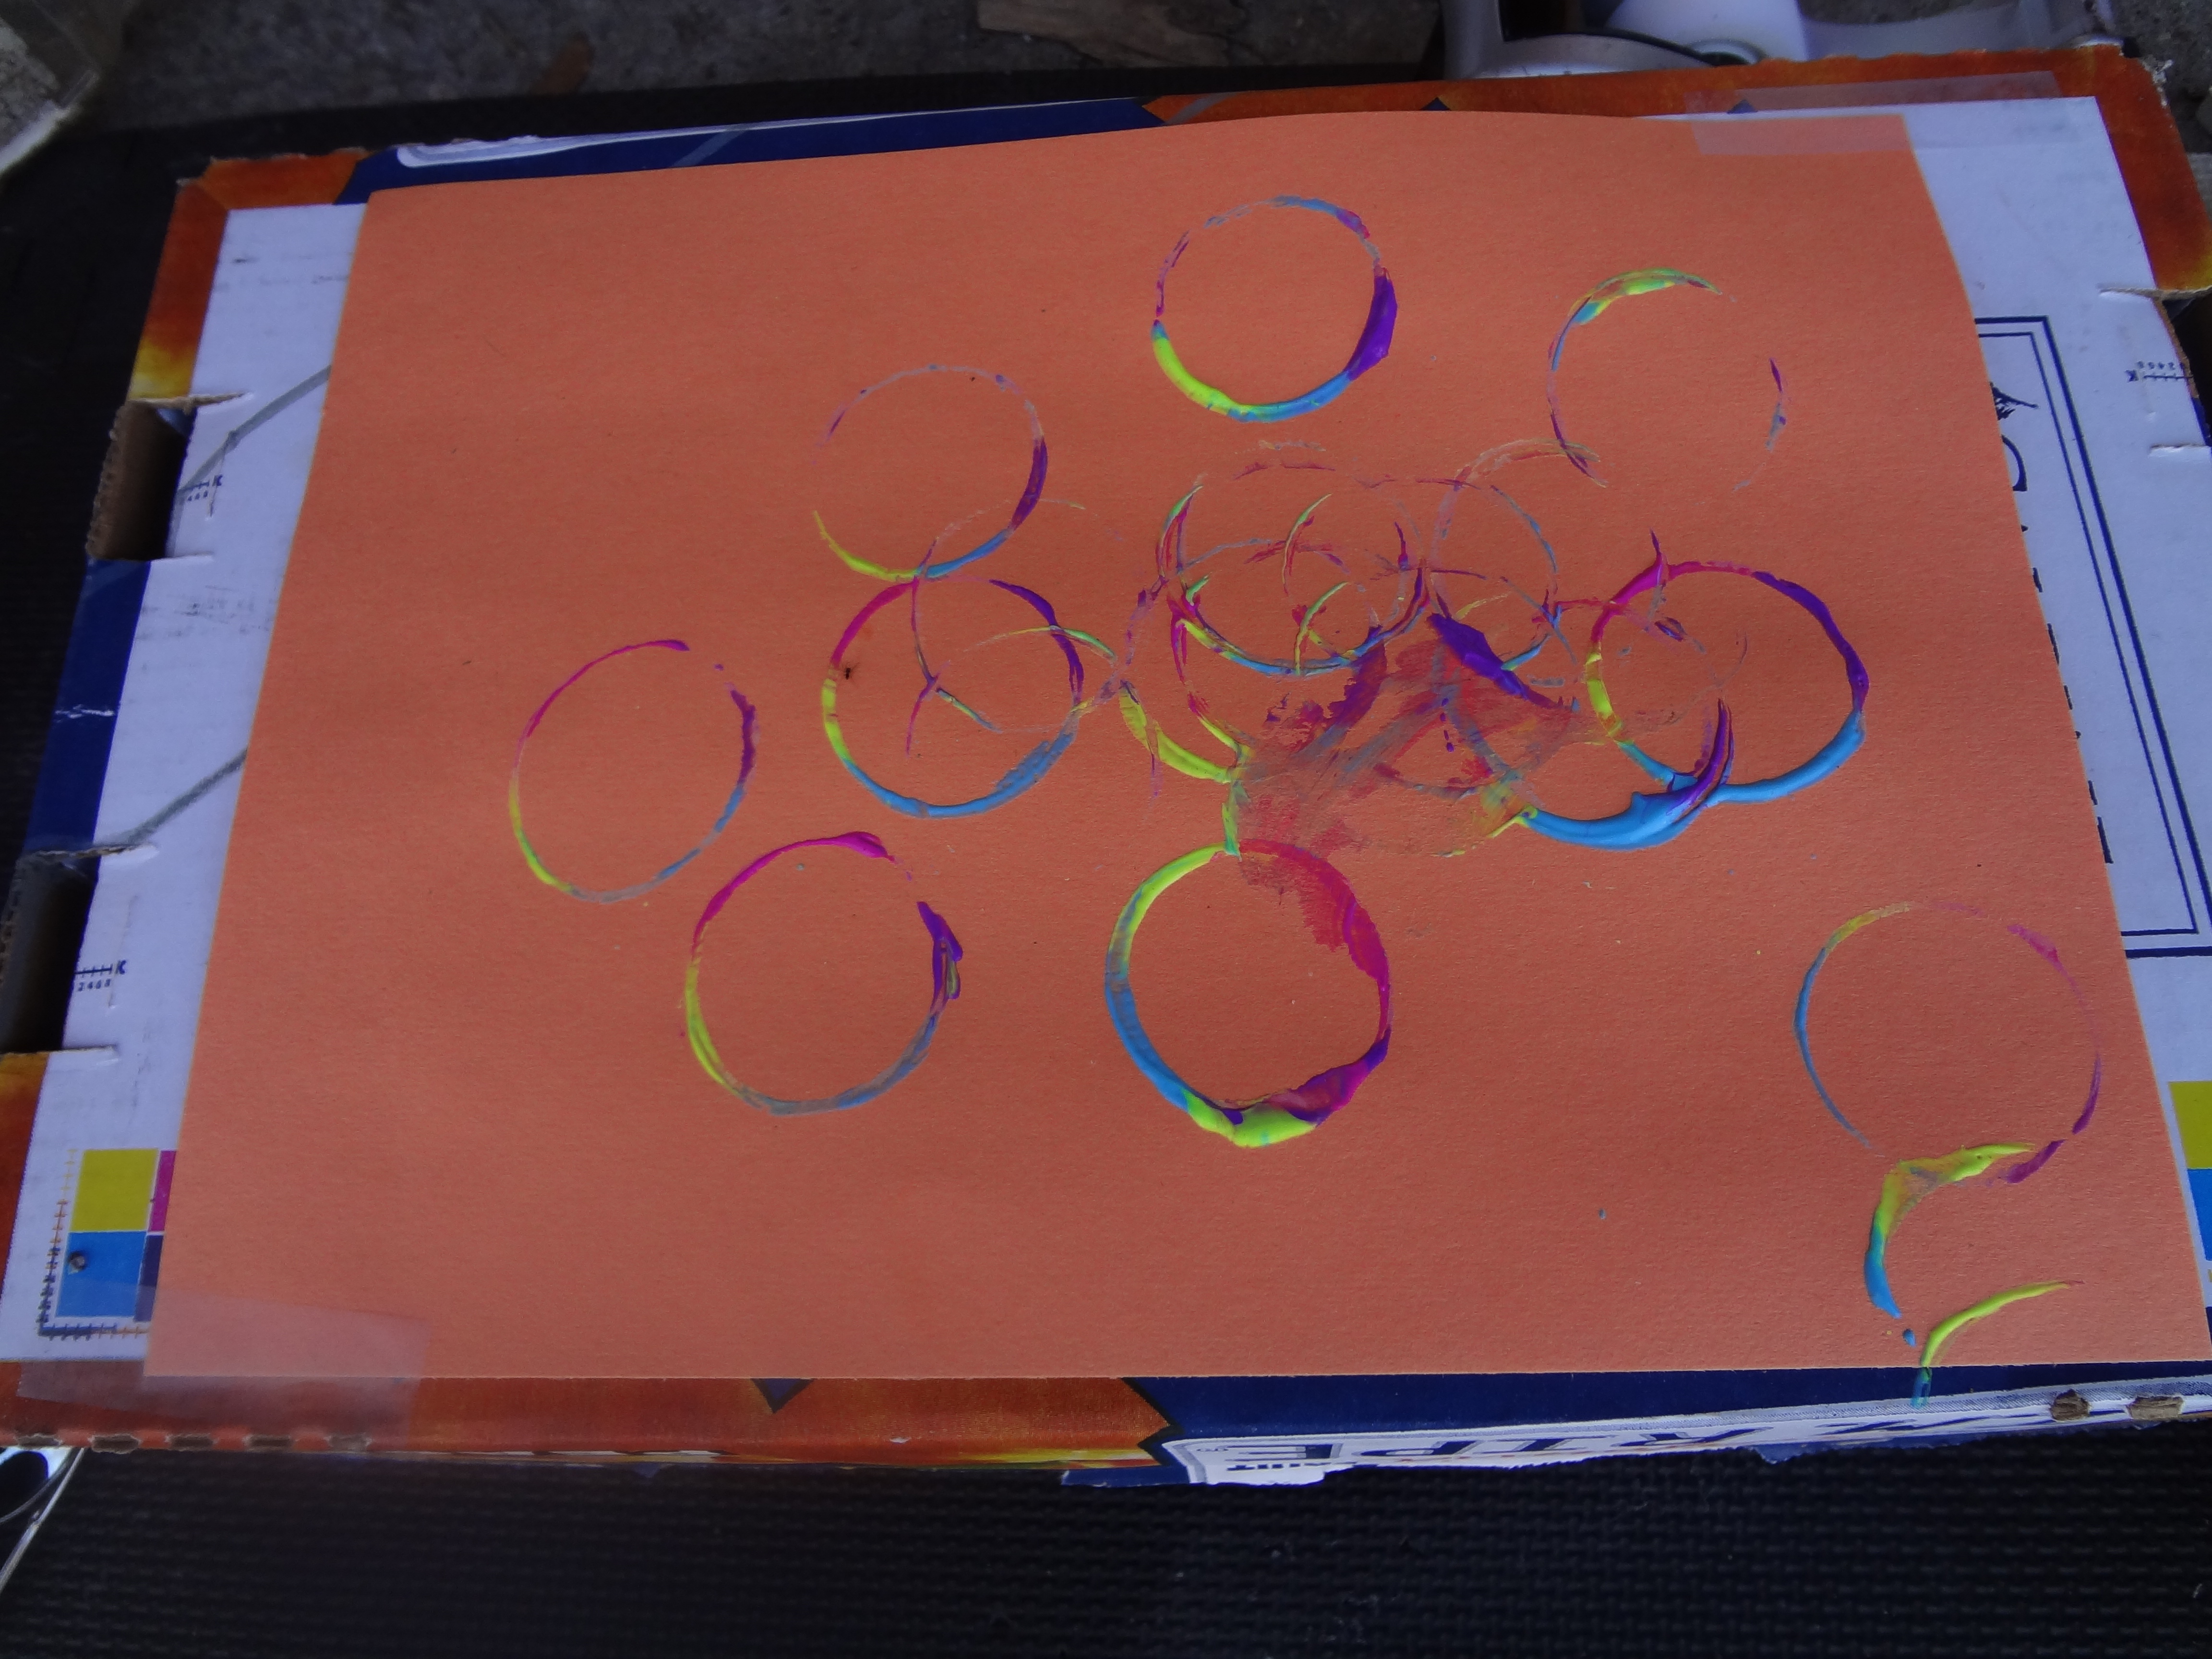
I really love these little bins, they really go over well with the little man. He always dutifully explores the different objects as I chat away about the letter we are learning about, and playing with the toys. As you all know I do the majority of my prep while he naps, and today was no different. We did a caterpillar craft, using some simple materials and a bit of imagination. You will need some construction paper, tape, a pencil, contact paper, scissors, a small plate and a pipe cleaner, all in the colours of your choice. This is a great craft for young toddlers because all they have to do is stick on the pieces, it is a bit off a collage, and my little one isn’t interested in much more than this at his age. Take your plate and use it as a stencil, tracing a circle onto each piece of construction paper, this will be making up the caterpillars body, use as many as you like, we used four.
20140601-191509-69309415.jpg
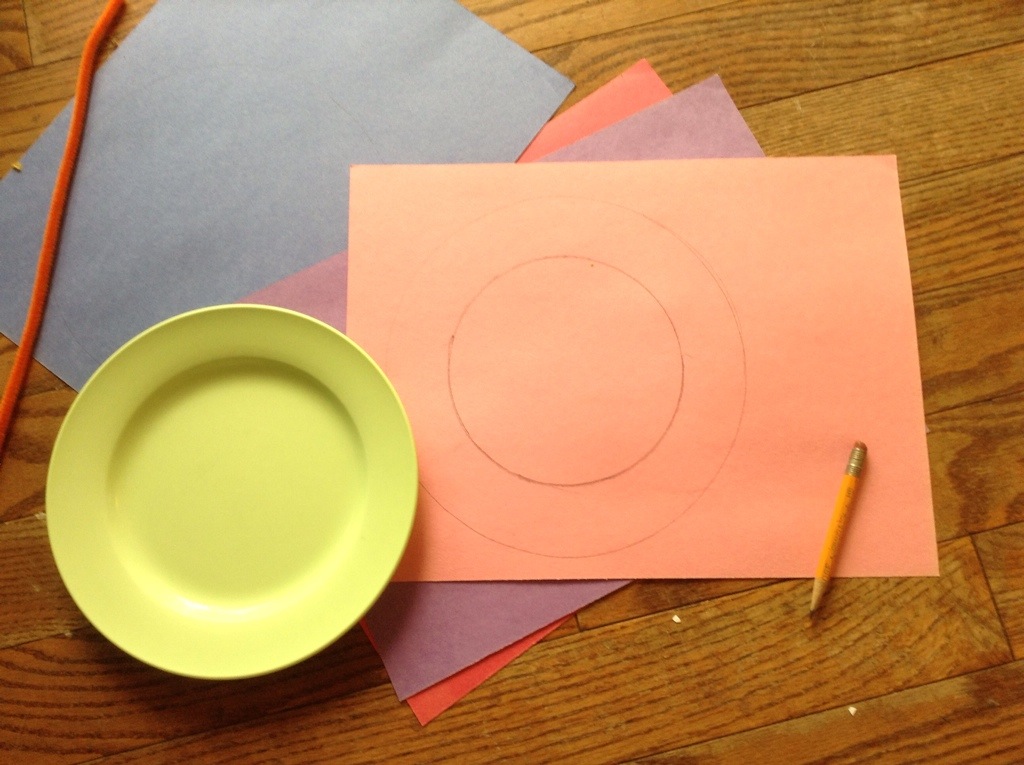
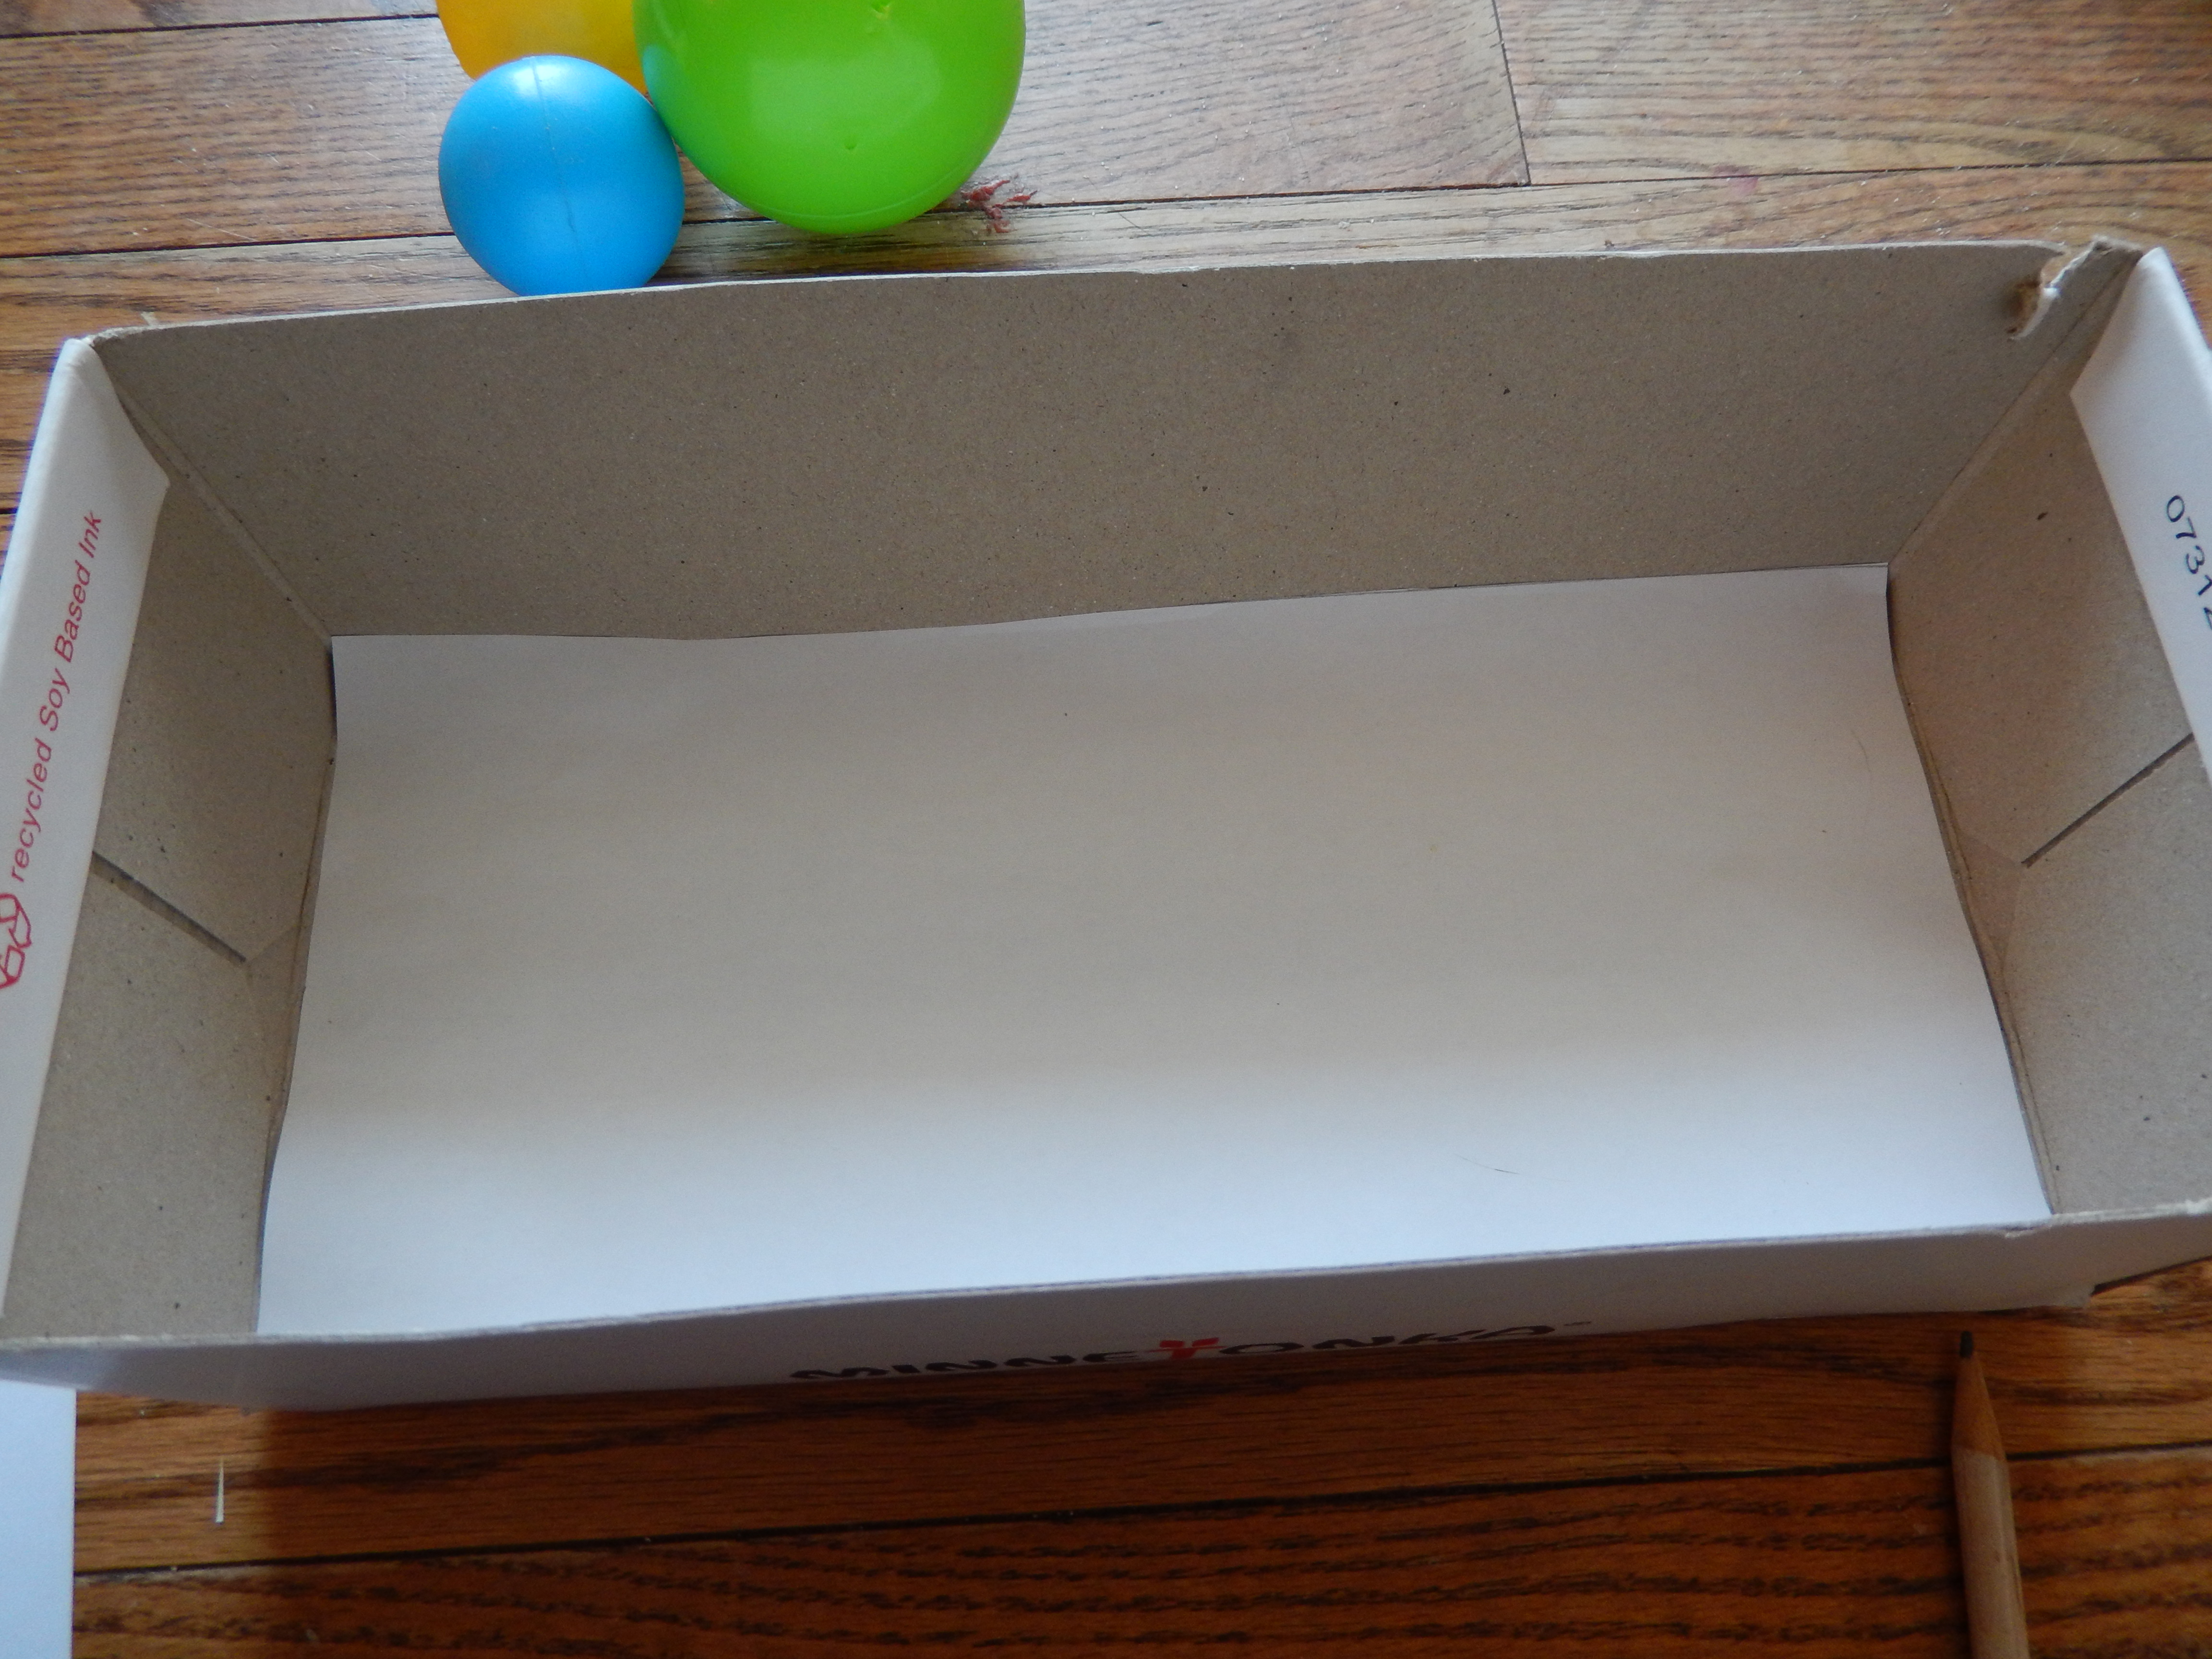
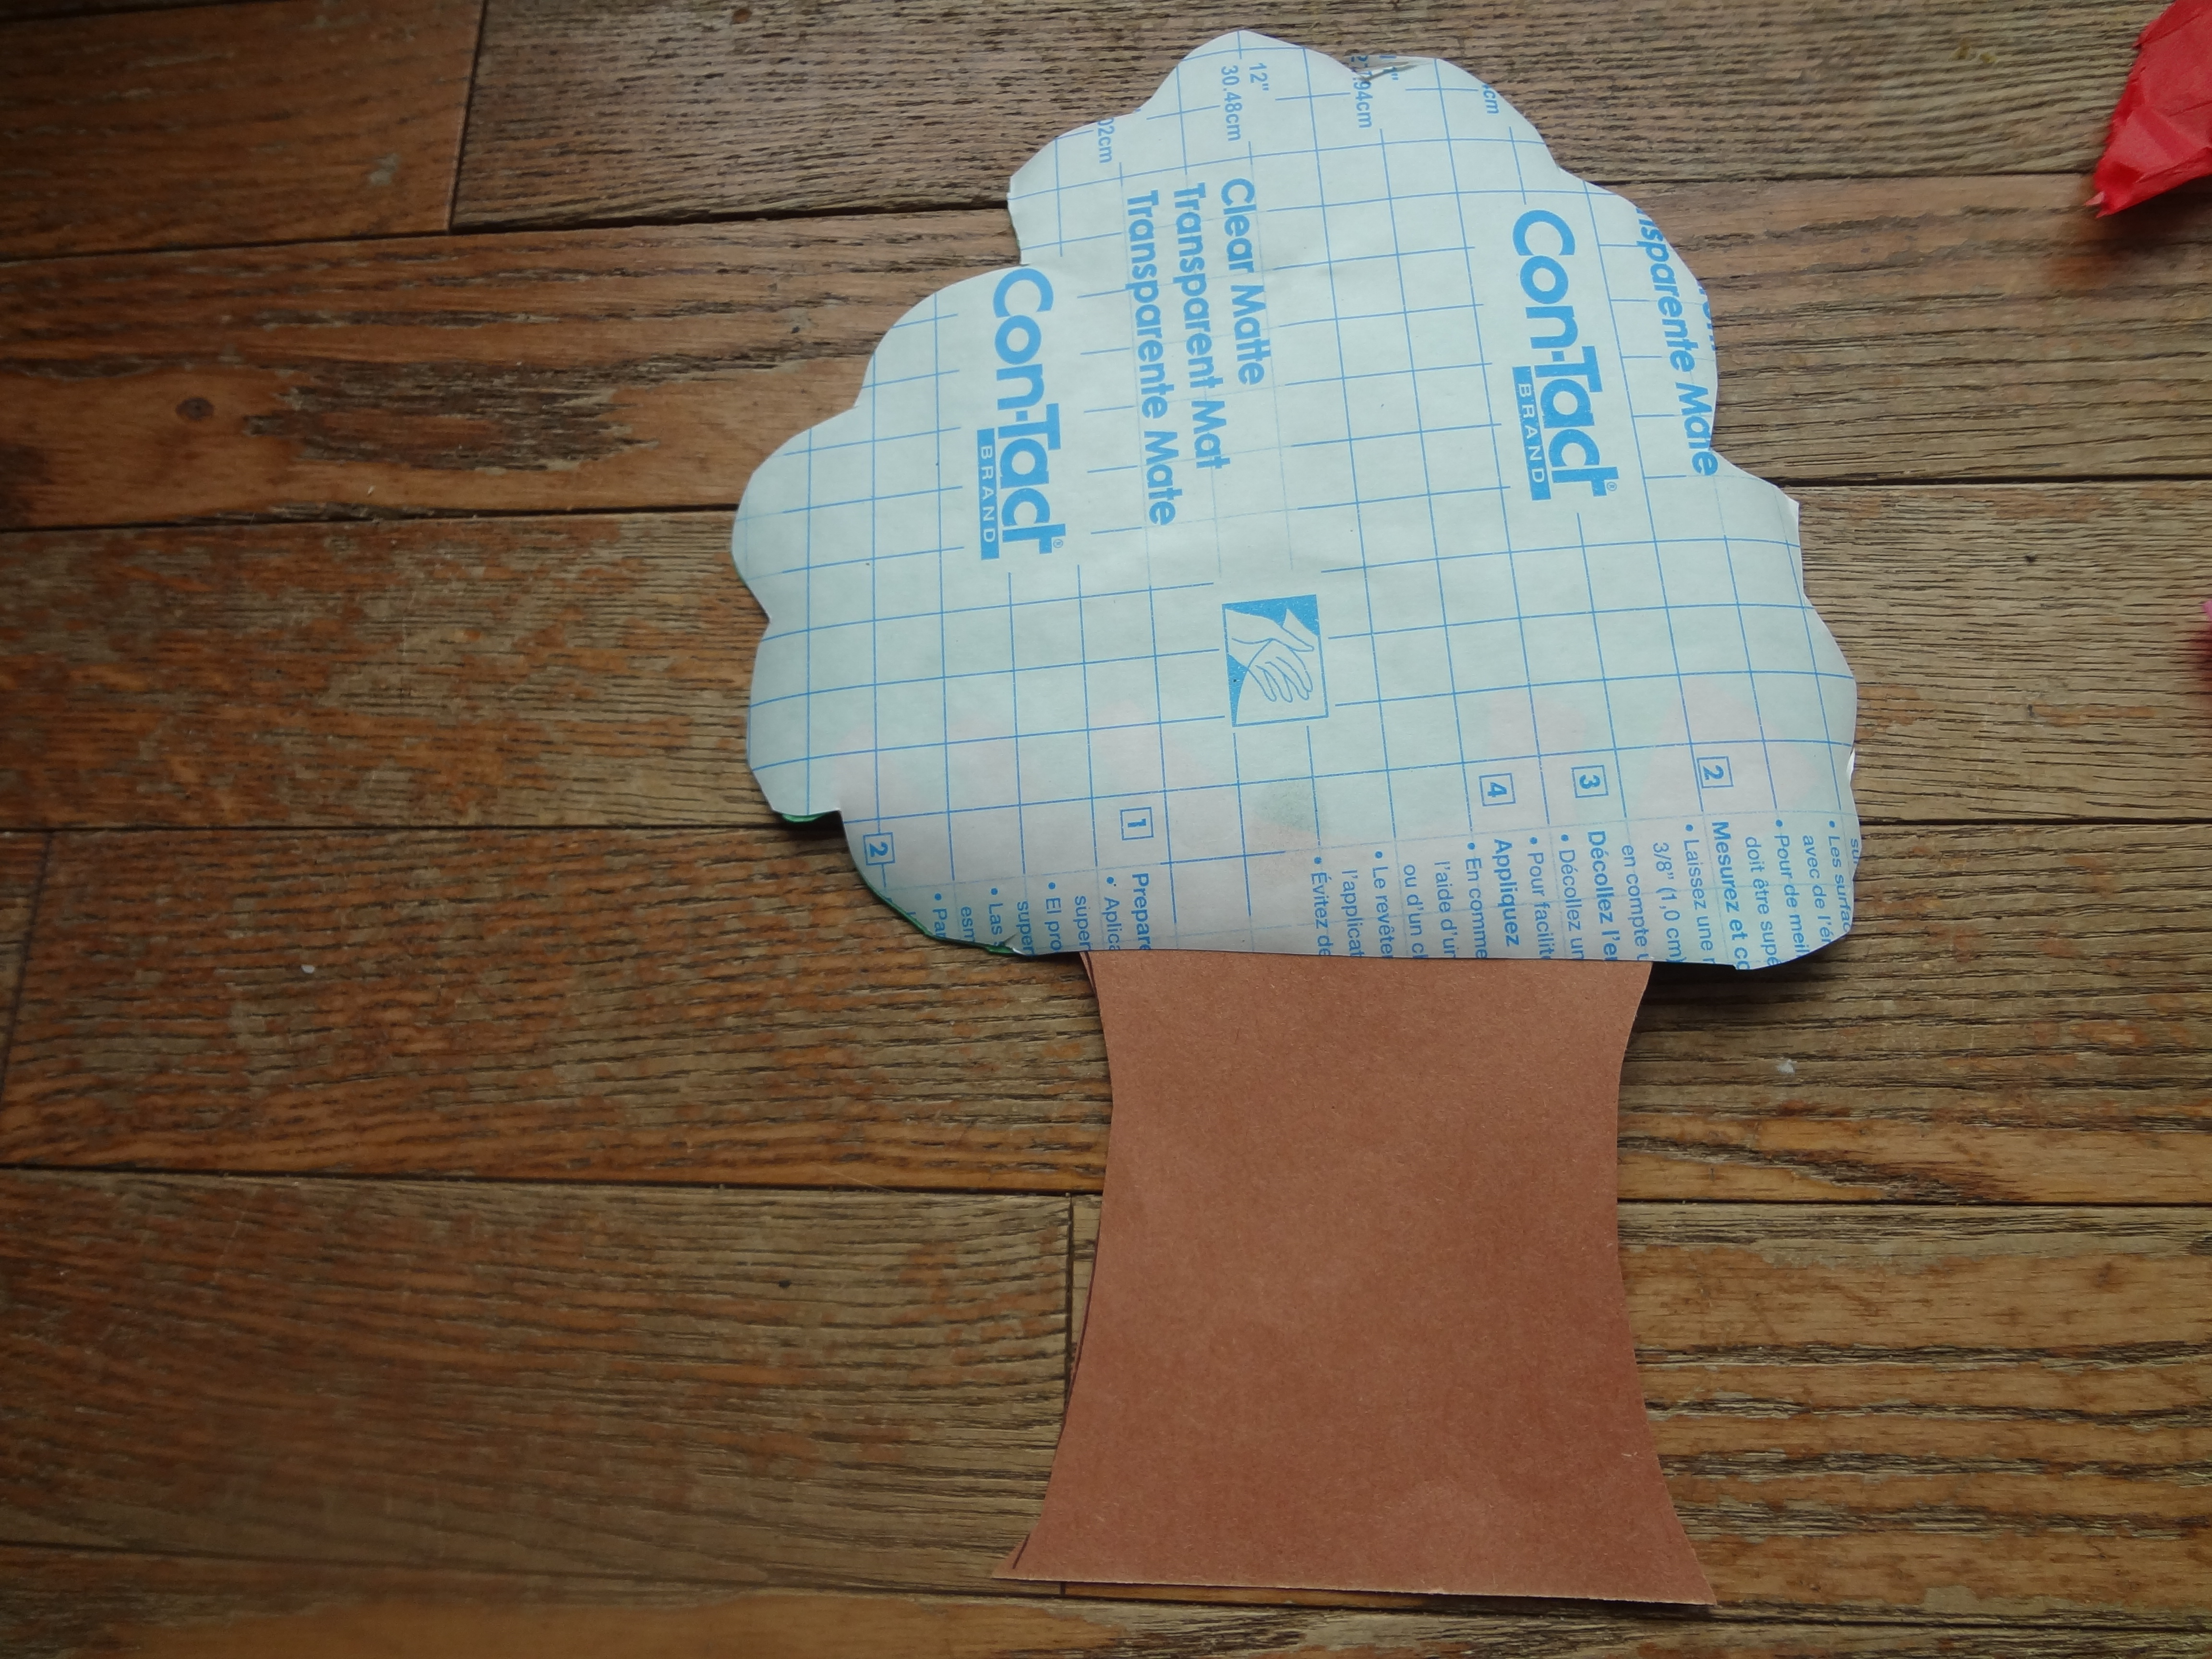
I then used the inside rim of the plate to trace a smaller circle on the inside and cut it out so it looked like a zero. Then use your plate to cut out as many circles of contact paper as you have body pieces.
20140601-191510-69310397.jpg
You still with me? Peel off the protective side of the contact paper circle and stick it onto the circle made out of construction paper, sticky side facing up. If you are confused here is your caterpillars body.
20140601-191511-69311506.jpg
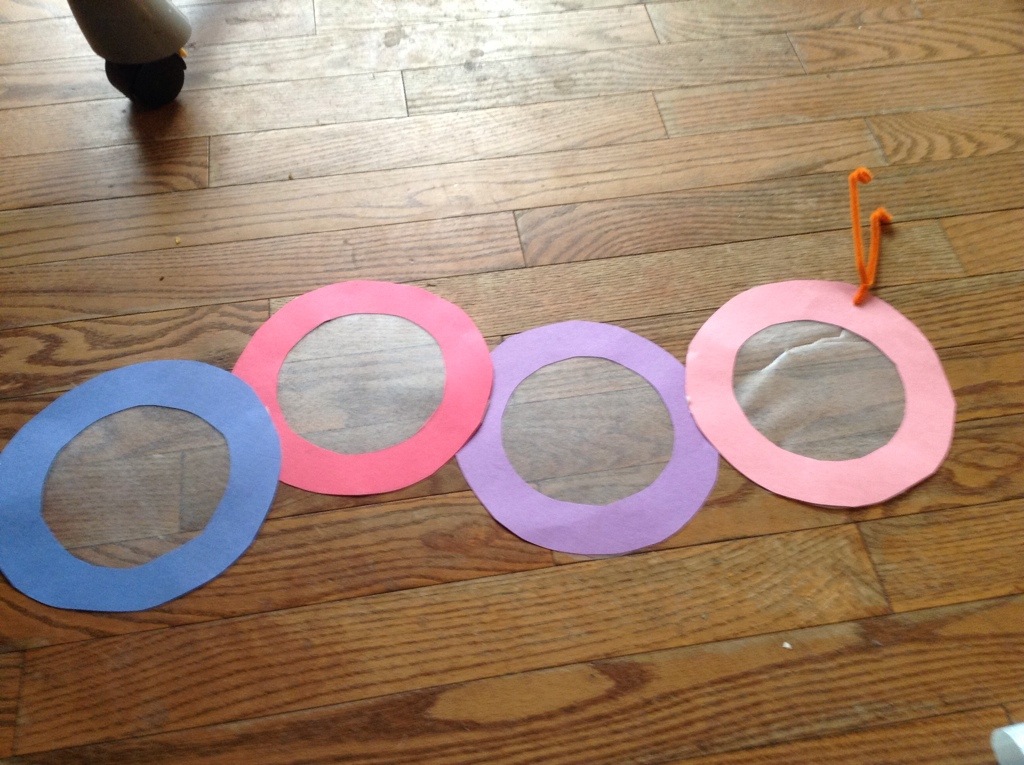
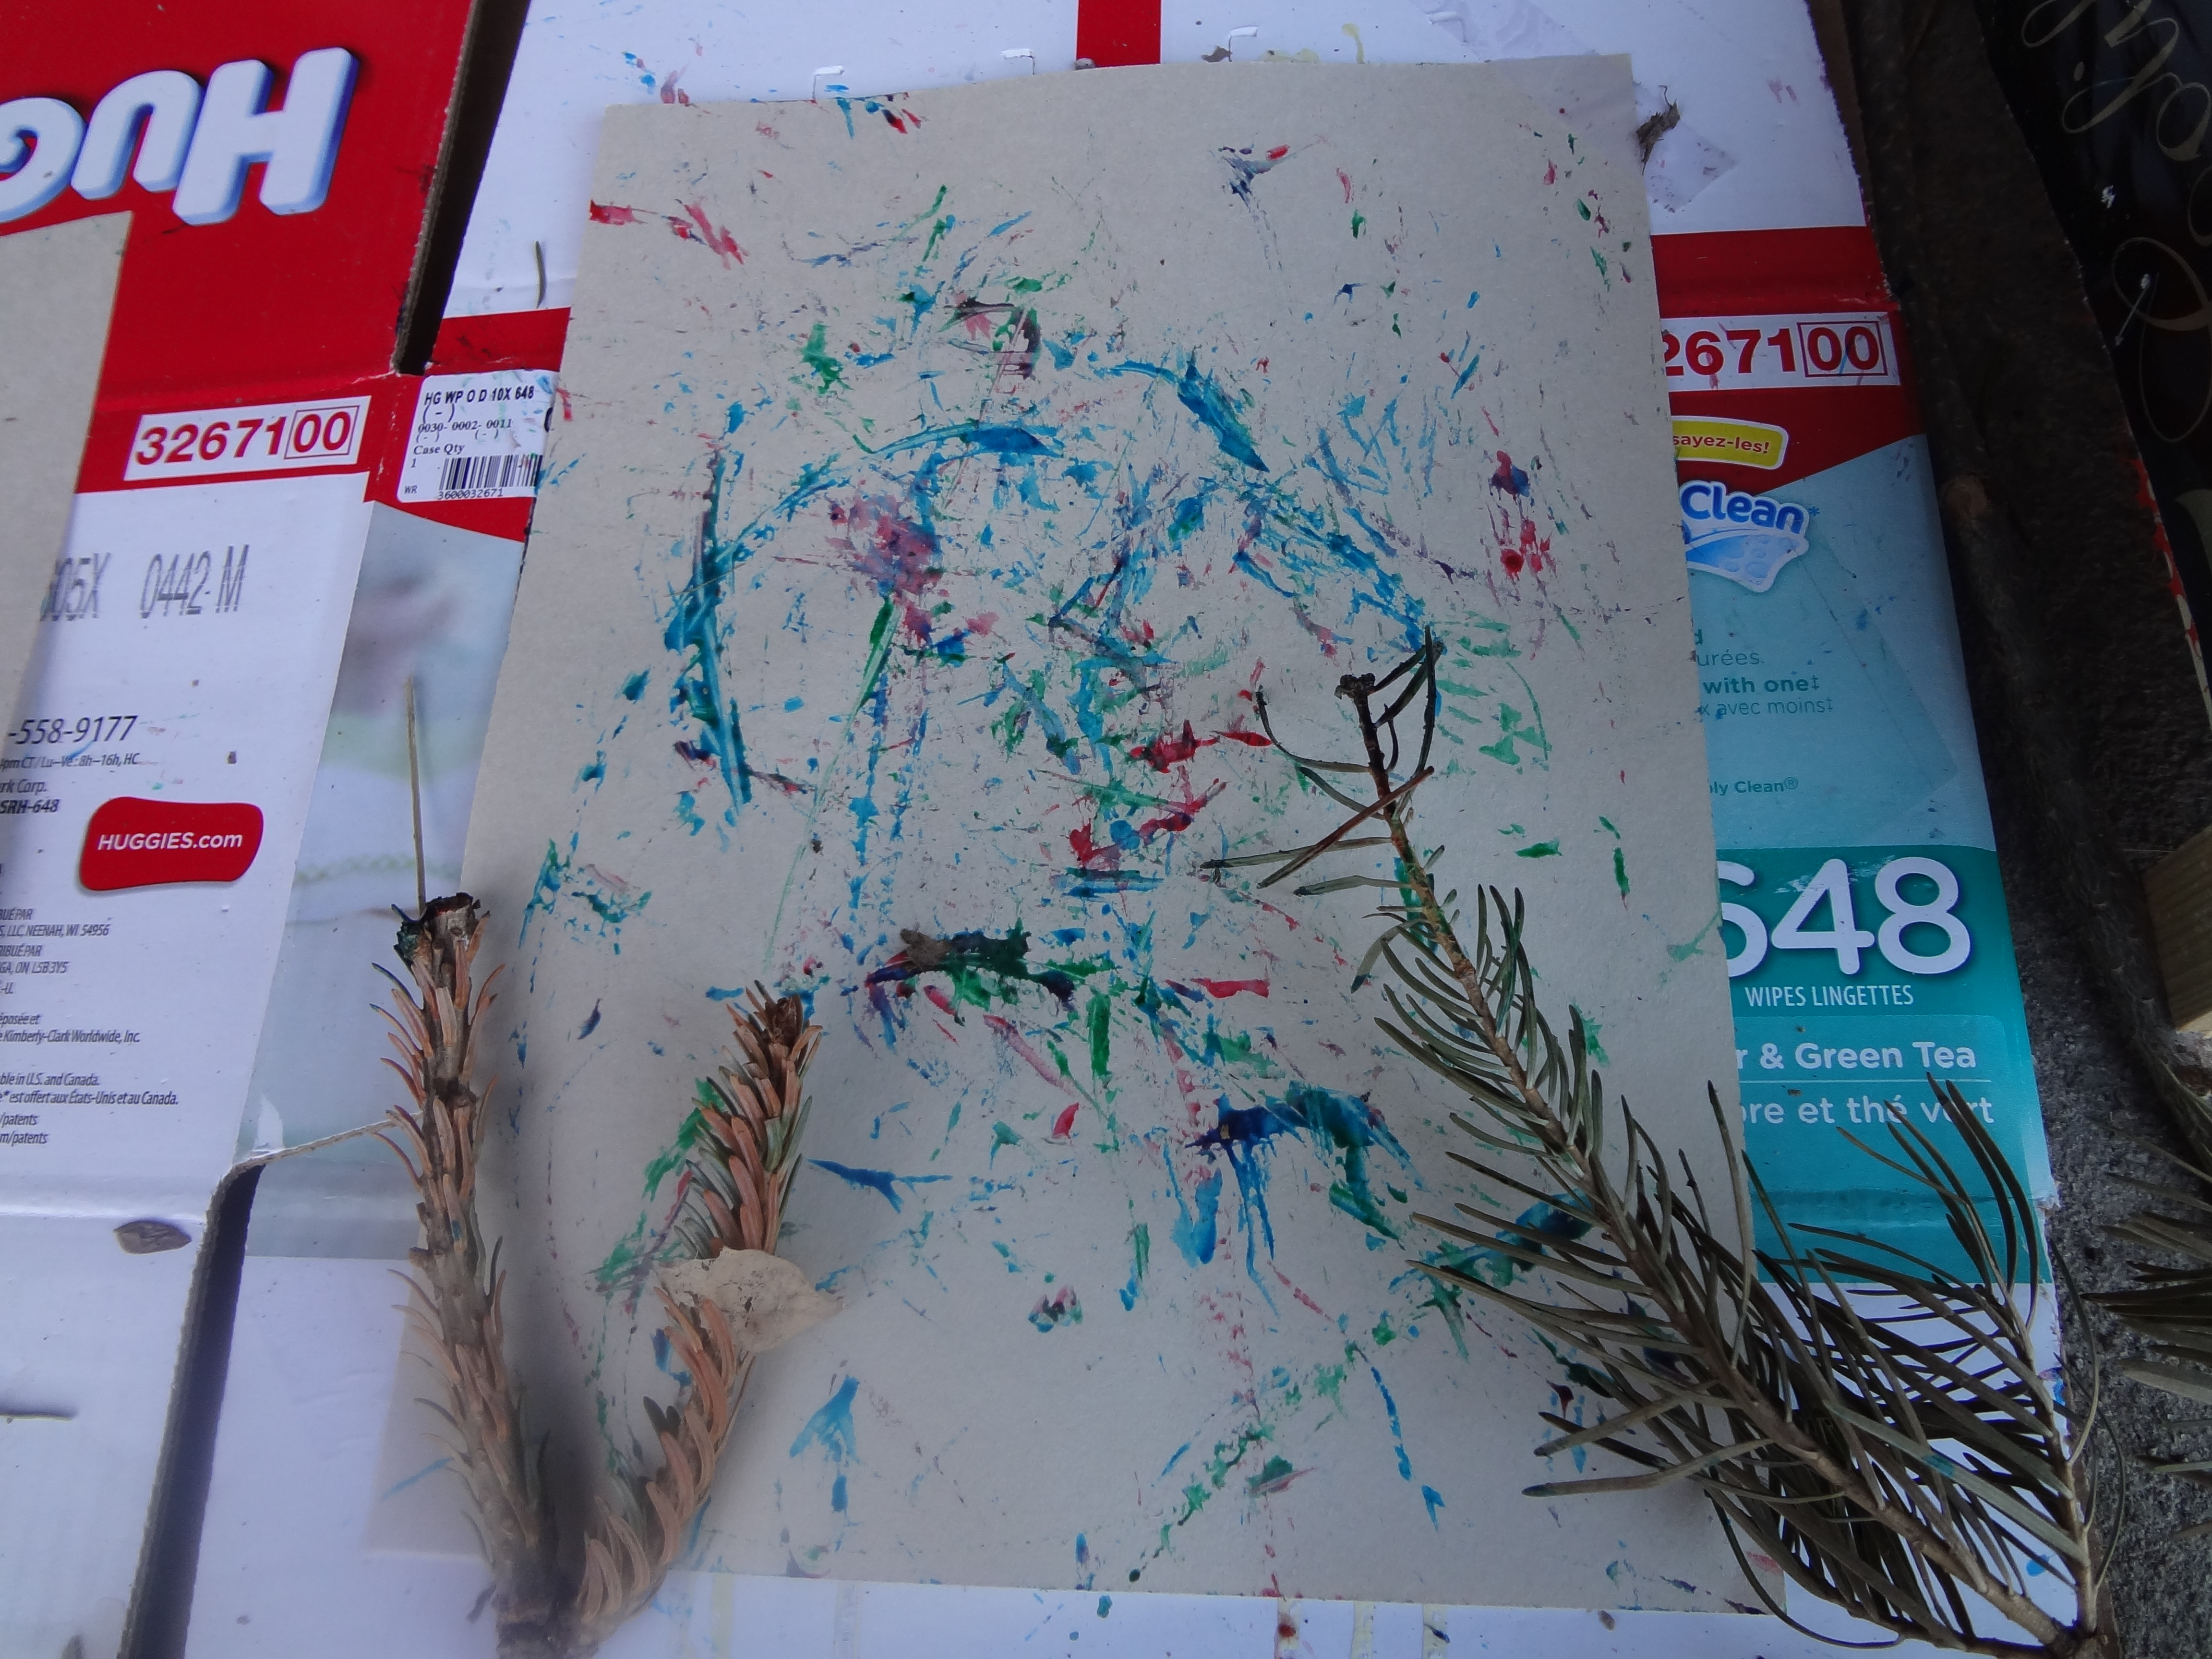
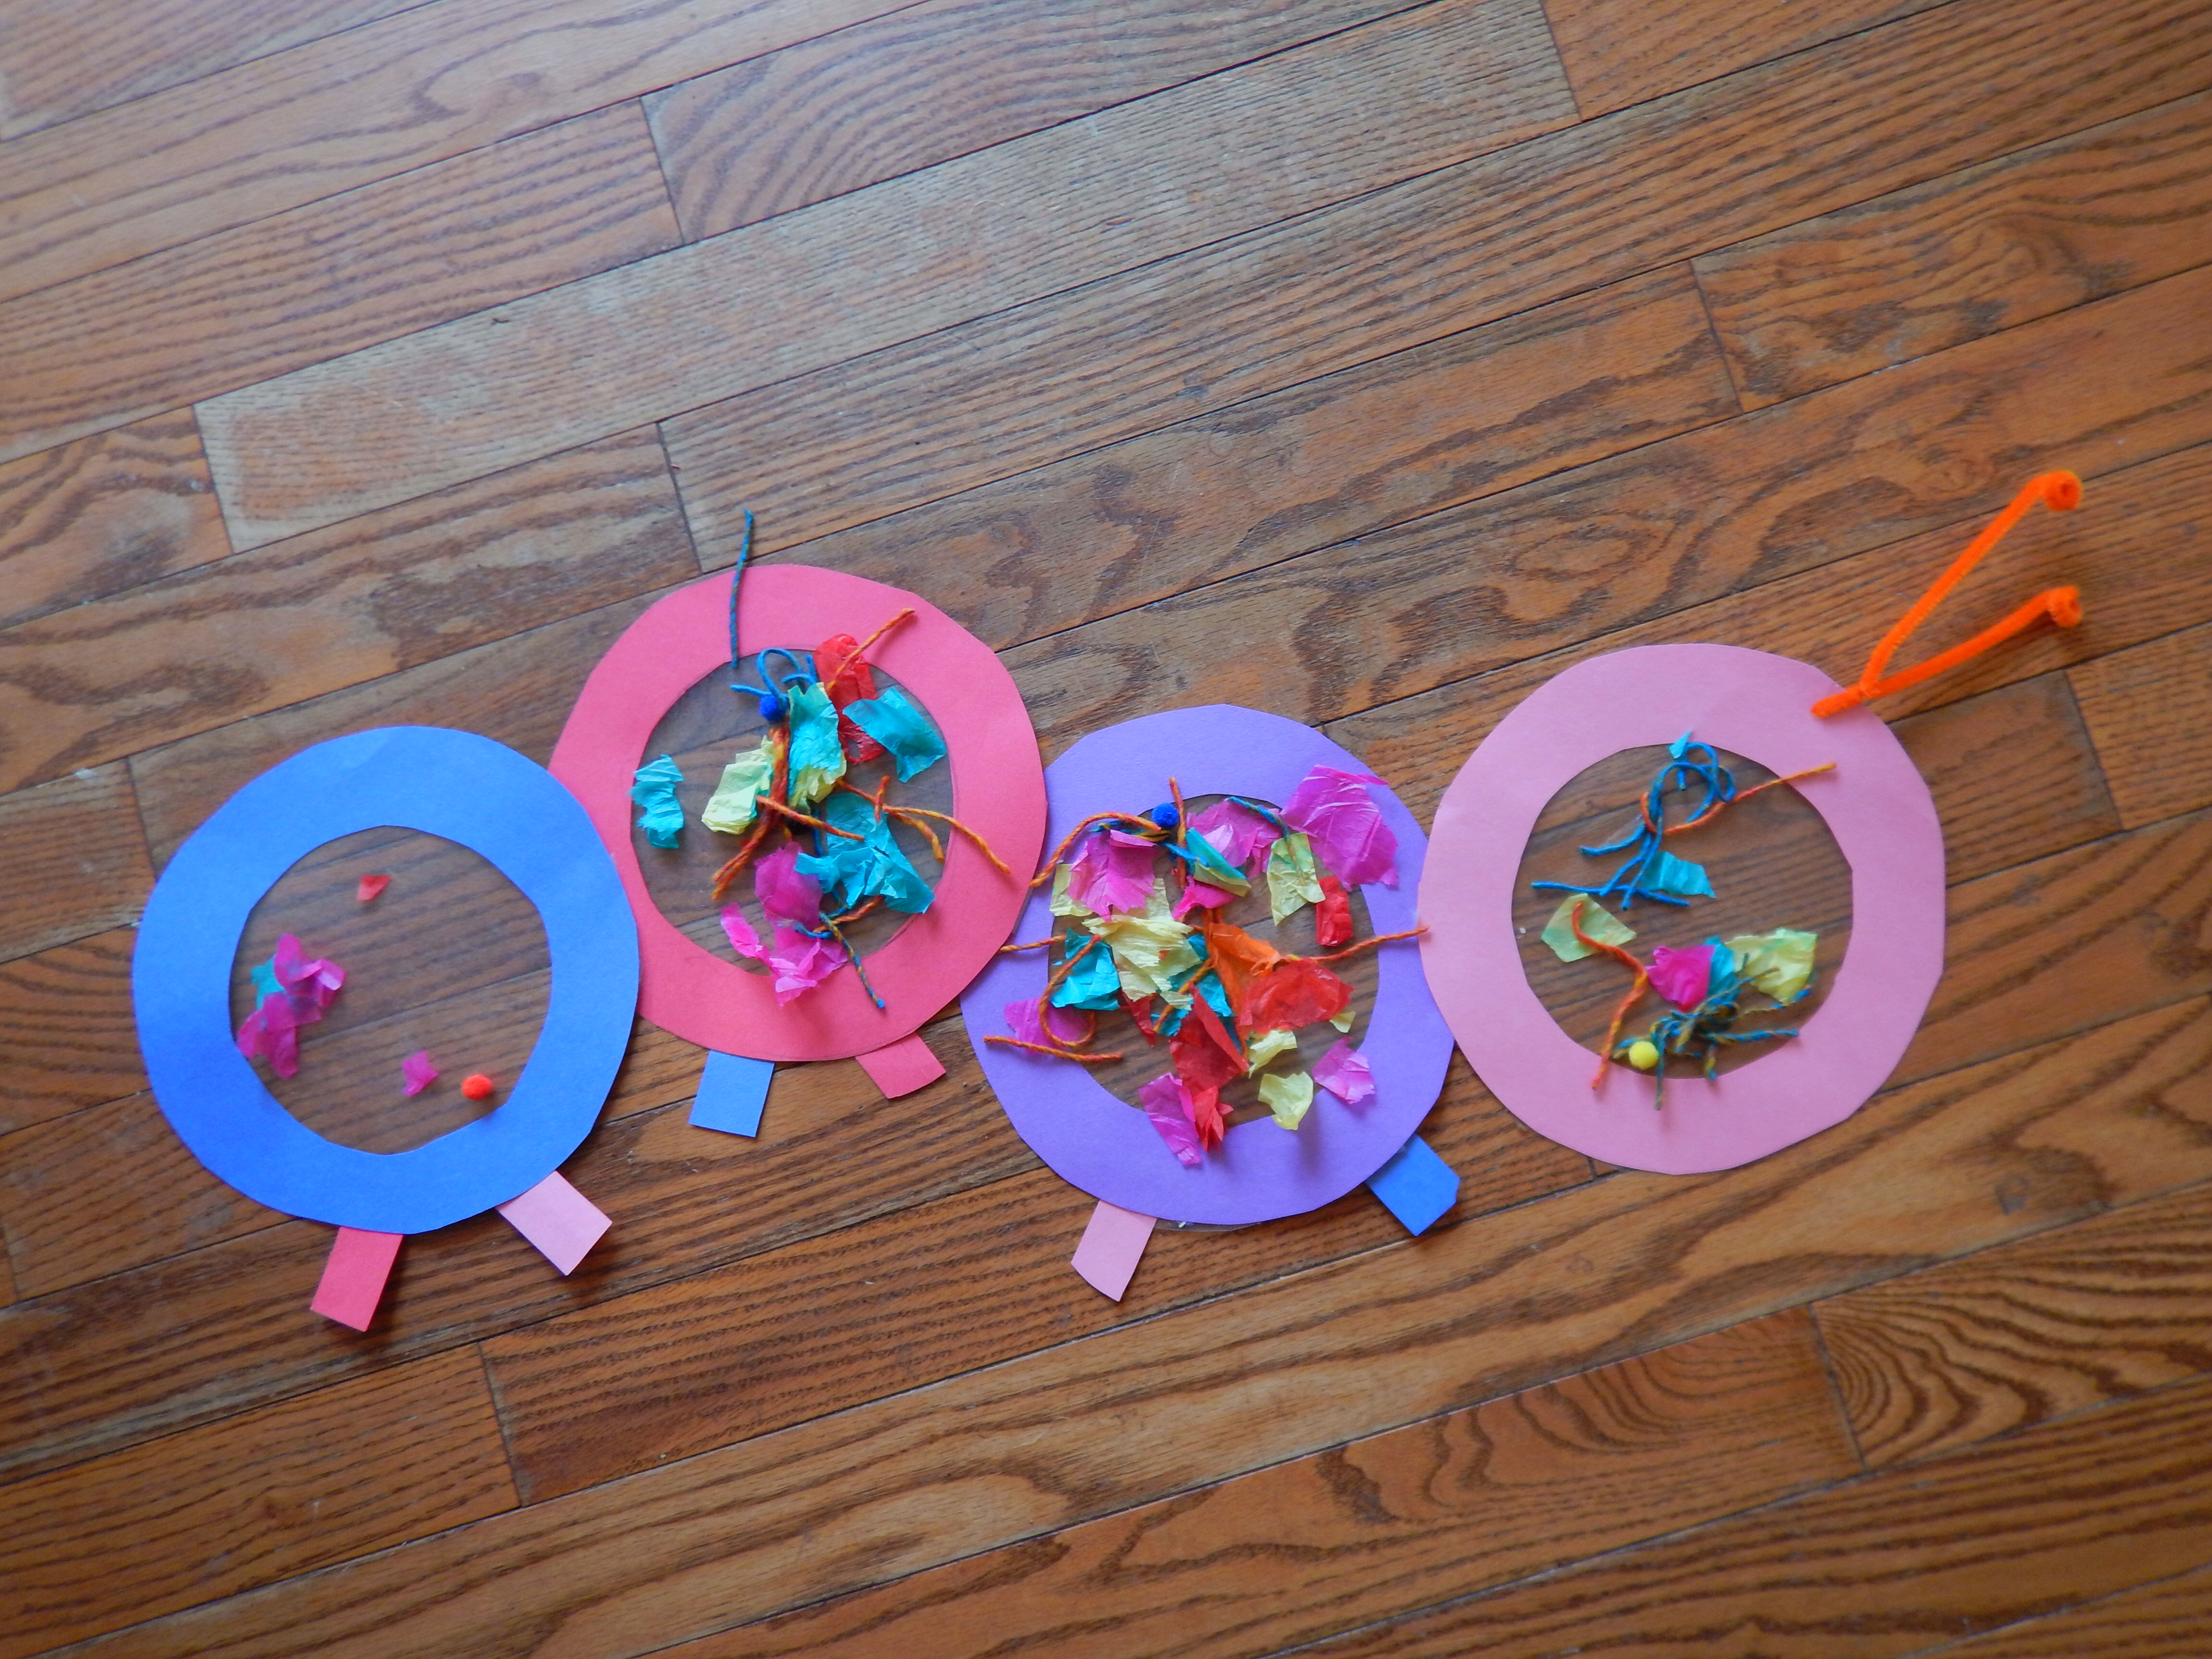
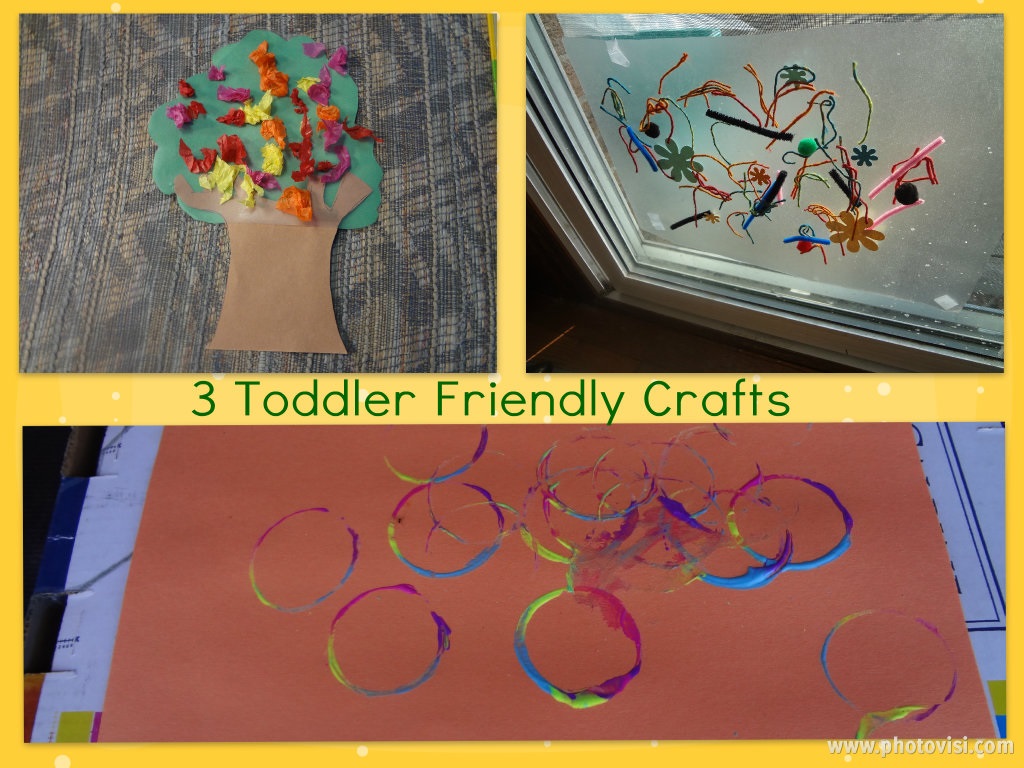
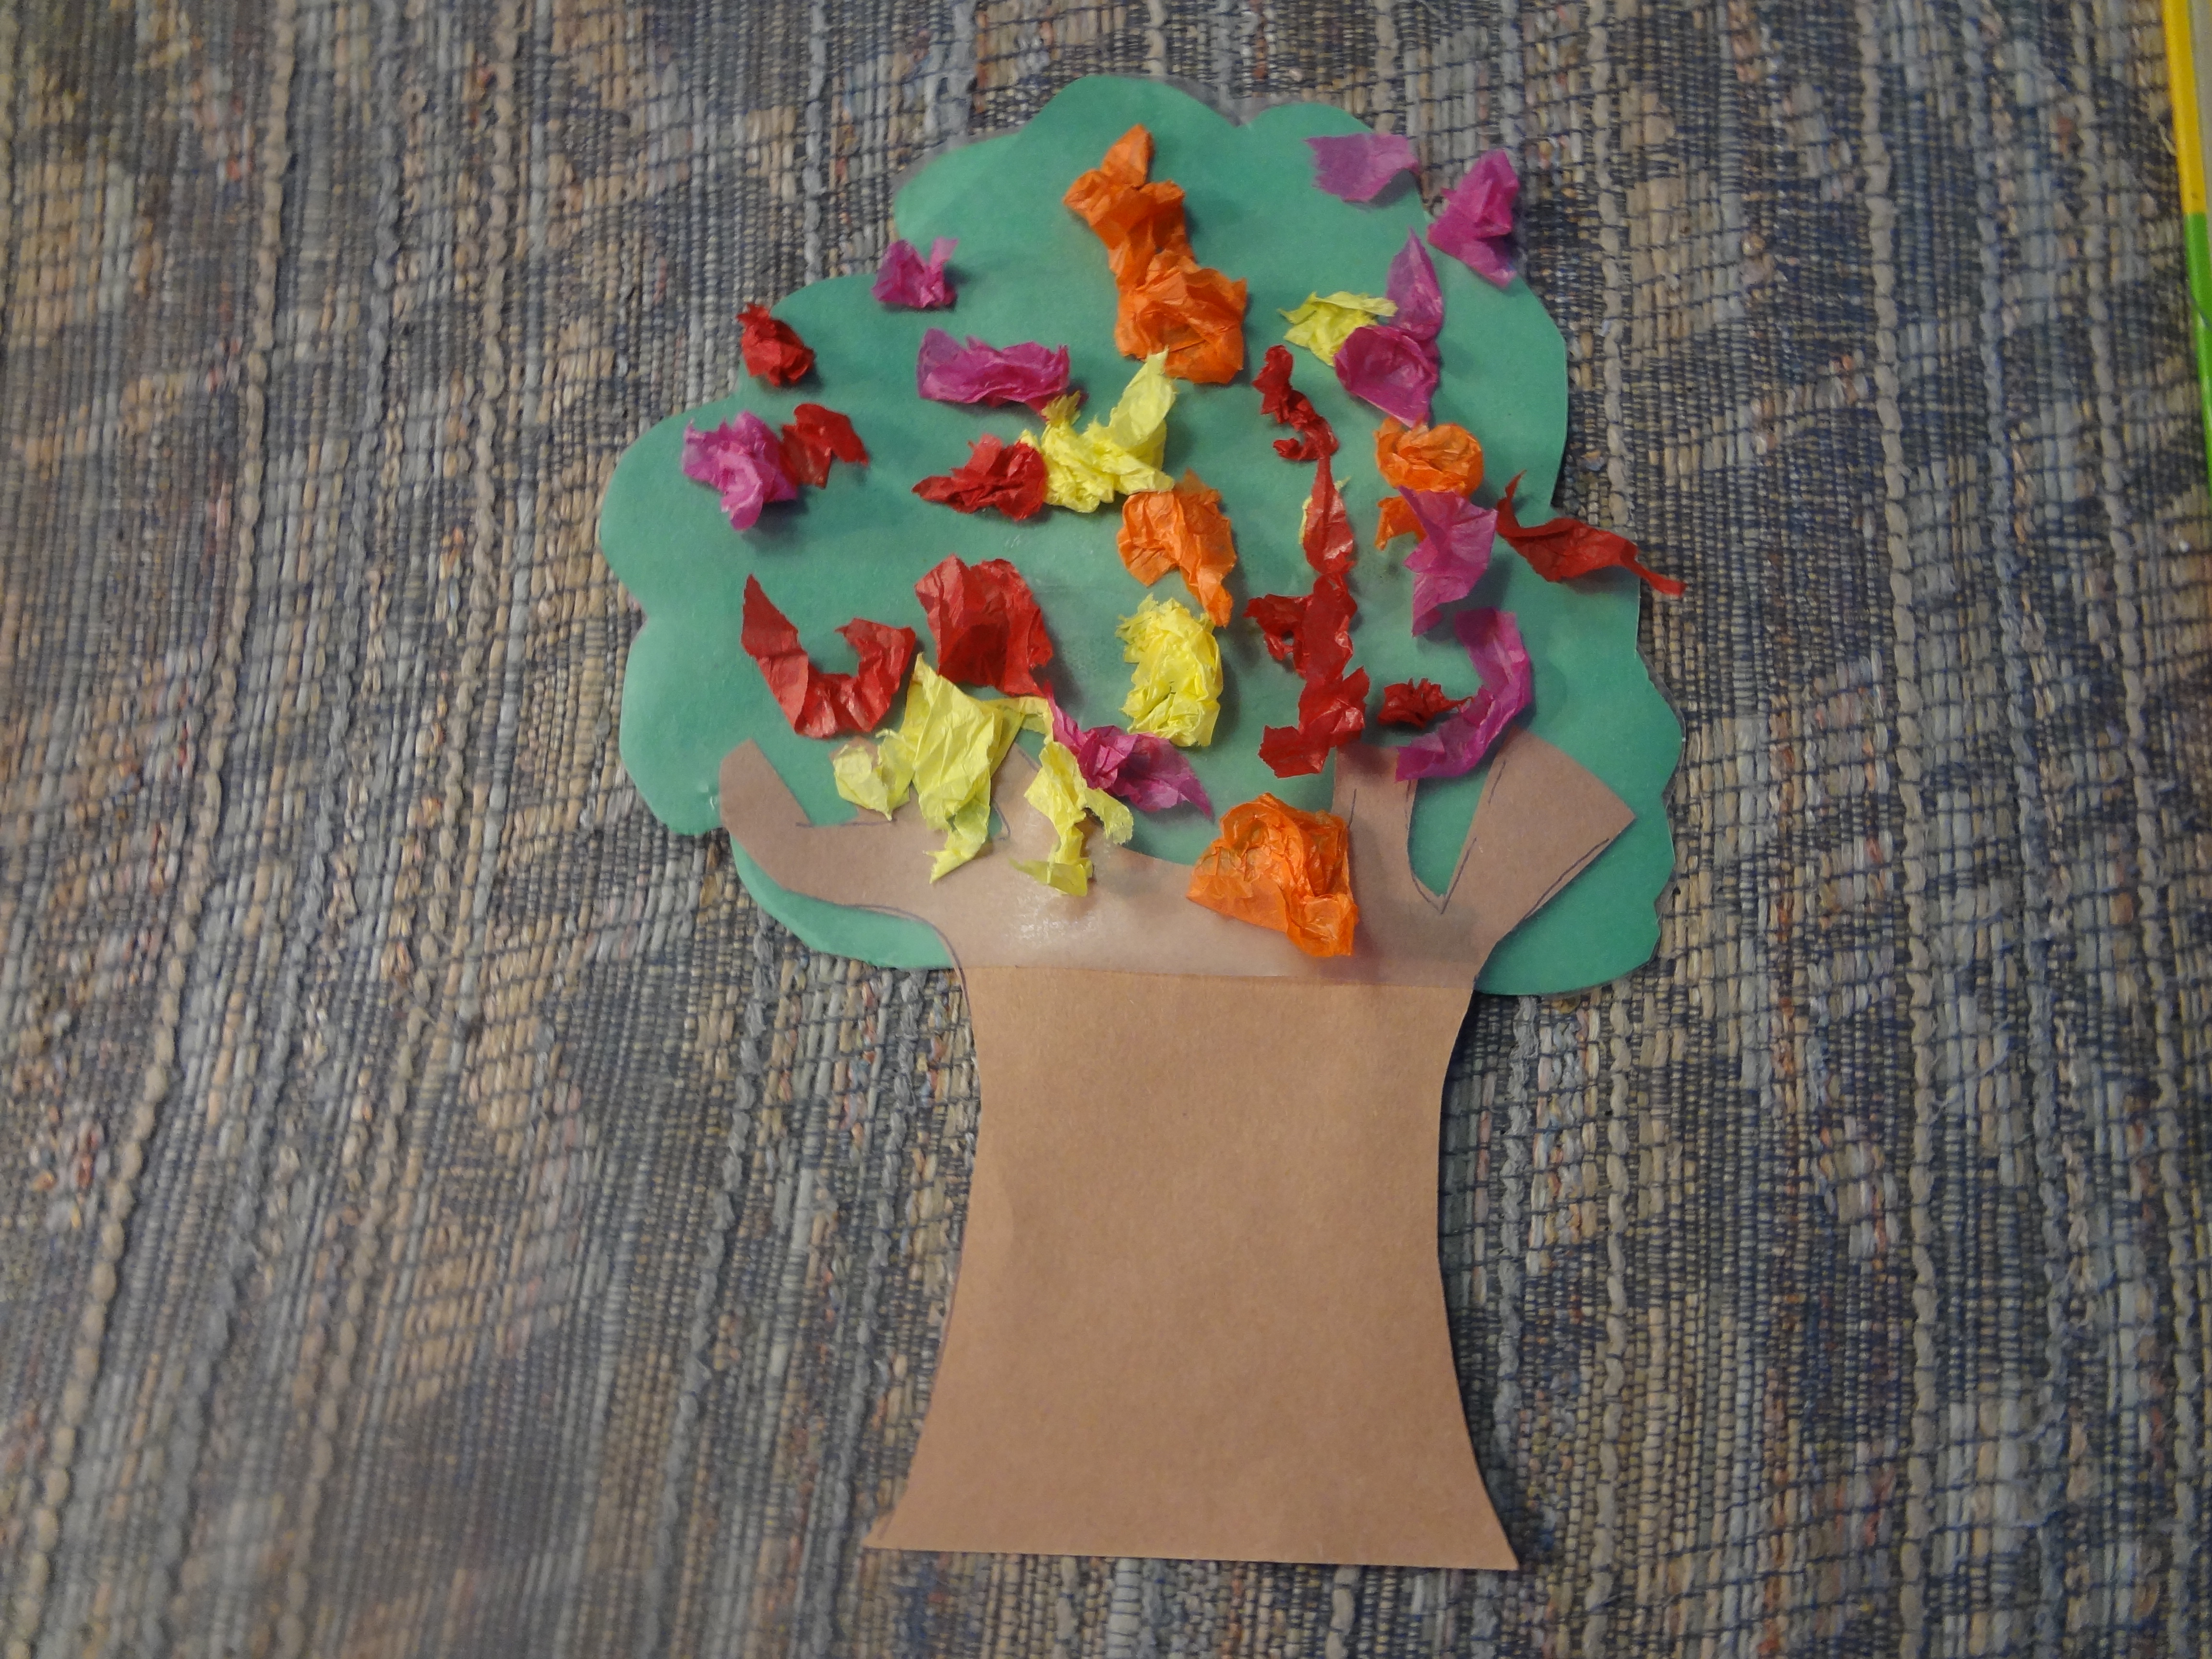
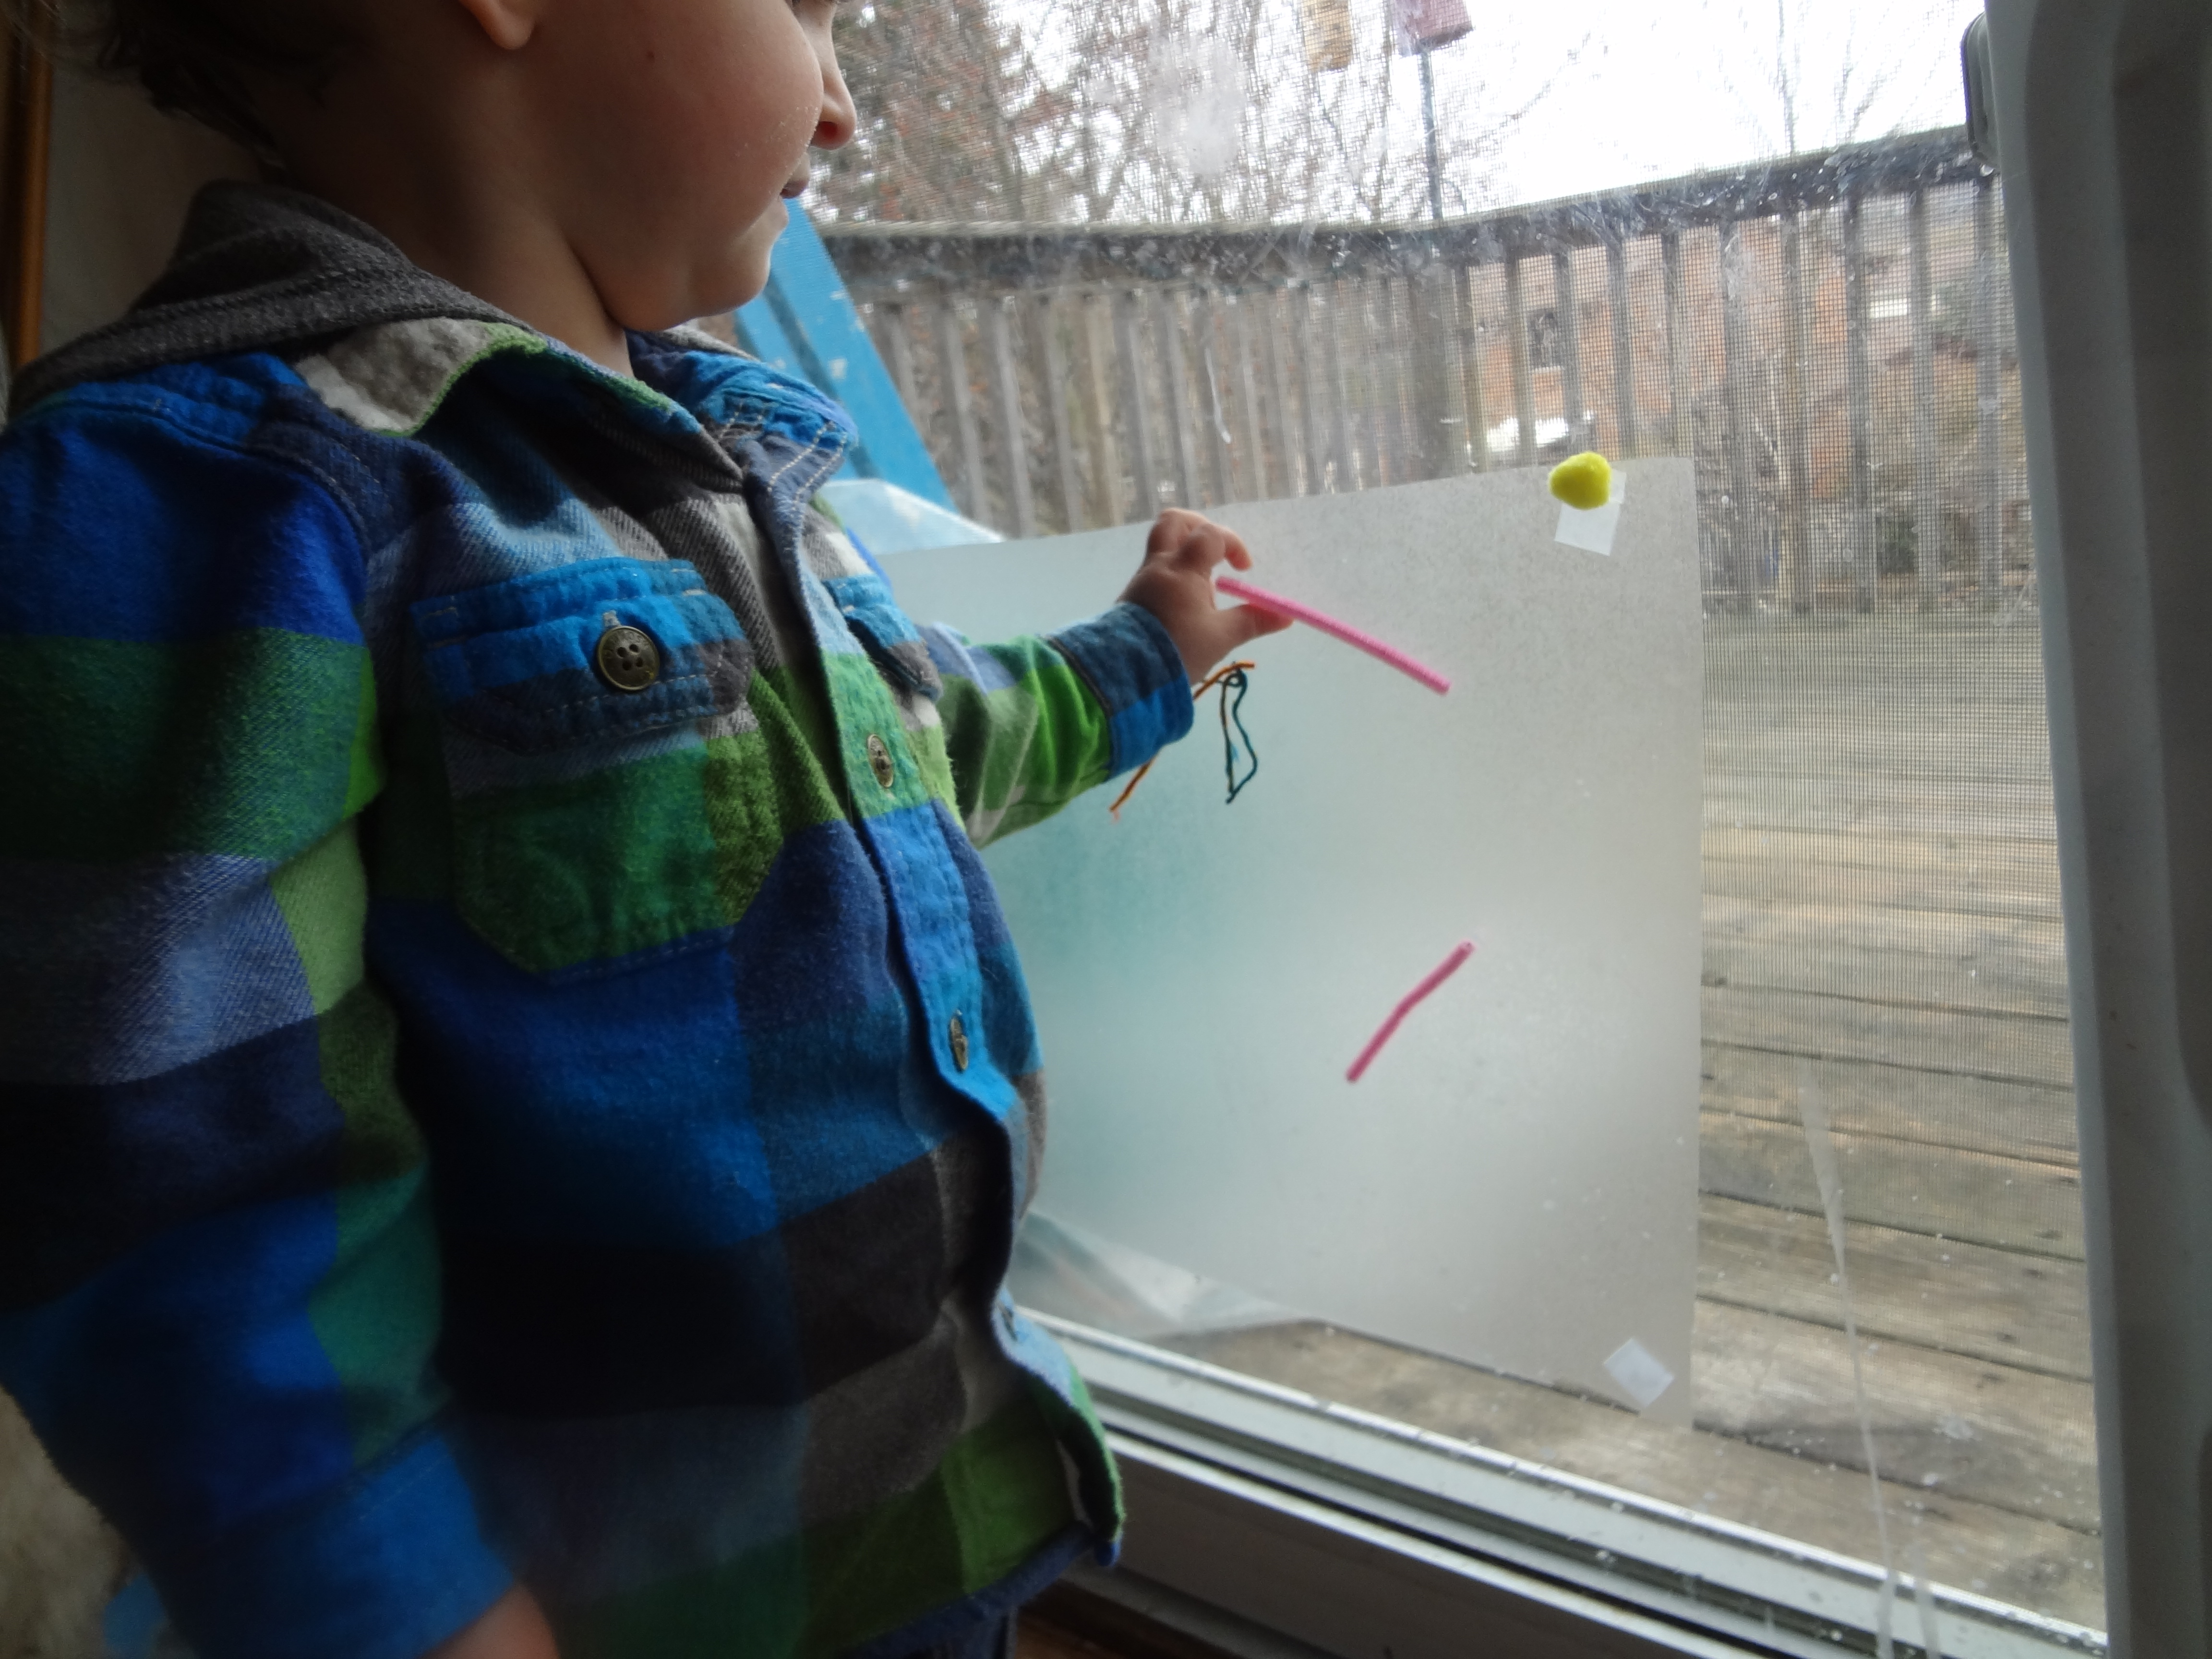
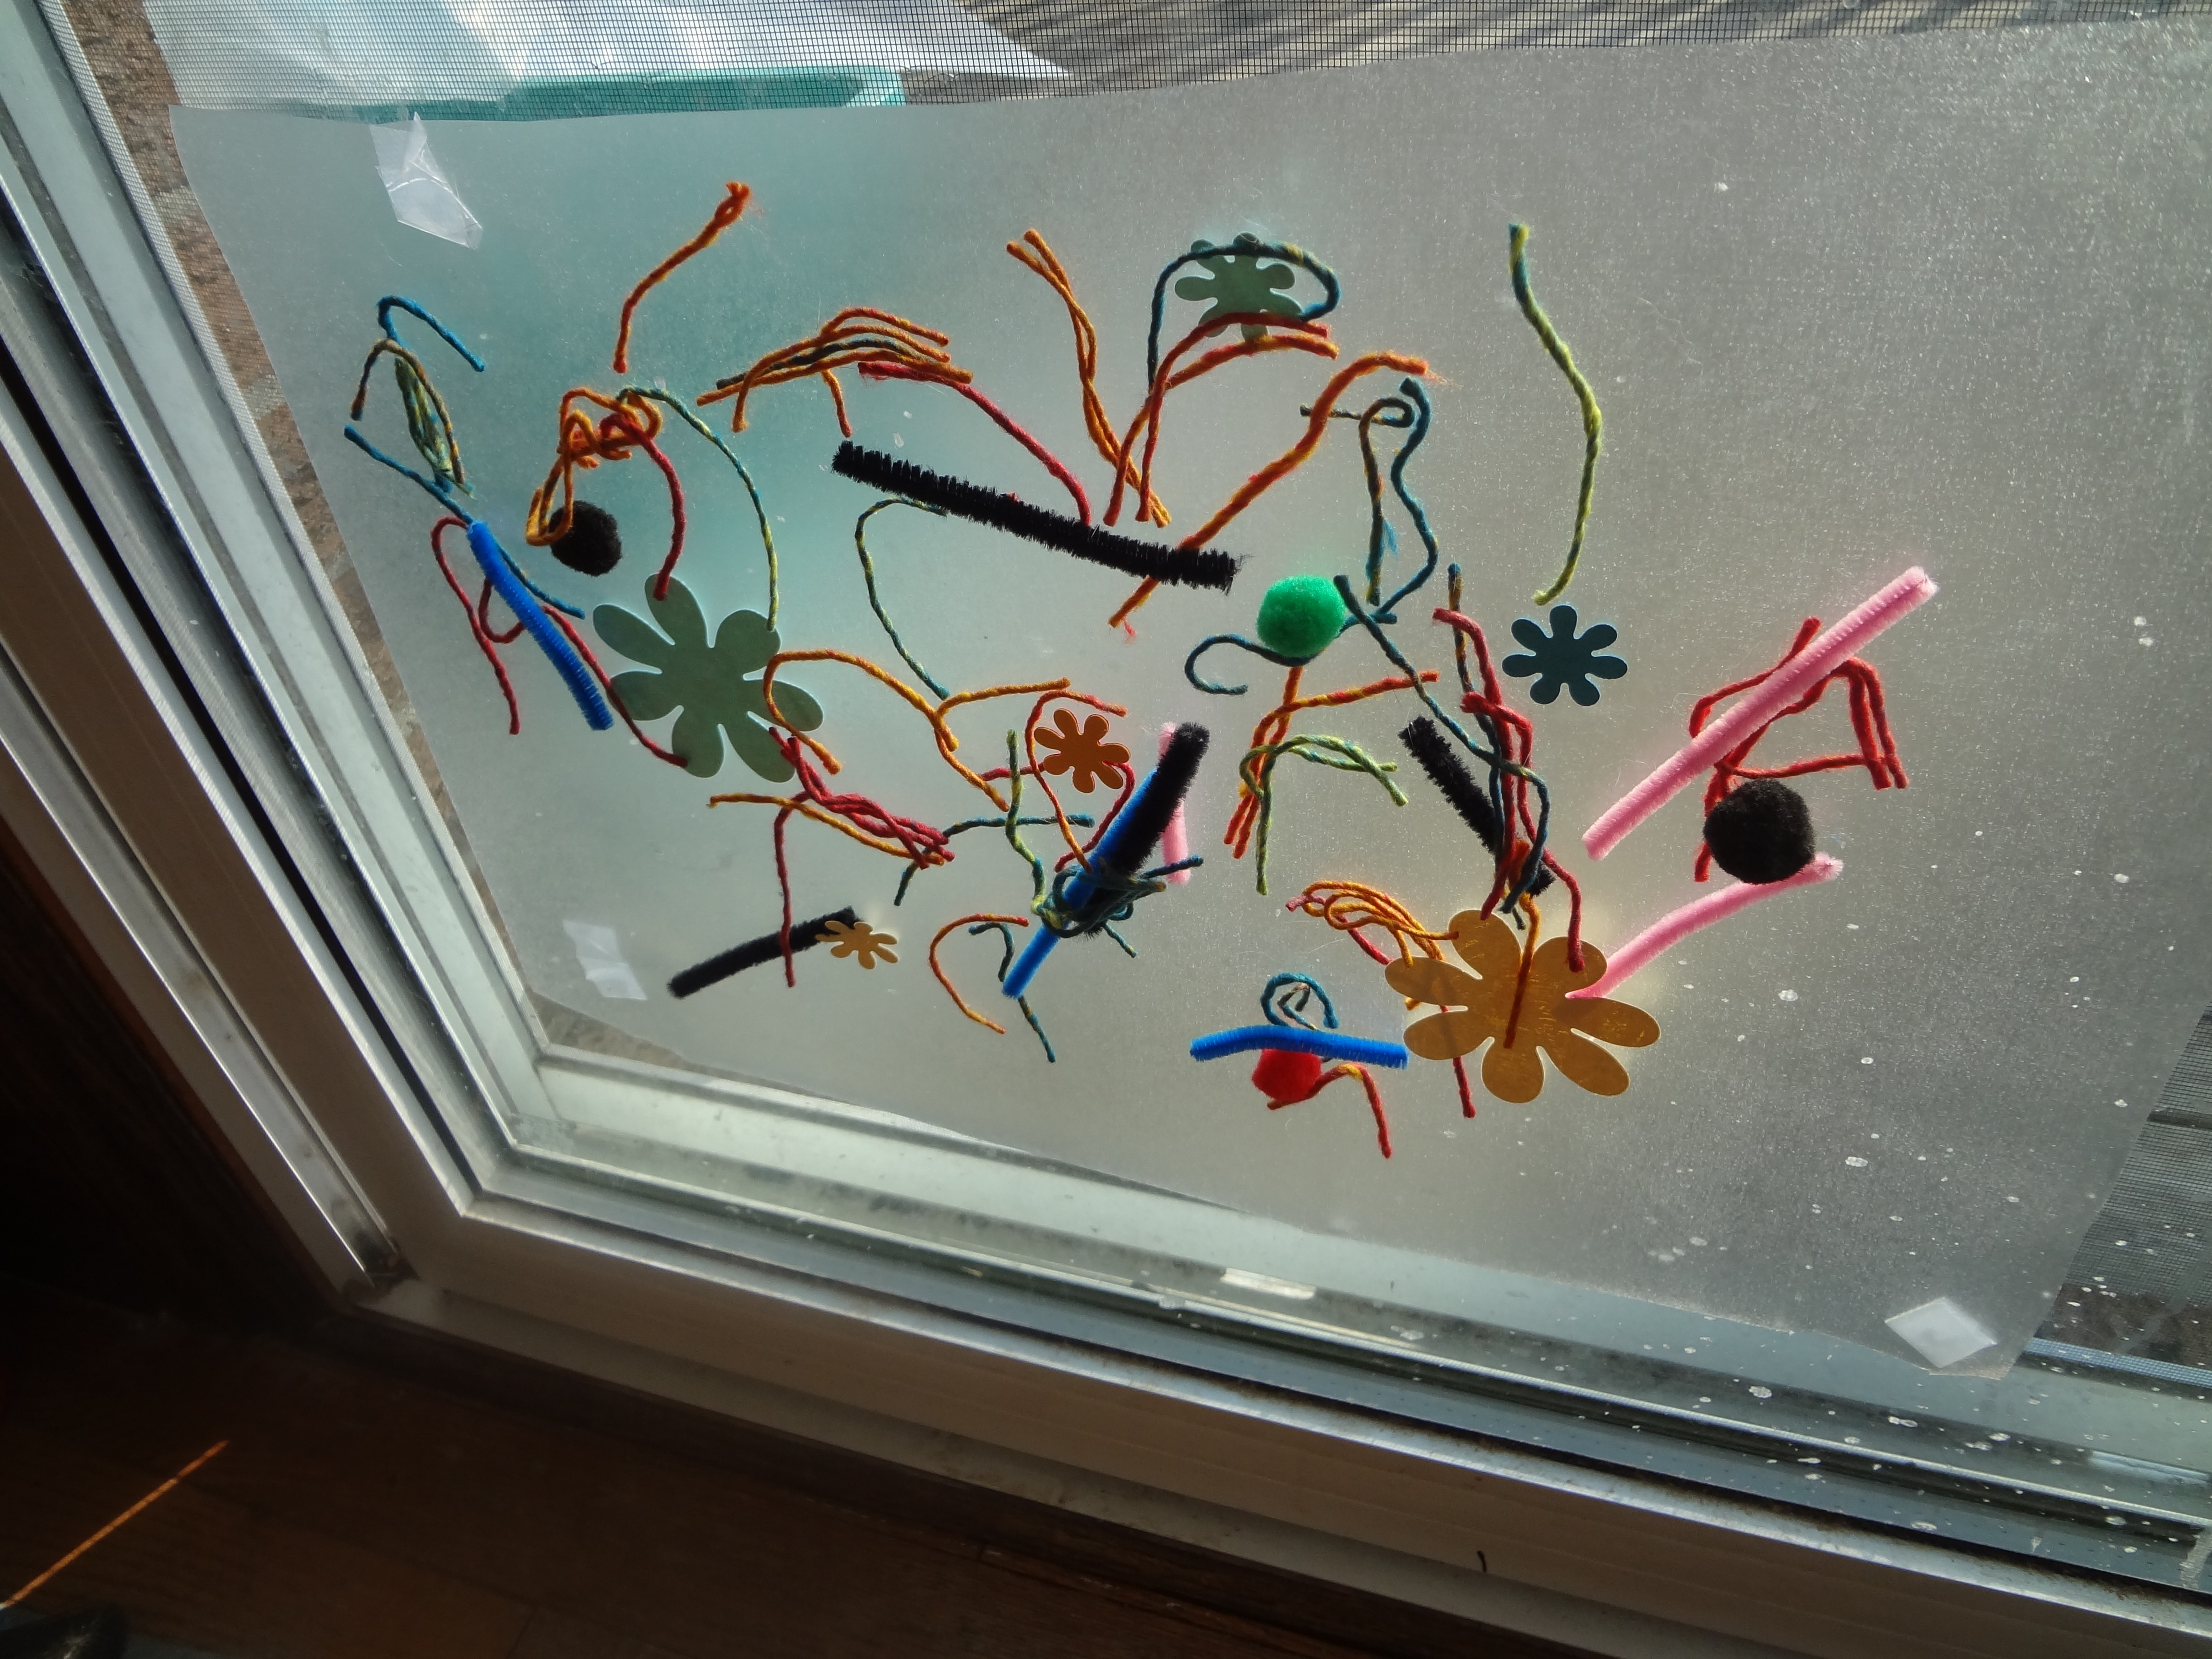
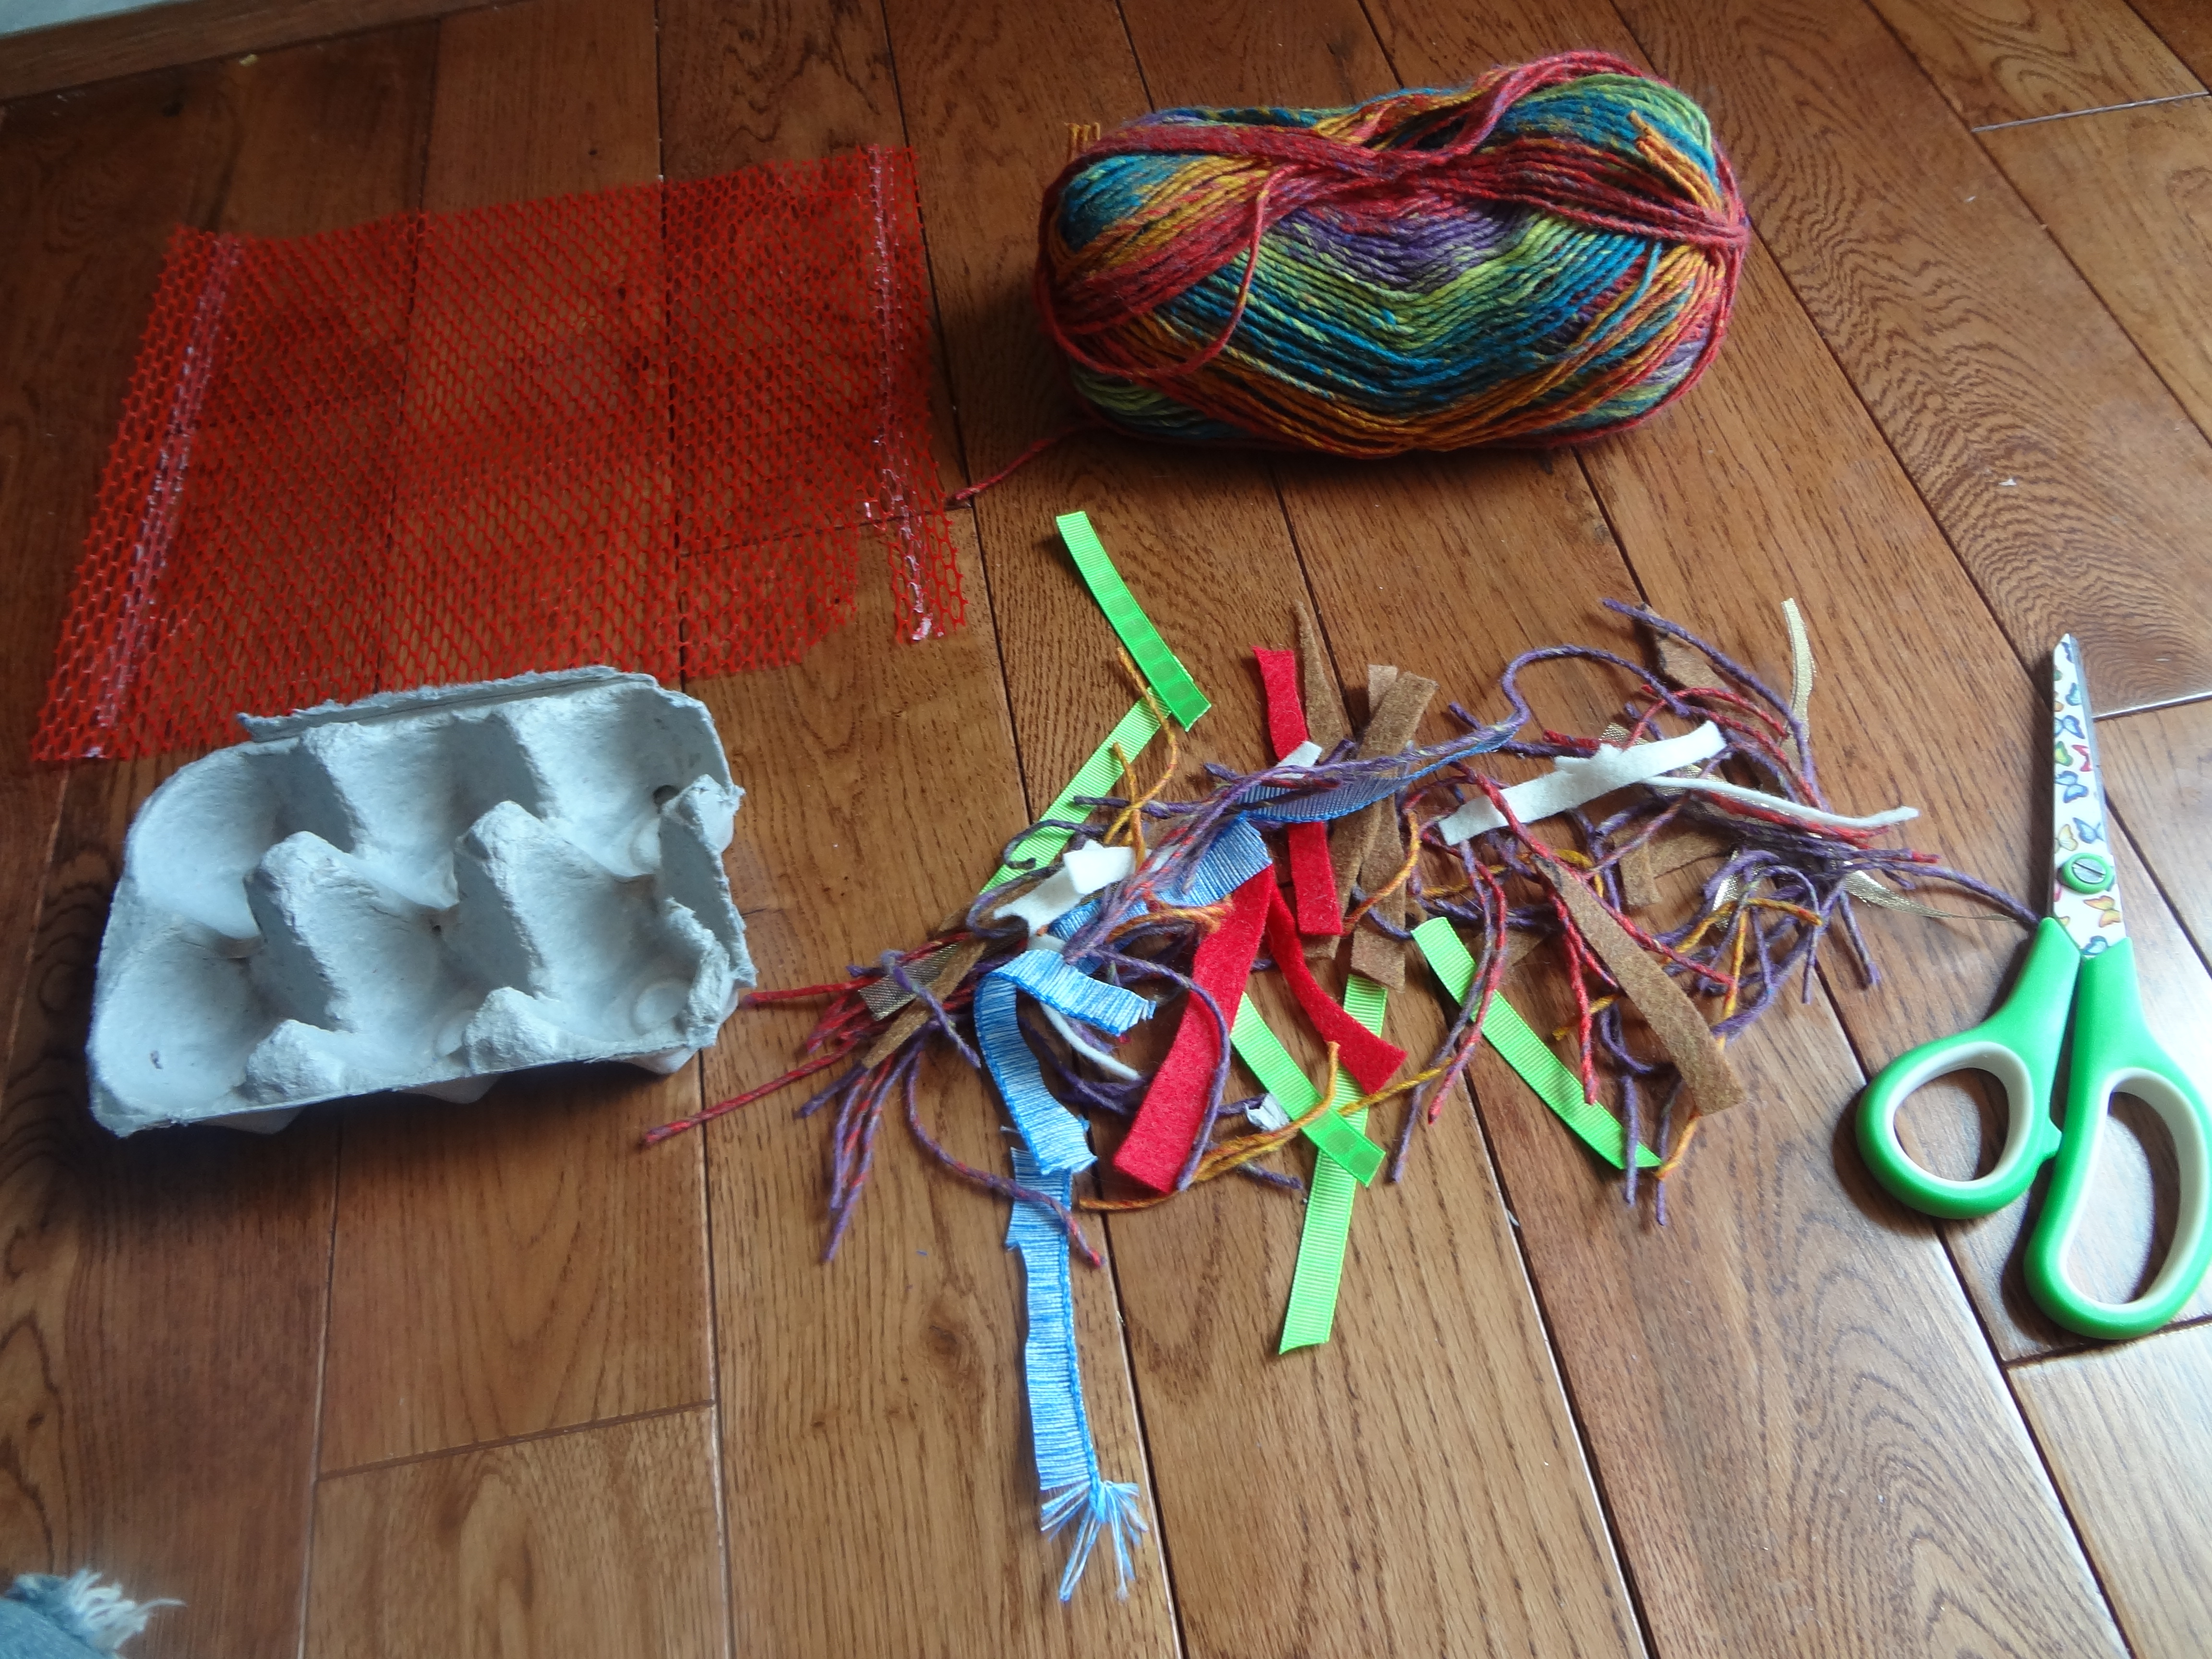
Do this for all of your caterpillar so you have as many sticky surfaces as you have pieces of body. Stick them all together with tape or glue and add some legs with your scraps. Thread the pipe cleaner through the top of the head, I curled the antennae by wrapping them around a pencil and your caterpillar is ready to be decorated! What you use to do this is completely up to you! I put some ripped up tissue paper, tiny pom poms and snipped up pieces of colourful yarn in a bowl and simply placed it on the floor beside the caterpillar. Once the little man came down he wandered over after some cuddles and I showed him that he could stick the colourful scraps to the caterpillar and he dove right in, taking whole fistfuls and mashing them into the sticky contact paper. I’m afraid my camera took a tumble at this point in the process (yikes! Any one know how to fix a lens error? ) and is out of commission but later in the day I pulled out an old one and took a picture of his finished product.
FSCN0340
Next week we will be moving on to the letter D, we would love to hear your ideas and thank you for joining us at Excite and Explore!


6 Comments

Coloured Ice Play

   So recently I saw this neat post on Learn Play Imagine about coloured ice play and I thought we would give it a try and share some ways to play with coloured ice. It is really easy to make, and we used the put the food colouring in the ice cube tray before water method, which left us with really nice, evenly coloured ice. I put two drops of food colouring for each ice cube and added water.

Image

   I also made some bigger pucks using more food colouring and some glass cups.

Image

   I left it over night in the freezer, and since the weather was lovely today I pulled it out in the afternoon to have some fun. (I turned on the hot water and ran the sides of the cup under the water to loosen it to get the pucks out.)

Image

   I left the cubes in a bowl by the water table and released the toddler, after stripping him to his diaper and a hat since I wasn’t into scrubbing food colouring out of his clothes. He was really curious as to what exactly these were, so in typical small child fashion he tried to eat them, but once he discovered that they weren’t anything special he started off by using them as building blocks, which was quite the challenge since, being made of ice, they were pretty slippery and slightly rounded from the mould.

Image

Image

   I dubbed this our castle. I had a sudden thought and brought out a Kleenex and we put three different coloured ice cubes on it and left it on the deck to melt.

Image

   Which melted into this really cool tye-dye like piece, that we hung up to dry in the sun.

Image

   Then they went into the water table, swirling around and colouring the water. This was all done in-between attempts to eat the ice cubes, since he seemed convinced that they would taste different than the last time.

Image

Image

   That was our adventure with coloured ice! We would love to hear your ideas for playing with this cooling activity, thank you for joining us at Excite and Explore!


8 Comments

Letter Of The Week: The Letter A

   Today we started a new series called the Letter of the Week! Gray has recently started showing an interest in learning his letters, when he see’s one he points to it, inquiring what it is called and has started identifying them (admittedly he only knows B, H and R on sight now but hopefully by the end he will know some more) and repeating what they are called when I tell him. So now every weekend we will feature the next letter in the alphabet and share some activities and crafts we did that day. We started off the day with a little display I made in a cake pan full of things that started with the letter A, a book and some small examples of the letter A. Ours had a small plastic apple, a spear of asparagus, a wooden ambulance, an alligator, an ant, and an airplane. As he explored it we discussed the different objects and sounded out the words, emphasizing the A sound.

Image

   For snack we had chocolate Avocado nibs, a recipe he adores (and so do I) that can be found on this wonderful blog called Cheerfully Imperfect which I made into little Ants using cheese for legs on a pita.

Image

   After nap we did some stamping with a homemade stamp I made out of an apple. It was really simple to make, I just carved the letter A in half of an apple (I’m pretty sure a potato would also work) with a knife, using the apple seed divet as the hole in the A and stored it in an airtight container overnight so it wouldn’t get all mushy.

Image

   I poured some paint onto a paper plate and we stamped the apple into the paint and onto a piece of construction paper, Gray really likes stamping so we tend to do this a lot. This was his picture.

Image

   We finished off our day of observing some ants outdoors and looking at their ant hills while I explained how they make tunnels underground ( I’m fairly certain he didn’t quite understand this but he seemed to be interested.) all the while emphasizing that Ant starts with the letter A.

Image

   That is all for our day learning about the letter A, feel free to join us again next week as we explore the letter B, and thanks for stopping by Excite and Explore!


Leave a comment

Box and Ball Painting

   We are finally all feeling better and getting back to some fun activities at our house! The other day we decided to try something a little different, and it was quite a bit of fun! For this activity you will need scissors, a piece of paper (we used a white piece of printer paper but if you want to go for some fun colours!) a shoebox, some tape, paint, a paper plate or pie tin and some type of ball (s) we used some little balls leftover from an old toy Gray used to have but another great option if you don’t have any of those lying around would be golf or ping pong balls.

Image

   Trace the bottom of the box onto your piece of paper and cut it out, then tape it to the bottom of the shoe box.

Image

   Choose your desired colours (We used 3 since that was how many balls we had dug up.) and pour a small bit onto your paper plate, you don’t need a lot. Let your child dip one of the balls into each of the colour, coating as much of it as they like and place them into the box.

Image

   Place the lid back on your shoe box and tape it shut. Then encourage your little one(s) to shake around the shoe box as hard as they can until they tire of it, or like mine get bored. Then open her up and remove the balls. (I gave ours a wash off and they are as good as new)


Image

   You should be left with a neat looking painting that, depending on the size of ball you used, will probably have a border where the balls didn’t touch, an added bonus. This was our end product, feel free to add more paint and do it again or switch up colours.

Image


Leave a comment

3 Easy Crafts For Toddlers

cc06bc8d-ee52-4caf-b78c-c905fbaeadaewallpaper
It has been a very crafty week in our house, and I thought I would share our work with everyone so you can get crafty as well. First up we have a good craft to celebrate spring, our tissue paper tree. It is an easy craft that appeals to toddlers since they just have to stick the ‘flowers’ on. Start out with a couple of pieces of coloured construction paper to make your tree trunk and leaves. Cut out your desired trunk and tree top and glue them together, then cut out a piece of contact paper and tape it to the outside of your tree top.
DSC02565(1)
Cut around the contact paper to regain your tree top shape.
DSC02566(1)
I scrunched up tissue paper into little puffs for our flowers and put them aside and your tree is ready for your little one! Once ready peel of the outside of the contact paper and let them have at it.
DSC02576
Next up is another simple on perfect even for babies as well as toddlers and requires virtually no set up. The contact paper collage! I taped a piece of contact paper to the window and provided lots of fun doodads such as pipe cleaners, paper flowers, yarn bits and buttons. We are working on colours so I named all the different colours as he stuck them in place, and he had an even better time pulling the pieces off and sticking them back on again.
DSC02590DSC02591
Earlier in the week I was at a craft store and they had finger paint in these awesome neon colours so I grabbed some. This one is a classic, we used to do it when I was a kid. All you need is some paint, a toilet paper roll and some paper. I set this up in the garage for messes sake and we stamped away, dipping the toilet paper roll (by which I mean the cardboard tube found inside) into the paint and stamping it on the paper. My little guy really liked this one, and it brought back a lot of good child hood memories for me.
DSC02592
This was our finished masterpiece.
DSC02594
That was our week in crafts, I hope you get a chance to try out some of these simple toddler crafts at home and thank you for joining us, please come again!


1 Comment

Help A Bird Build A Nest

Gray has been pretty interested in birds lately, and bird season is coming into full swing now that the weather is getting nicer so today we made a little ‘cage’ full of nesting materials for all the birds visiting us every day. You can buy these little cages made out of metal from some gardening and home stores but I figured we could make our own. Gather some supplies.
DSC02577
First we cut up some yarn into pieces, 4-8 inches are ideal for the birds to build their nests with. We also used colourful ribbon and leftover felt, Gray had a great time unravelling the yarn and throwing it all over the place. I cut an egg carton in half for our base and we filled it with our scraps of fabric. To cover it and keep the wind from blowing our scraps all over the yard we covered it with the netting from the top of a clementine container, quite a few fruits come in this netting.
DSC02579
I ended up hot gluing the netting to the egg carton but if you have the patience you could use regular glue or poke holes in the carton and thread the netting in. I wanted to use wire to hang it but I couldn’t find ours so we used the yarn, and I figured why not find a way to attract the birds to our little helping hand so we threaded the yarn we were hanging it up with full of cheerios (Also great for fine motor development) and had a bit of a snack at the same time. This was our finished product.
DSC02586
Gray was quite proud of this little project and carried it around the house for a while before I took him outside and we hung it up in our back yard, here’s to hoping we will see some colourful little nests around the area soon! Thank you for joining us at Excite and Explore, if you have any questions feel free to ask and please come again!
DSC02588


Leave a comment

Painting With Tree Branches

So as Gray was pushing his shopping cart around the sidewalk out front he found some branches from our Christmas tree that somehow ended up being left behind when they picked up the tree itself. Well being a toddler he was delighted and proceeded to start ‘sweeping’ it around the driveway. After a while it passed through a puddle and left marks where he swept and that made him even happier, so I thought, why not paint with them? He went down for a nap pretty early and while he was asleep I set up a little paint station for him in the garage. I just set out some paper on an old wipes box, finger paints, and some different branches we had collected on our travels earlier that morning.
Creation Station
When he woke up he immediately wanted to go back outside, much to my delight. After a few minutes of splashing in mud puddles we wandered over to the paint station and he got right into it!
DSC02484

IMG_0241[1]<a
He would paint for a minute, and wander away for about 10 minutes before straying back to paint some more. This was the finished product.
DSC02485
The branches made some pretty cool lines, and I think that when the weather gets better we will travel to the woods near our place to collect different types of branches from the forest floor and try this activity again. I hope you enjoyed this post and will join us again at Excite and Explore!