Excite and Explore

One mom, one toddler and a passion for learning and adventure.


Leave a comment

Easter Sensory Bin

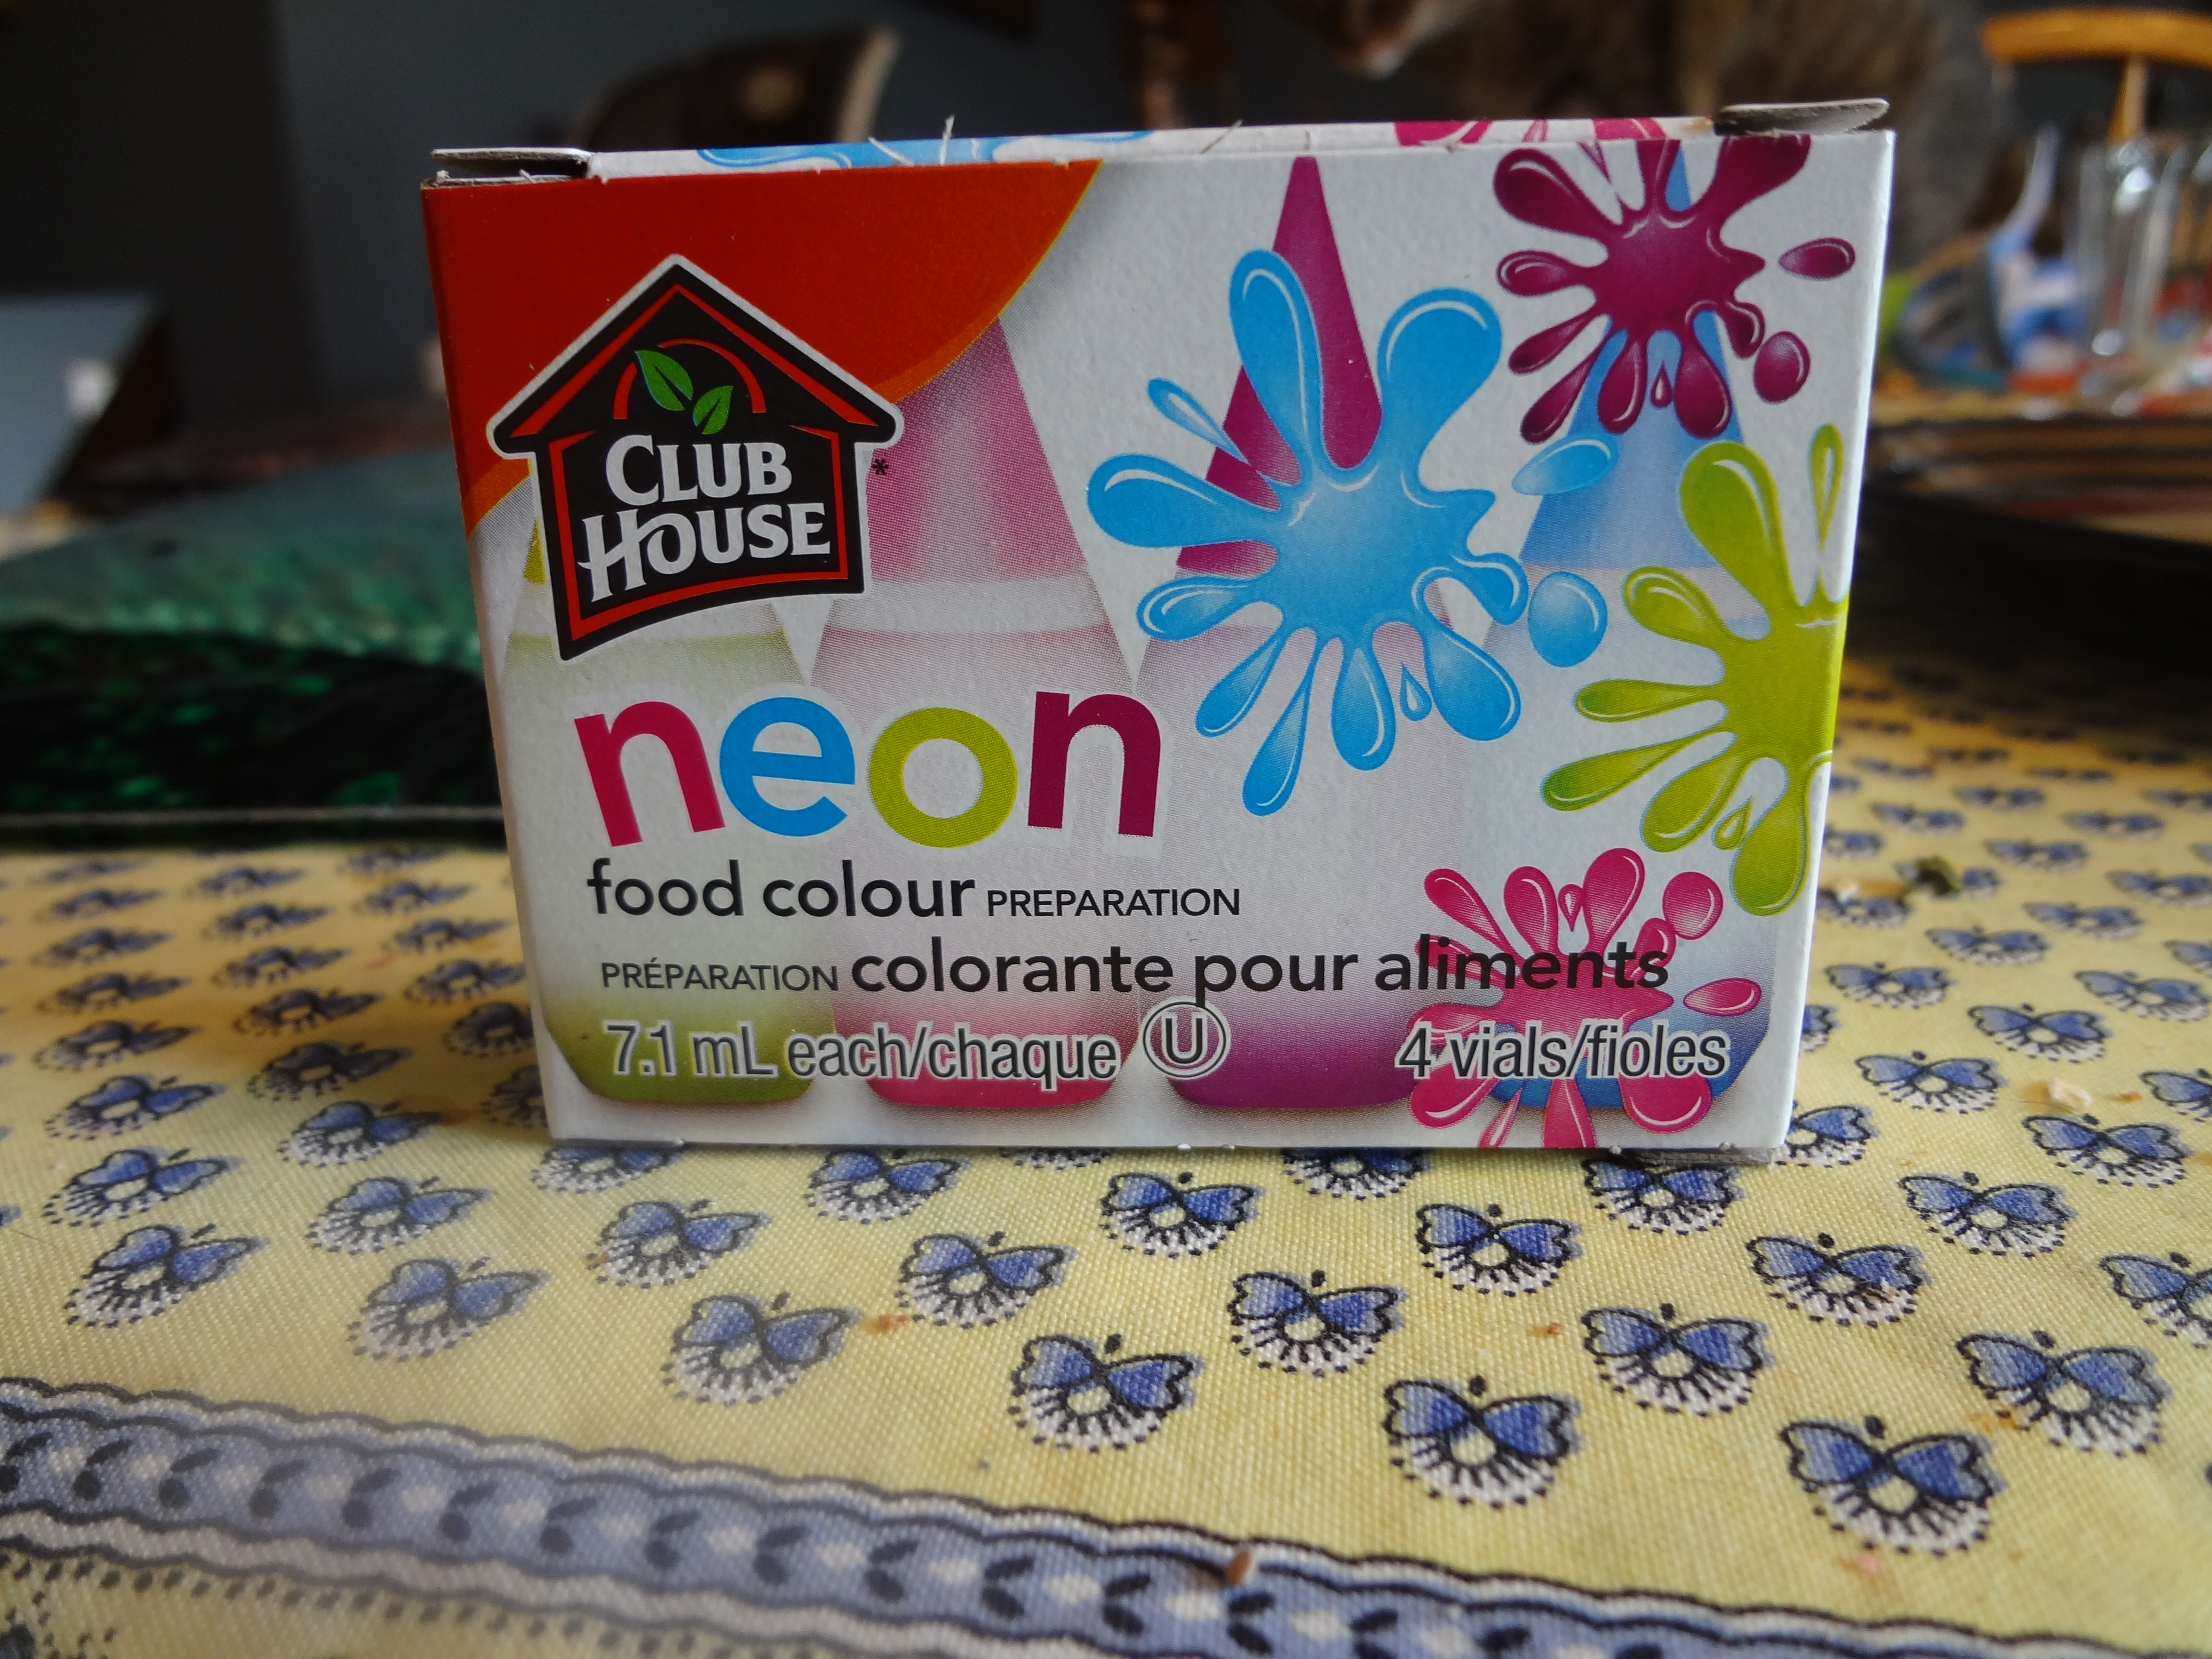
Easter is fast approaching and we have been getting ready in our house. Yesterday I read on how to dye corn kernels for sensory fun or crafts and knew I had to try it, so I decided to make an Easter sensory bin. You can find the tutorial here on Fun-A-Day. http://fun-a-day.com/how-to-dye-corn-kernels/ It was an easy tutorial but I wanted to make some fun colours. I made the recipe without adding the food colouring, I made 3 batches. I used this neon food colouring I found at Zehrs.
DSC02487
After a bit of experimentation I made these.
DSC02486
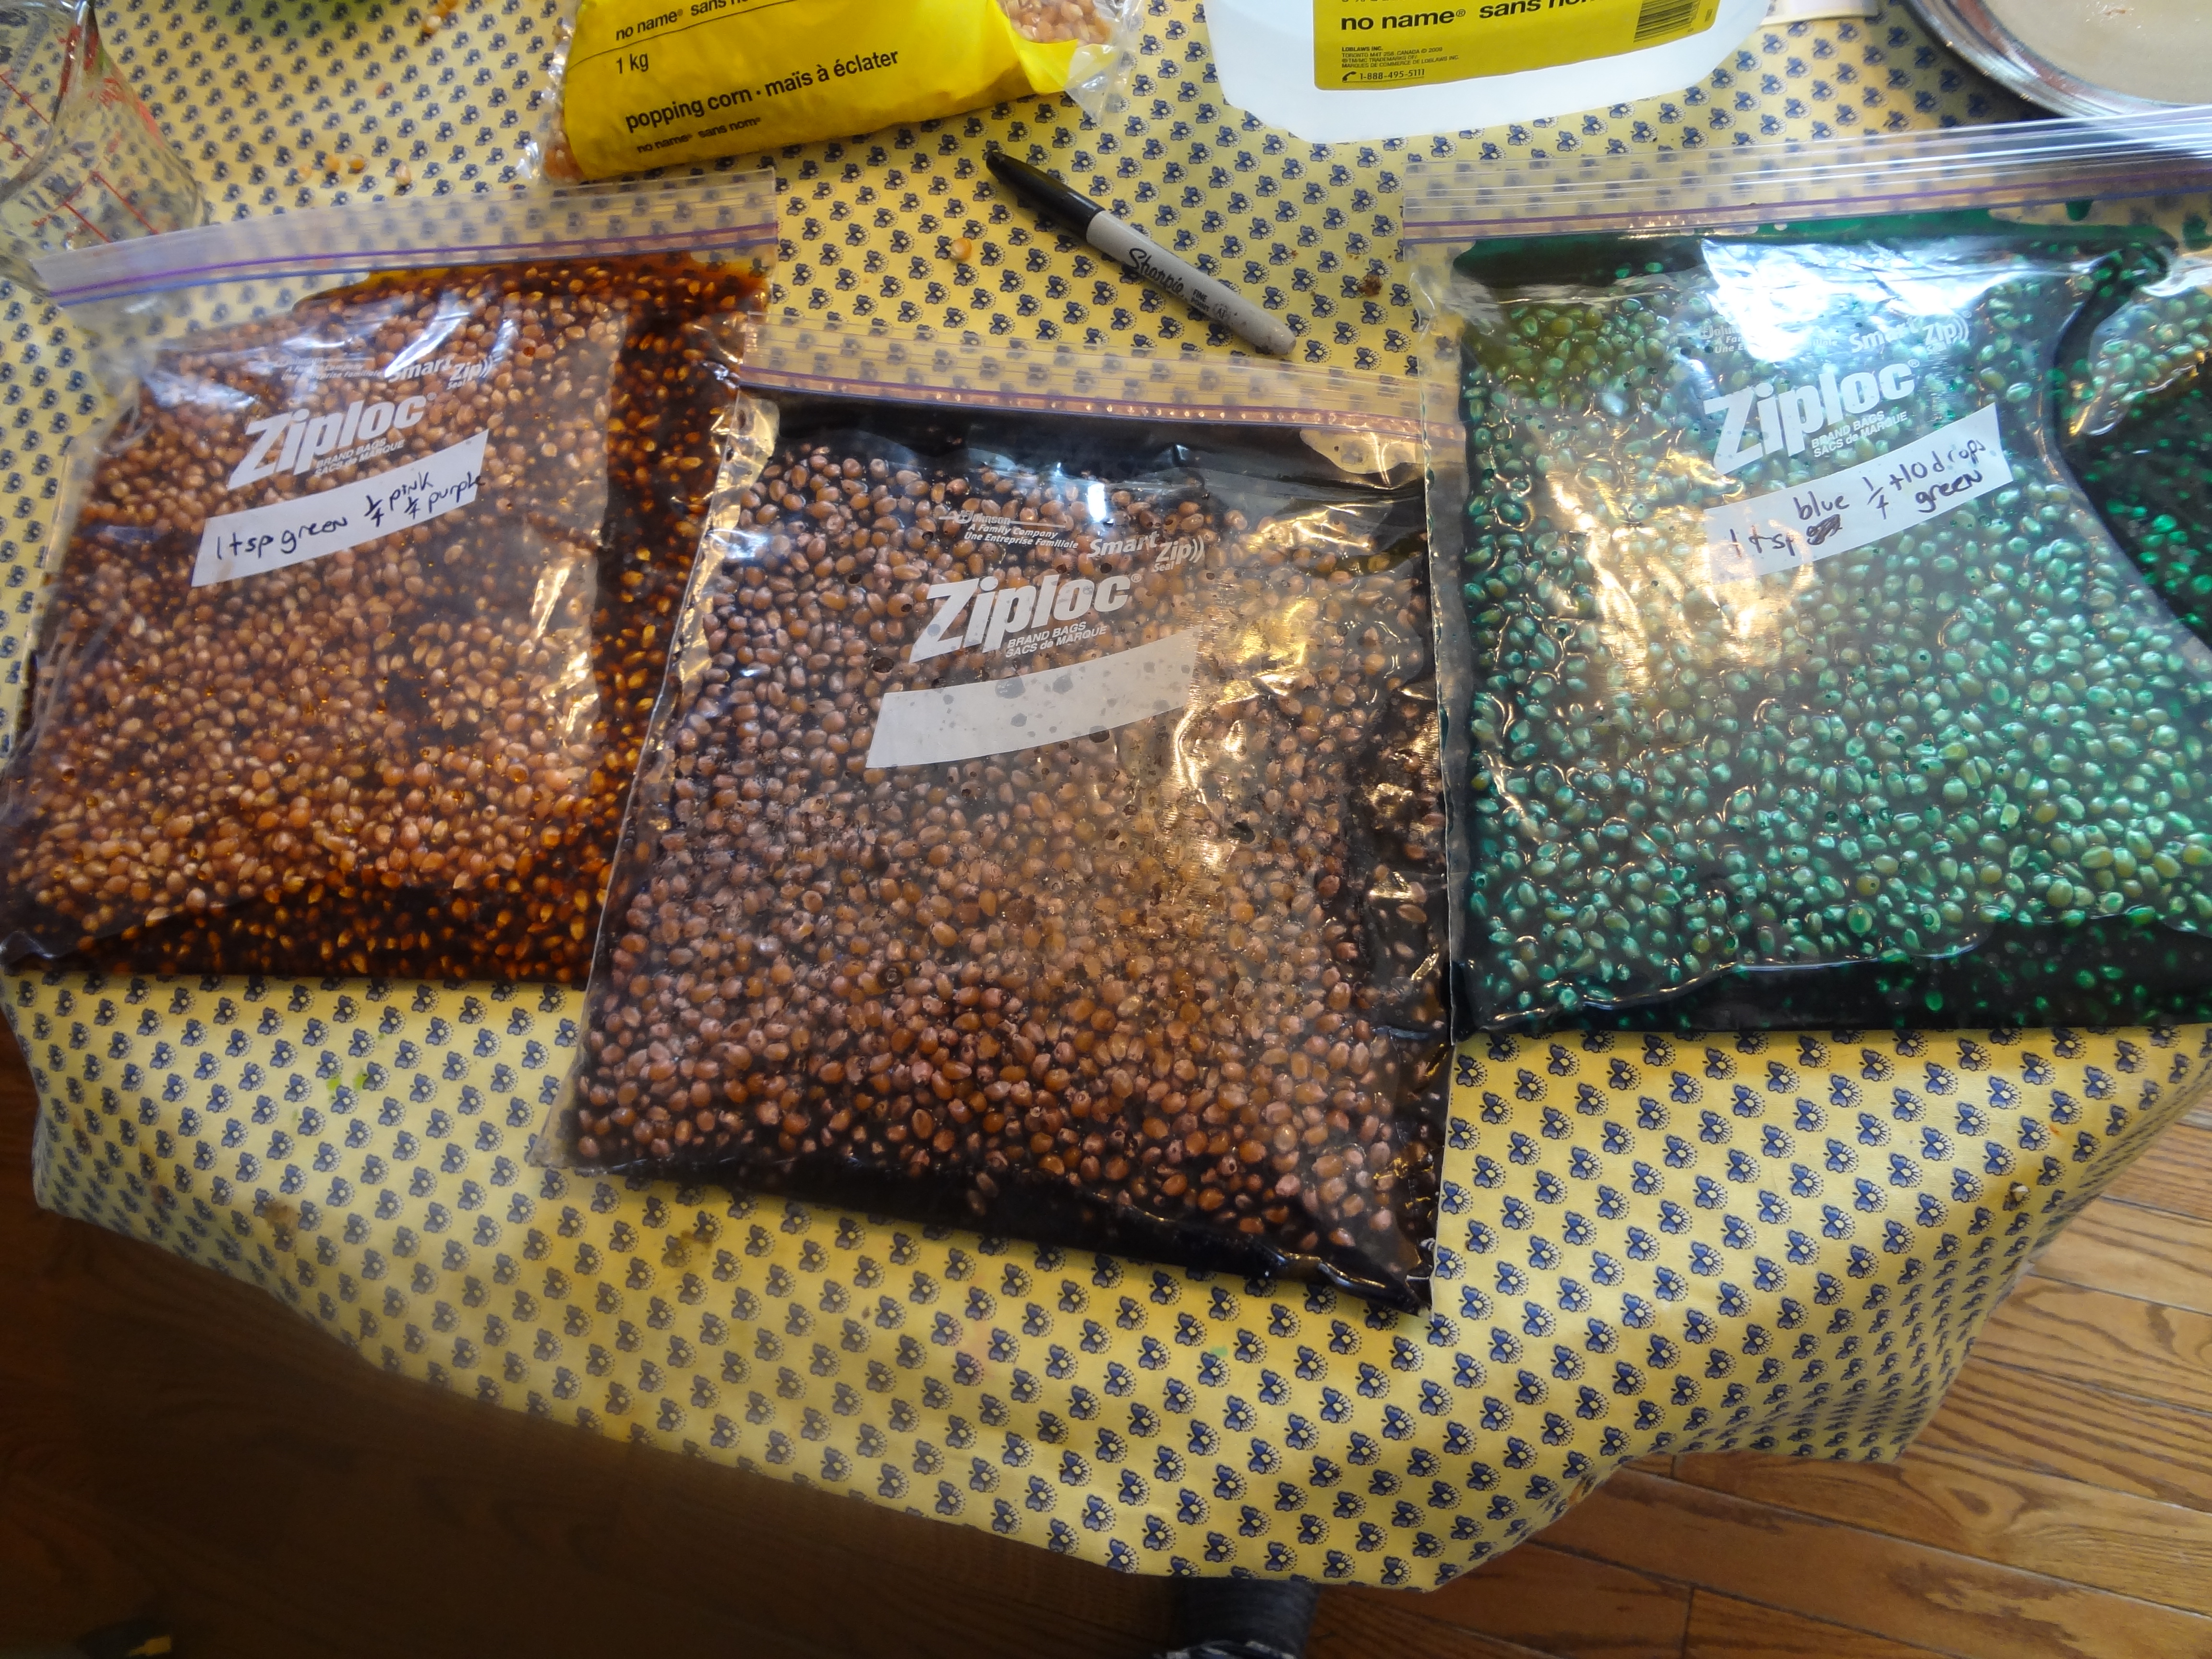
The purple is 1 table spoon of the purple dye, simple enough. For the green/teal colour I used 1 teaspoon of the blue and 1/4 a teaspoon plus 10 drops of the green. Lastly for the neat deep orange I used 1 teaspoon of green, 1/4 a teaspoon of purple and 1/4 a teaspoon of pink. These measurements are for every 2 cups of corn. I let them soak overnight as instructed. In the morning I spread paper towel on baking sheets and drained the excess liquid with a strainer and gave them a quick rinse (not to long) and spread the kernels evenly over the paper towel, dabbing the tops with another piece. (If you don’t let them soak over night you won’t get as vibrant a colouring.) An hour later I removed the paper towel, dried the pans and spread out the kernels again, and left them for a further 6 hours, shifting their position once to help speed up the process.
DSC02488
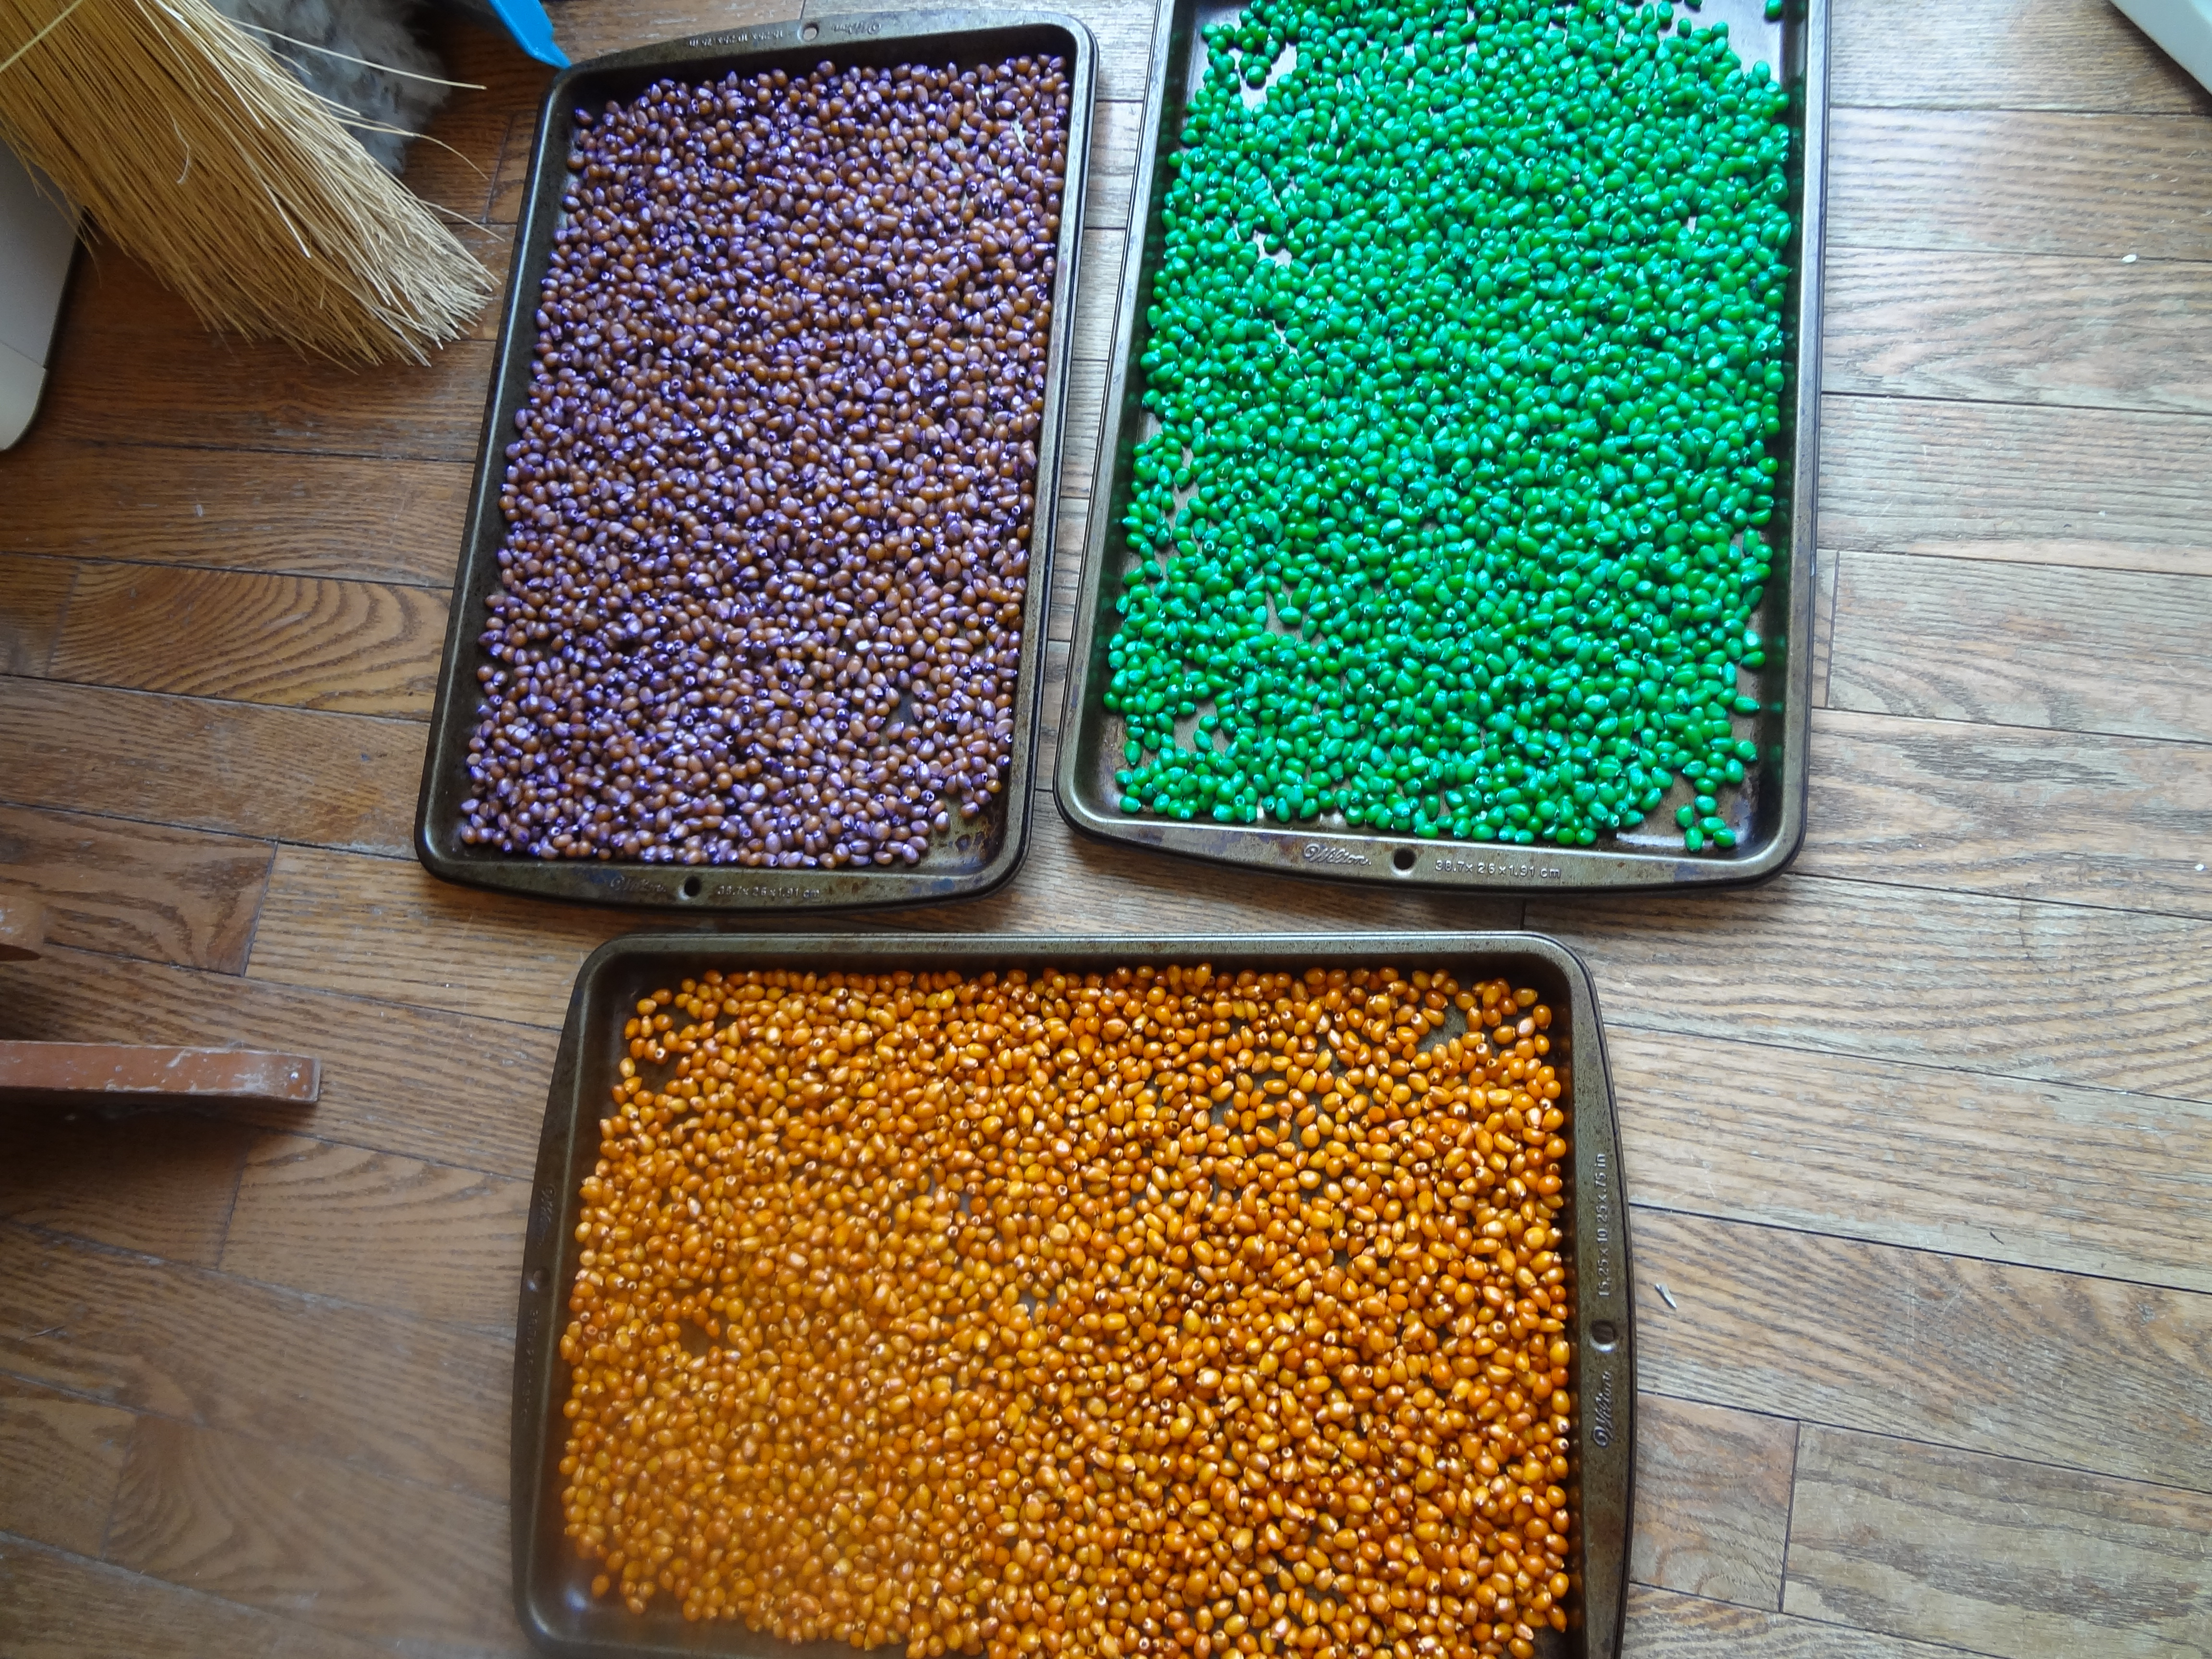
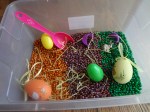
It turned out wonderfully! They are so vibrant and bright! I threw in some Easter eggs, the hollow plastic ones. I filled one with some of the kernels to use as a shaker and added some fluff, different types of eggs, a little plastic bunny and a scoop.
DSC02489

DSC02499
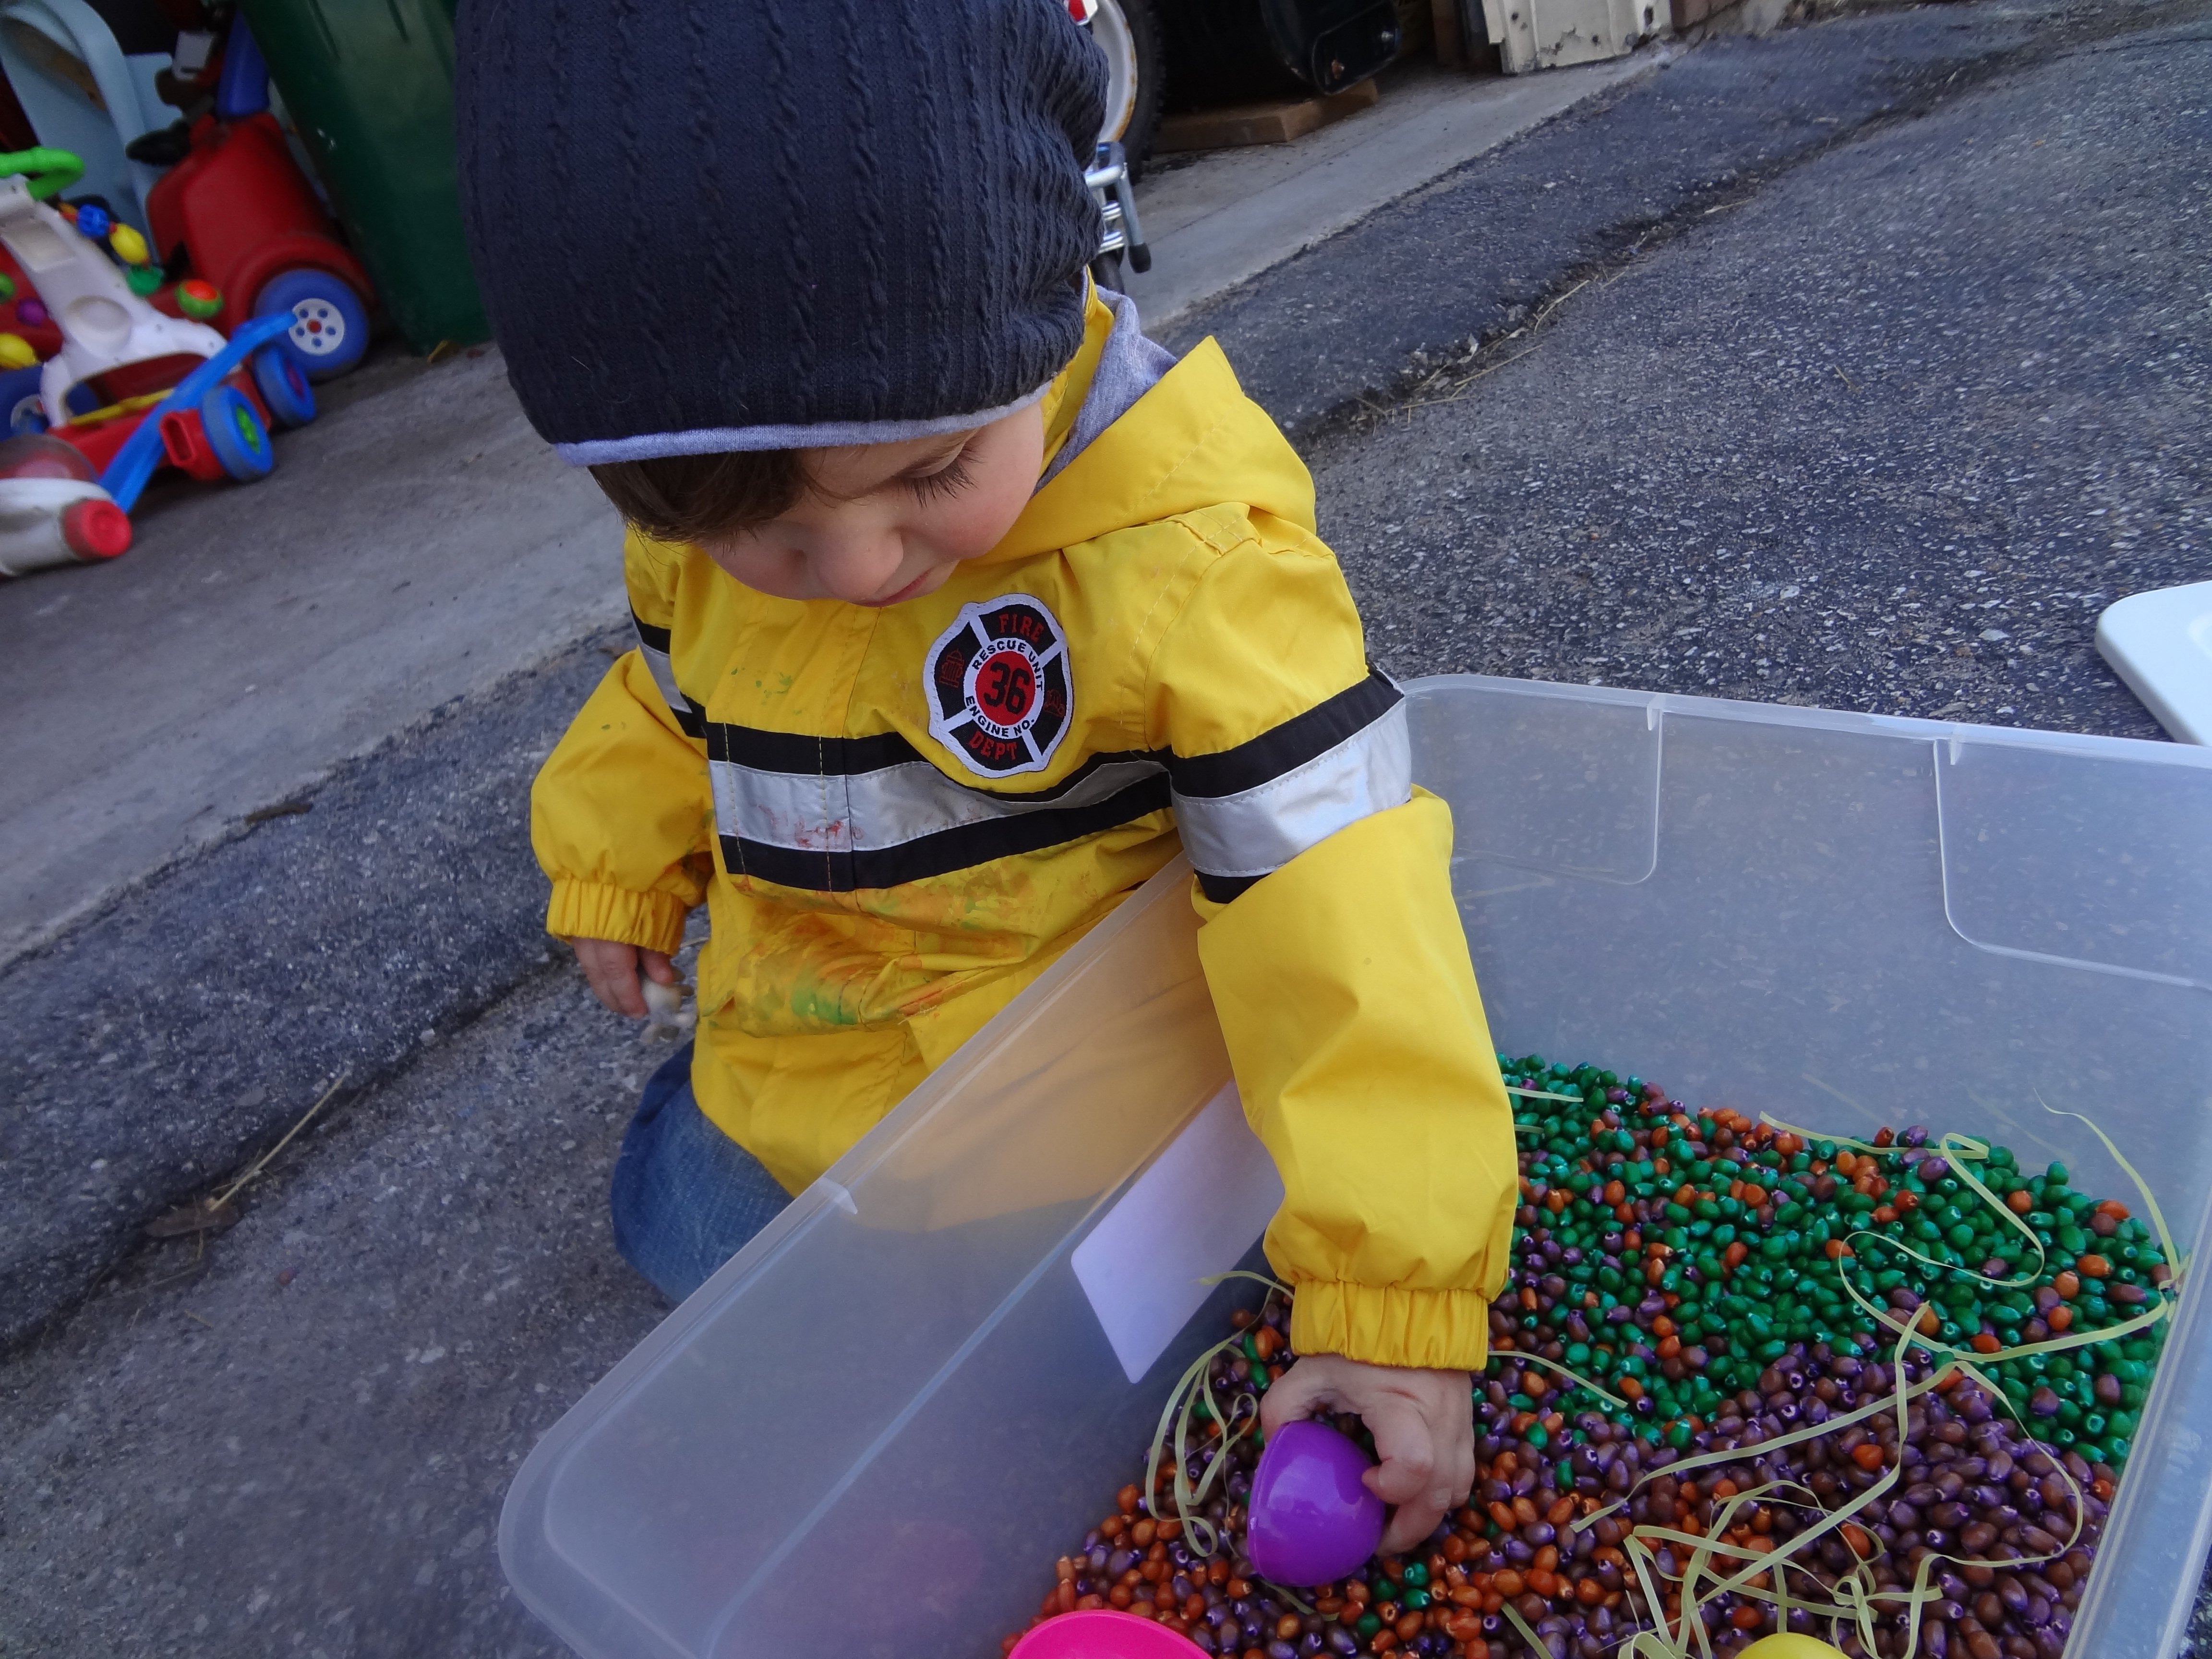
We brought it outside to play with since it was so nice out and we’ve really missed the sunshine this winter. He had a great time scooping and pouring and really liked the shaker. Hopefully this will inspire you to create some Easter fun of your own, thank you for reading and please join us again at Excite and Explore!
DSC02490


Leave a comment

Easter Egg Suncatcher

Image

So today was a beautiful day out! And I picked up some contact paper at Canadian Tire after trying Michaels and Staples to no avail. Contact paper is a liner generally used for lining shelves and drawers but it has some awesome uses when it comes to arts and crafts. I felt like we needed to get into the Easter spirit and decided on something that was fairly easy to throw together and simple enough for a young toddler. A grumpy, tired toddler who wouldn’t nap and desperately needed a distraction. Cut an Easter egg shape out of your clear contact paper, I taped mine to a piece of construction paper just to hold it in place. Don’t peel the backing off yet.

Image

Then I cut up some tissue paper that has been laying around forever. Like since before I had a child, in fact I am fairly sure it is from when I was a child. You can do squares, circles, just rip it, whatever suits you.

Image

Finally, peel the backing off of the Easter egg cut out. I put it all down on the floor for him and away he went. He really liked the tissue paper and for the first bit he just scrunched it up in his hands. Then you just have to press the tissue paper over the contact paper until it is covered. ( Or in our case your child is side lined by the dog food dish.)

Image

Once they are done cut out a piece of contact paper from the roll that will fit over the egg and peel the backing off of that, sticking it over top of the egg sandwiching the tissue paper in between the two pieces of contact paper. Cut off the excess contact paper until it regains its egg like shape. I punched a hole in the top of mine and threaded a pipe cleaner through it to hang it on the window but I’m sure tape would work just as well.

Image

Well, that’s all there is to it! I hope you enjoyed this post and that it helps you and your little ones get in the Easter spirit! We hope you will join us again!